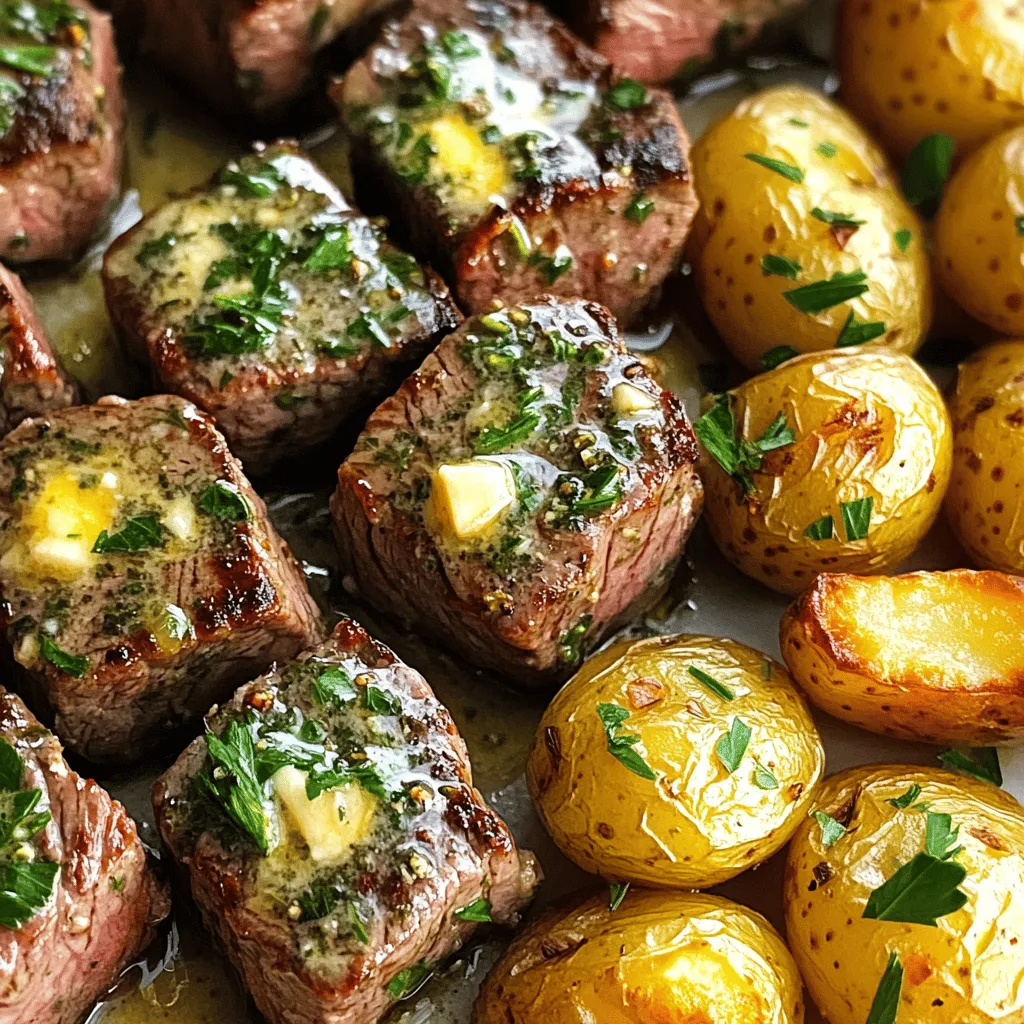
Garlic Herb Steak Bites & Potatoes Simple and Tasty
Are you ready to impress your family and friends with a delightful dinner? My Garlic Herb Steak Bites & Potatoes
Are you ready to impress your family and friends with a delightful dinner? My Garlic Herb Steak Bites & Potatoes
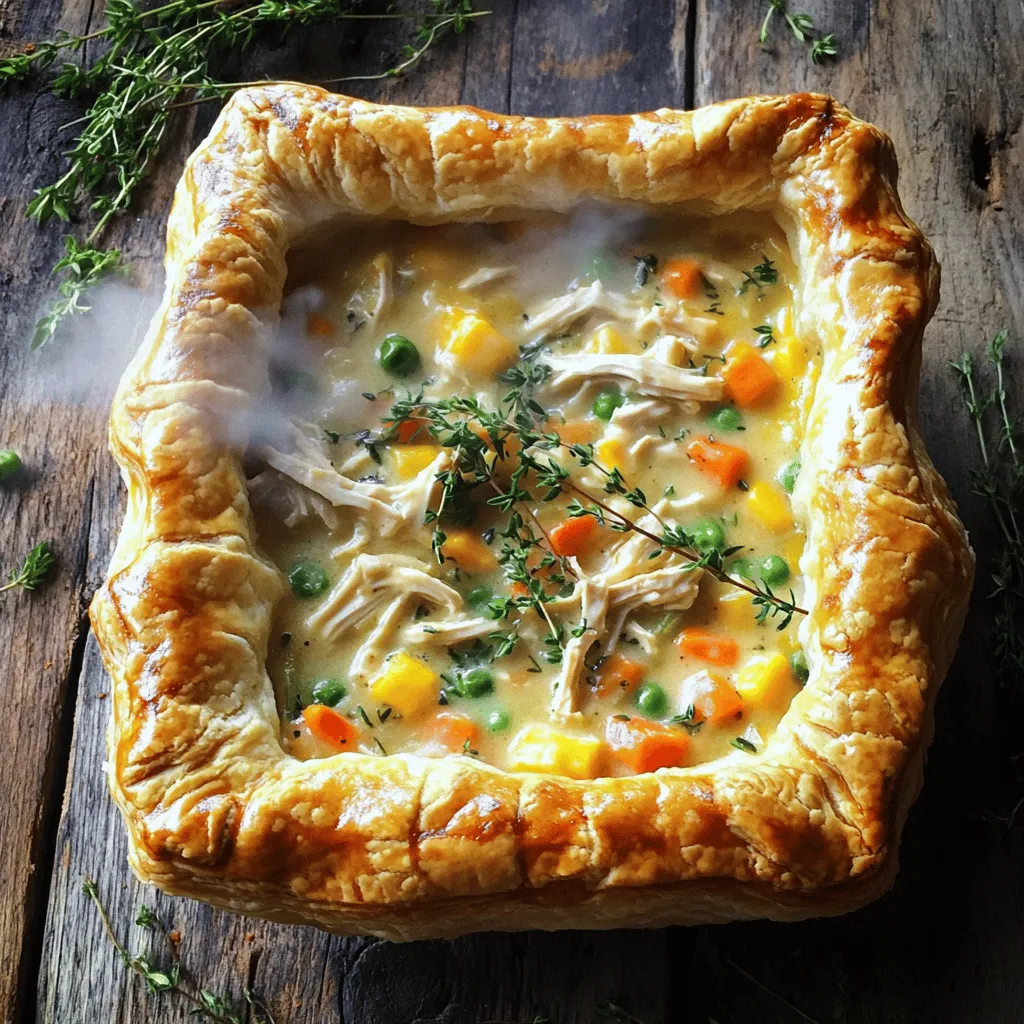
If you’re craving comfort food that’s easy to make, you’re in for a treat! My Puff Pastry Easy Chicken Pot
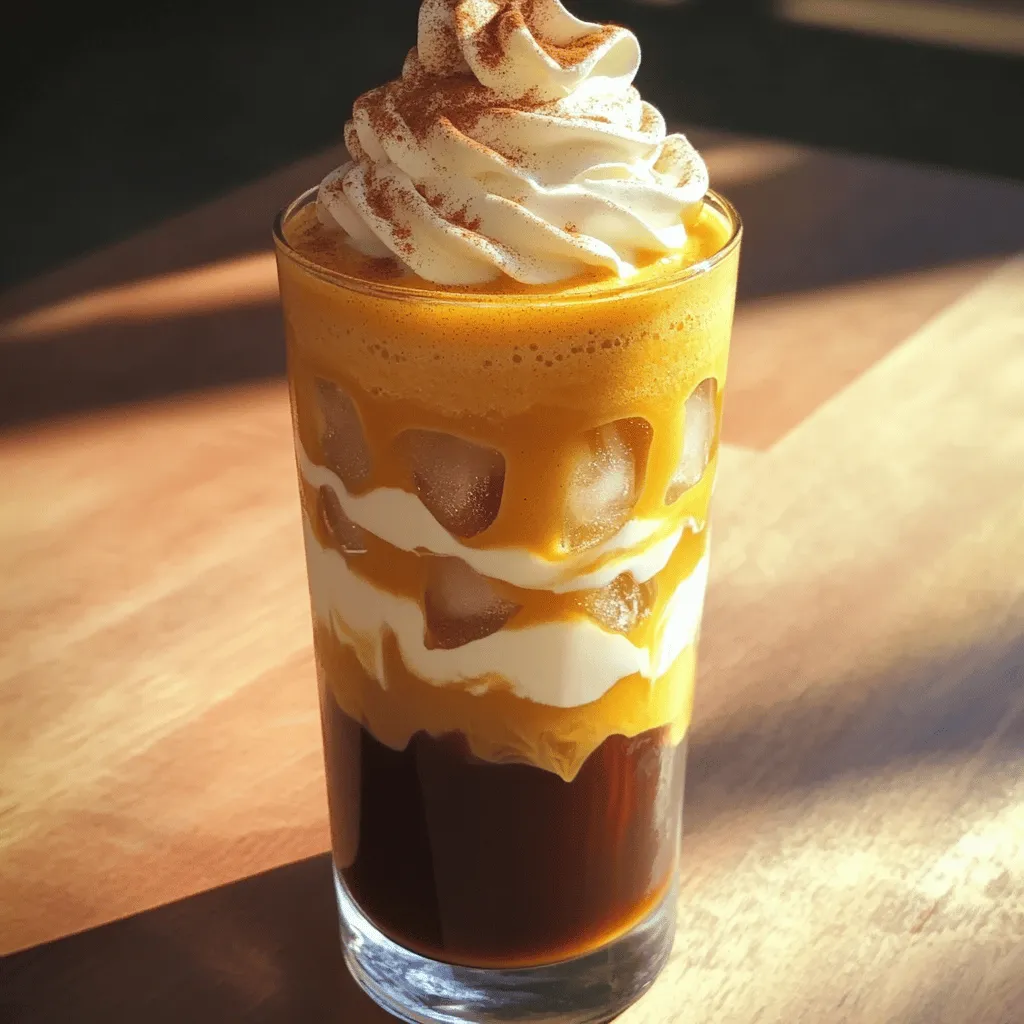
Craving that pumpkin cream cold brew but don’t want to hit the café? I’ve got the perfect solution for you!
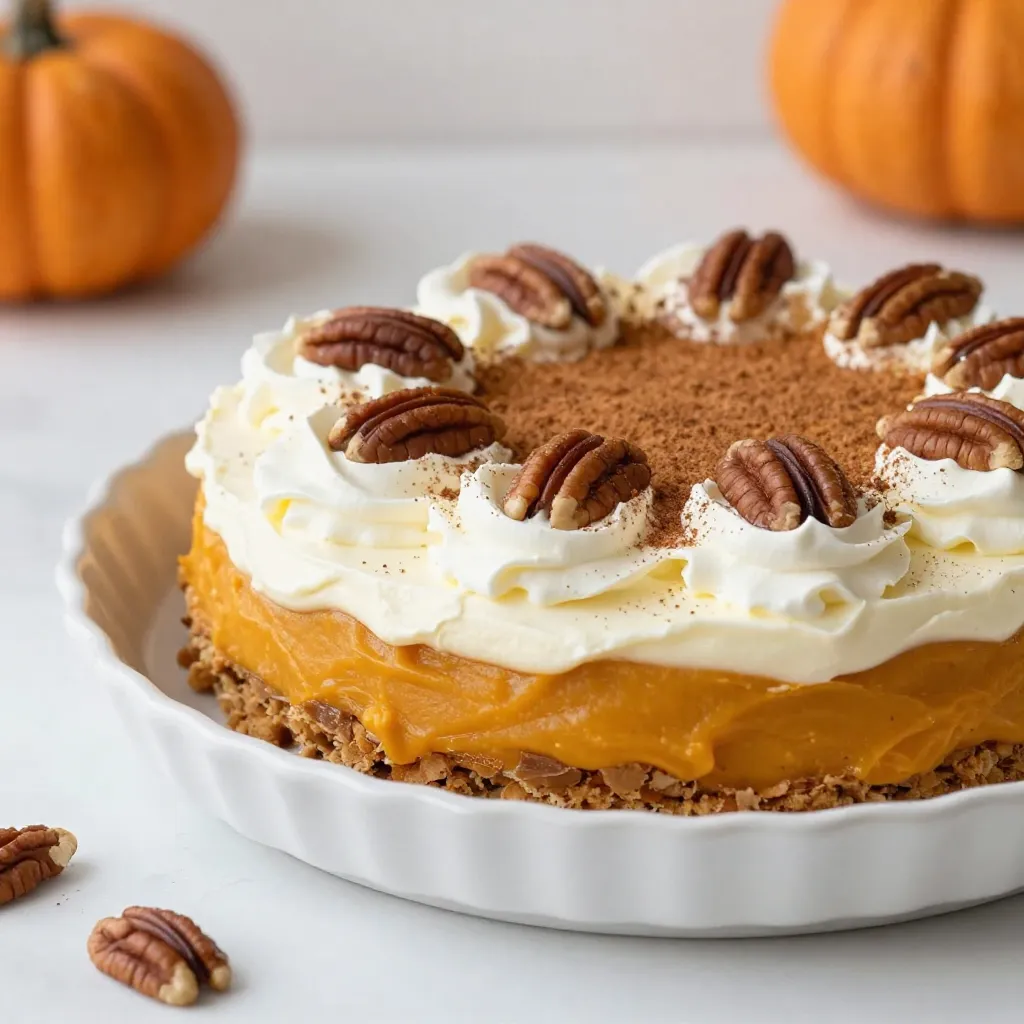
If you love pumpkin flavors during the holidays, you’re in for a treat! This Pumpkin Delight Layered Dessert is a

Ready to spice up your snack game? These Air Fryer Buffalo Cauliflower Bites are crispy, tangy, and oh-so-delicious! Perfect for
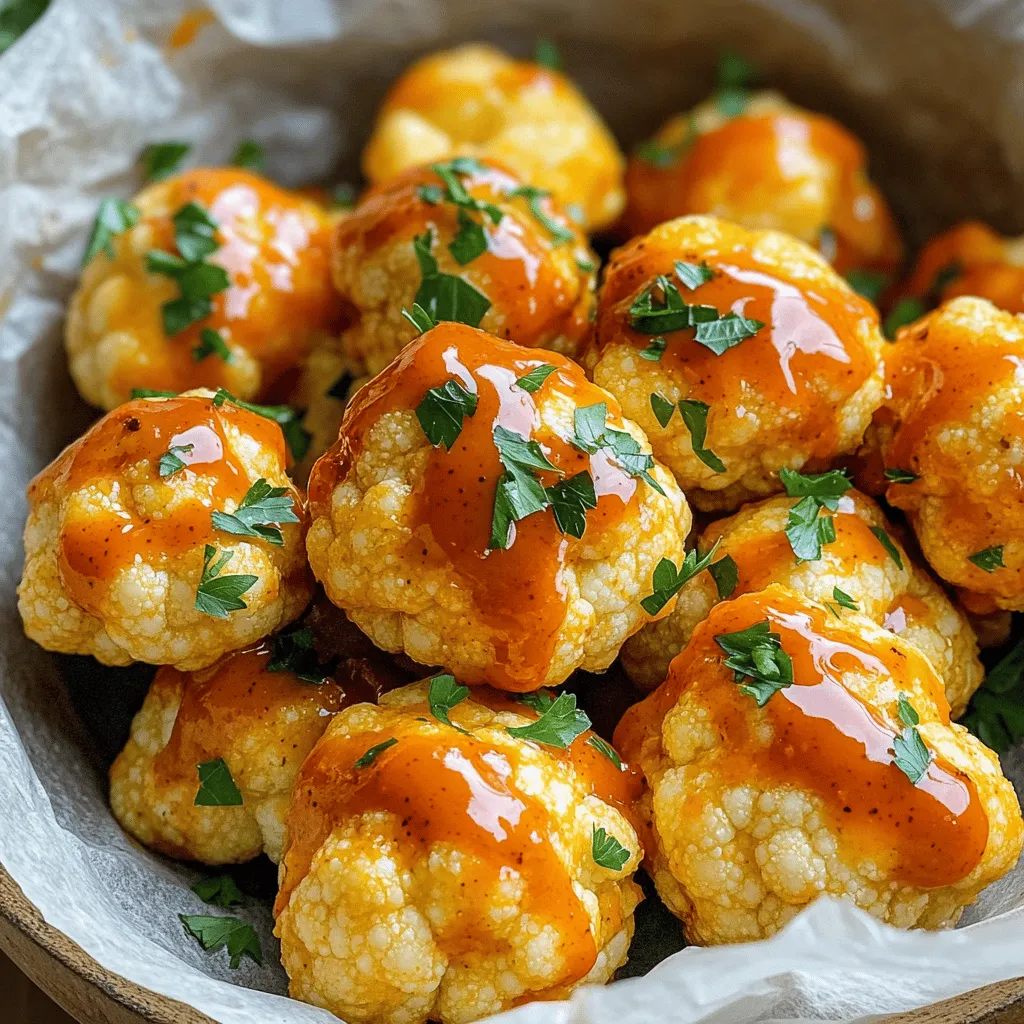
Ready to spice up your snack game? These Air Fryer Buffalo Cauliflower Bites are crispy, tangy, and oh-so-delicious! Perfect for

Are you ready to indulge in a fall favorite? Pumpkin Cream Cold Foam Coffee combines rich coffee and luscious pumpkin
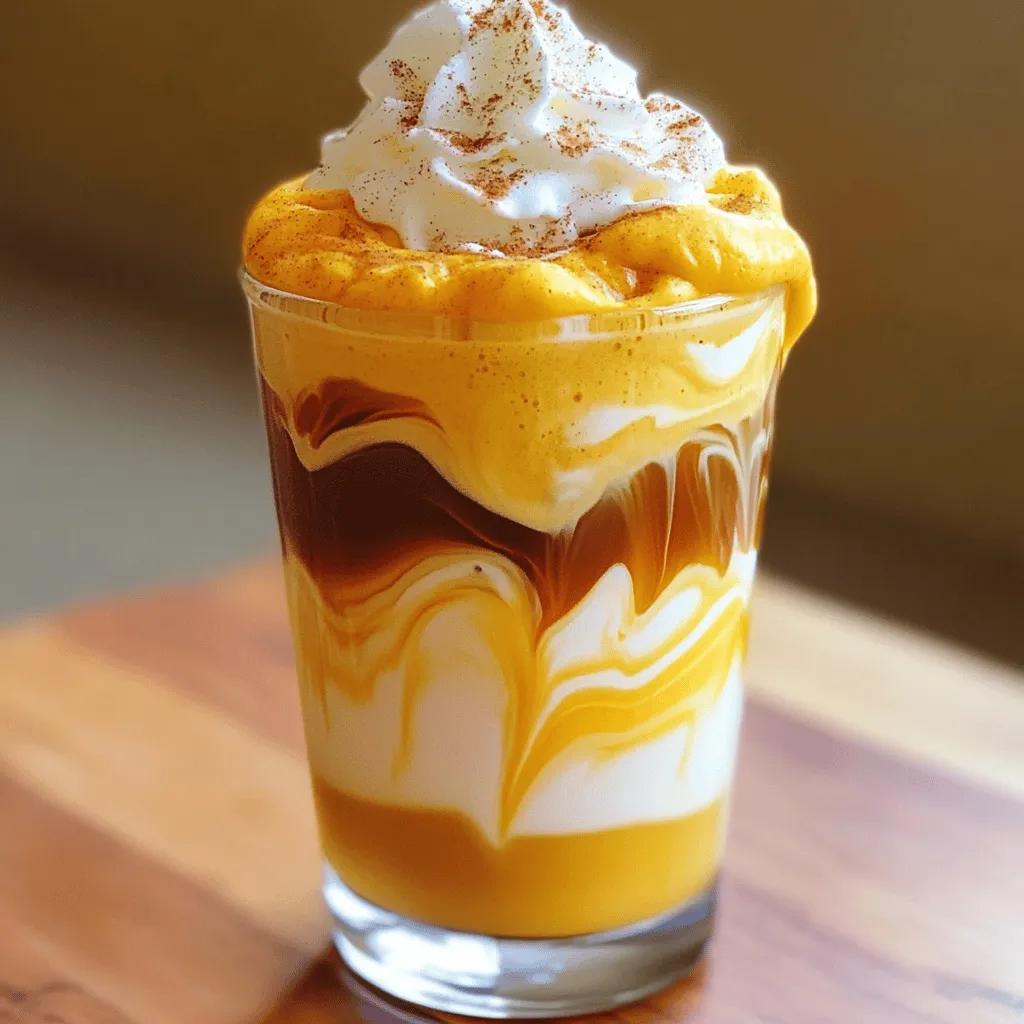
Are you ready to indulge in a fall favorite? Pumpkin Cream Cold Foam Coffee combines rich coffee and luscious pumpkin
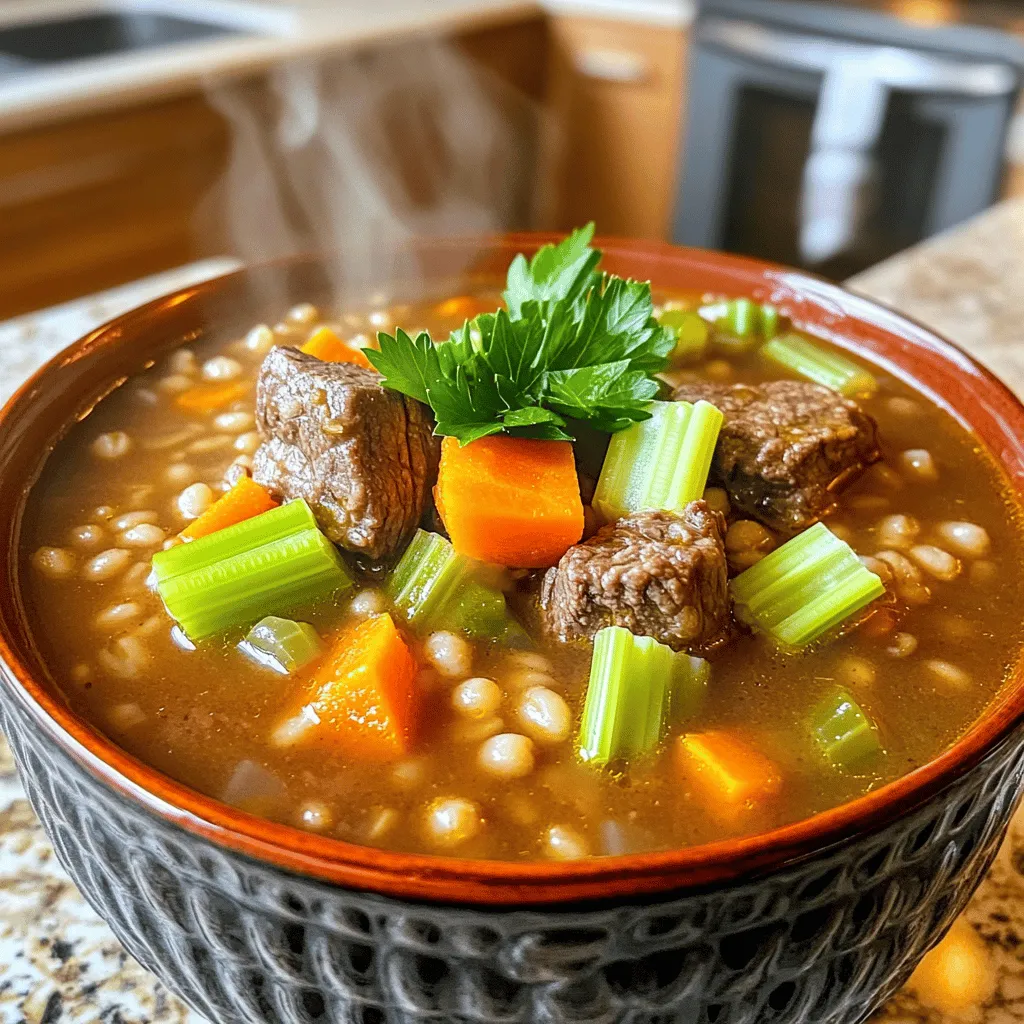
Are you craving a warm, hearty meal that’s easy to make? Look no further! My Slow Cooker Beef Barley Soup

Are you craving a warm, hearty meal that’s easy to make? Look no further! My Slow Cooker Beef Barley Soup
