Latest & Greatest

Savory Spinach Artichoke Dip Recipe to Impress Guests
Are you ready to wow your guests with a creamy, dreamy Spinach Artichoke Dip? This savory recipe combines fresh spinach,
Read more…
Savory Sweet Potato Hash with Eggs for Breakfast Delight
Start your day right with my Savory Sweet Potato Hash with Eggs! This dish is packed with flavor and nutrients,
Read more…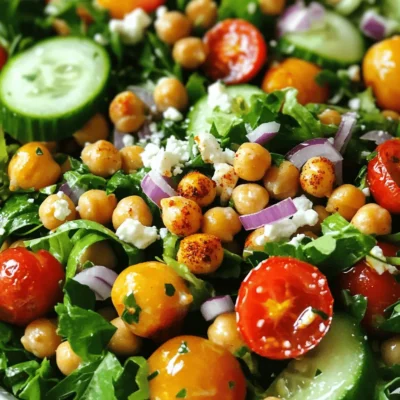
Crispy Chickpea Salad Fresh and Flavorful Delight
If you’re craving a salad that’s both crispy and packed with flavor, you’re in the right place! This Crispy Chickpea
Read more…
Lemon Blueberry Pancakes Fluffy and Flavorful Treat
Start your day with a burst of flavor by making Lemon Blueberry Pancakes! These fluffy stacks combine zesty lemons and
Read more…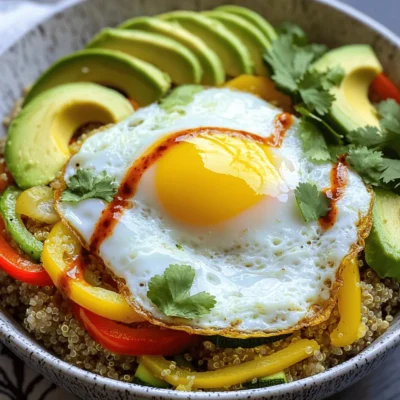
Savory Breakfast Quinoa Bowl Healthy Morning Fuel
Looking for a nutritious breakfast that fuels your day? Try my Savory Breakfast Quinoa Bowl. This tasty dish features fluffy
Read more…
Chocolate Lava Cake Decadent and Easy Recipe
Are you ready to indulge in something truly delightful? Chocolate lava cake is the perfect treat for chocolate lovers. With
Read more…
Stuffed Bell Peppers Bold and Flavorful Meal Idea
Looking for a bold and flavorful meal idea? Stuffed bell peppers are the perfect solution! They’re easy to make and
Read more…
Teriyaki Chicken Bowls Flavorful and Simple Meal
Craving a meal that’s both tasty and easy to make? Teriyaki Chicken Bowls are your answer! In this guide, I’ll
Read more…browse recipes
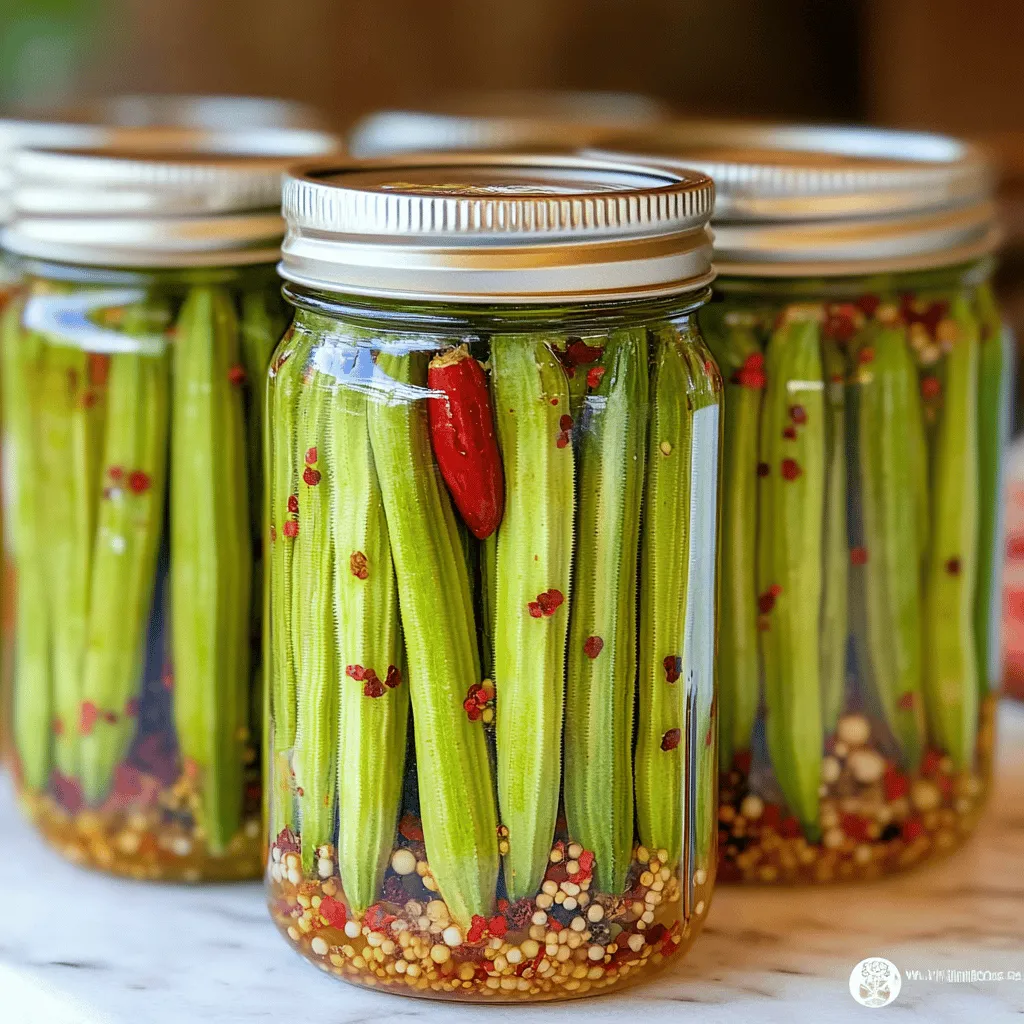
Pickled Okra Delightful Crunchy Flavor Guide
Do you want to add a zesty twist to your meals? Pickled okra offers a delightful crunch and rich flavor that can elevate any…
My Latest Desserts
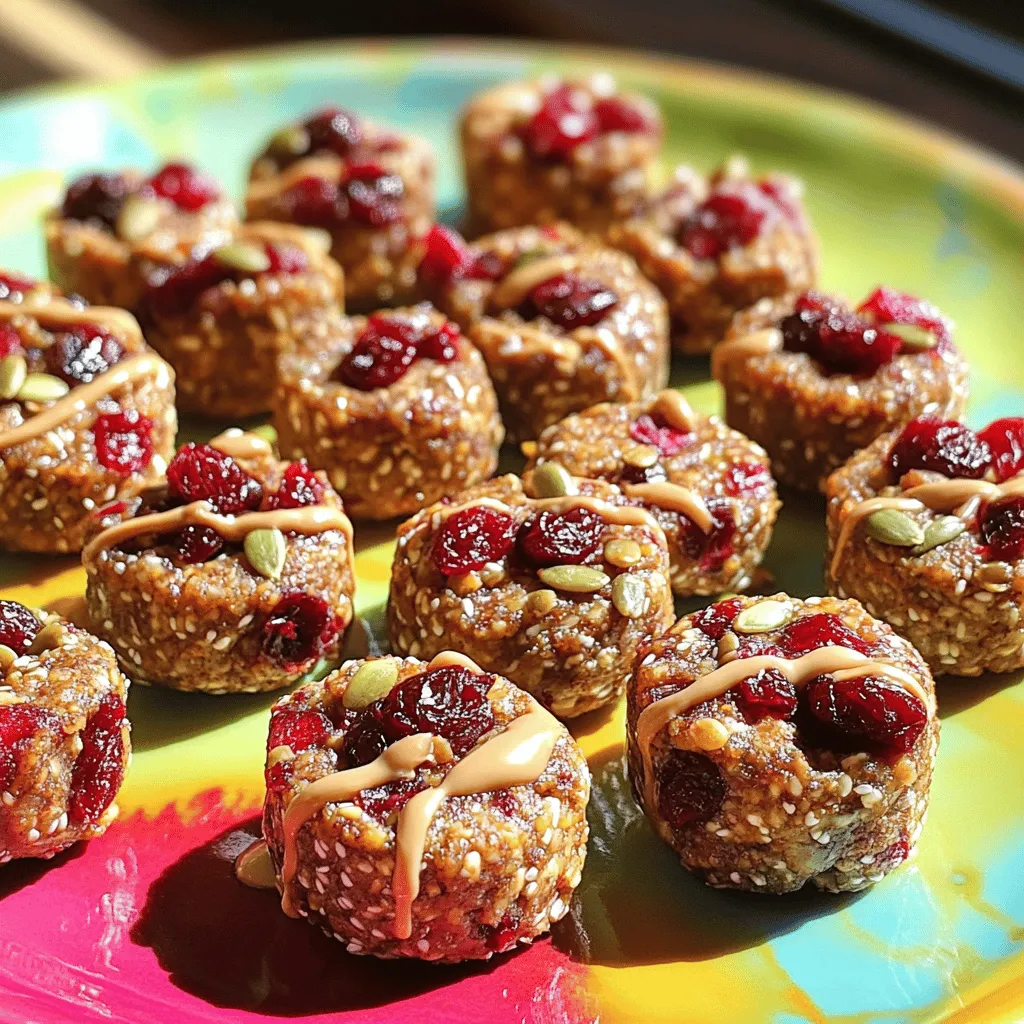
Cherry Tahini Energy Bites Healthy Snack Recipe
Looking for a quick, healthy snack? Let me introduce you to Cherry Tahini Energy Bites! Packed with flavor and nutrition, Read Full RecipeRoot Beer Cream Bars Irresistible and Simple Treat
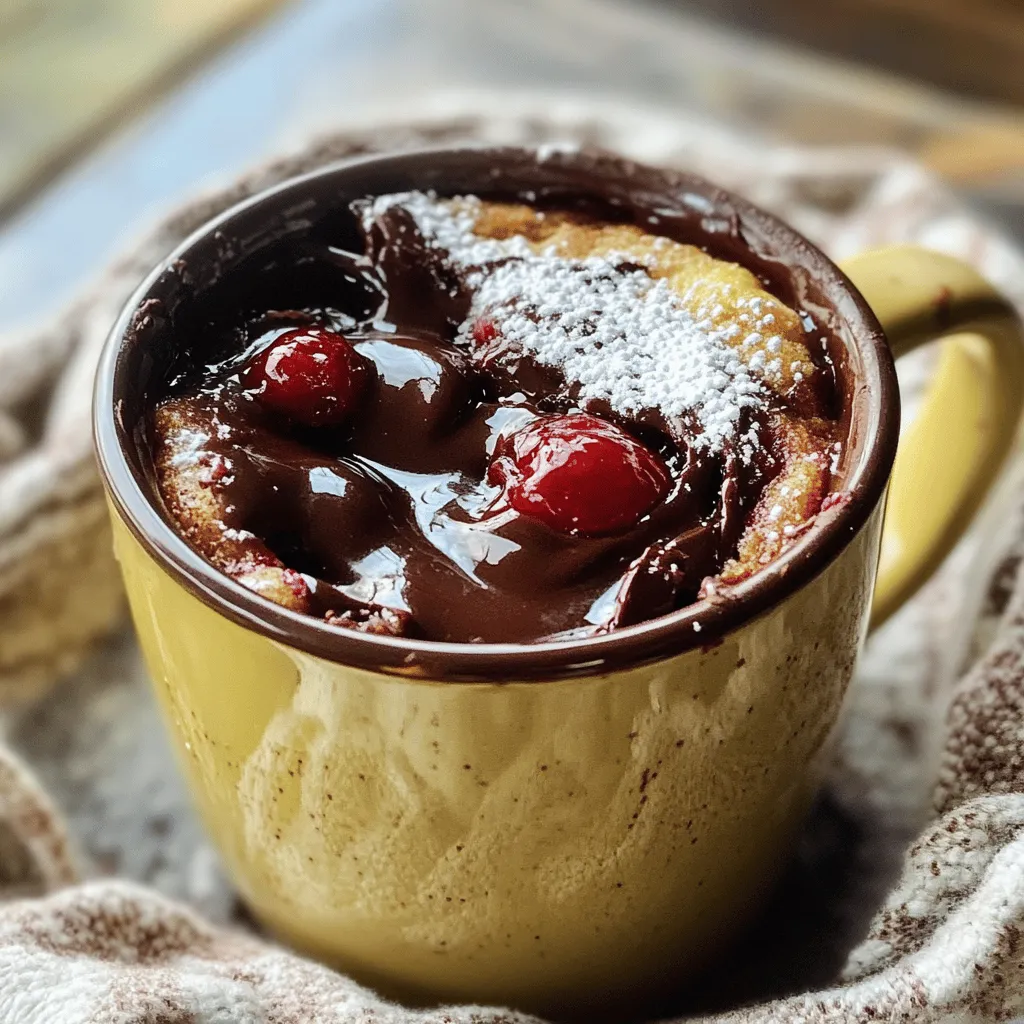
If you love the sweet nostalgia of root beer, you’re in for a treat! Root Beer Cream Bars combine creamy Read Full RecipeCherry Chocolate Lava Mug Cake Delightful Recipe
Craving something sweet and quick? You’re in for a treat with my Cherry Chocolate Lava Mug Cake! This recipe packs Read Full RecipeCaprese Stuffed Cupcakes Flavorful and Unique Treat
Are you ready to treat your taste buds to something new? Caprese Stuffed Cupcakes mix fresh flavors and fun in Read Full RecipeMango Tajin Cake Pops Tasty and Fun Treats
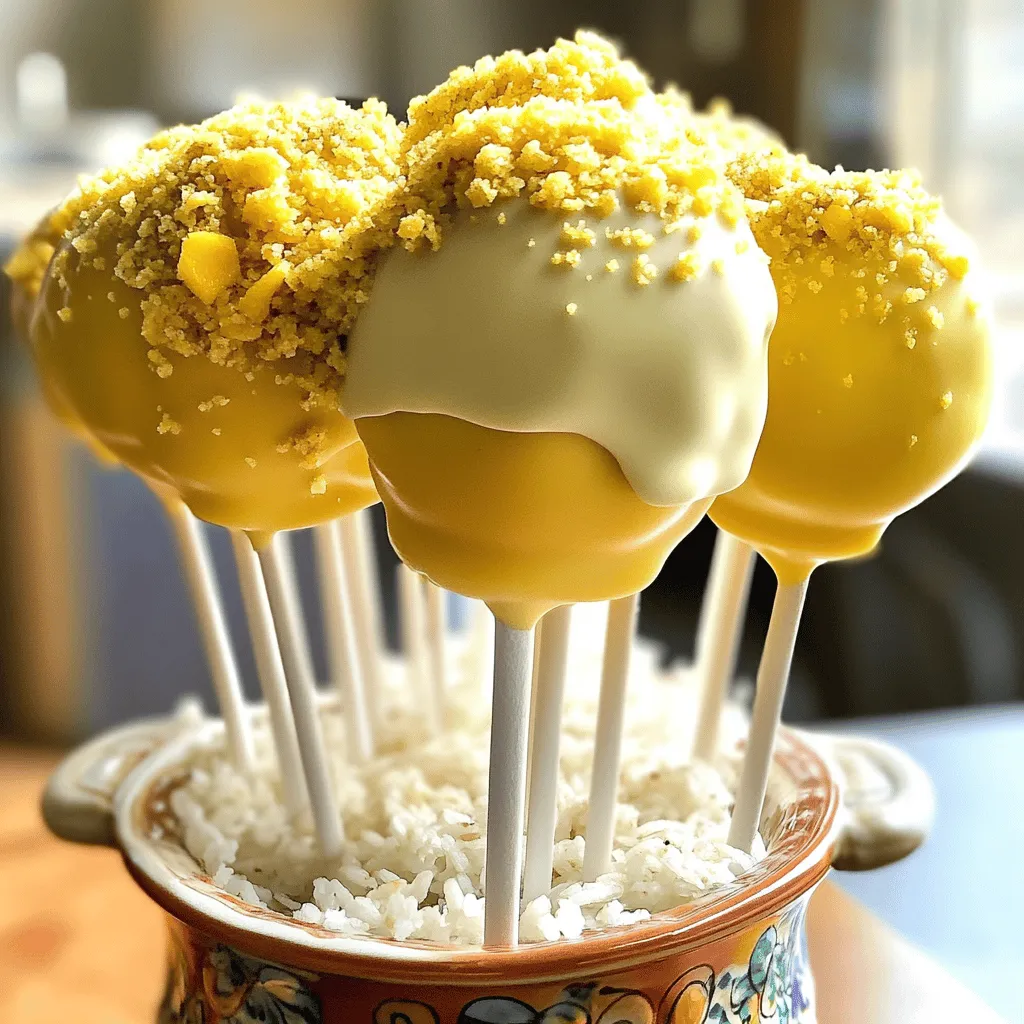
Craving a unique treat? Try my Mango Tajin Cake Pops! These fun bites blend sweet mango with the zesty kick Read Full RecipeMatcha Pistachio Energy Bites Nourishing Snack Option
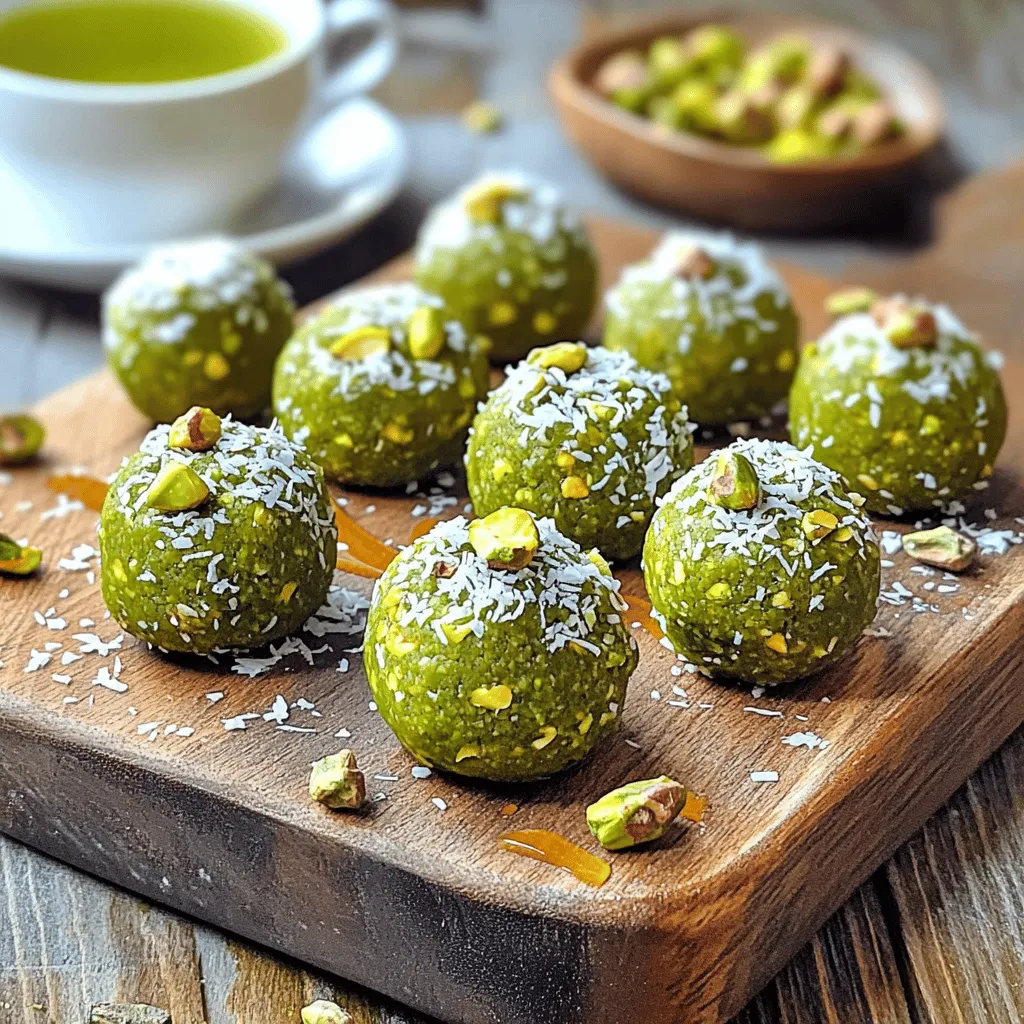
Looking for a tasty and healthy snack? Let me introduce you to Matcha Pistachio Energy Bites! Packed with oats, nuts, Read Full RecipePeanut Butter Pickle Cake Jars Delightful and Unique Treat
Are you ready to try something truly different? Peanut Butter Pickle Cake Jars combine sweet and tangy flavors in a Read Full RecipeHealthy Banana Oat Muffins Nutrient-Packed Recipe
Looking for a tasty snack that’s packed with nutrients? You’re in the right place! My Healthy Banana Oat Muffins recipe Read Full RecipeNo-Bake Chocolate Oat Bars Simple and Tasty Treat
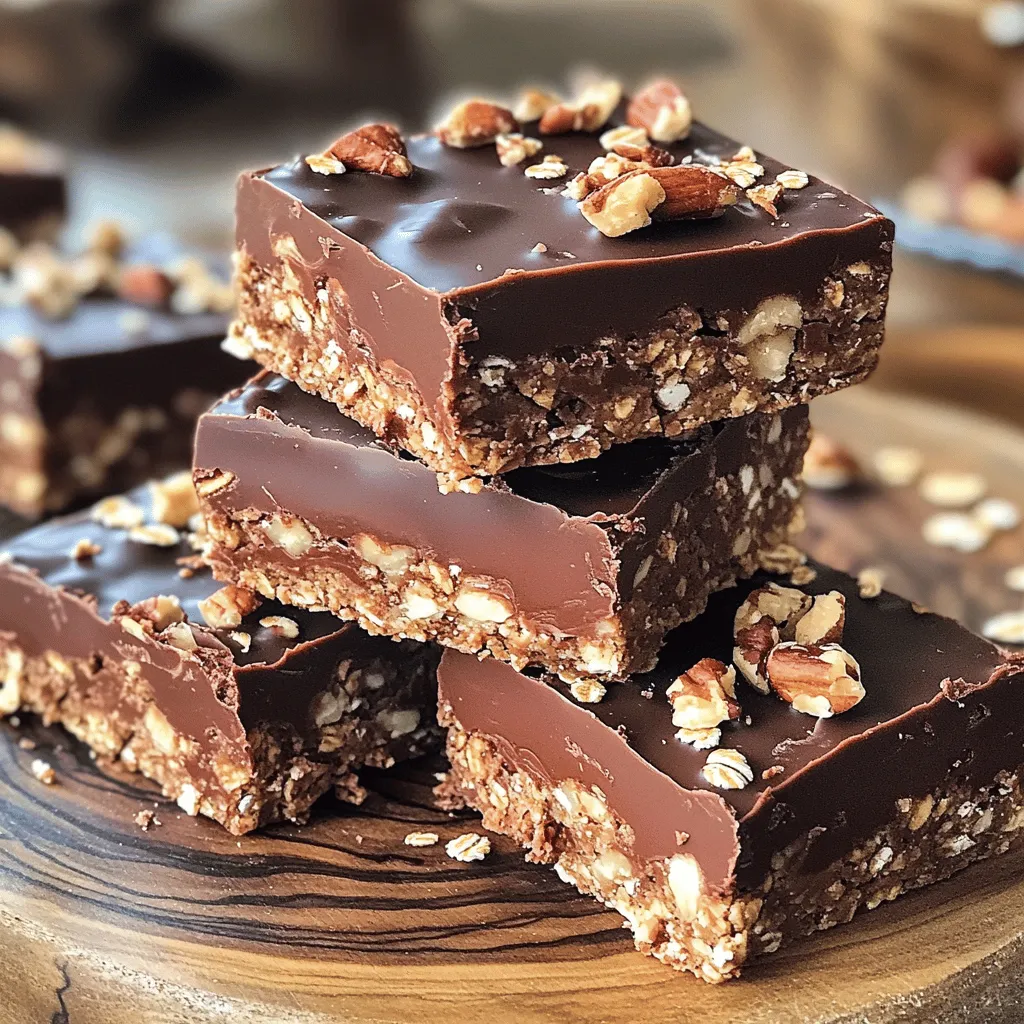
Looking for a quick, tasty treat? You’re in the right place! My No-Bake Chocolate Oat Bars are simple to make Read Full RecipeNo-Bake Chocolate Oatmeal Bars Simple and Tasty Treat
Looking for a simple and tasty treat that’s also healthy? You’ve found it! My No-Bake Chocolate Oatmeal Bars are a Read Full Recipe
hey,
i’m !
I’m so happy you’re here!
I pour heart and skill into every recipe I create. I know you’ll taste the difference now let’s enjoy this flavorful adventure together.
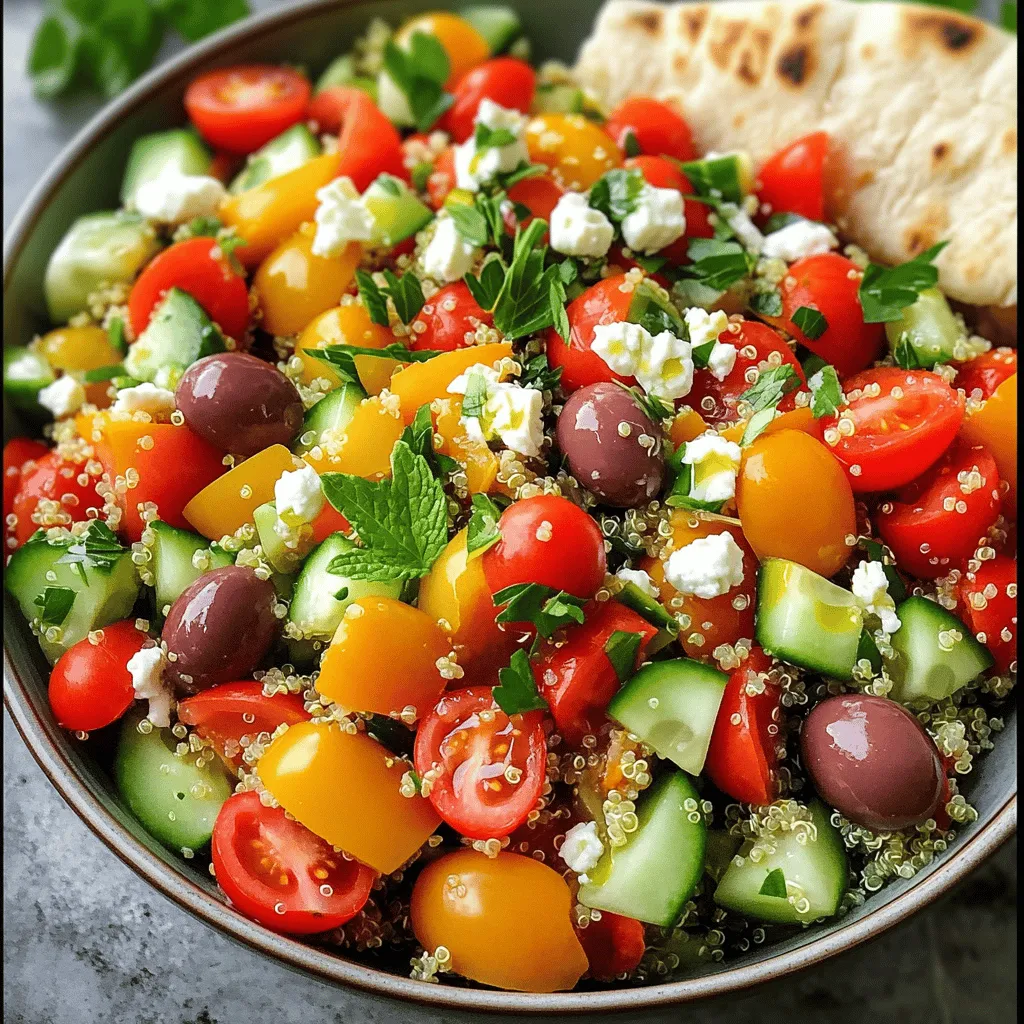
Mediterranean Quinoa Salad Fresh and Nutritious Dish
Looking for a fresh, healthy dish that bursts with flavor? You’ll love this Mediterranean Quinoa Salad! Packed with protein, vibrant veggies, and a zesty…









![You need these simple items to make fudgy chocolate zucchini brownies: - 1 cup grated zucchini (about 1 medium zucchini) - 1/2 cup unsweetened cocoa powder - 1/2 cup whole wheat flour (or all-purpose flour) - 1/2 cup granulated sugar - 1/4 cup brown sugar, packed - 1/2 cup vegetable oil (or melted coconut oil) - 2 large eggs - 1 teaspoon pure vanilla extract - 1/2 teaspoon baking powder - 1/2 teaspoon baking soda - 1/4 teaspoon salt - 1/2 cup semi-sweet chocolate chips - Optional: 1/4 cup chopped nuts (walnuts or pecans) If you don't have an ingredient, you can easily swap it. For flour, use gluten-free flour. Instead of vegetable oil, try melted coconut oil for a different taste. You can replace granulated sugar with coconut sugar for a lower glycemic index. If you prefer a nut-free option, leave out the chopped nuts. Lastly, if you want less sugar, cut the amounts in half. When picking zucchini, look for these signs of freshness: - Firm and smooth skin - Bright green color without blemishes - Small to medium size (larger ones can be watery) Store zucchini in a cool place or the fridge. Use it within a week for the best flavor. Grate it right before you bake for the best texture in your brownies. For the full recipe, visit the [Full Recipe]. Start by preheating your oven to 350°F (175°C). This step is key to baking perfect brownies. While the oven heats, grab an 8x8-inch baking pan. You can grease it lightly with oil or use parchment paper. The parchment helps you lift the brownies out easily after baking. In a large bowl, add the grated zucchini, vegetable oil, granulated sugar, brown sugar, eggs, and vanilla extract. Mix these until they blend well. It's important to ensure the zucchini is evenly mixed, as it adds moisture and flavor. The zucchini helps keep the brownies fudgy. Take another bowl and sift together the cocoa powder, flour, baking powder, baking soda, and salt. Sifting helps to remove lumps and ensures even mixing. Once sifted, gradually add the dry mix to the wet ingredients. Stir gently until just combined. Avoid overmixing; this keeps your brownies soft and rich. Pour the brownie batter into your prepared pan. Use a spatula to spread it evenly. Then, place the pan in the oven. Bake for 25-30 minutes. To check if they are done, insert a toothpick into the center. It should come out mostly clean with a few crumbs clinging to it. Let the brownies cool in the pan for about 10 minutes, then transfer them to a wire rack. This cooling step helps them set and makes slicing easier. For the full recipe, check the section above. Enjoy baking these delicious fudgy brownies! To get that rich, fudgy texture, keep a few tips in mind. First, don’t overmix the batter. Stir just until the dry ingredients are combined. Overmixing can make the brownies dry. Use high-quality cocoa powder for a deeper chocolate flavor. The right amount of zucchini keeps the brownies moist. Grate the zucchini finely and press out excess water before adding it to the batter. This step helps your brownies stay soft and fudgy. If you want even more fudginess, swap out some flour for more cocoa powder. Store your brownies in an airtight container at room temperature. They will stay fresh for up to three days. For longer storage, place them in the fridge, where they can last for about a week. If you want to enjoy them warm, reheat in the microwave for about 10-15 seconds. This gentle warming will bring back that gooey texture. Be careful not to overheat them, or they may dry out. You can easily tweak the flavor and texture of these brownies. To make them richer, add a touch more oil or butter. If you prefer a cake-like brownie, increase the flour slightly. For a unique taste, try mixing in spices like cinnamon or espresso powder. You can also add different mix-ins, such as nuts or dried fruit, to change the texture. Remember, the key to a great brownie is balance. Adjust only one element at a time, so you can see how it affects the final treat. For the full recipe, check out the earlier sections. {{image_2}} You can make these brownies gluten-free. Just swap the whole wheat flour with a gluten-free blend. Many brands work well, but make sure to check the label for baking. This simple switch keeps the brownies rich and fudgy. You won't miss the gluten at all! Want to make your brownies stand out? Add a splash of flavor! You can mix in a teaspoon of peppermint extract for a minty twist. If you love coffee, add a tablespoon of instant espresso. These flavors enhance the chocolate taste. They bring a fun surprise to each bite, too. If you need to skip nuts, that's easy. Just leave them out of the recipe. You can replace nuts with extra chocolate chips for added sweetness. This keeps the brownies rich and gooey. Plus, it makes them safe for kids or those with nut allergies. Enjoy the same great taste without worry! For a full recipe with all the steps, check out the [Full Recipe]. To keep your fudgy chocolate zucchini brownies fresh, store them in an airtight container. This helps prevent them from drying out. You can store them at room temperature for up to three days. If you want to keep them longer, the fridge works well too. Just make sure they are sealed tight. Cold brownies can last about a week in the fridge. Freezing is a great option if you want to save some brownies for later. First, let the brownies cool completely. Then, cut them into squares. Wrap each square in plastic wrap. After that, place all the wrapped brownies in a freezer-safe bag. This way, they stay fresh for up to three months. When you're ready to enjoy them, thaw them in the fridge overnight or at room temperature for a few hours. The shelf life of fudgy chocolate zucchini brownies depends on how you store them. If kept at room temperature, they last about three days. In the fridge, they last up to a week. If you freeze them, they can stay fresh for three months. Always check for signs of spoilage before eating. If they look or smell off, it's best to throw them away. Yes, you can use frozen zucchini. Just thaw it first and drain extra water. Frozen zucchini works well since it still retains its flavor. This option saves time and reduces waste if you have leftover zucchini. To cut down on sweetness, reduce the sugar by 1/4 cup. You could also use unsweetened applesauce or mashed banana as a substitute for some sugar. Both options add moisture and keep the brownies fudgy. I love serving these brownies warm with vanilla ice cream or whipped cream. You can sprinkle some cocoa powder or powdered sugar on top for a nice touch. If you want more flavor, add a drizzle of chocolate sauce. These brownies have some healthy aspects. They include whole wheat flour and zucchini, which adds fiber and nutrients. However, they do contain sugar and oil, so enjoy them in moderation. You can also add nuts for extra protein and good fats. To check if your brownies are done, insert a toothpick in the center. If it comes out mostly clean with a few crumbs, they are ready. If the toothpick is wet, bake for a few more minutes. Keep an eye on them to avoid overbaking. For the Full Recipe, you can refer back to the ingredients and instructions provided above. In summary, we've explored creating fudgy chocolate zucchini brownies. We covered ingredients, including substitutions, and shared tips for fresher zucchini. The step-by-step instructions guide you through the baking process, ensuring perfect results. We discussed helpful storage methods and answered common questions. Whether you're making them gluten-free or adding unique flavors, these brownies can be adapted to your taste. Enjoy these treats fresh or stored for later. Happy baking!](https://foodishtalk.com/wp-content/uploads/2025/06/d06c1ff0-94c1-4513-9978-539dcbcacf6e-300x300.webp)


