Latest & Greatest
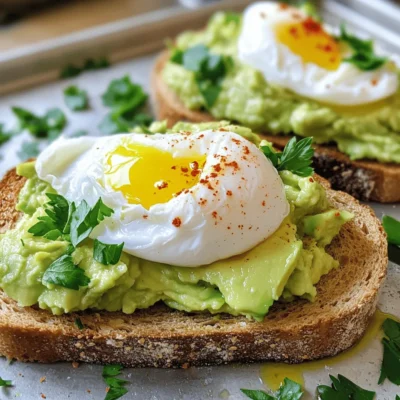
Avocado Toast with Poached Egg Simple and Tasty Dish
Are you ready to enjoy a simple and tasty dish? Avocado toast with a poached egg is a perfect meal
Read more…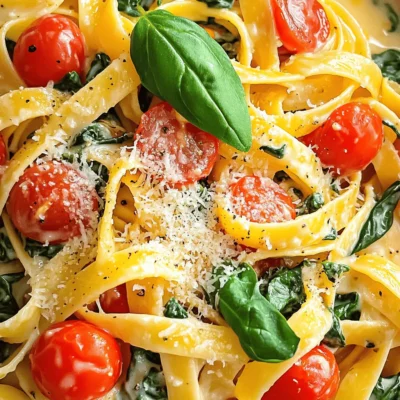
Creamy Tomato Spinach Pasta Tasty and Easy Recipe
Looking for a quick and tasty meal? This Creamy Tomato Spinach Pasta recipe is your answer! With simple ingredients and
Read more…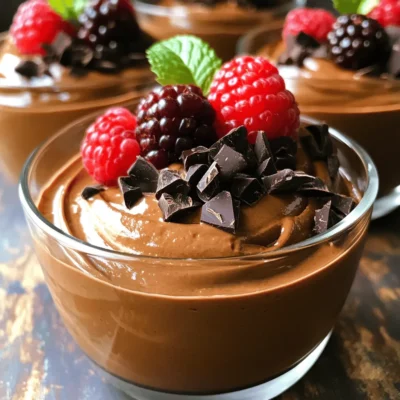
Chocolate Avocado Mousse Creamy Healthy Dessert
Are you ready for a dessert that’s both creamy and healthy? This Chocolate Avocado Mousse is a game-changer! Made with
Read more…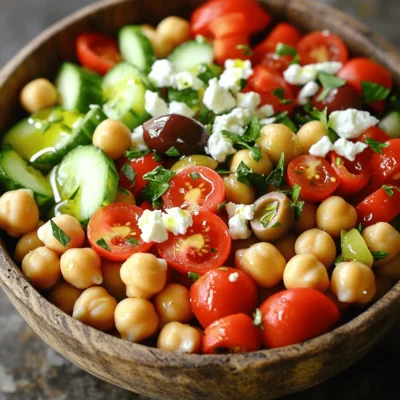
Mediterranean Chickpea Salad Fresh and Flavorful Meal
Looking for a meal that’s both fresh and packed with flavor? You’ve landed in the right place! This Mediterranean Chickpea
Read more…
Savory Shrimp and Grits Casserole Comfort Food Delight
Are you ready to elevate your comfort food game? This Savory Shrimp and Grits Casserole is a blend of creamy
Read more…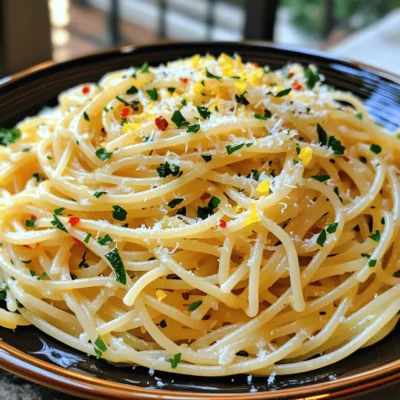
Spaghetti Aglio e Olio Simple and Savory Delight
Are you ready to whip up a simple yet delicious dish? Spaghetti Aglio e Olio is your answer! This classic
Read more…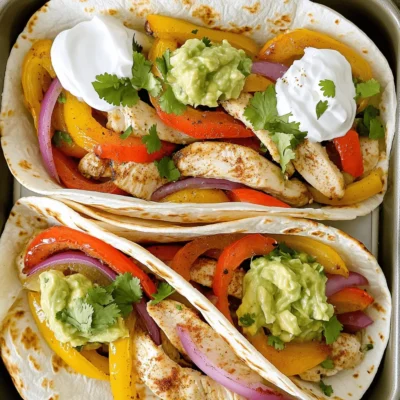
Oven-Baked Chicken Fajitas Simple and Flavorful Meal
Looking for an easy, tasty meal? Oven-baked chicken fajitas are the answer! With juicy chicken, colorful veggies, and a mix
Read more…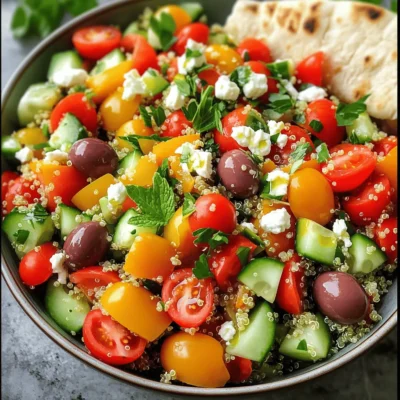
Mediterranean Quinoa Salad Fresh and Nutritious Dish
Looking for a fresh, healthy dish that bursts with flavor? You’ll love this Mediterranean Quinoa Salad! Packed with protein, vibrant
Read more…browse recipes
![- 4 boneless, skinless chicken breasts: Choose breasts that are about the same size. This helps them cook evenly. Look for fresh chicken to get the best taste. - 1 cup fresh spinach, chopped: Use fresh spinach for a bright flavor. Wash it well and chop it finely to mix easily with other ingredients. - 1/2 cup feta cheese, crumbled: Feta adds a creamy and salty taste. You can use plain or herbed feta. Crumble it well so it mixes nicely with the spinach. - 1/4 cup cream cheese, softened: Cream cheese helps the filling stay moist. Make sure it's soft so it blends well with the spinach and feta. - 2 cloves garlic, minced: Garlic gives a strong flavor. Use fresh garlic for the best taste. Mince it finely to release all its oils. - 1/2 teaspoon dried oregano: Oregano adds a nice herb flavor. It works well with the chicken and cheese. - 1/2 teaspoon black pepper: Black pepper adds a bit of heat. You can adjust the amount based on your taste. - 1/2 teaspoon salt: Salt enhances all the flavors. Keep in mind that feta cheese is salty too, so don’t overdo it. - 1 tablespoon olive oil: Olive oil helps to sear the chicken. It also adds a bit of healthy fat. - 1/2 cup cherry tomatoes, halved (for garnish): Cherry tomatoes add color and freshness. They give a nice sweet contrast to the dish. - Fresh basil leaves (for garnish): Basil adds a fresh touch. It brightens the dish and makes it look nice. These ingredients work together to create a tasty meal. Each one plays a role in the flavor and texture of the dish. For the complete recipe, check out the [Full Recipe]. Start by preheating your oven to 375°F (190°C). This step is key for even cooking. Next, prepare your stuffing mixture. In a medium bowl, combine: - 1 cup fresh spinach, chopped - 1/2 cup feta cheese, crumbled - 1/4 cup cream cheese, softened - 2 cloves garlic, minced - 1/2 teaspoon dried oregano - 1/2 teaspoon black pepper - 1/2 teaspoon salt Mix these ingredients until they blend well. This mix brings a creamy and savory flavor that pairs perfectly with chicken. Now, let’s move on to the chicken. Pat the chicken breasts dry with paper towels. Carefully cut a pocket into each chicken breast. Slice horizontally, but be careful not to cut through the other side. This pocket is where you will stuff your mixture. Stuff each chicken breast with the spinach and feta mixture. Make sure to divide it evenly among the breasts. If needed, secure the openings with toothpicks. Next, heat 1 tablespoon of olive oil in a large oven-safe skillet over medium-high heat. Once the oil is hot, place the stuffed chicken in the skillet. Sear each side for about 3-4 minutes until they turn golden brown. Once seared, transfer the skillet to your preheated oven. Bake for an additional 20-25 minutes. The chicken is ready when it is cooked through and no longer pink in the center. After baking, remove the skillet from the oven. Let the chicken rest for a few minutes. This resting time helps keep the chicken juicy. Before serving, garnish the stuffed chicken with 1/2 cup of halved cherry tomatoes and some fresh basil leaves. These add a fresh touch and a pop of color. For the full recipe, check out the complete guide. Enjoy your flavorful family meal! The best way to cook chicken is to hit the right internal temperature. For stuffed chicken, aim for 165°F (75°C). This ensures the chicken is safe to eat and juicy. To avoid overcooking, use a meat thermometer. Insert it into the thickest part of the chicken breast. If you don’t have one, look for the juices. They should run clear. If they are pink, cook a bit longer. Another tip is to let the chicken rest after baking. This keeps the juices inside. If you skip this, the chicken can dry out. If you want to boost the flavor, try adding more herbs. Thyme, dill, or parsley work well with spinach and feta. A pinch of red pepper flakes can add a nice kick, too. If you don't have feta cheese, you can use goat cheese or ricotta. Both give a creamy texture and taste great. You can also mix in some mozzarella for a stretchier cheese experience. For more tasty ideas and the complete recipe, check out the Full Recipe. {{image_2}} You can change the stuffing to make your dish unique. Try adding other vegetables like sun-dried tomatoes or artichokes. These add great flavor and texture. You can also use mushrooms for an earthy taste. Just chop them finely before mixing. Another fun option is to switch up the cheese. While feta is a star, you can try goat cheese or mozzarella. Both will give your chicken a different taste. Goat cheese adds tanginess, while mozzarella brings creaminess. Mix and match to find what you love. Cooking methods can vary too. You can grill the chicken for a smoky flavor. Just preheat your grill and cook each side for about 6-8 minutes. Make sure the chicken is cooked through and has nice grill marks. If you prefer low and slow, use a slow cooker. This method makes the chicken tender and juicy. Simply place the stuffed chicken in the slow cooker. Add a splash of chicken broth for more flavor. Cook on low for 4-6 hours or on high for 2-3 hours. This is a great way to prepare meals ahead of time. For the full recipe, check out the details above. To keep your Feta Spinach Stuffed Chicken fresh, follow these steps: - Refrigerating Leftovers: Let the chicken cool down to room temperature. Place the stuffed chicken in an airtight container. It will stay good in the fridge for about 3-4 days. Always label your container with the date for easy reference. - Freezing Instructions: You can freeze the stuffed chicken for later use. Wrap each piece tightly in plastic wrap and then place them in a freezer bag. This helps prevent freezer burn. Properly stored, they can last for 3 months. Remember to label the bag with the date and contents. To enjoy your delicious leftovers, reheating properly is key. - Reheating Without Losing Moisture: Preheat your oven to 350°F (175°C). Place the stuffed chicken in an oven-safe dish. Add a splash of chicken broth or water to the dish. Cover it with aluminum foil to trap moisture. Heat for about 20-25 minutes, checking to ensure it warms through. - Best Methods for Reheating Stuffed Chicken: You can also use a microwave for quick reheating. Place the chicken on a microwave-safe plate. Cover it with a damp paper towel to keep it moist. Heat on medium power for 2-3 minutes, checking halfway through. If you prefer crisp skin, use the oven method instead. By following these storage and reheating tips, you can enjoy your Feta Spinach Stuffed Chicken to the fullest. For the full recipe, refer back to the ingredients and instructions above. Can I make Feta Spinach Stuffed Chicken ahead of time? Yes, you can prep the stuffed chicken in advance. Prepare the filling and stuff the chicken. Wrap it tightly and store it in the fridge. You can keep it fresh for up to 24 hours. When ready to cook, just sear and bake it as per the full recipe. What can I serve with Feta Spinach Stuffed Chicken? This dish pairs well with several sides. Try roasted vegetables, rice, or a fresh salad. You can also serve it with mashed potatoes for a comforting meal. The bright flavors of the chicken complement many sides. Is this recipe suitable for meal prepping? Absolutely! Feta Spinach Stuffed Chicken is great for meal prep. You can cook a batch for the week. Store portions in airtight containers in the fridge. Reheat them for quick, healthy meals that are full of flavor. Nutritional information overview This chicken dish is rich in protein and healthy fats. Each serving provides essential vitamins from spinach. Feta adds calcium and flavor without too many calories. It’s a balanced meal when paired with wholesome sides. How to adjust for dietary restrictions If you need to make changes, you can use dairy-free cheese. Substitute with a plant-based cream cheese if you are lactose intolerant. For gluten-free options, ensure your chicken broth and any sides are gluten-free. You can still enjoy the same great taste! In this blog post, I shared a detailed guide on making Feta Spinach Stuffed Chicken. We covered essential ingredients, step-by-step cooking instructions, and helpful tips. You learned how to enhance flavors and explore variations. Remember to store your leftovers properly and reheat them right. Cooking can be fun and rewarding. With this recipe, you'll impress yourself and others. Enjoy your meal and keep experimenting in the kitchen!](https://foodishtalk.com/wp-content/uploads/2025/06/c4c3f88f-eb92-443e-9f75-0ea5ed1e2eea.webp)
Feta Spinach Stuffed Chicken Flavorful Family Meal
Are you ready to impress your family with a meal that’s both delicious and easy to make? This Feta Spinach Stuffed Chicken is bursting…
My Latest Desserts
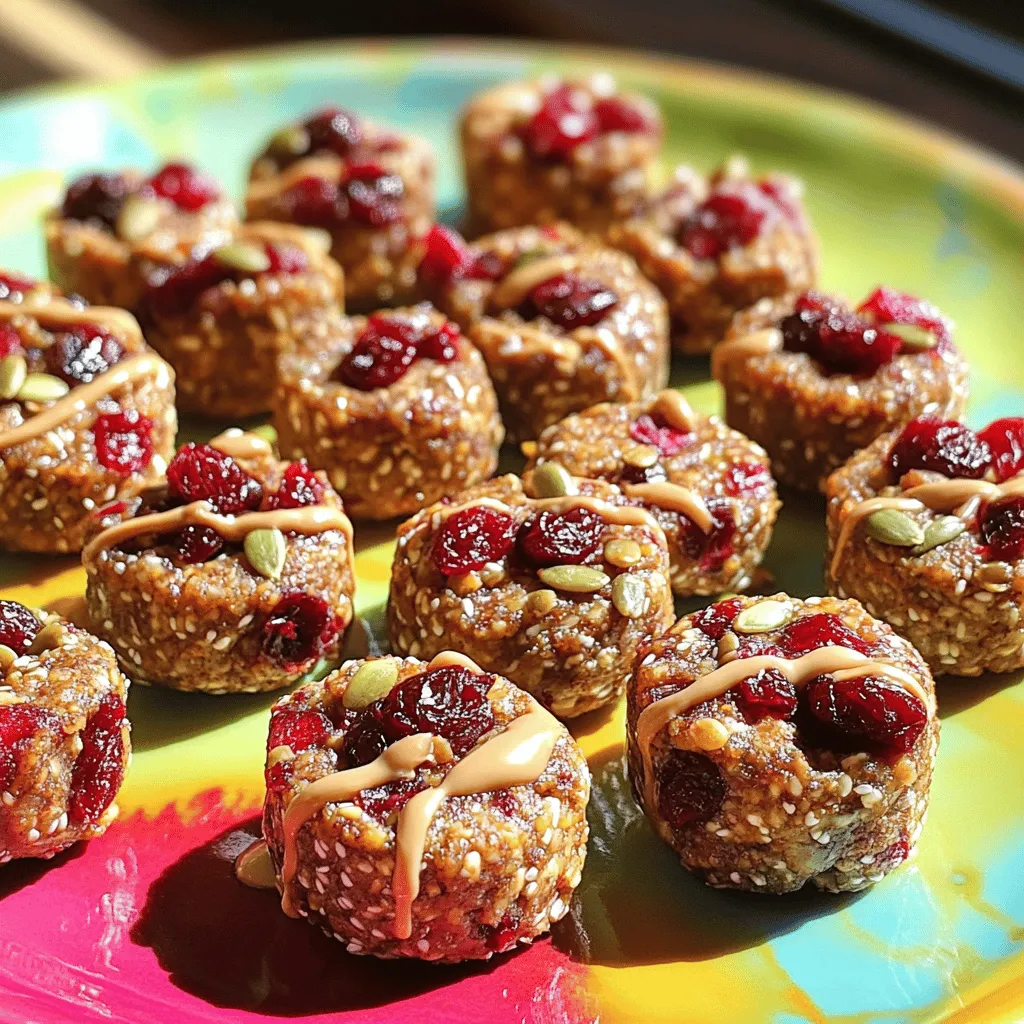
Cherry Tahini Energy Bites Healthy Snack Recipe
Looking for a quick, healthy snack? Let me introduce you to Cherry Tahini Energy Bites! Packed with flavor and nutrition, Read Full RecipeRoot Beer Cream Bars Irresistible and Simple Treat
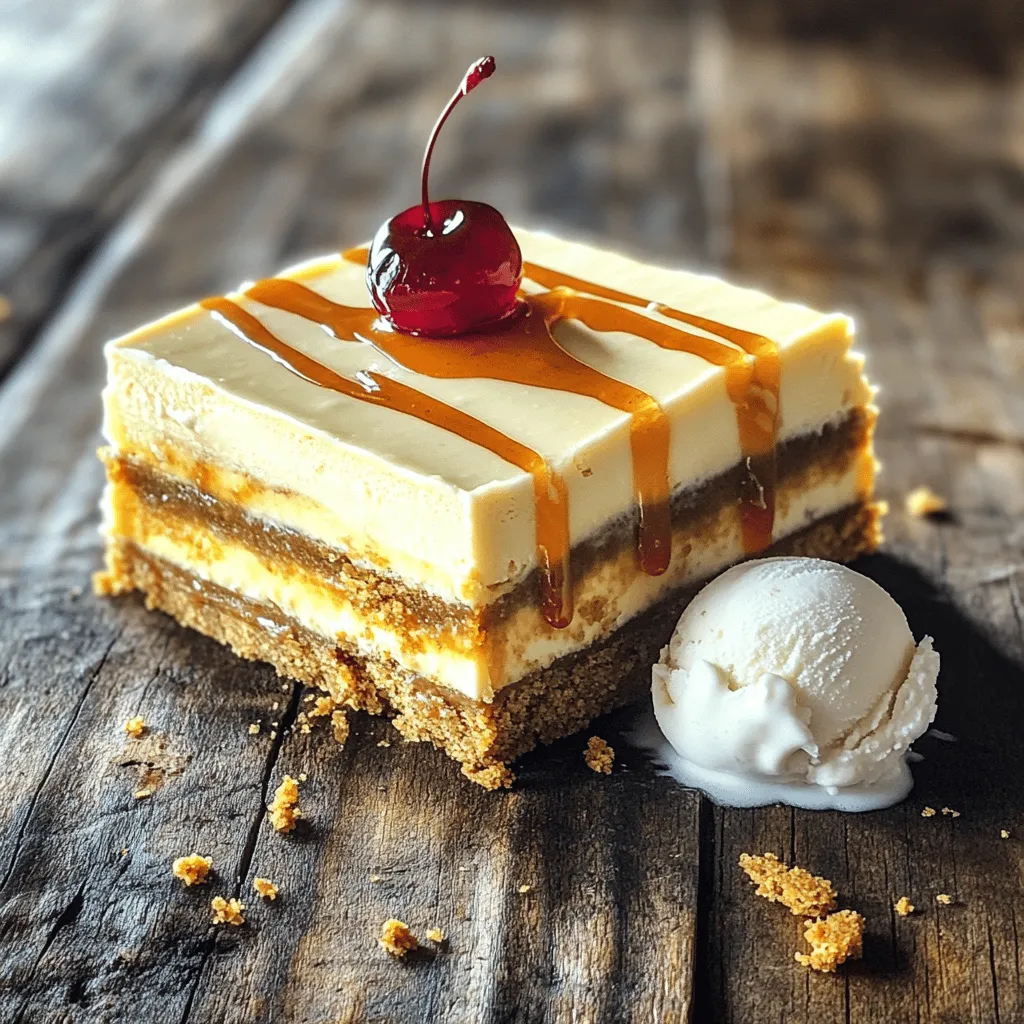
If you love the sweet nostalgia of root beer, you’re in for a treat! Root Beer Cream Bars combine creamy Read Full RecipeCherry Chocolate Lava Mug Cake Delightful Recipe
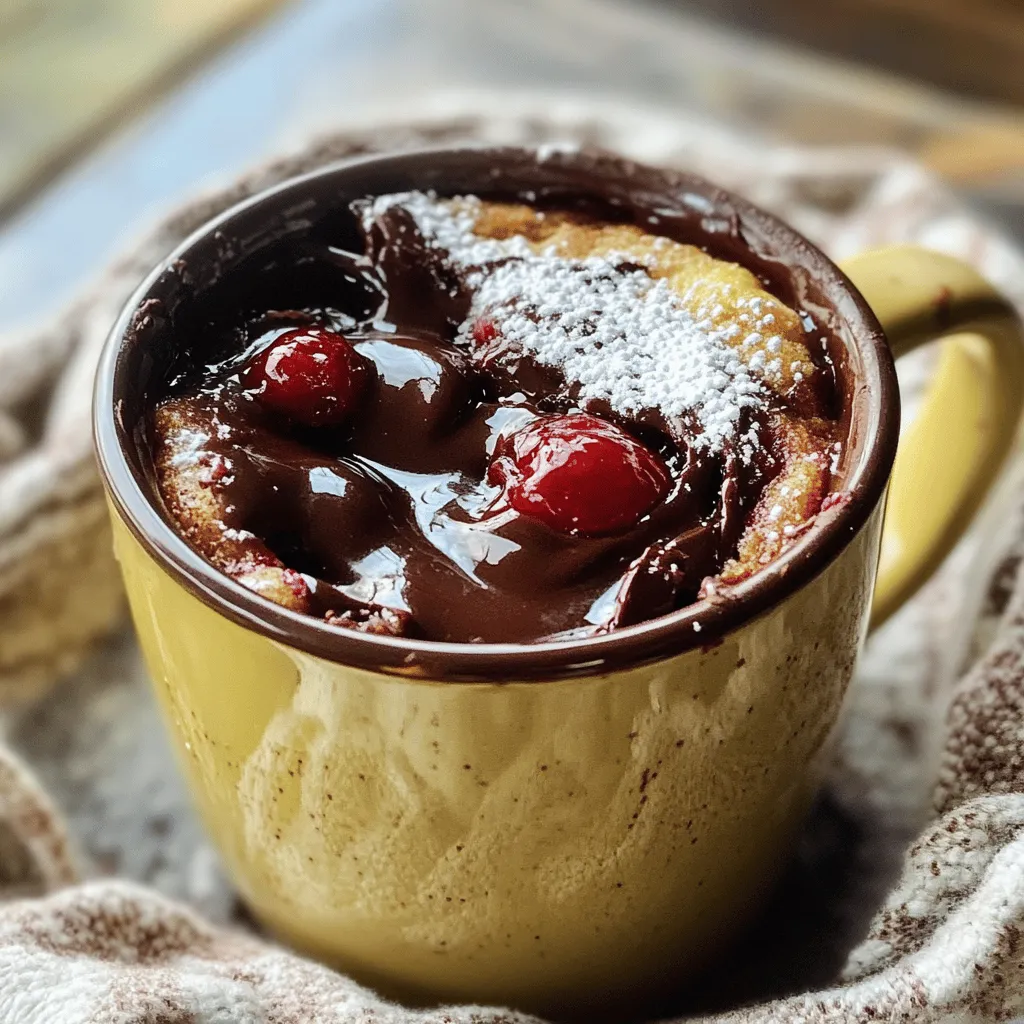
Craving something sweet and quick? You’re in for a treat with my Cherry Chocolate Lava Mug Cake! This recipe packs Read Full RecipeCaprese Stuffed Cupcakes Flavorful and Unique Treat
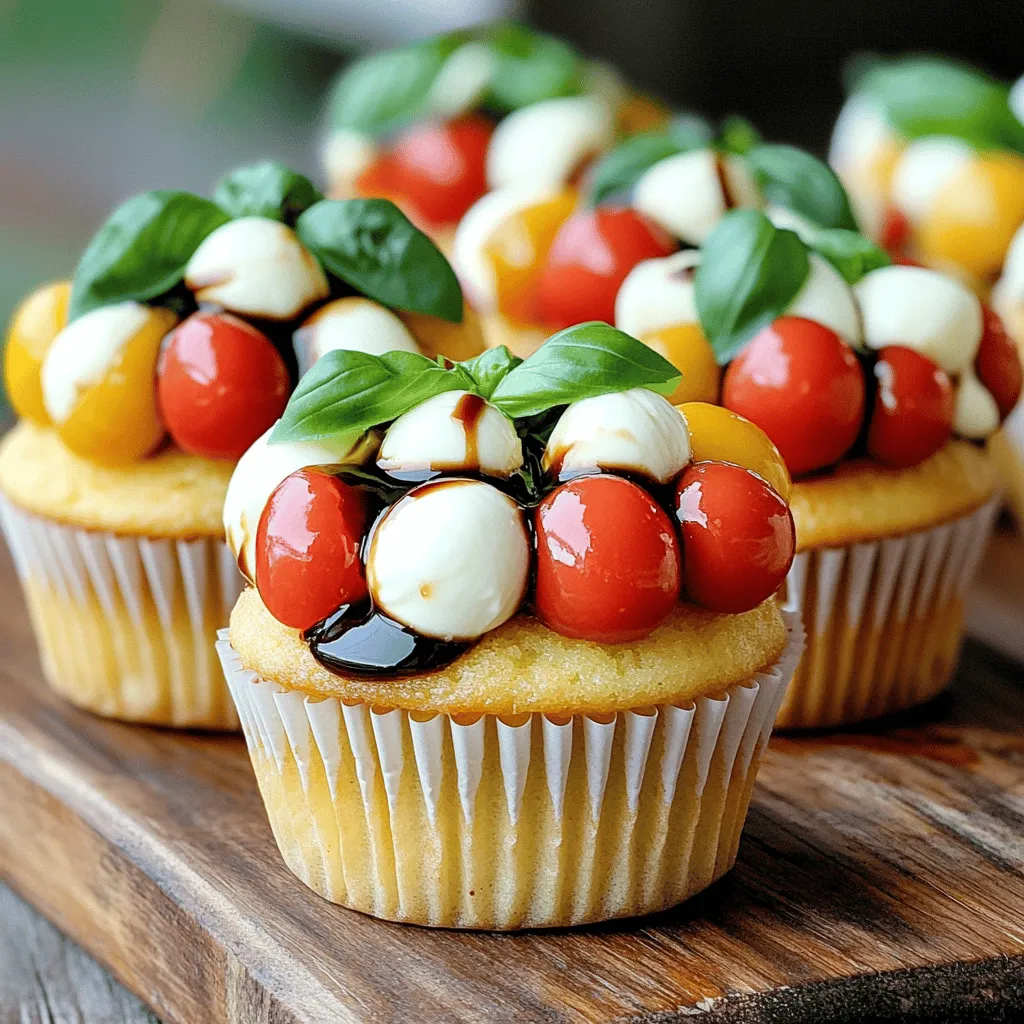
Are you ready to treat your taste buds to something new? Caprese Stuffed Cupcakes mix fresh flavors and fun in Read Full RecipeMango Tajin Cake Pops Tasty and Fun Treats
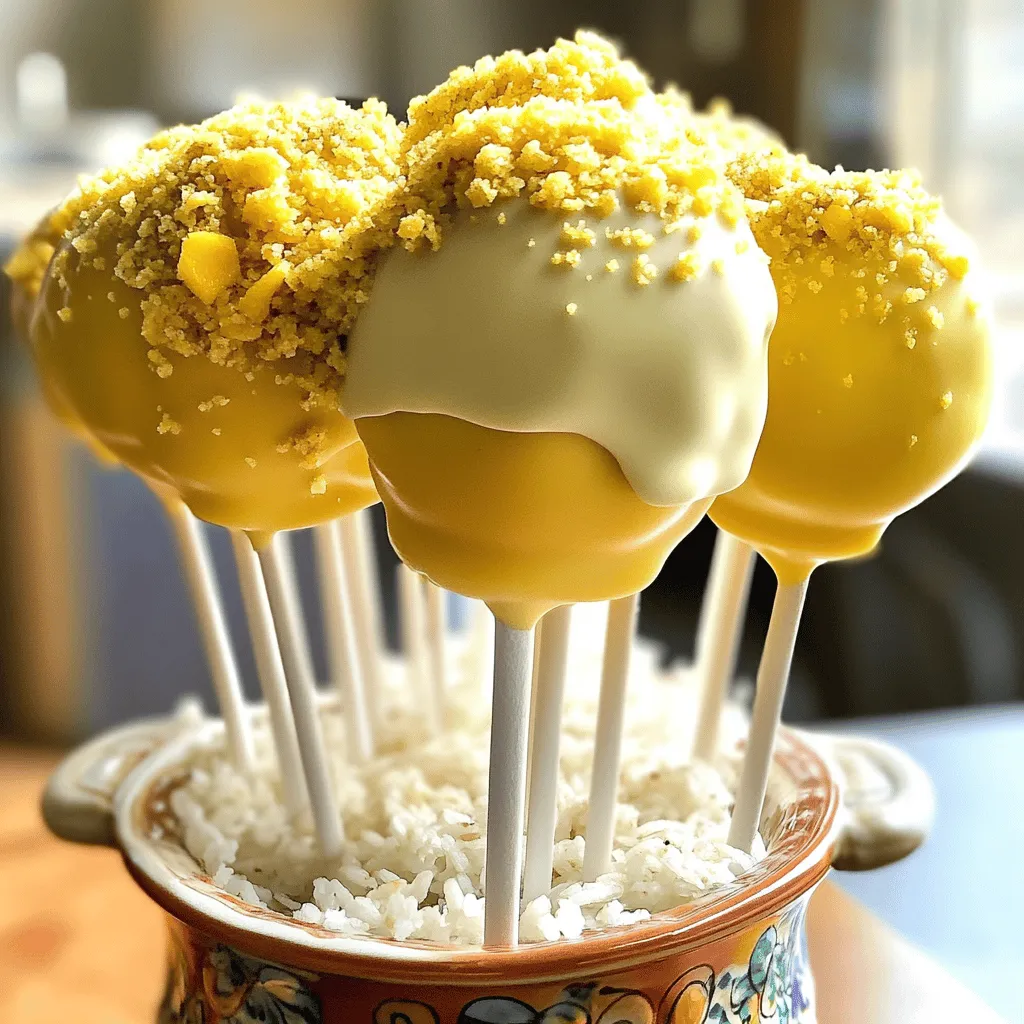
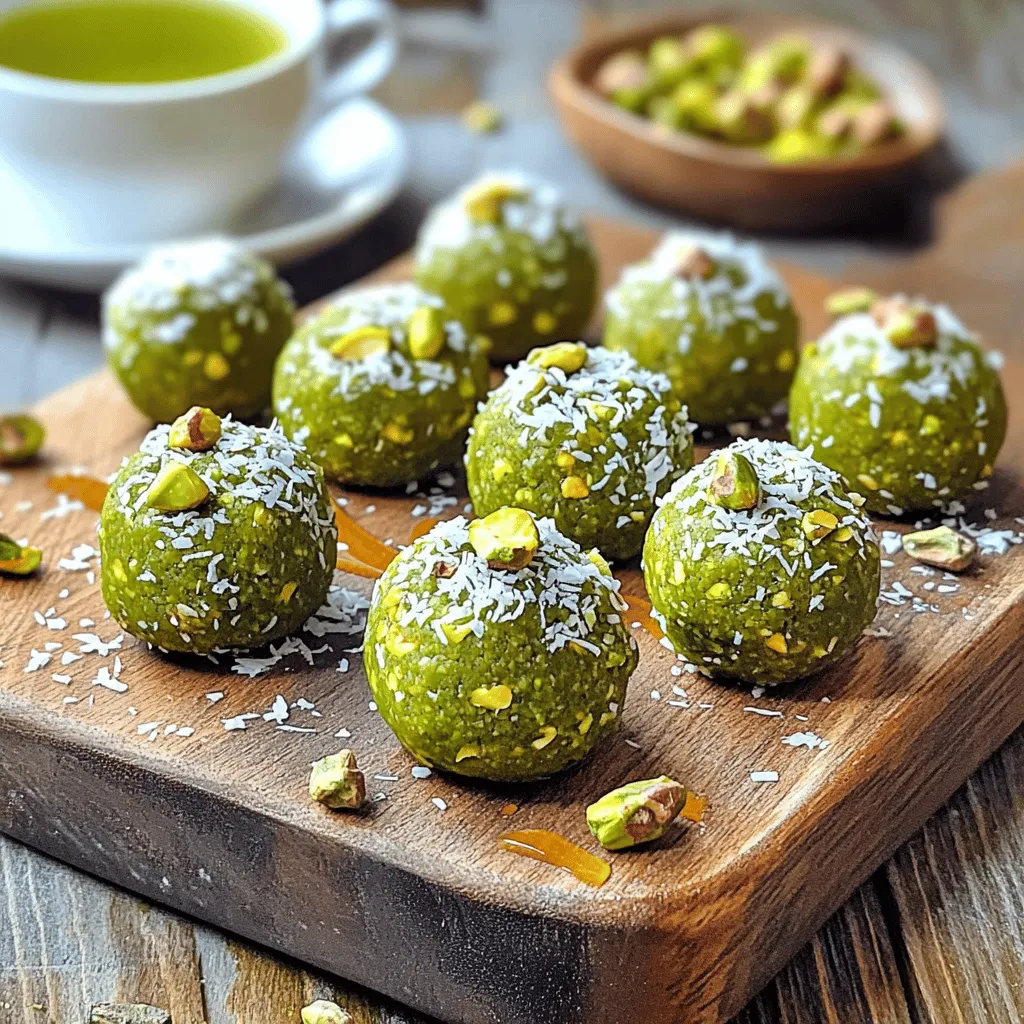
Craving a unique treat? Try my Mango Tajin Cake Pops! These fun bites blend sweet mango with the zesty kick Read Full RecipeMatcha Pistachio Energy Bites Nourishing Snack Option
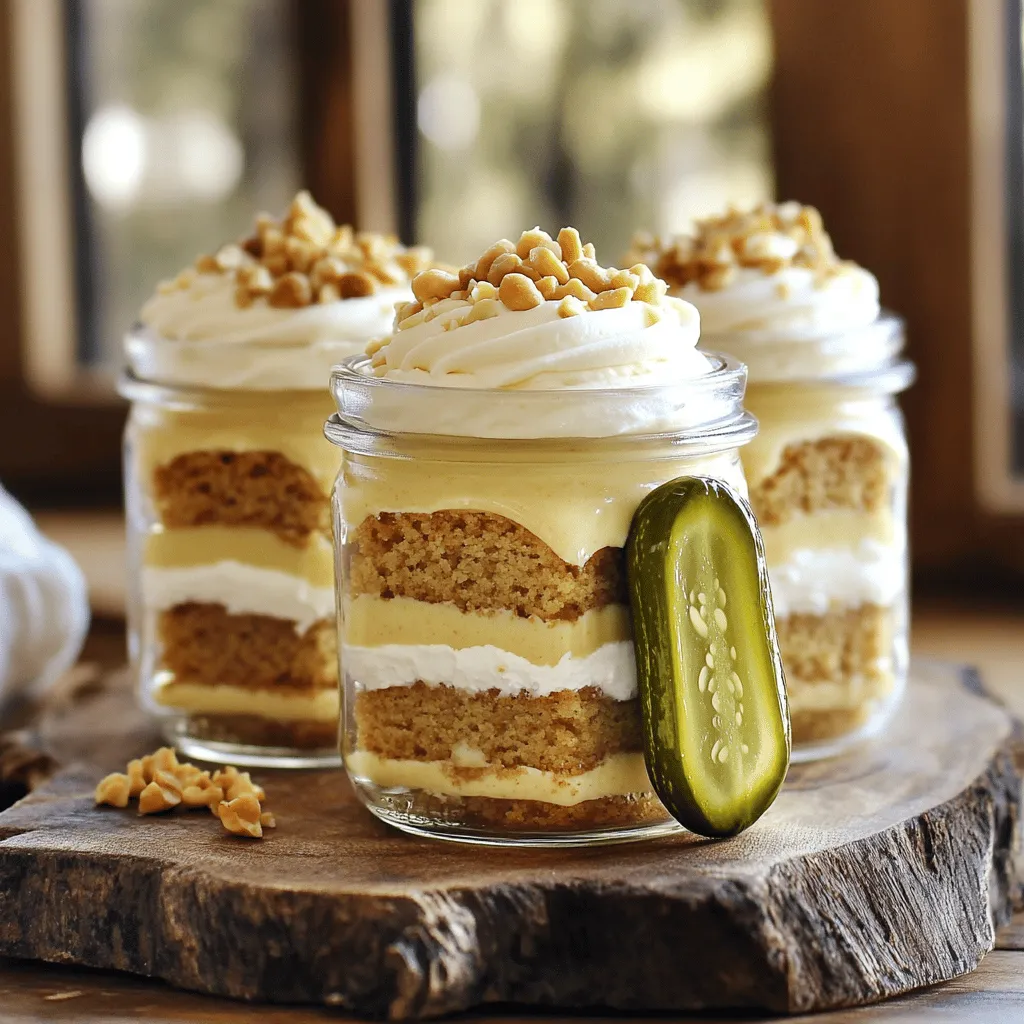
Looking for a tasty and healthy snack? Let me introduce you to Matcha Pistachio Energy Bites! Packed with oats, nuts, Read Full RecipePeanut Butter Pickle Cake Jars Delightful and Unique Treat
Are you ready to try something truly different? Peanut Butter Pickle Cake Jars combine sweet and tangy flavors in a Read Full RecipeHealthy Banana Oat Muffins Nutrient-Packed Recipe
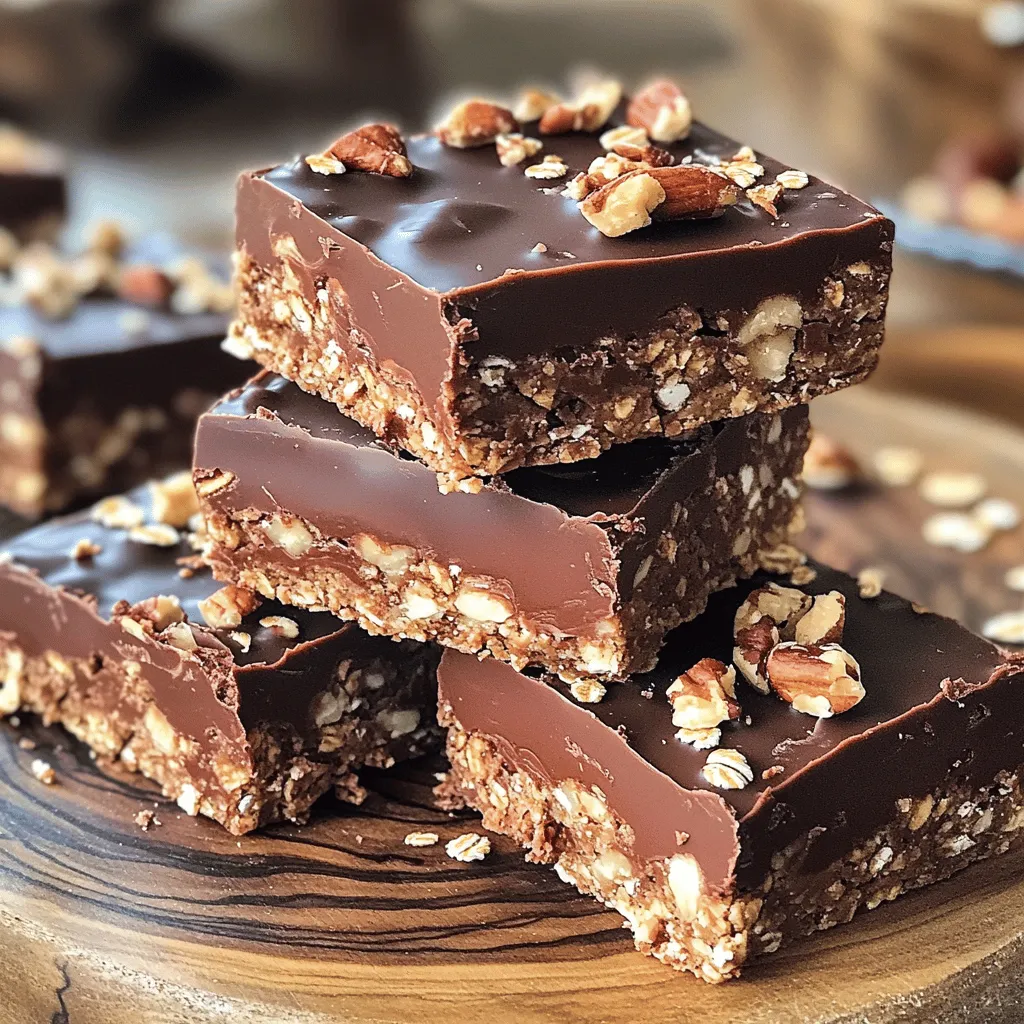
Looking for a tasty snack that’s packed with nutrients? You’re in the right place! My Healthy Banana Oat Muffins recipe Read Full RecipeNo-Bake Chocolate Oat Bars Simple and Tasty Treat
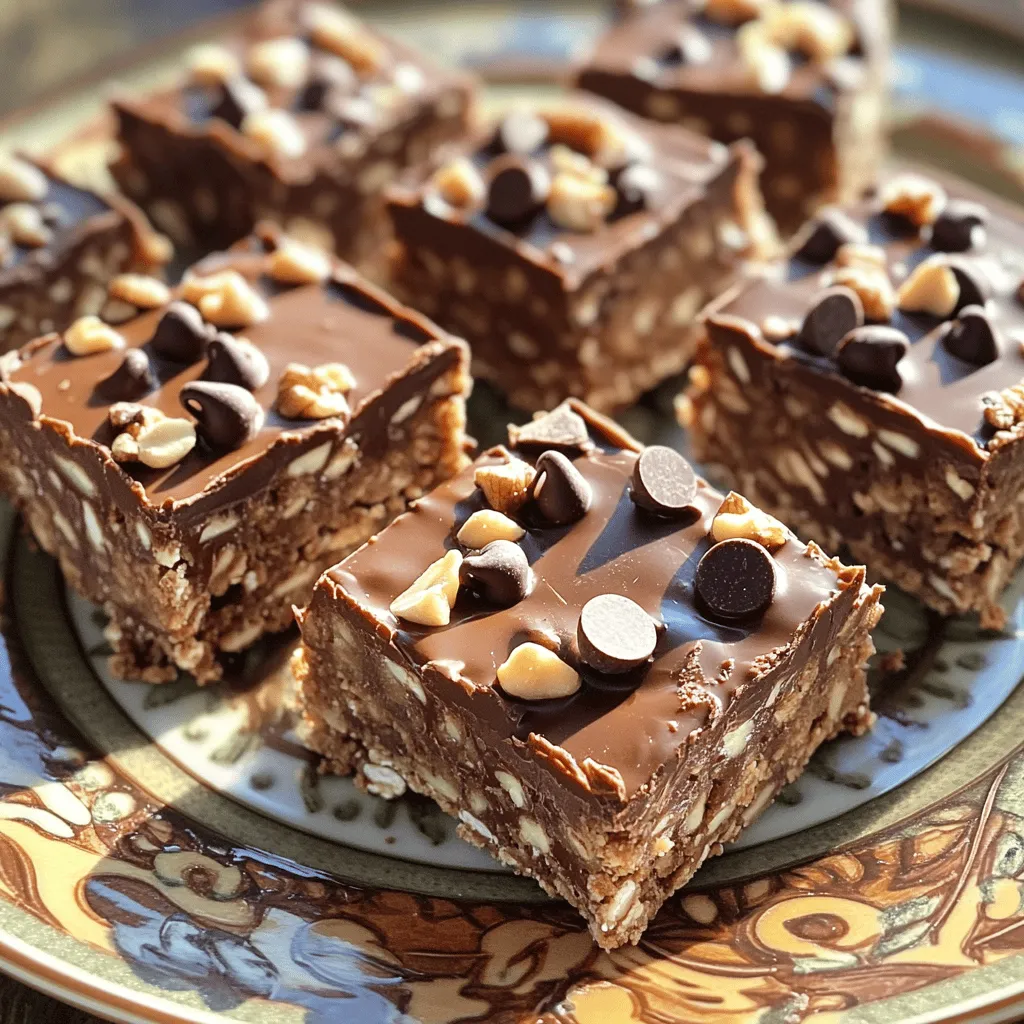
Looking for a quick, tasty treat? You’re in the right place! My No-Bake Chocolate Oat Bars are simple to make Read Full RecipeNo-Bake Chocolate Oatmeal Bars Simple and Tasty Treat
Looking for a simple and tasty treat that’s also healthy? You’ve found it! My No-Bake Chocolate Oatmeal Bars are a Read Full Recipe
hey,
i’m !
I’m so happy you’re here!
I pour heart and skill into every recipe I create. I know you’ll taste the difference now let’s enjoy this flavorful adventure together.
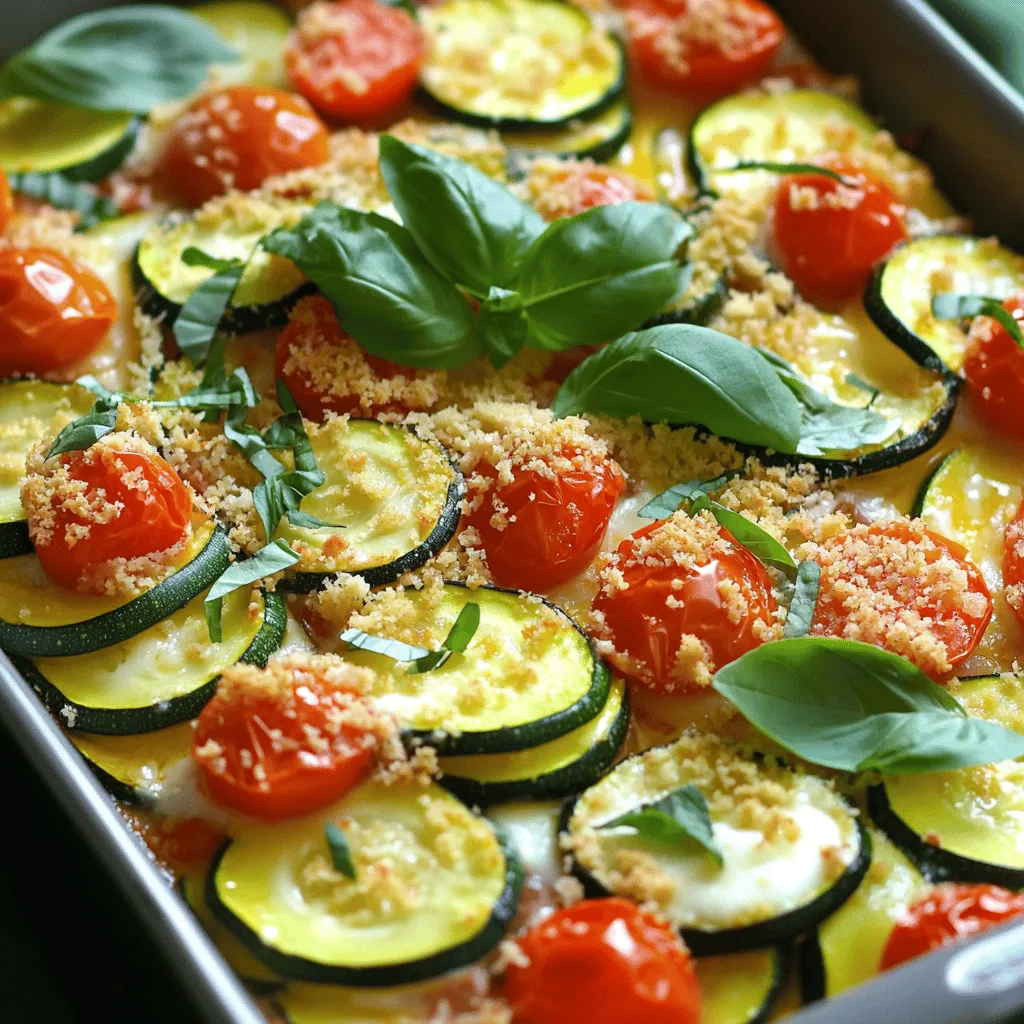
Cheesy Zucchini Bake Rich and Flavorful Delight
Are you ready to enjoy a cheesy delight that’s easy to make and packed with flavor? My Cheesy Zucchini Bake is your new go-to…





![To make a no bake peach cheesecake, gather these ingredients: - 1 ½ cups graham cracker crumbs - ½ cup unsalted butter, melted - 2 cups cream cheese, softened - 1 cup powdered sugar - 1 teaspoon vanilla extract - 1 cup heavy whipping cream - 2 cups fresh peaches, peeled and sliced (reserve some for garnish) - 1 tablespoon lemon juice - 1 teaspoon gelatin powder (optional, for extra firmness) - 2 tablespoons water (for gelatin, if using) Each ingredient has a special role in this cheesecake: - Graham cracker crumbs form the crust, giving it a sweet and crunchy base. - Unsalted butter helps bind the crumbs together for a firm crust. - Cream cheese is the star of the filling, making it rich and creamy. - Powdered sugar adds sweetness to balance the tangy cream cheese. - Vanilla extract enhances the flavor, adding warmth and depth. - Heavy whipping cream provides lightness, making the cheesecake fluffy. - Fresh peaches bring natural sweetness and a burst of flavor. - Lemon juice keeps the peaches fresh and adds a bright note. - Gelatin powder helps set the cheesecake, giving it structure (optional). You can swap some ingredients if needed: - For graham cracker crumbs, try digestive biscuits or crushed cookies. - Use margarine instead of unsalted butter if you prefer. - For cream cheese, a vegan cream cheese works well for a dairy-free option. - If you don’t have powdered sugar, granulated sugar can be used, but it may alter the texture. - In place of heavy cream, use coconut cream for a dairy-free version. - Canned peaches can replace fresh ones, but rinse them well and drain excess syrup. Using these substitutes keeps the dessert delicious while meeting your needs! For a complete recipe, refer to the Full Recipe above. Start with the crust. In a medium bowl, mix graham cracker crumbs and melted butter. Stir until the crumbs look like wet sand. Next, press this mixture into a 9-inch springform pan. Make sure it’s even and firm. Chill the crust in the fridge while you work on the filling. Now, it’s time for the filling. In a large bowl, beat softened cream cheese with an electric mixer until smooth. Slowly add powdered sugar and vanilla extract. Mix until it’s all blended. In another bowl, whip the heavy cream until you see stiff peaks. Gently fold this whipped cream into the cream cheese mix. This makes the filling light and fluffy. Take your sliced peaches and toss them with lemon juice. This keeps them fresh and bright. Fold the peaches into the cream cheese mixture. If you want extra firmness, dissolve gelatin powder in warm water and add it to the mix. It helps hold everything together. Pour the cream cheese filling over the chilled crust. Spread it out evenly. Use a spatula to smooth the top. Cover the cheesecake with plastic wrap. Place it in the fridge for at least four hours. For best results, let it chill overnight. Once it’s set, carefully remove the sides of the springform pan. Add reserved peach slices on top for a lovely finish. For the full recipe, check out [Full Recipe]. Enjoy your delicious no-bake peach cheesecake! To achieve a super creamy texture, start with room-temperature cream cheese. Cold cream cheese can form lumps. Beat it well until it’s smooth before adding other ingredients. Folding in whipped cream gently adds air, making it light. If you want even more creaminess, consider adding sour cream or mascarpone cheese. Both will enhance flavor and texture. Choose ripe, sweet peaches for the best taste. Look for firm fruit that gives slightly when pressed. Always peel and slice them just before use to keep them fresh. Tossing the peach slices in lemon juice stops browning and adds a nice zing. If peaches are out of season, try using frozen ones. Just thaw and drain the excess liquid before using. A great presentation makes your cheesecake even more inviting. Serve each slice on chilled plates. Drizzle with a peach puree made from blending leftover peaches for a lovely touch. Top with a sprig of fresh mint for color and freshness. For an extra fancy look, sprinkle some graham cracker crumbs around the plate. This adds texture and enhances the dessert's visual appeal. For the complete guide to making this delicious treat, check out the Full Recipe. {{image_2}} You can change the flavor of your no-bake peach cheesecake easily. Try using other fruits like strawberries or blueberries. Blend the fruit into the cream cheese mixture. You can also add a splash of almond extract for a nutty taste. Chocolate lovers can mix in cocoa powder. Lemon or lime zest adds a tangy twist. Each choice brings new fun to your dessert. While graham crackers work great, you have many crust choices. Use crushed Oreos for a chocolatey base. A nut crust made from almonds or pecans adds a crunchy touch. For a gluten-free option, try almond flour or ground oats. Each crust will change the flavor and texture of your cheesecake. Serving your cheesecake can be a fun chance to impress. Slice the cheesecake into squares instead of wedges for a new look. Top each slice with whipped cream or a dollop of yogurt for creaminess. You can also drizzle fruit syrup or honey over the cheesecake. For a special touch, add a sprig of mint or edible flowers. These small details make your dessert shine. For the full recipe, check out the peachy dream no-bake cheesecake. To keep your no-bake peach cheesecake fresh, cover it tightly. Use plastic wrap or a lid for your springform pan. Store it in the fridge for up to five days. If you have leftover peach slices, store them separately. They can brown quickly, so keep them in an airtight container. You can freeze the cheesecake if you have extra. First, let it set completely in the fridge. Then, wrap it tightly in plastic wrap and aluminum foil. This will help prevent freezer burn. You can freeze it for up to three months. When you’re ready to eat, let it thaw in the fridge overnight. No-bake cheesecake does not need reheating. It’s best served cold. If it has been frozen, let it thaw completely before serving. You can slice it straight from the fridge. Enjoy it chilled for the best taste. A no-bake cheesecake usually takes about 4 hours to set in the fridge. For the best results, I suggest leaving it overnight. This extra time helps the flavors blend well. The longer it chills, the firmer it becomes. You want the filling to hold its shape when you slice it. Yes, you can use canned peaches! Just make sure to choose peaches in juice or light syrup. Drain them well to avoid extra liquid in your cheesecake. Canned peaches can add great flavor, but fresh peaches give a nice texture. If you use fresh peaches, slice them just before mixing to keep them vibrant. Gelatin helps the cheesecake hold its shape better. It adds firmness to the filling, making slicing easier. If you like a sturdier cheesecake, I recommend using it. Just be sure to dissolve it in warm water before adding it to your mix. This step ensures even distribution throughout the filling. For more tips, refer to the Full Recipe! In this blog post, we explored how to make a no-bake peach cheesecake. We detailed its ingredients, step-by-step instructions, and helpful tips. You learned about crust prep, cream cheese filling, and variations to try. Remember, you can use fresh or canned peaches and adjust the flavors. No-bake cheesecake is easy and fun to make. Enjoy your tasty dessert and share it with friends!](https://foodishtalk.com/wp-content/uploads/2025/06/5bd56131-d58f-48bc-adfa-a6a4c9846219-300x300.webp)

![- 4 ripe tomatoes, diced - 2 ripe peaches, diced - 1 small red onion, finely chopped - 1 jalapeño, deseeded and minced - 1/4 cup fresh cilantro, chopped - 2 tablespoons lime juice - 1 tablespoon smoked paprika - Salt and pepper to taste - Grill or smoker - Mixing bowl - Knife and cutting board I love using fresh ingredients in my recipes. For this smoked tomato peach salsa, ripe tomatoes and peaches are key. They bring natural sweetness and juicy flavor. The red onion adds a nice crunch, while the jalapeño gives it a spicy kick. I like to use fresh cilantro for its bright taste. In the condiments section, lime juice gives the salsa a zesty splash. Smoked paprika adds depth and warmth. Don’t forget to season with salt and pepper to bring all the flavors together. For tools, you will need a grill or smoker to achieve that smoky flavor. A mixing bowl helps combine everything easily. A knife and cutting board are essential for chopping up those fresh ingredients. For the full recipe, make sure you check the details to create this flavorful summer delight! To start, preheat your grill or smoker to medium heat. This step is key for great flavors. If you don’t have a smoker, don’t worry! You can use a grill with a smoking box or make a foil packet with wood chips. This method will still give you that nice smoky taste. Next, slice the tomatoes in half. Place them cut-side down on your grill. Do the same with the peaches. This helps them get a nice char. Grill the tomatoes and peaches for about 6 to 8 minutes. You want them to show grill marks. This step brings out their natural sweetness and adds depth to your salsa. After grilling, take the tomatoes and peaches off the heat. Let them cool for a moment. Then, chop them into small pieces. In a mixing bowl, combine the diced smoked tomatoes and peaches. Now, add the chopped red onion, minced jalapeño, and fresh cilantro. Drizzle in the lime juice. Finally, sprinkle the smoked paprika over the mixture. Toss everything gently until well mixed. Don't forget to season with salt and pepper to taste. Let your salsa sit for at least 15 minutes. This waiting time allows the flavors to meld beautifully. For the complete recipe, check out the [Full Recipe]. To boost the smoky flavor, consider adding spices like cumin or chili powder. Fresh herbs like basil or oregano can also add depth. If you don’t have a grill, you can use liquid smoke. Just a few drops can bring that smoky taste right to your salsa. Another option is to roast your tomatoes and peaches in the oven on high heat. This adds a nice char without a grill. Letting your salsa sit is key. This waiting time helps the flavors blend well. I suggest at least 15 minutes. When it comes to sweetness and heat, balance is important. If your peaches are very sweet, add more jalapeño for heat. A pinch of sugar can help if you find it too spicy. This salsa pairs perfectly with tortilla chips. It also works great as a condiment on tacos or grilled chicken. Try it as a topping for fish or even mixed in with your salads. The fresh flavors make any dish pop. You can find the full recipe above to get started! {{image_2}} You can easily change this recipe to fit your needs. To make it vegan, just skip the smoked paprika or use a plant-based version. For a gluten-free option, ensure your smoked paprika is gluten-free. You can swap out peaches for mangoes or pineapple. These fruits add a tropical twist. Use what you find in your garden or local market. In summer, try adding fresh corn for sweetness. In the fall, bell peppers can add crunch and flavor. You can also use seasonal herbs like basil or mint for a fresh taste. These small changes can make your salsa unique and fun. If you love spice, add more jalapeños or use serrano peppers. For a milder salsa, use sweet bell peppers instead. You can also remove the seeds from the jalapeño to lower the heat. Always taste as you go, and adjust to your liking. This way, your salsa will be perfect for everyone. To keep your smoked tomato peach salsa fresh, store it in the fridge. Use an airtight container. This helps prevent air from getting in. Glass jars or plastic containers work well. Make sure the salsa is cool before sealing it. This keeps moisture in and stops bacteria growth. In the fridge, your salsa lasts about 3-5 days. After that, it may lose flavor. Look for signs that it has gone bad. If you see mold or it smells sour, it’s time to toss it. Fresh salsa should look bright and smell fruity. You can freeze salsa for longer storage. First, pour it into a freezer-safe container or bag. Leave some space for expansion. Seal it tightly and label it with the date. To thaw, place it in the fridge overnight. You can also use it straight from the freezer in cooked meals. Just remember, the texture might change a bit after freezing. Yes, you can make Smoked Tomato Peach Salsa ahead of time. I recommend making it up to two days in advance. This allows the flavors to blend beautifully. Store it in an airtight container in the fridge. Just remember to stir it well before serving. You can serve this salsa with many dishes. It pairs well with tortilla chips for a tasty snack. You can also add it to grilled chicken or fish for a fresh twist. Try it on tacos or as a topping for burgers. It brightens up any meal! Scaling up the recipe is easy! Double or triple the ingredients based on your needs. Keep the same ratios to maintain the flavor. Use a larger mixing bowl to combine everything. This is great for parties or family gatherings. Yes, you can add sweetness in a few ways. Try adding a bit of honey or agave syrup. You can also use more peaches if you want a fruity kick. Another option is to mix in diced mango or pineapple for a tropical touch. In this post, we explored the steps for making a Smoked Tomato Peach Salsa. You learned about fresh ingredients, useful equipment, and grilling techniques. We covered tips for enhancing flavor and common variations. Always let your salsa sit for better taste. Store it properly to keep it fresh longer. Whether spicy or sweet, adjust the recipe to fit your taste. Enjoy your homemade salsa with chips or on your favorite dishes. Making this salsa is simple and fun, so dive in and enjoy your creation!](https://foodishtalk.com/wp-content/uploads/2025/07/760823f2-2755-4345-aee1-f340872ca441-300x300.webp)
