
Latest & Greatest
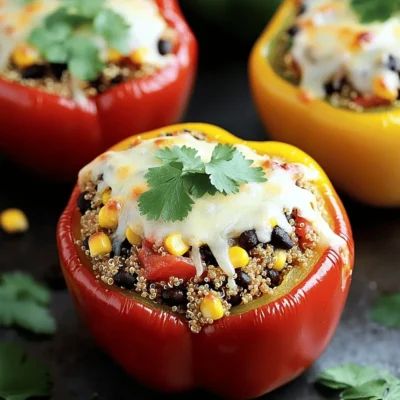
Stuffed Bell Peppers with Quinoa Flavorful Delight
Looking to spice up your dinner with a nutritious twist? Stuffed bell peppers with quinoa are the perfect solution! They
Read more…
Oven-Baked Chicken Parmesan Simple and Tasty Recipe
Are you craving a delicious meal that’s easy to make? I’ve got the perfect recipe for you: Oven-Baked Chicken Parmesan!
Read more…
Peanut Butter Chocolate Chip Energy Balls Easy Recipe
Looking for a quick and tasty snack? You’ve found it! Peanut Butter Chocolate Chip Energy Balls are simple to make
Read more…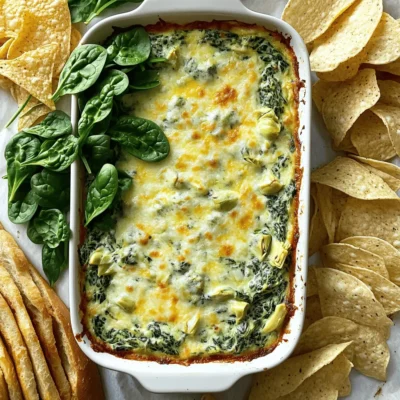
Creamy Spinach and Artichoke Dip Tasty Party Snack
Are you ready to impress your guests with a delicious snack? This Creamy Spinach and Artichoke Dip is the perfect
Read more…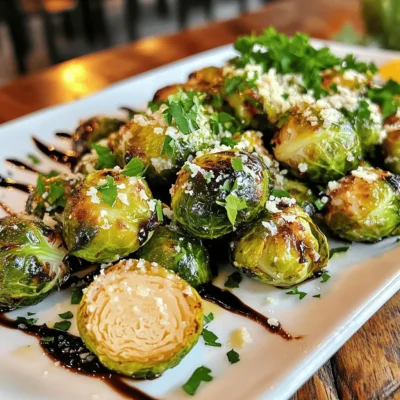
Crispy Garlic Parmesan Brussels Sprouts Irresistible Treat
Are you ready to level up your side dish game? Crispy Garlic Parmesan Brussels Sprouts are here to steal the
Read more…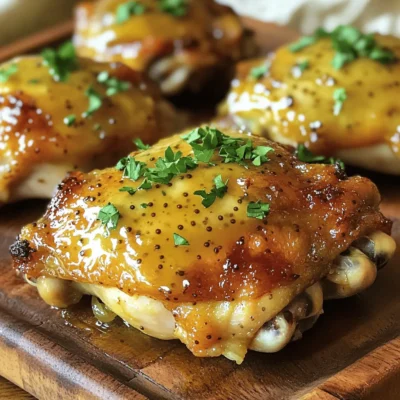
Honey Mustard Chicken Thighs Easy Recipe to Try
Are you ready to impress at your next dinner? Honey Mustard Chicken Thighs are easy and delicious. With just a
Read more…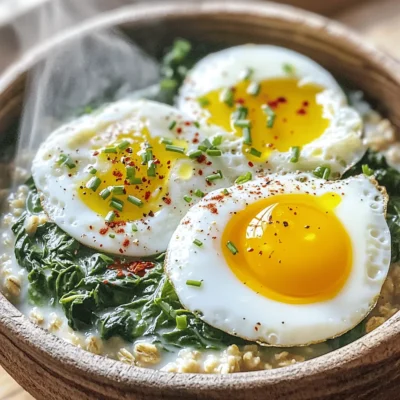
Savory Oatmeal with Spinach and Eggs Tasty Breakfast Dish
Looking for a hearty breakfast that’s both healthy and delicious? Savory oatmeal with spinach and eggs is the perfect solution!
Read more…
Roasted Vegetable Grain Bowl Flavorsome and Healthy Dish
Looking for a tasty and healthy meal? A Roasted Vegetable Grain Bowl is your answer! This dish combines warm, seasonal
Read more…browse recipes


. {{image_2}} To give your bow tie pasta salad a Mediterranean twist, add sun-dried tomatoes and artichokes. These ingredients bring a rich flavor that brightens each bite. You can also try mixing in fresh herbs like oregano or dill. These herbs add a fresh pop that complements the tangy feta cheese. For a fun Asian-inspired version, use sesame oil and soy sauce as your dressing. This adds a nutty flavor that pairs well with the pasta. You can also add colorful carrots and crunchy edamame. These ingredients not only taste great but also make your salad look vibrant and fresh. Seasonal vegetables can make your pasta salad even better. In the summer, try adding zucchini for a light, fresh taste. In the fall, roasted root vegetables like carrots and sweet potatoes work wonders. These swaps ensure your salad stays exciting throughout the year. Feel free to explore these variations for a new take on your bow tie pasta salad! You can find the full recipe [here](#). Store your leftover salad in an airtight container. This keeps the salad fresh and safe. Place it in the fridge right after serving. Bow tie pasta salad stays fresh for about 3 to 5 days. Always check for any changes in smell or texture before eating. You can freeze pasta salad, but it may change texture. If you choose to freeze it, make sure to use a freezer-safe container. Divide the salad into portions to make it easier to thaw later. When you’re ready to eat, place the salad in the fridge overnight to thaw. Avoid refreezing after thawing. When reheating, focus on keeping the texture nice. Use a microwave for quick reheating, but do it in short bursts. Stir the salad between bursts to heat it evenly. If your salad seems dry, add a splash of olive oil or vinegar to freshen it up. This keeps everything tasty and vibrant. Bow Tie Pasta Salad can last about 3 to 5 days in the fridge. For best taste, eat it within this time. Store it in an airtight container. This keeps it fresh and safe. Yes, you can make this pasta salad ahead of time. In fact, it tastes better after chilling. Prepare it a day before serving. Just follow these best practices: - Store it in a sealed container. - Let it cool completely before refrigerating. - Mix it again before serving to refresh the flavors. To make your pasta salad pop, try these suggestions: - Spices and Herbs: Fresh basil, oregano, or dill add great taste. - Crunchy Additions: Add nuts like walnuts or almonds for texture. You can also try crispy veggies like carrots or bell peppers. These tips will bring your dish to the next level! Bow tie pasta salad is simple and fun to make. We covered key ingredients, cooking tips, and variations. Remember to choose fresh veggies and don’t overcook the pasta. Feel free to customize the salad with flavors you love. Practice these tips, and your salad will shine at any meal. Enjoy creating your perfect dish!](https://foodishtalk.com/wp-content/uploads/2025/07/a18d47cf-1772-4758-b947-974ac8cdcd4c.webp)
Bow Tie Pasta Salad Fresh and Flavorful Recipe
Looking to spice up your meal routine? This Bow Tie Pasta Salad is fresh, vibrant, and bursting with flavor! Packed with ripe vegetables and…
My Latest Desserts

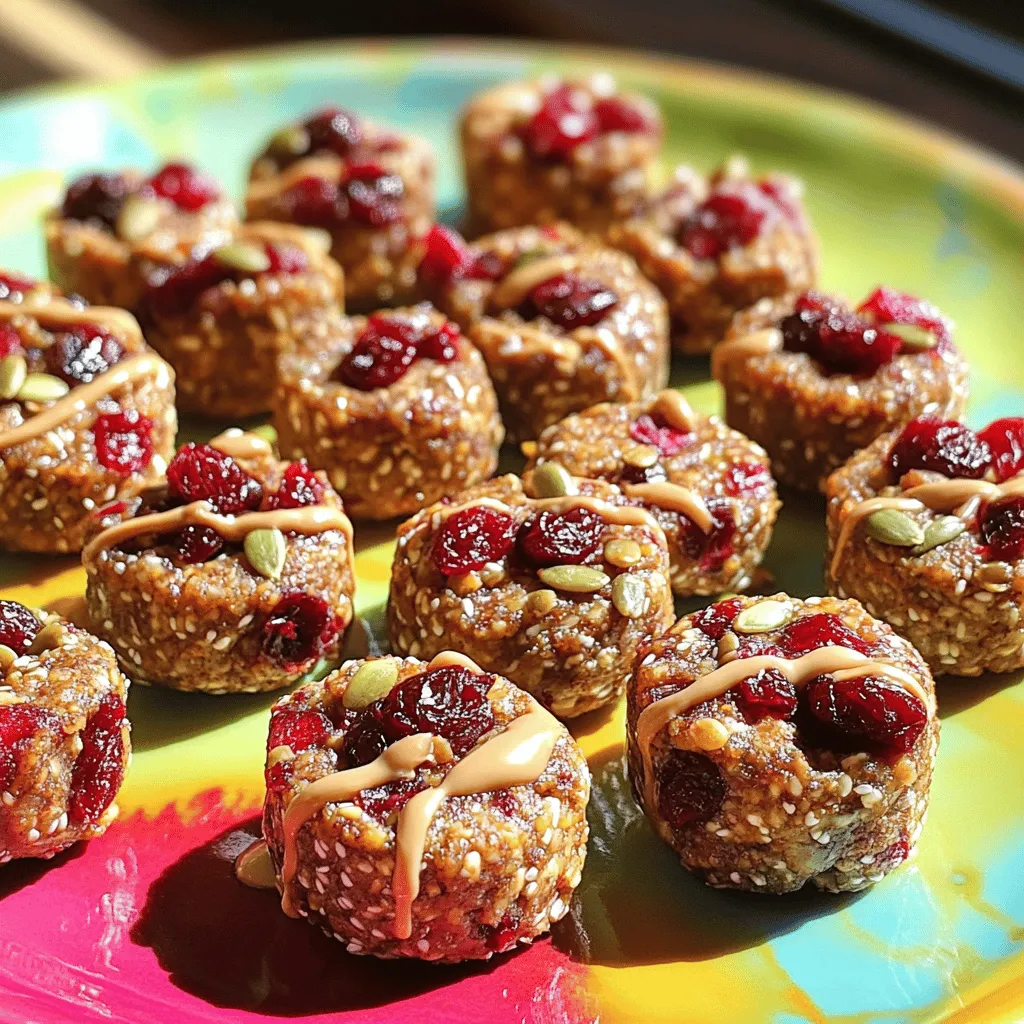
Cherry Tahini Energy Bites Healthy Snack Recipe
Looking for a quick, healthy snack? Let me introduce you to Cherry Tahini Energy Bites! Packed with flavor and nutrition, Read Full Recipe-
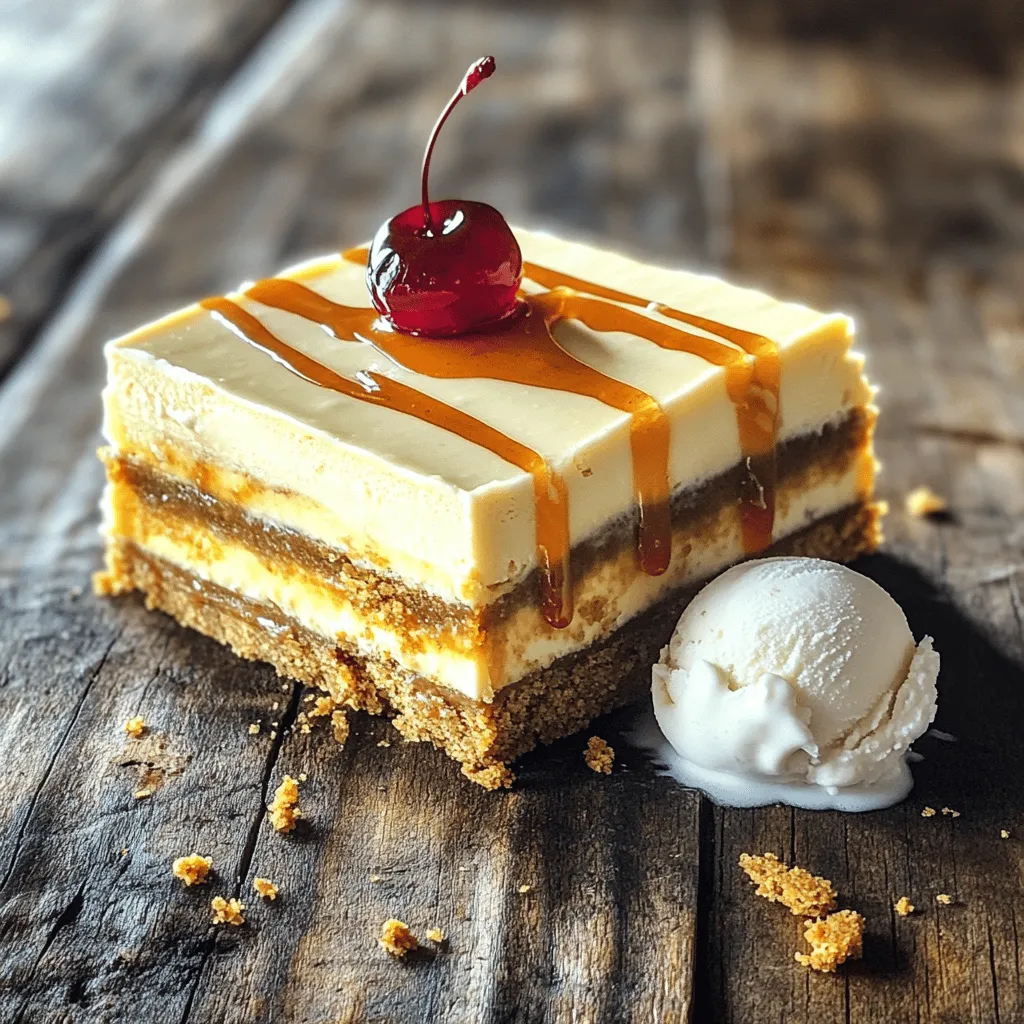
Root Beer Cream Bars Irresistible and Simple Treat
If you love the sweet nostalgia of root beer, you’re in for a treat! Root Beer Cream Bars combine creamy Read Full Recipe -
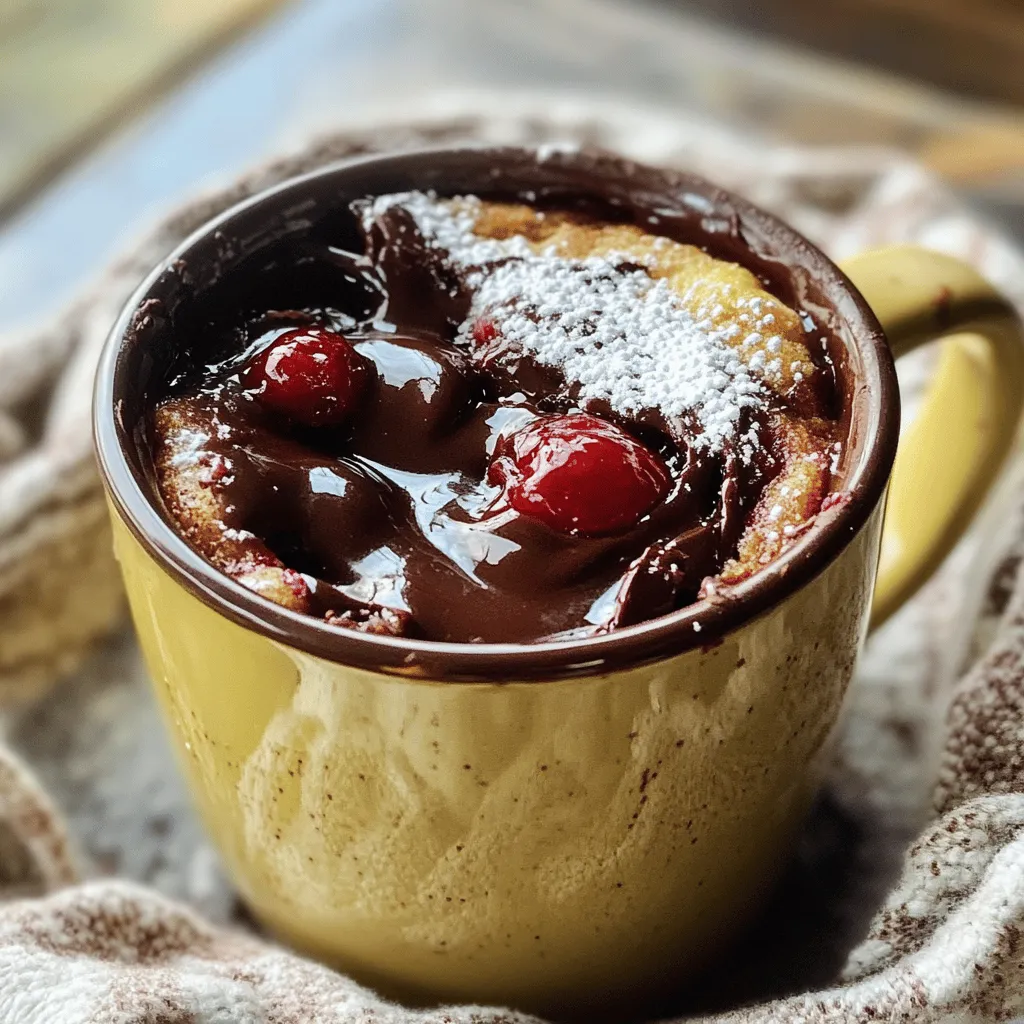
Cherry Chocolate Lava Mug Cake Delightful Recipe
Craving something sweet and quick? You’re in for a treat with my Cherry Chocolate Lava Mug Cake! This recipe packs Read Full Recipe -
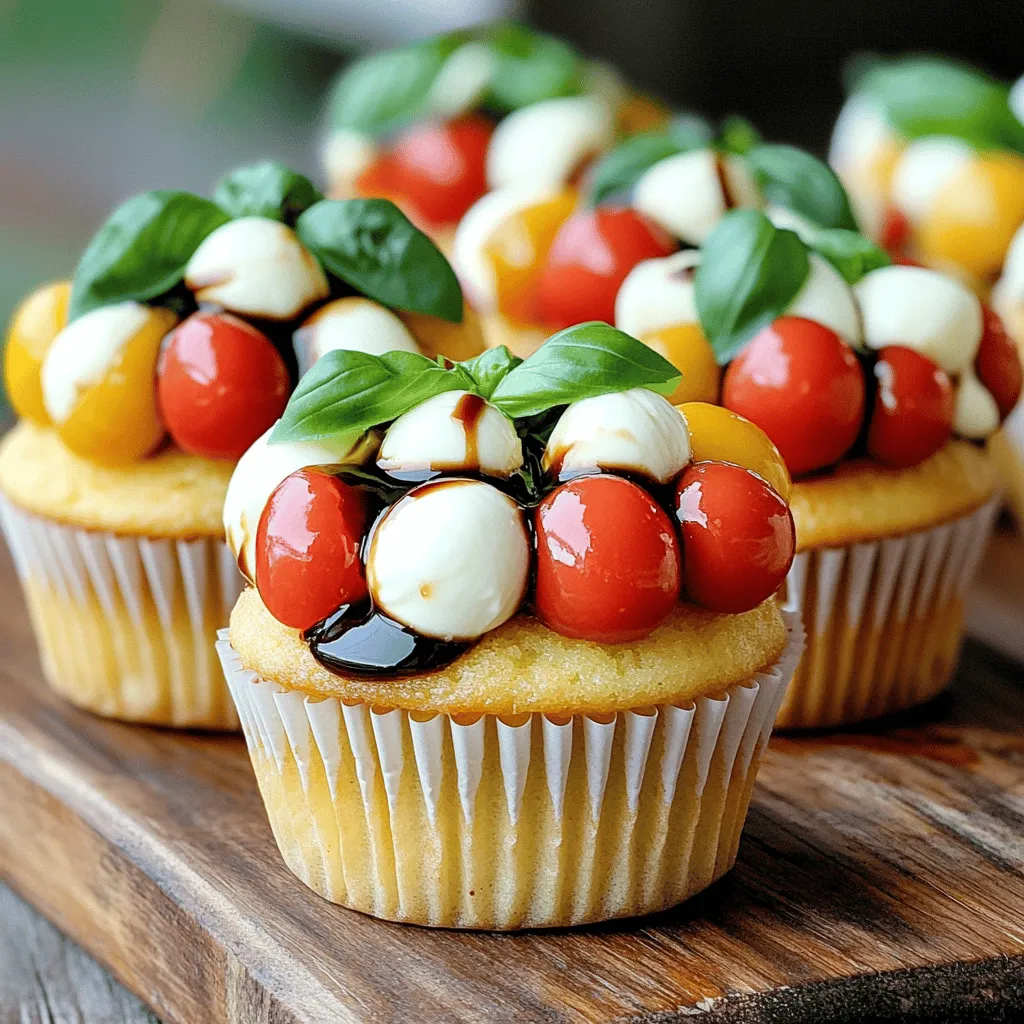
Caprese Stuffed Cupcakes Flavorful and Unique Treat
Are you ready to treat your taste buds to something new? Caprese Stuffed Cupcakes mix fresh flavors and fun in Read Full Recipe -
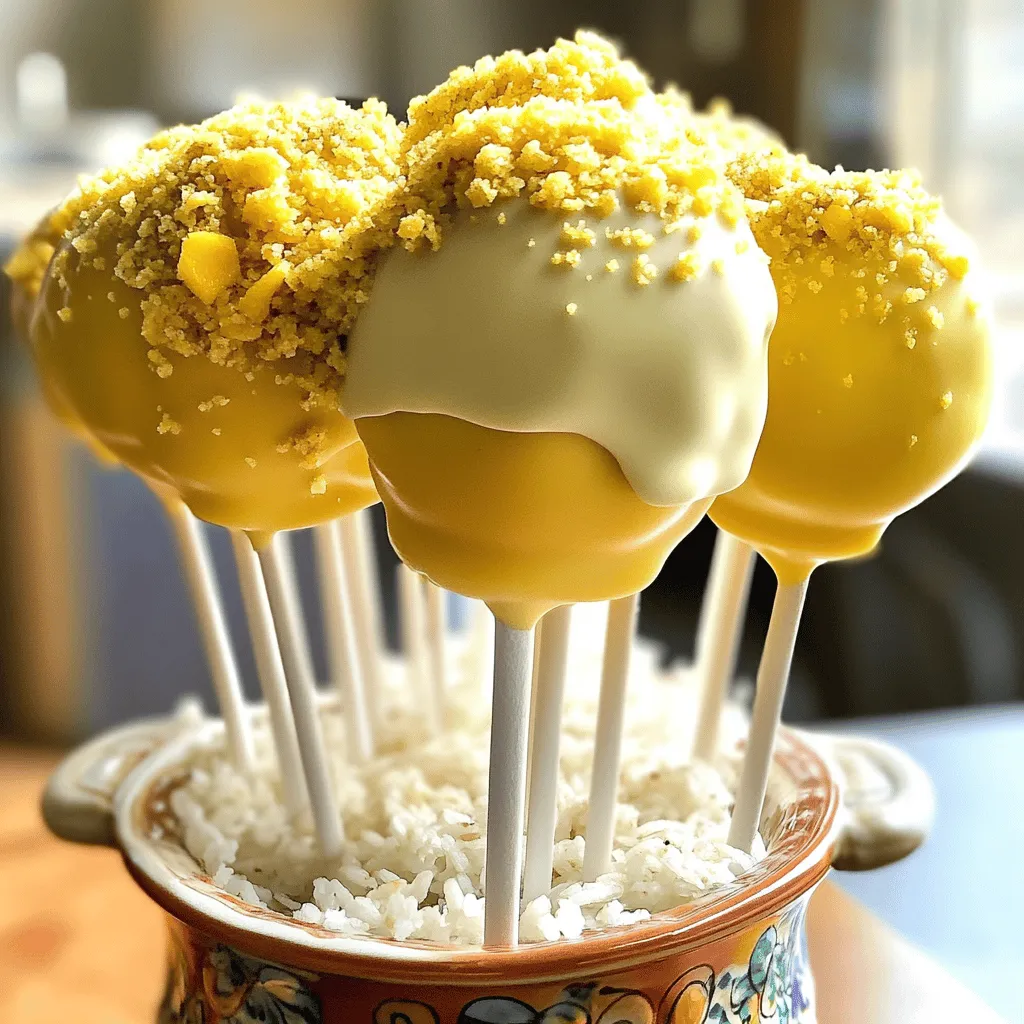
Mango Tajin Cake Pops Tasty and Fun Treats
Craving a unique treat? Try my Mango Tajin Cake Pops! These fun bites blend sweet mango with the zesty kick Read Full Recipe -
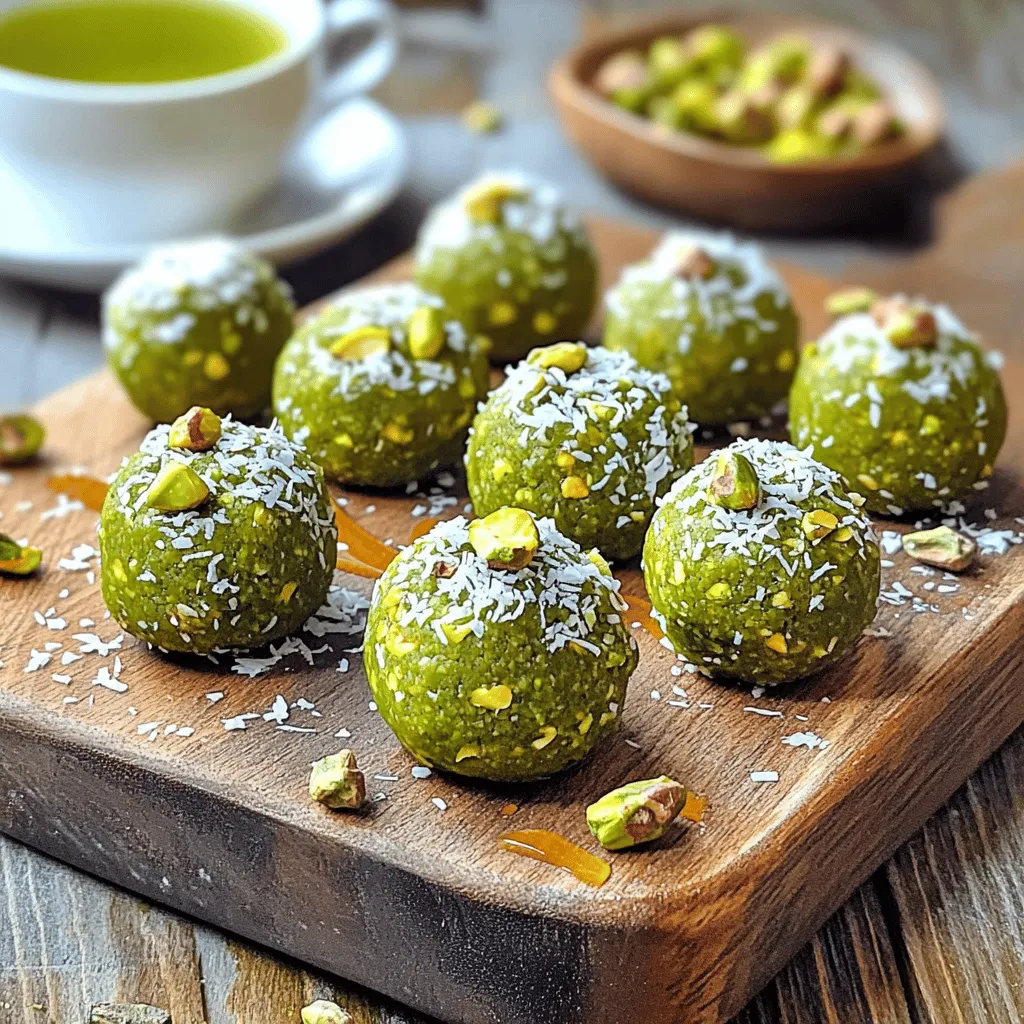
Matcha Pistachio Energy Bites Nourishing Snack Option
Looking for a tasty and healthy snack? Let me introduce you to Matcha Pistachio Energy Bites! Packed with oats, nuts, Read Full Recipe -
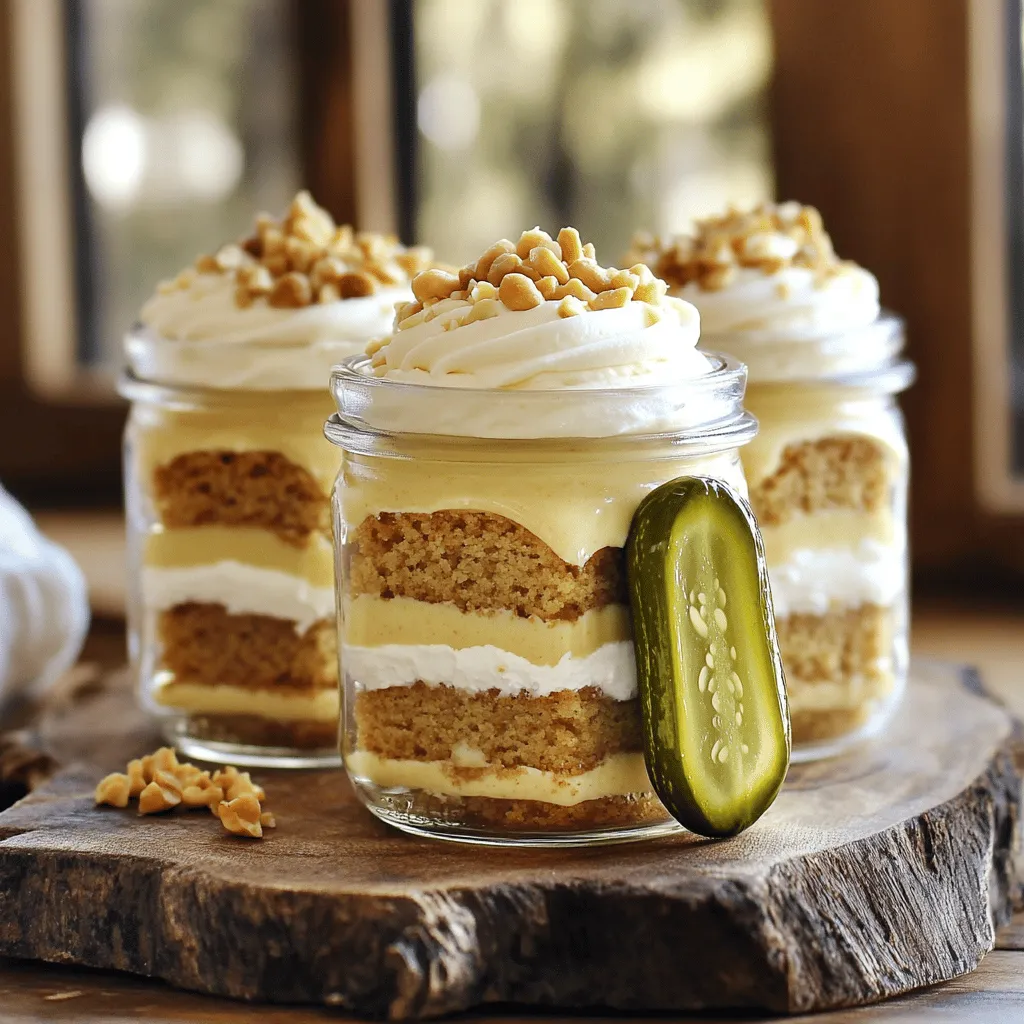
Peanut Butter Pickle Cake Jars Delightful and Unique Treat
Are you ready to try something truly different? Peanut Butter Pickle Cake Jars combine sweet and tangy flavors in a Read Full Recipe -
Healthy Banana Oat Muffins Nutrient-Packed Recipe
Looking for a tasty snack that’s packed with nutrients? You’re in the right place! My Healthy Banana Oat Muffins recipe Read Full Recipe -
No-Bake Chocolate Oat Bars Simple and Tasty Treat
Looking for a quick, tasty treat? You’re in the right place! My No-Bake Chocolate Oat Bars are simple to make Read Full Recipe -
No-Bake Chocolate Oatmeal Bars Simple and Tasty Treat
Looking for a simple and tasty treat that’s also healthy? You’ve found it! My No-Bake Chocolate Oatmeal Bars are a Read Full Recipe


hey,
i’m !
I’m so happy you’re here!
I pour heart and skill into every recipe I create. I know you’ll taste the difference now let’s enjoy this flavorful adventure together.
![- 2 packets frozen acai puree - 1 ripe banana - 1 cup unsweetened almond milk - 1 tablespoon almond butter - Sweetener (honey or agave syrup) To make the acai smoothie bowl, start with quality ingredients. Frozen acai puree gives a rich taste and vibrant color. A ripe banana adds natural sweetness and creaminess. Almond milk serves as a smooth base, but you can use any milk you like. Almond butter adds a nice nutty flavor. You can choose your sweetener based on your taste. - 1/2 cup granola - 1/4 cup shredded coconut - Fresh fruits (strawberries, blueberries, kiwi, mango) - Chia seeds and mint leaves For the toppings, granola provides a crunchy texture. Shredded coconut adds a tropical twist. Fresh fruits not only look great but also boost flavor and nutrients. You can mix and match fruits based on what you love. Chia seeds give a nice crunch and healthy benefits. Mint leaves add freshness and a pop of color. This recipe is flexible. You can use the [Full Recipe] to explore all the delicious options for your acai smoothie bowl. Enjoy creating your energizing and healthy delight! 1. First, gather your ingredients. You need frozen acai, a ripe banana, almond milk, almond butter, and a sweetener. 2. Next, place the frozen acai, sliced banana, almond milk, almond butter, and your choice of sweetener into a blender. 3. Blend these ingredients until smooth and creamy. If it's too thick, add more almond milk. 4. Taste the mixture and adjust the sweetness if needed. Add more honey or agave syrup for a sweeter flavor. 1. Pour the blended acai mixture into a bowl. 2. Now, it's time to add your toppings. Arrange granola, fresh fruits, and shredded coconut on top. 3. For a finishing touch, sprinkle chia seeds over the bowl. 4. Finally, garnish with fresh mint leaves to add a pop of color and freshness. You can find the full recipe for the Acai Bliss Smoothie Bowl at the end of the article. Enjoy your vibrant and energizing delight! To make your acai smoothie bowl smooth, start with the right amount of almond milk. Use one cup, but you can add more if it is too thick. This helps blend the frozen acai and banana well. When you use frozen ingredients, blend in small bursts. This prevents the blender from getting stuck. If you notice lumps, stop and stir the mixture. Keep blending until it’s creamy and smooth. You can boost the flavor and health benefits of your smoothie bowl easily. Try adding a scoop of protein powder or a handful of fresh spinach. Both options mix well and add extra nutrients. For sweeteners, consider using maple syrup or coconut sugar instead of honey. This gives you a chance to switch up the taste. Each choice brings a unique flavor to your acai bowl. {{image_2}} You can switch up the fruits in your acai smoothie bowl. A tropical version adds fun and flavor. Use mango, pineapple, and banana. This mix creates a sweet and refreshing taste. Another option is the berry medley. Combine strawberries, blueberries, and raspberries. These berries pack a punch of color and vitamins. Each bite bursts with juicy goodness. Feel free to mix and match your favorites! Change your toppings for new textures and flavors. Nut butter is a great choice. Almond, peanut, or cashew butter all work well. They add richness and creaminess to your bowl. Seeds and nuts offer a nice crunch. Try chia seeds, pumpkin seeds, or walnuts. These add healthy fats and protein. Plus, they make your bowl more filling. Adding different toppings keeps things interesting and fun! For the full recipe, check out the Acai Bliss Smoothie Bowl. Enjoy the journey of creating your perfect bowl! To keep your acai smoothie bowl fresh, refrigerate any leftovers right away. Place the bowl in an airtight container. This helps to keep the air out and maintain the taste. Use a glass or plastic container that seals tightly. If you store it properly, your smoothie bowl can last up to two days in the fridge. You can freeze the smoothie base for later use. Pour the leftover smoothie into ice cube trays or freezer-safe bags. This way, you can enjoy it later. To thaw, simply remove the cubes or bags and let them sit at room temperature for about 30 minutes. You can also microwave them for a quick thaw. Just make sure to stir well before serving. An acai smoothie bowl is a thick blend of acai berries, bananas, and milk. It often features toppings like fruits, granola, and seeds. This dish is popular for breakfast or as a snack. The vibrant color and fresh taste make it appealing. It’s healthy, refreshing, and full of nutrients. Many people love it because it looks great and tastes even better. Yes, you can make acai bowls without frozen acai. You can use acai powder instead. Mix the powder with yogurt or milk for a creamy base. Some people use other berries like blueberries or strawberries. This way, you can still enjoy a tasty bowl without acai. Just blend your chosen fruit with milk and add your favorite toppings. Acai berries are rich in antioxidants, vitamins, and minerals. They help fight inflammation and boost heart health. Acai also contains healthy fats that support brain function. One serving has fiber that aids digestion and keeps you full. Eating acai can improve your skin and give you energy. It’s a smart choice for a healthy diet. You can find acai products at most grocery stores. Look in the frozen foods section for acai puree. Health food stores often carry acai powder. Many online shops offer these products as well. Brands like Sambazon and Açaí Roots are popular and trusted. Always check for organic options for better quality. You can easily adjust the acai bowl recipe for dietary needs. To make it vegan, just use plant-based milk and skip honey. For gluten-free, ensure your granola is labeled gluten-free. If you need nut-free, swap almond butter for sunflower seed butter. You can still enjoy a delicious acai bowl while meeting your dietary requirements. Acai Bliss Smoothie Bowl 🥥 Recipe Details You learned how to make a tasty acai smoothie bowl. We covered the main ingredients, like frozen acai puree and banana, and showed you the best toppings. I provided step-by-step instructions for blending and serving. We talked about tips for the perfect consistency and added nutrition. If you want to get creative, try different fruits or toppings. Store any leftovers properly or even freeze them for later. Enjoy the health benefits of acai while making it your own. Dive into this delicious treat today!](https://foodishtalk.com/wp-content/uploads/2025/07/6cd7a2a6-9807-4356-bfa8-b2532ad9426f-300x300.webp)
![- 8 oz penne pasta - 1 tablespoon olive oil - 4 cloves garlic, minced - 1 can diced tomatoes, undrained - 2 cups vegetable broth - 1 cup heavy cream or coconut cream - 1 teaspoon dried basil - Salt and pepper to taste - 1 cup fresh basil leaves, chopped - ½ cup grated Parmesan cheese or nutritional yeast The key to this dish is its simple, fresh ingredients. The penne pasta serves as the base, soaking up all the wonderful flavors. Olive oil adds richness, while minced garlic gives a fragrant kick. You can use canned diced tomatoes for convenience. They bring a burst of flavor without much fuss. For liquids, vegetable broth enhances the taste and keeps it plant-based. The heavy cream or coconut cream creates that creamy texture we all love. This balance of flavors makes the dish truly delightful. Fresh ingredients are essential too. Dried basil adds a hint of earthiness, while fresh basil leaves bring a vibrant color and burst of freshness. The grated Parmesan or nutritional yeast finishes the dish with a savory touch. If you're curious about the full process, check the Full Recipe for step-by-step instructions. 1. Heat the olive oil in a large pot over medium heat. 2. Add the minced garlic and sauté for 1-2 minutes. Watch it closely to avoid burning. 3. Open the can of diced tomatoes and pour it into the pot without draining. 4. Add the vegetable broth and dried basil. Stir everything together well. 1. Now, add the penne pasta to the pot. 2. Bring the mixture to a gentle simmer. 3. Cover the pot and let it cook for 10-12 minutes. 4. Stir occasionally until the pasta is al dente and most of the liquid is absorbed. 1. Remove the pot from heat. Stir in the heavy cream or coconut cream. 2. Season with salt and pepper to taste. Let it simmer for an extra 2-3 minutes. 3. Incorporate the chopped fresh basil and grated Parmesan cheese. Mix well. For the complete recipe, check out the [Full Recipe]. Enjoy your creamy tomato basil pasta! - Best practices for sautéing garlic: Start with a cold pan. Add olive oil and minced garlic. Heat over medium. Stir often. Cook for 1-2 minutes until fragrant. Watch it closely! Garlic can burn fast. Burnt garlic tastes bitter. - Ensuring perfect pasta texture: Use a timer! Cook the penne for 10-12 minutes. Stir it a few times to avoid sticking. Check for al dente texture. The pasta should be firm but not hard. This ensures it absorbs the sauce well. - Suggestions for additional herbs: Add more herbs for extra flavor. Try oregano, thyme, or parsley. Fresh herbs add brightness. Dried herbs work too but use less. They are stronger in taste. - Adjusting creaminess and richness levels: For a creamier dish, use more heavy cream. If you want it lighter, use coconut cream or less cream. You can also add more broth for a thinner sauce. Adjust to your taste! - Ideal pairings and sides: Serve with garlic bread or a fresh salad. A crisp green salad complements the pasta well. You could also pair it with roasted veggies for a healthy side. - Presentation tips for a beautiful dish: Use a large bowl for serving. Garnish with fresh basil leaves. Sprinkle some grated Parmesan on top. This makes the dish look inviting and fresh! A pretty dish is more enjoyable to eat. {{image_2}} You can easily make this dish vegan. Simply swap the heavy cream for coconut cream. This change keeps the dish rich and creamy while being plant-based. For those on a gluten-free diet, use gluten-free pasta. Many brands offer great options that cook up similarly to regular pasta. Feel free to switch up the vegetables in this recipe. You can add spinach, bell peppers, or zucchini. These swaps add color and nutrients to your meal. If you want to change the cheese, try goat cheese or feta for a tangy taste. Nutritional yeast also works well for a cheesy flavor if you go vegan. Want to boost the protein? Add cooked chicken or shrimp to the pot. This extra step makes the dish more filling. You can also mix in spices like red pepper flakes or Italian seasoning for unique flavors. These small additions can transform your creamy tomato basil pasta into a new dish every time. For the full recipe, check out the One-Pot Creamy Tomato Basil Pasta section above. To store your creamy tomato basil pasta, let it cool first. Place leftovers in an airtight container. This keeps the pasta fresh and tasty. Store it in the fridge for up to three days. When reheating, add a splash of water or broth. This helps bring back its creamy texture. You can freeze this dish for later. Use a freezer-safe container or bag. Make sure to leave some space for expansion. It can stay good in the freezer for up to two months. When you're ready to eat, thaw it overnight in the fridge. Reheat it on the stove or in the microwave. Add a little cream or broth to keep it smooth. Refrigerated pasta lasts about three days. If you freeze it, aim to eat it within two months. Check for signs of spoilage before eating. If it has an off smell or strange color, it's best to toss it. Keeping an eye on these details helps you enjoy your meal safely. For the full recipe, check the earlier section. One-pot cooking means you prepare a full meal in one pot. This method saves time and effort. You chop, cook, and serve all in the same container. The biggest advantage? You reduce clean-up! Less mess means more time to enjoy your meal. Plus, all the flavors blend well when cooked together. This makes dishes like One-Pot Creamy Tomato Basil Pasta so tasty and satisfying. Yes, you can make this pasta ahead of time. Meal prep is easy with one-pot meals. Cook the dish as usual, then cool it down. Store it in an airtight container in the fridge. It can last for about three days. When you want to eat, just reheat. This makes it perfect for busy days or quick dinners. To reheat leftover pasta, use low heat on the stove. Add a little water or broth to keep it moist. Stir often to prevent sticking. You can also use the microwave. Place the pasta in a bowl, add a splash of water, and cover it. Heat for about one minute at a time, stirring in between. This way, you keep the creamy texture of the sauce. This dish combines simple ingredients and easy steps to create a delightful meal. We covered everything from cooking techniques to flavorful variations. You learned how to enhance flavors and store leftovers to keep them fresh. Remember, cooking should be fun and creative. Try different ingredients to make this dish your own. Enjoy serving it at home or bringing it to gatherings. Happy cooking!](https://foodishtalk.com/wp-content/uploads/2025/05/5e9da98b-b501-41d2-ae05-1ef2ea4ad8b7-300x300.webp)
![To make delicious pumpkin spice latte cupcakes, you need a few key ingredients: - 1 cup all-purpose flour - 1/2 cup unsweetened cocoa powder - 1 teaspoon baking powder - 1 teaspoon baking soda - 1/2 teaspoon salt - 1 tablespoon pumpkin spice blend (or mix nutmeg, cinnamon, and cloves) - 1/2 cup unsalted butter, softened - 1 cup granulated sugar - 2 large eggs - 1 teaspoon vanilla extract - 1 cup pumpkin puree - 1/2 cup brewed coffee, cooled - 1/4 cup milk These ingredients give your cupcakes a moist texture and rich flavor. The pumpkin puree adds moisture, while the coffee enhances the taste. The frosting is just as important as the cupcakes. Here are the ingredients you will need: - 1/2 cup unsalted butter, softened - 2 cups powdered sugar - 1 tablespoon pumpkin spice blend - 2 tablespoons brewed coffee, cooled - 1 teaspoon vanilla extract This frosting is creamy and sweet. The coffee and spice blend ties it all together for a tasty finish. You can make your cupcakes even more special with these toppings: - A sprinkle of cinnamon - A small dollop of whipped cream - A few coffee beans - A cinnamon stick These little touches make your cupcakes look festive and inviting. Feel free to get creative with your decorations! For the full recipe, check out the details above. Start by preheating your oven to 350°F (175°C). This step is key for even baking. Grab a cupcake tin and line it with cute cupcake liners. Choose colors that match fall vibes. In a medium bowl, mix up the dry ingredients. Combine 1 cup of flour, 1/2 cup cocoa powder, 1 teaspoon baking powder, 1 teaspoon baking soda, 1/2 teaspoon salt, and 1 tablespoon pumpkin spice blend. Whisk these together well. This blend gives your cupcakes a rich flavor. In a large bowl, beat together 1/2 cup softened butter and 1 cup granulated sugar. Mix for about 2 to 3 minutes. You want this mixture to be light and fluffy. It helps make your cupcakes soft. Now, add the eggs, one at a time, mixing well after each. Stir in 1 teaspoon vanilla extract, 1 cup pumpkin puree, and 1/2 cup cooled coffee. Mix until everything is combined. This is where the magic happens! Divide your batter evenly into the lined cupcake tin. Fill each liner about two-thirds full. This allows room for the cupcakes to rise without overflowing. Bake your cupcakes in the preheated oven for 18 to 20 minutes. Check for doneness by inserting a toothpick. If it comes out clean, they are ready. Let them cool completely before frosting. For the frosting, beat 1/2 cup softened butter until creamy. Gradually add 2 cups powdered sugar, 1 tablespoon pumpkin spice blend, 2 tablespoons cooled coffee, and 1 teaspoon vanilla extract. Mix until smooth and fluffy. Once the cupcakes are cool, frost them generously with this delicious blend. For the full experience, check out the Full Recipe for Pumpkin Spice Latte Cupcakes. Enjoy every bite! To get the best texture in your cupcakes, use room-temperature ingredients. This means butter, eggs, and milk should be warm, not cold. Mixing the butter and sugar until fluffy creates air. This step is key. When you mix the dry ingredients, don’t overmix when adding them to the wet ingredients. This keeps the cupcakes light and soft. Always fold gently to keep that nice fluffiness. Having the right tools makes baking easier. Here are my top picks: - Cupcake liners (choose festive colors for fall) - A cupcake tin (12-cup size works best) - Mixing bowls (both large and medium) - A whisk and electric mixer (to save time) - A measuring cup and spoons (for accuracy) - A cooling rack (to cool your cupcakes properly) These tools help you create the perfect Pumpkin Spice Latte Cupcakes. Presentation adds fun to your baking! Once your cupcakes cool, it’s time to make them shine. Frost them with thick layers of pumpkin spice frosting. Top each with a sprinkle of cinnamon for a warm touch. A small dollop of whipped cream makes them look fancy. For a special touch, add a coffee bean or a mini cinnamon stick on top. This makes them not just tasty but also pretty! {{image_2}} You can easily make gluten-free pumpkin spice lattes cupcakes. Just swap all-purpose flour with a gluten-free blend. Look for a mix that works well in baking. Make sure it has xanthan gum. This helps bind the ingredients together. Follow the same steps in the recipe. Your cupcakes will still be moist and tasty. If you want to change up the frosting, try cream cheese frosting. It adds a tangy taste that pairs well with the sweet cupcakes. You can also use whipped cream for a lighter touch. For a chocolate twist, use chocolate ganache. Just melt chocolate with cream and let it cool. Spread it on your cupcakes for a rich flavor. Adding chocolate chips or nuts makes these cupcakes even better. Chocolate chips add sweetness and a nice texture. Use semi-sweet or dark chocolate for bold flavor. Chopped nuts like pecans or walnuts give a lovely crunch. Mix them into the batter before baking. This adds fun bites to each cupcake. Enjoy the full recipe for detailed steps and tips! To keep your Pumpkin Spice Latte Cupcakes fresh, store them in an airtight container. Place them at room temperature for up to three days. If you add frosting, keep them in the fridge to keep the buttercream from melting. Make sure they are covered well to avoid drying out. If you have leftover cupcakes, freezing is a great option. First, let them cool completely. Wrap each cupcake in plastic wrap. Then, place the wrapped cupcakes in a freezer-safe bag. They can stay good for up to three months. When you're ready to eat, thaw them in the fridge overnight. If you want to enjoy a cupcake warm, you can reheat them. Place a cupcake in the microwave for about 10 to 15 seconds. This warms it nicely without making it dry. If you like, you can add a bit more frosting after reheating for extra flavor. For the full recipe of these delightful treats, check out the [Full Recipe]. Yes, you can swap out the coffee. Use brewed tea or hot chocolate instead. These options still give flavor. You can also use milk or water for a milder taste. Keep in mind, the coffee adds a nice depth. For more coffee flavor, add espresso. You can bake these cupcakes a day or two early. Store them in an airtight container. Make sure they are cool before storing. Frost them just before serving for the best taste. You can also freeze the cupcakes. Just wrap them well before freezing. Each cupcake has about 200 calories. It also has 8 grams of fat and 30 grams of carbs. Sugar content is around 12 grams. Keep in mind, this is a rough estimate. The exact amount can change based on your choices. Absolutely! The cupcakes are tasty on their own. They have a rich pumpkin flavor. You can dust them with powdered sugar for a simple touch. Or enjoy them with a cup of coffee for a cozy snack. Pumpkin spice dates back to the 19th century. It became popular in the U.S. for making pumpkin pie. The mix of spices like cinnamon, nutmeg, and cloves warms people up. Now, it’s a favorite in many fall recipes. It brings a sense of comfort and nostalgia. To make vegan cupcakes, replace eggs with flaxseed meal. Use one tablespoon of flaxseed meal mixed with three tablespoons of water per egg. Use plant-based butter instead of regular butter. Substitute milk with almond or soy milk. You can also check the Full Recipe for more detailed tips. You learned how to make delicious Pumpkin Spice Latte Cupcakes, from ingredients to storage. With tips for great texture and fun decorations, these cupcakes are perfect for any occasion. Whether you try gluten-free options or add fun toppings, you can make them your own. Enjoy baking these treats, and share them with friends. They will love them just as much as you do!](https://foodishtalk.com/wp-content/uploads/2025/05/f88ac3af-4cce-4679-b468-b7bd69256f66-300x300.webp)

Mini Grilled Cheese Sandwiches Irresistible Snack Idea
Craving a fun and tasty snack? Mini grilled cheese sandwiches are your solution. These tiny treats are easy to make and perfect for any…