Latest & Greatest
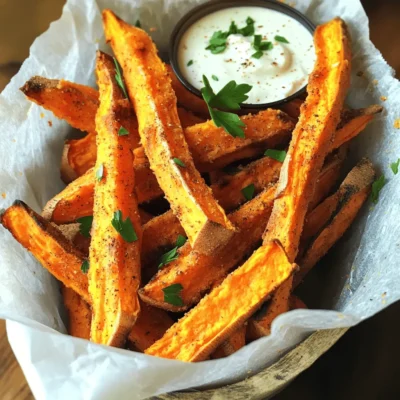
Air Fryer Sweet Potato Fries Crispy and Simple Recipe
Looking for a simple, delicious snack that won’t ruin your diet? Air fryer sweet potato fries are the answer! This
Read more…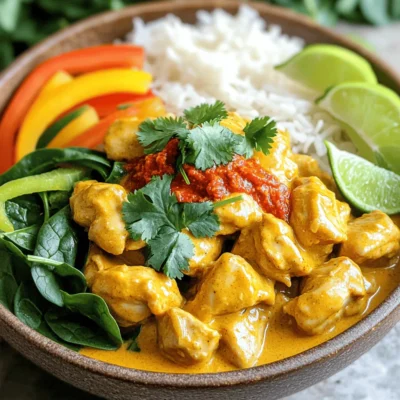
Coconut Curry Chicken Flavorful and Easy Recipe Guide
Are you ready to savor a meal that’s both flavorful and simple? My Coconut Curry Chicken recipe offers a delightful
Read more…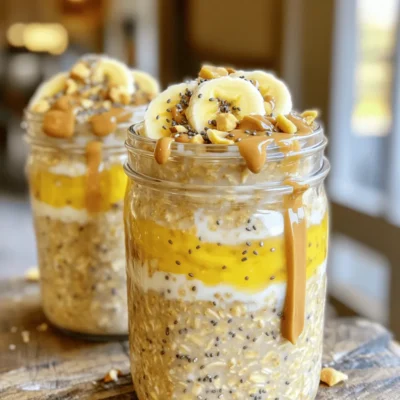
Peanut Butter Banana Overnight Oats Simple Recipe
Looking for a quick, tasty breakfast? Try Peanut Butter Banana Overnight Oats! This simple recipe combines creamy peanut butter, ripe
Read more…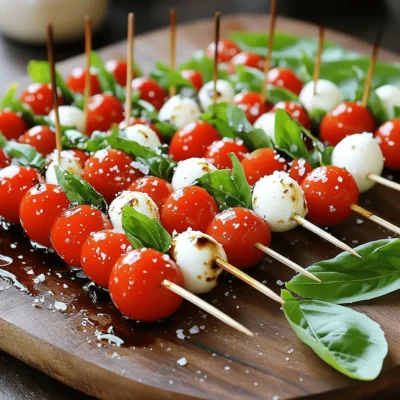
Mini Caprese Skewers Delicious and Simple Recipe
Looking for a fresh appetizer that’s both tasty and easy to make? Mini Caprese skewers are your answer! This simple
Read more…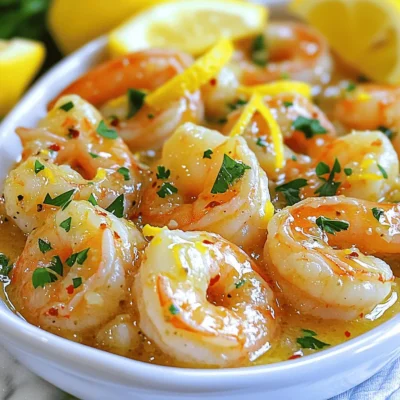
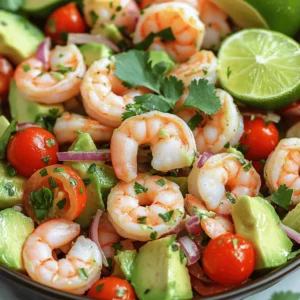
Lemon Garlic Butter Shrimp Tasty and Simple Recipe
Are you ready to dive into a delicious world of flavors? This Lemon Garlic Butter Shrimp recipe is both tasty
Read more…
Mango Coconut Chia Pudding Refreshing Healthy Treat
Are you looking for a tasty treat that’s both refreshing and healthy? Mango Coconut Chia Pudding is your answer! This
Read more…
Chocolate Lava Cake Rich and Decadent Delight
If you’re craving a treat that melts in your mouth, this Chocolate Lava Cake recipe is for you! With a
Read more…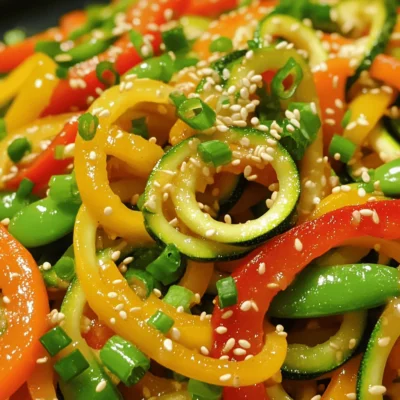
Zucchini Noodle Stir Fry Flavorful and Healthy Dish
Looking for a tasty way to eat more veggies? My Zucchini Noodle Stir Fry is the answer! This dish is
Read more…browse recipes


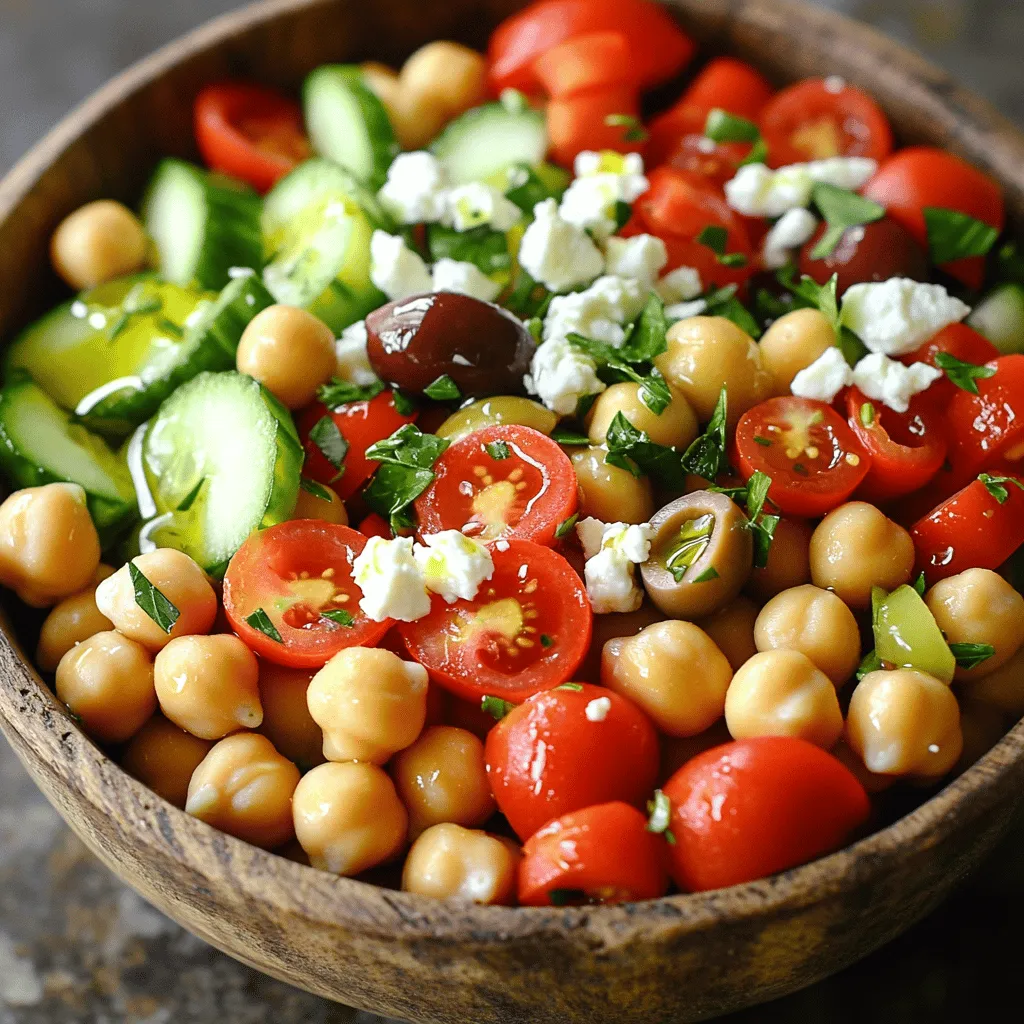
Mediterranean Chickpea Salad Fresh and Flavorful Meal
Looking for a meal that’s both fresh and packed with flavor? You’ve landed in the right place! This Mediterranean Chickpea Salad combines crisp veggies,…
My Latest Desserts

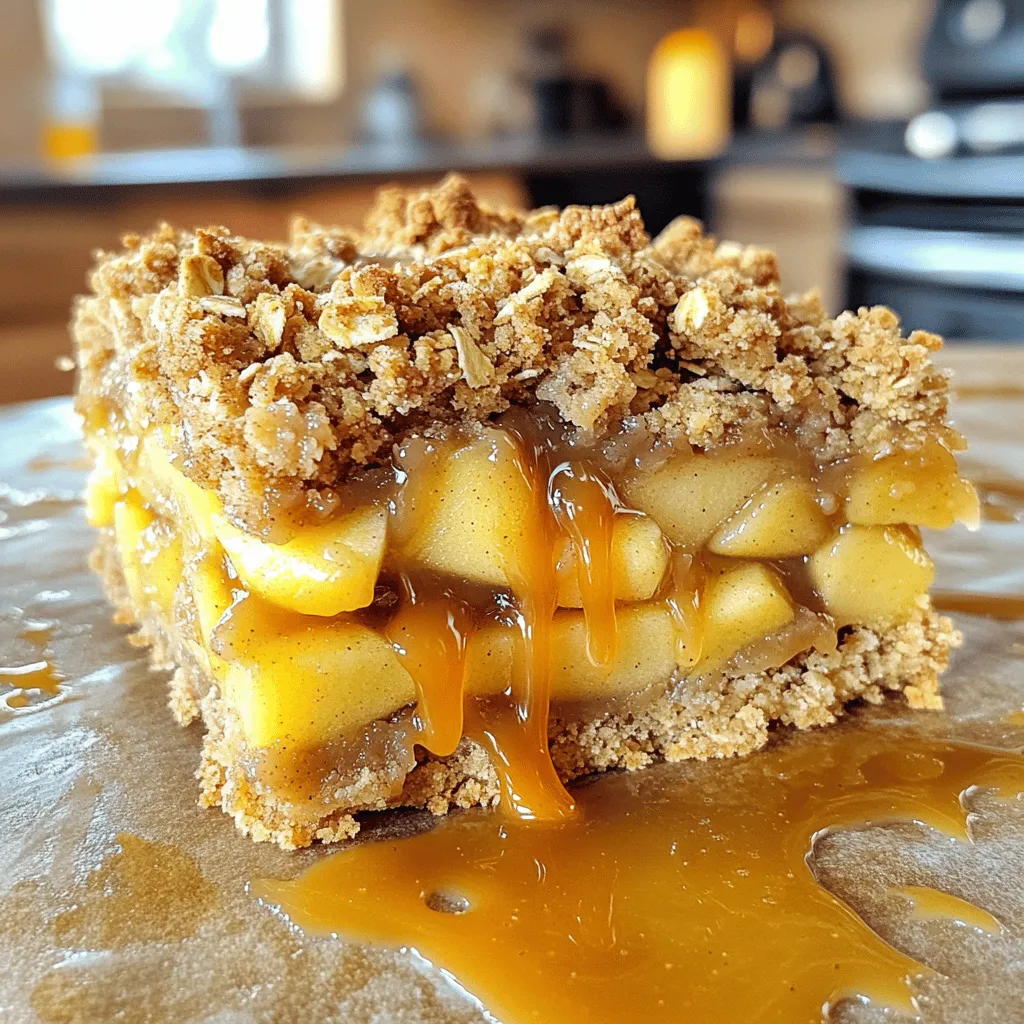
Miso Caramel Apple Crumble Bars Easy and Delicious Treat
If you’re looking for a treat that combines sweet apples, rich miso caramel, and a crunchy crumble, you’ve found it! Read Full Recipe-
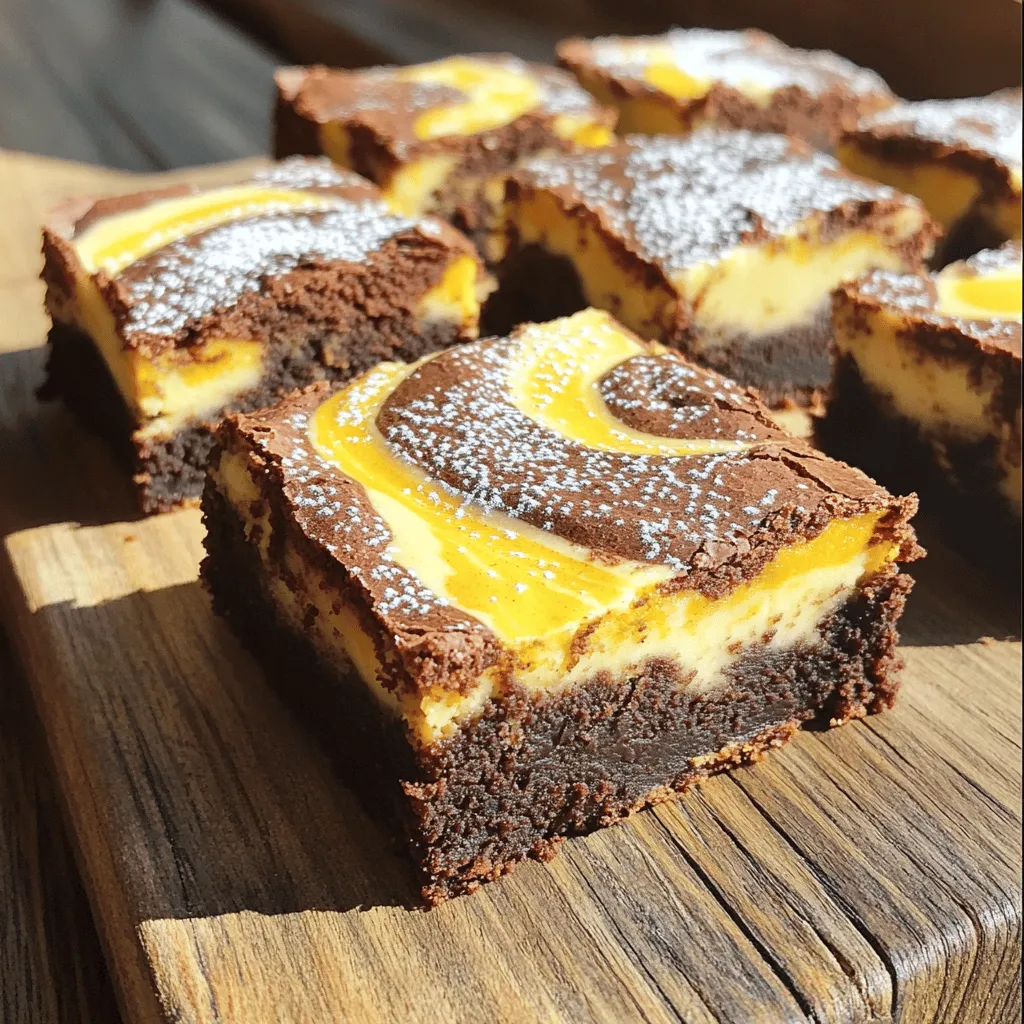
Pumpkin Cheesecake Swirl Brownies Irresistible Delight
Get ready to savor the magic of fall with my Pumpkin Cheesecake Swirl Brownies! These decadent treats combine rich brownie Read Full Recipe -
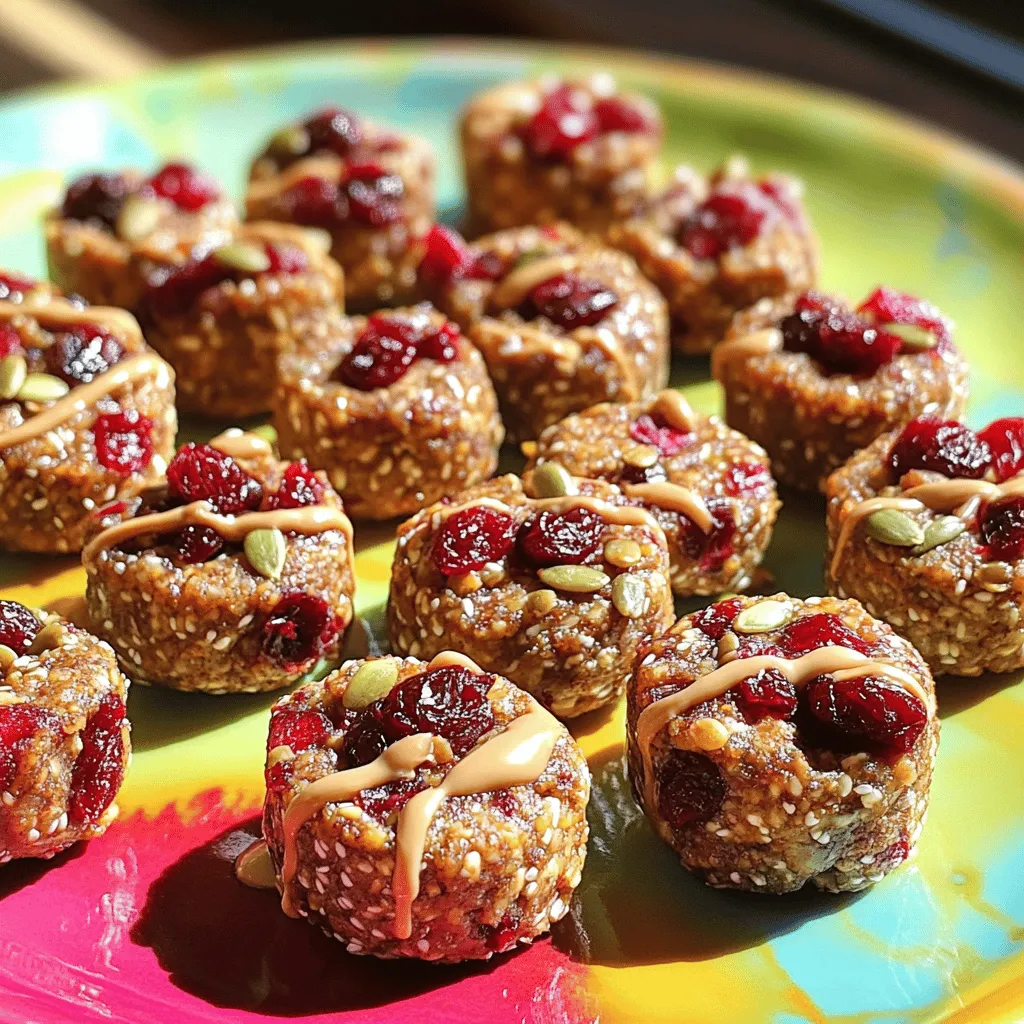
Cherry Tahini Energy Bites Healthy Snack Recipe
Looking for a quick, healthy snack? Let me introduce you to Cherry Tahini Energy Bites! Packed with flavor and nutrition, Read Full Recipe -
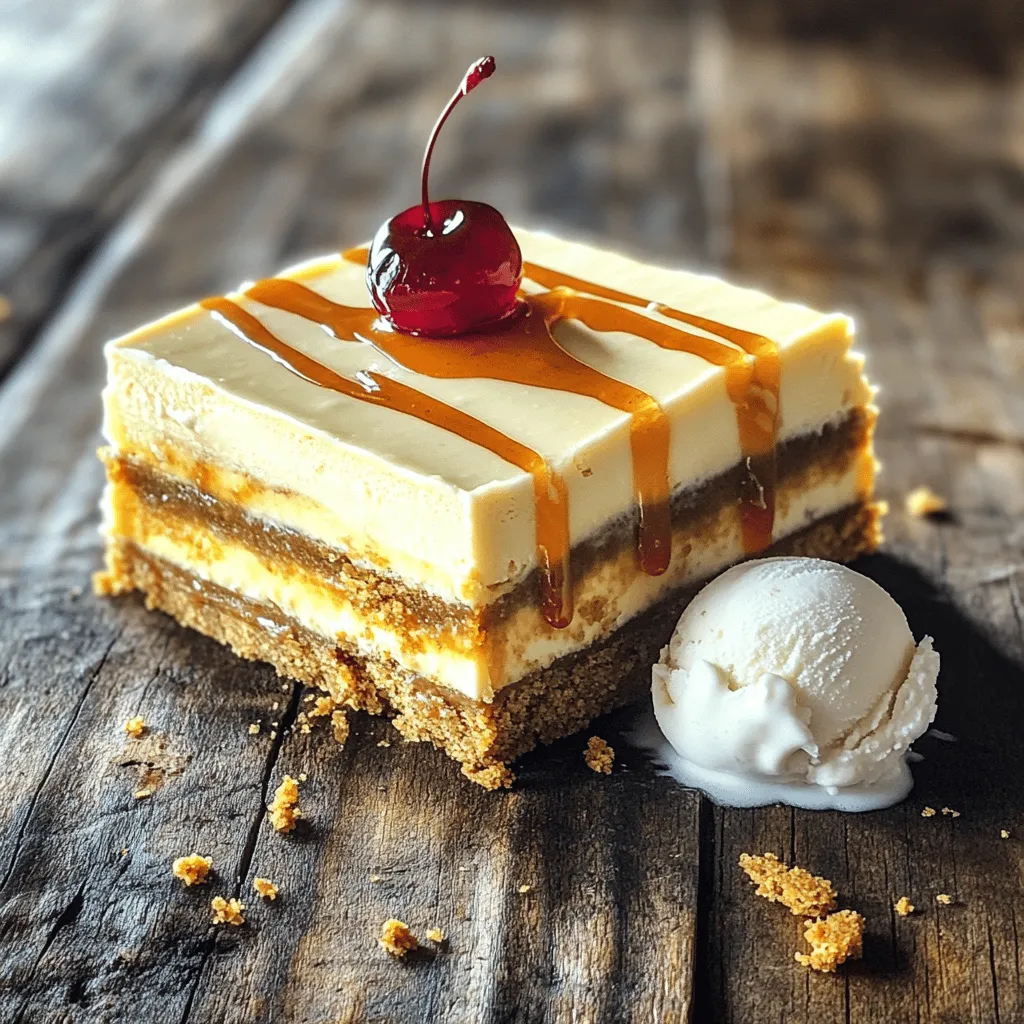
Root Beer Cream Bars Irresistible and Simple Treat
If you love the sweet nostalgia of root beer, you’re in for a treat! Root Beer Cream Bars combine creamy Read Full Recipe -
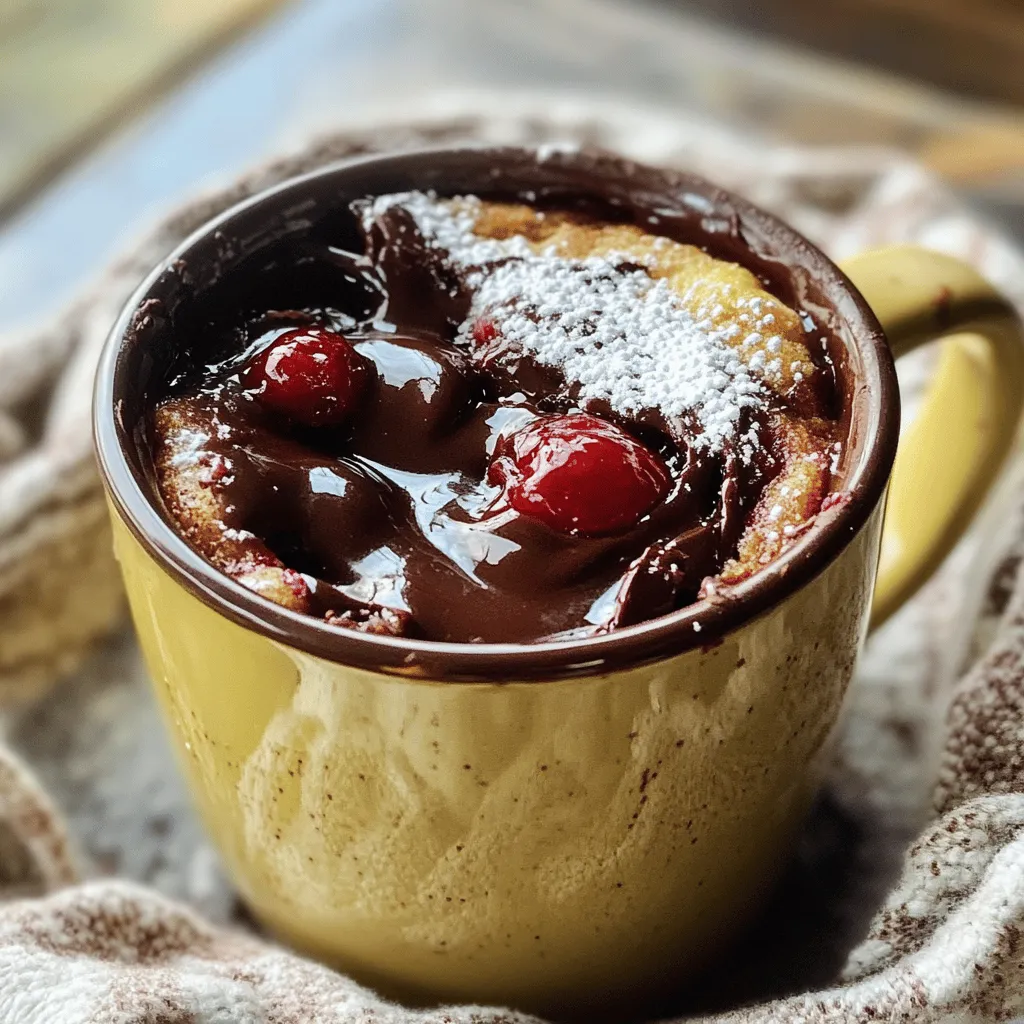
Cherry Chocolate Lava Mug Cake Delightful Recipe
Craving something sweet and quick? You’re in for a treat with my Cherry Chocolate Lava Mug Cake! This recipe packs Read Full Recipe -
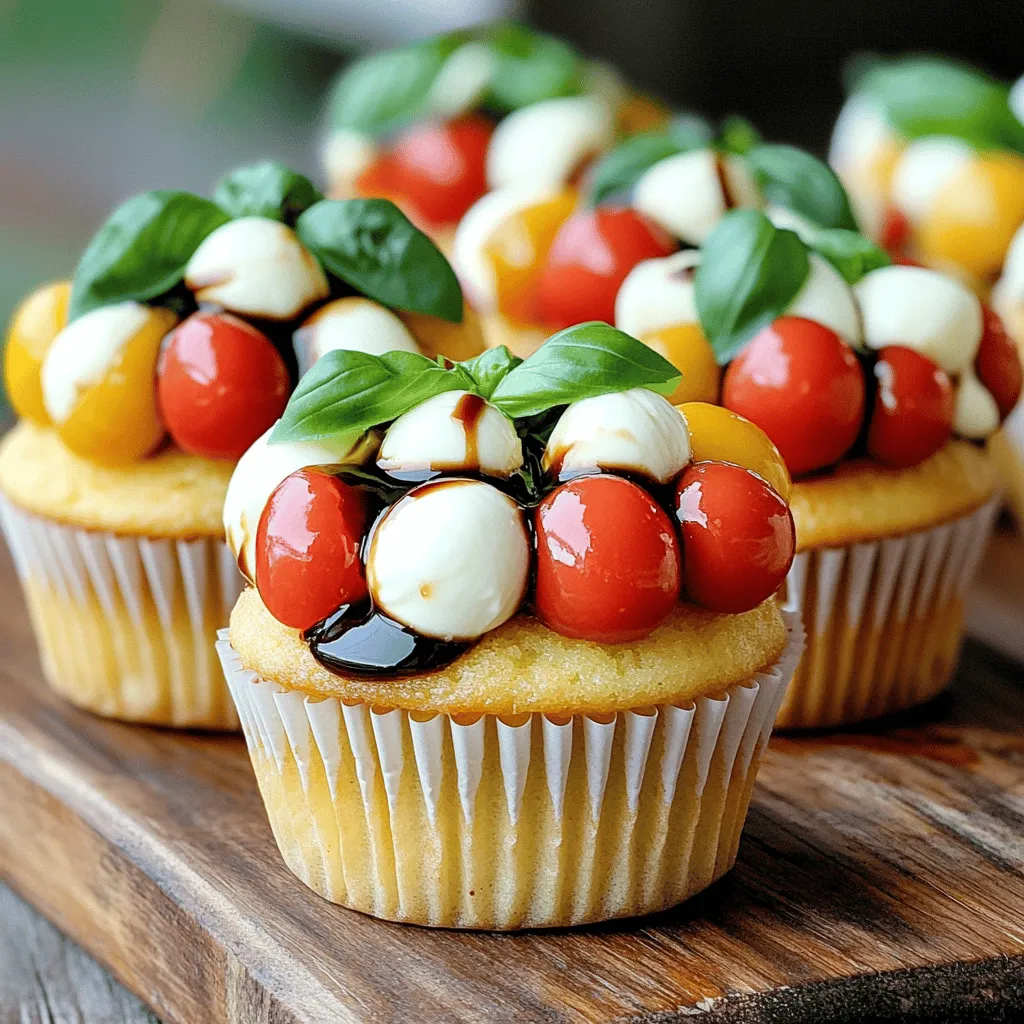
Caprese Stuffed Cupcakes Flavorful and Unique Treat
Are you ready to treat your taste buds to something new? Caprese Stuffed Cupcakes mix fresh flavors and fun in Read Full Recipe -
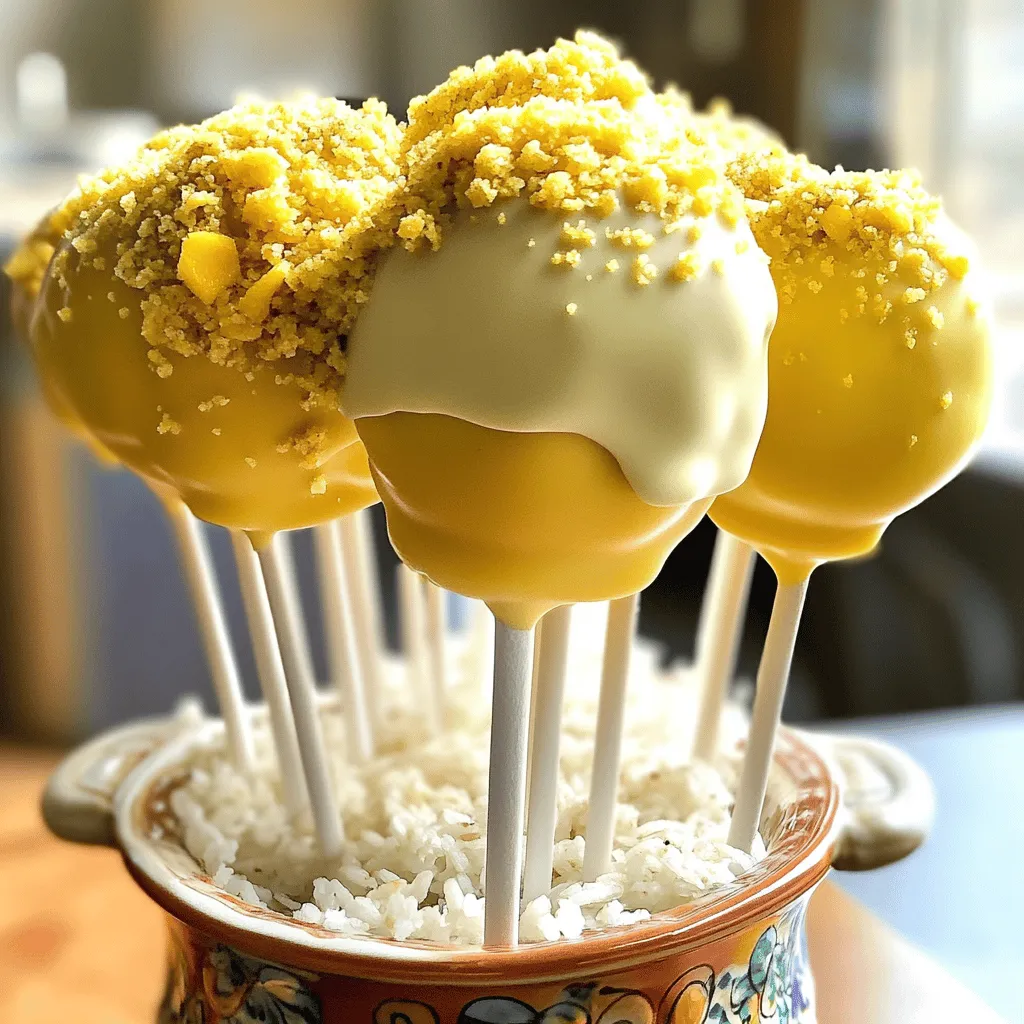
Mango Tajin Cake Pops Tasty and Fun Treats
Craving a unique treat? Try my Mango Tajin Cake Pops! These fun bites blend sweet mango with the zesty kick Read Full Recipe -
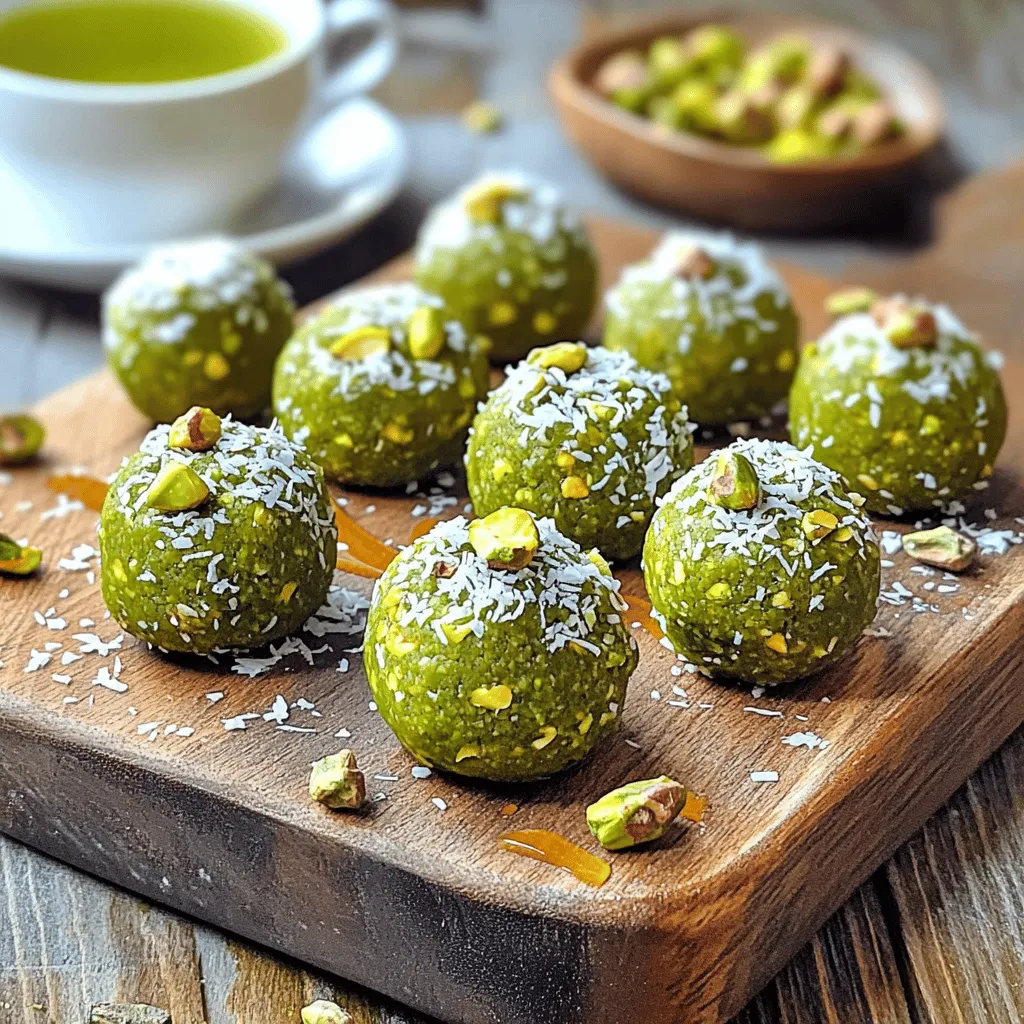
Matcha Pistachio Energy Bites Nourishing Snack Option
Looking for a tasty and healthy snack? Let me introduce you to Matcha Pistachio Energy Bites! Packed with oats, nuts, Read Full Recipe -
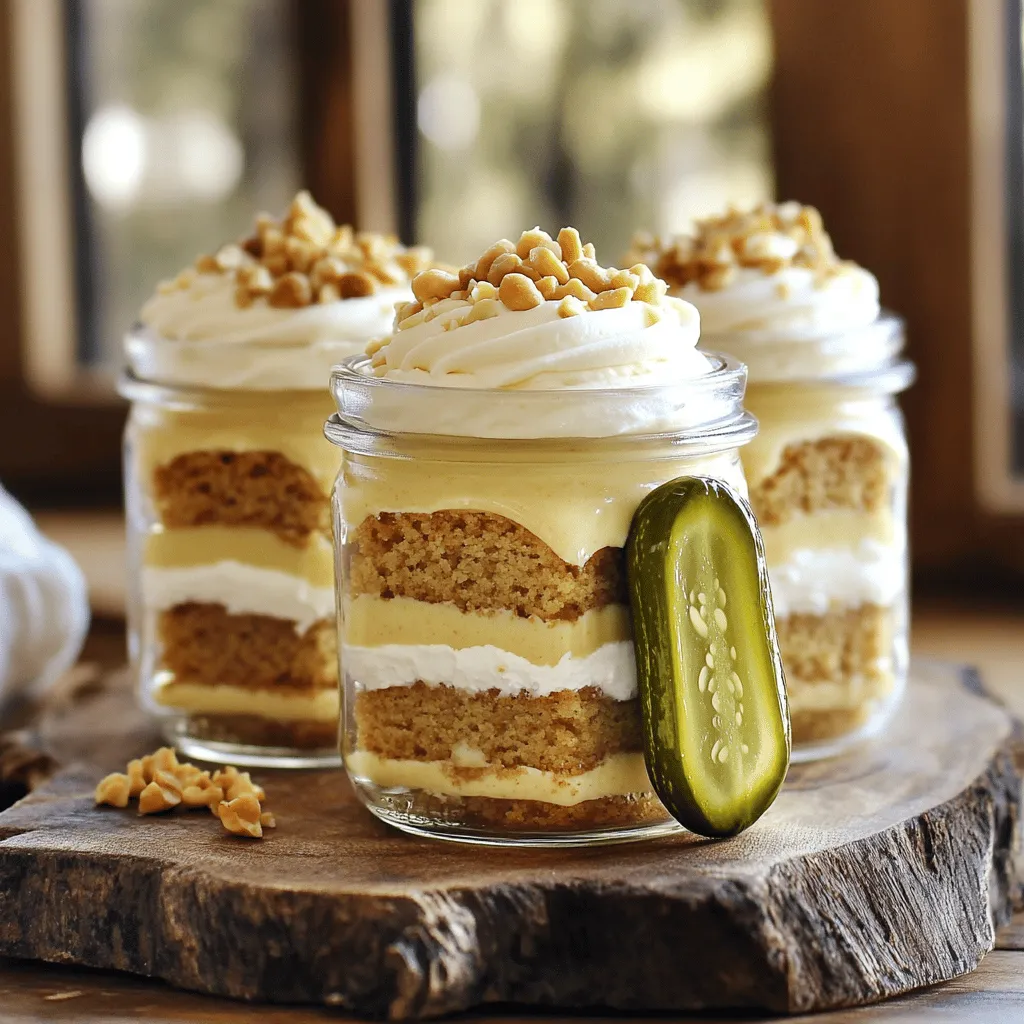
Peanut Butter Pickle Cake Jars Delightful and Unique Treat
Are you ready to try something truly different? Peanut Butter Pickle Cake Jars combine sweet and tangy flavors in a Read Full Recipe -
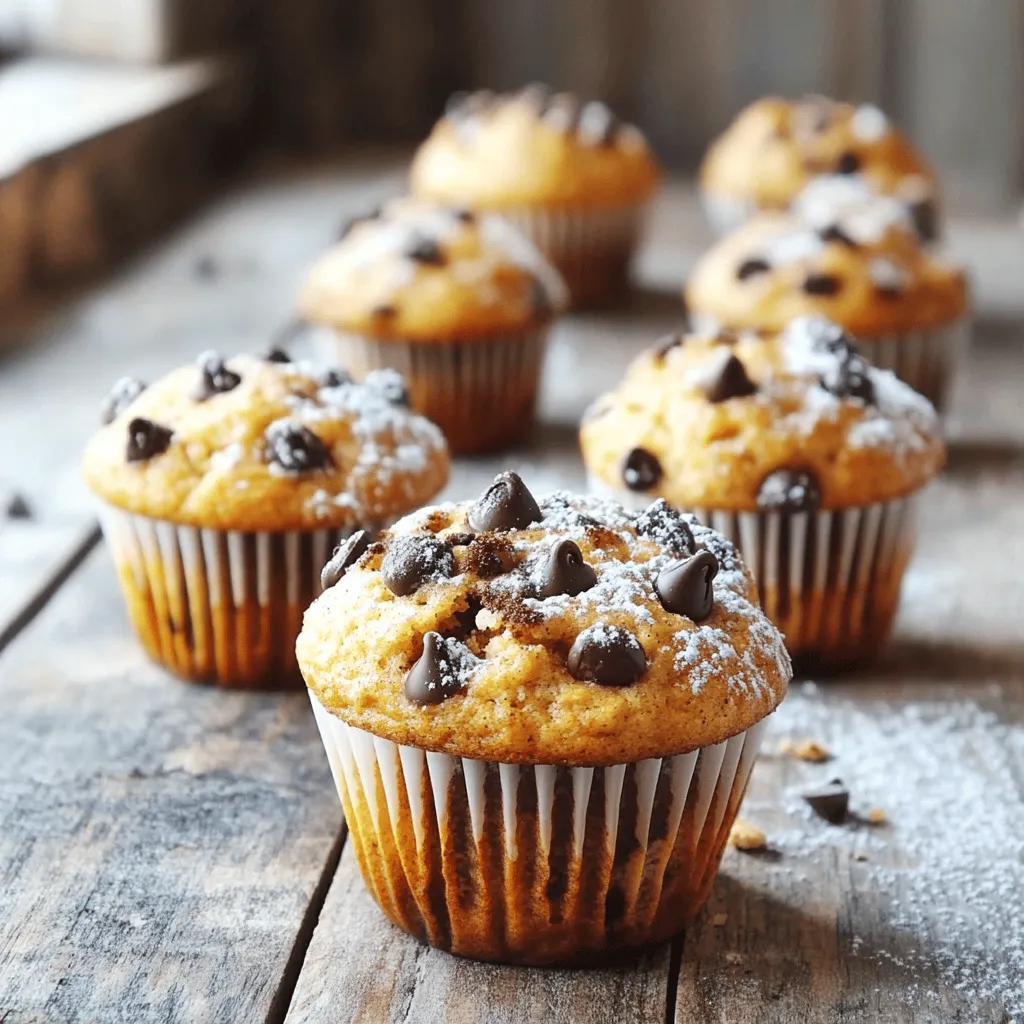
Healthy Banana Oat Muffins Nutrient-Packed Recipe
Looking for a tasty snack that’s packed with nutrients? You’re in the right place! My Healthy Banana Oat Muffins recipe Read Full Recipe

hey,
i’m !
I’m so happy you’re here!
I pour heart and skill into every recipe I create. I know you’ll taste the difference now let’s enjoy this flavorful adventure together.

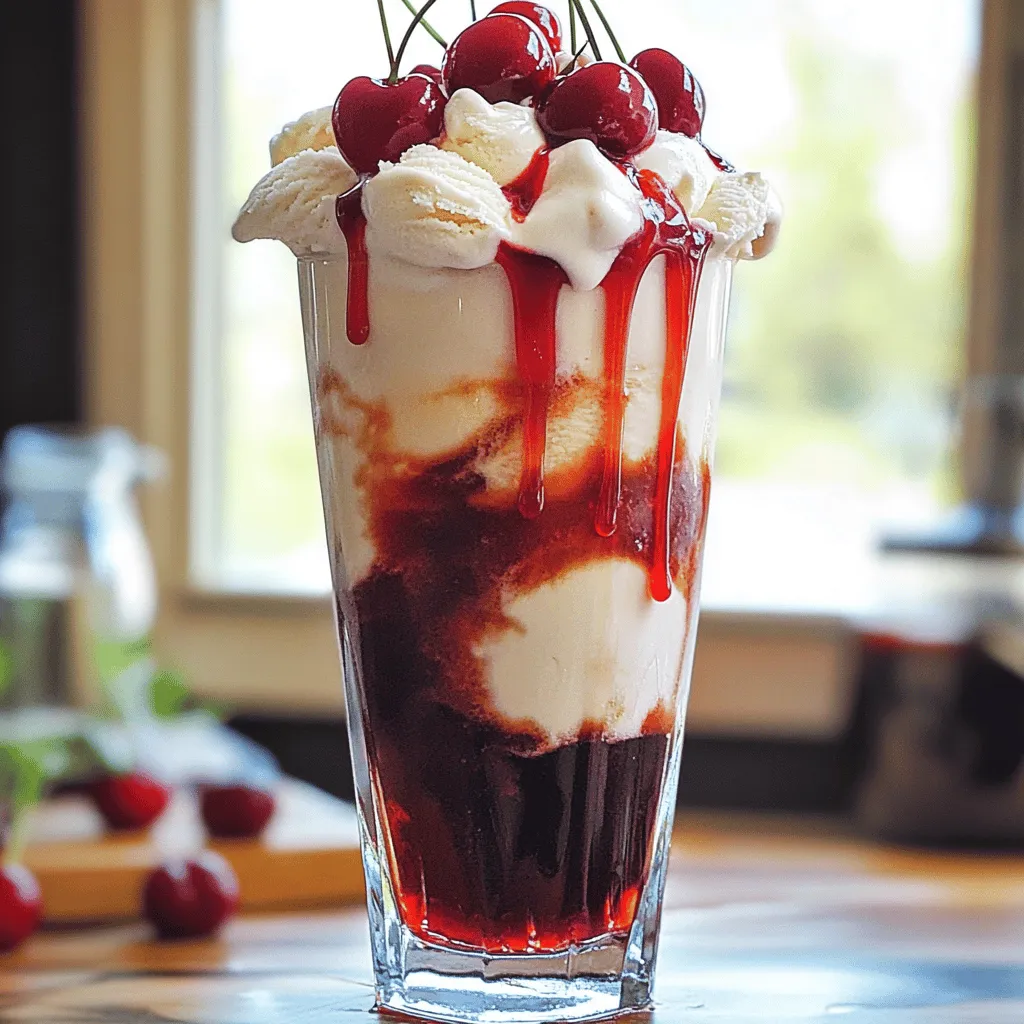
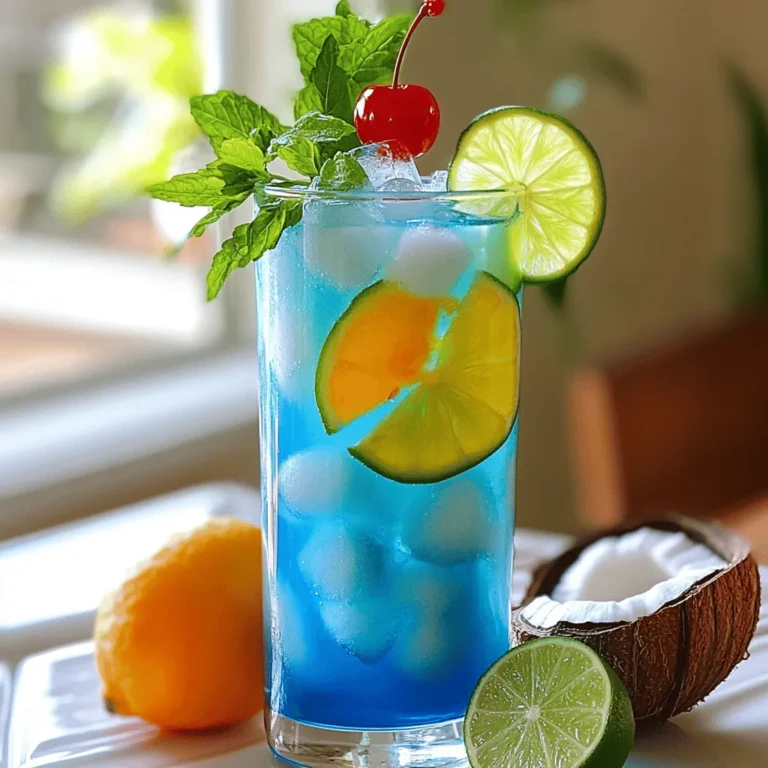
Cherry Cola Cream Float Refreshing and Easy Delight
Looking for a fun and tasty treat? The Cherry Cola Cream Float is your answer! This easy-to-make drink combines rich flavors with a fizzy…