

Latest & Greatest
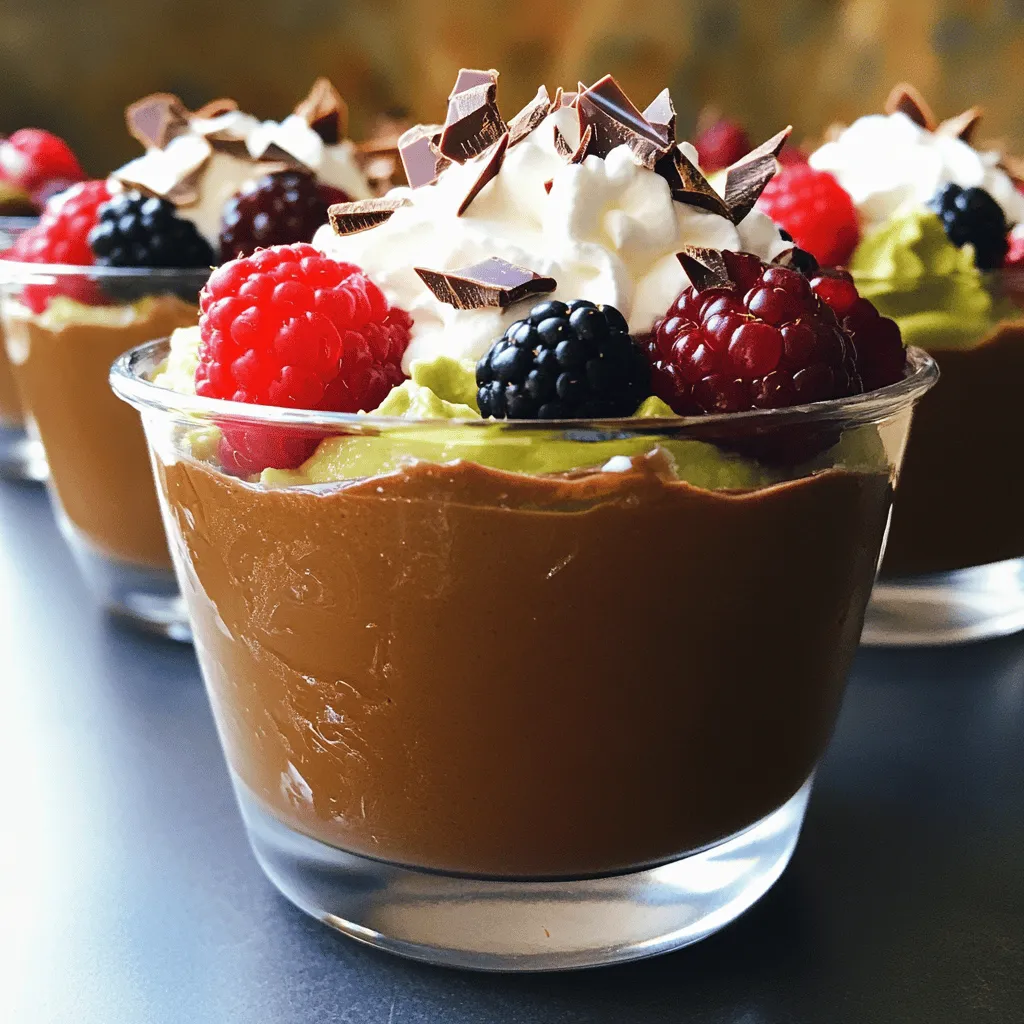
Vegan Chocolate Avocado Mousse Rich and Velvety Delight
Craving a delicious dessert that feels rich but is totally guilt-free? Look no further! This Vegan Chocolate Avocado Mousse is
Read more…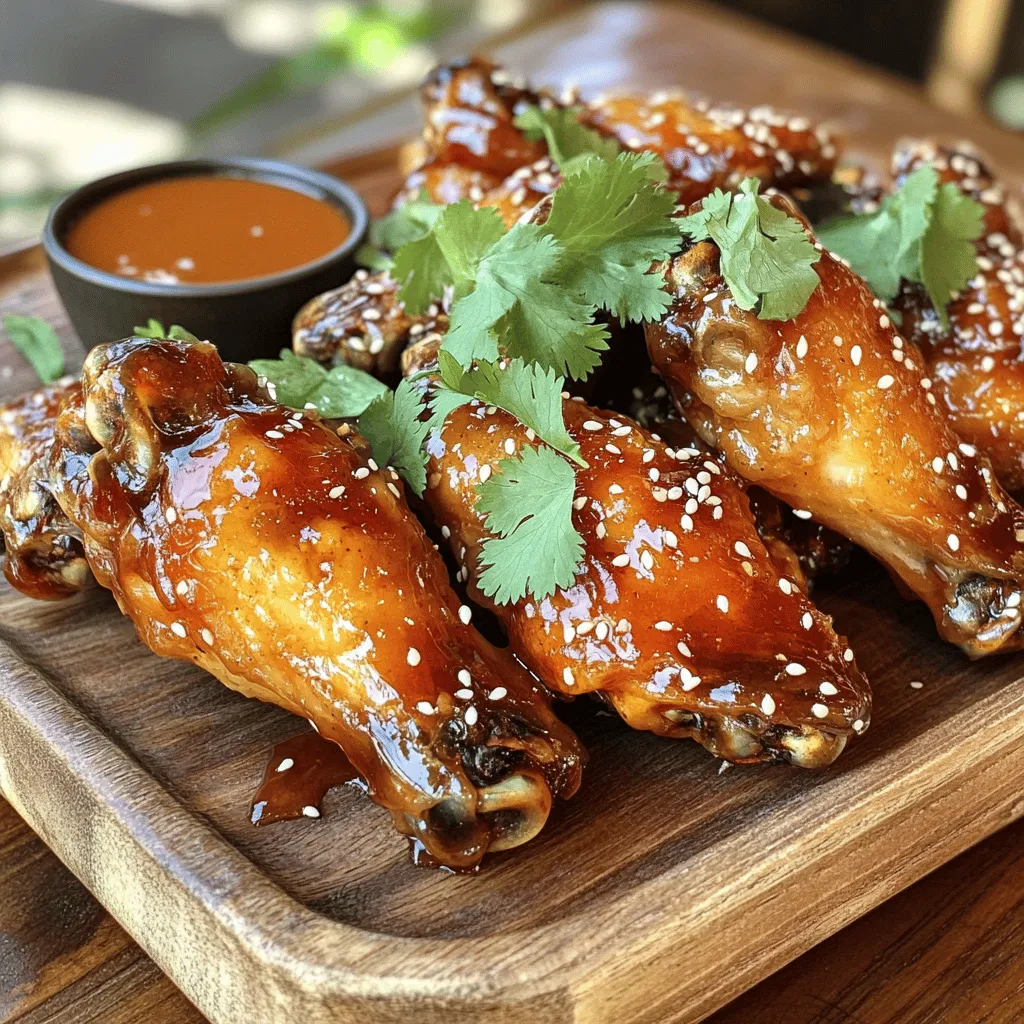
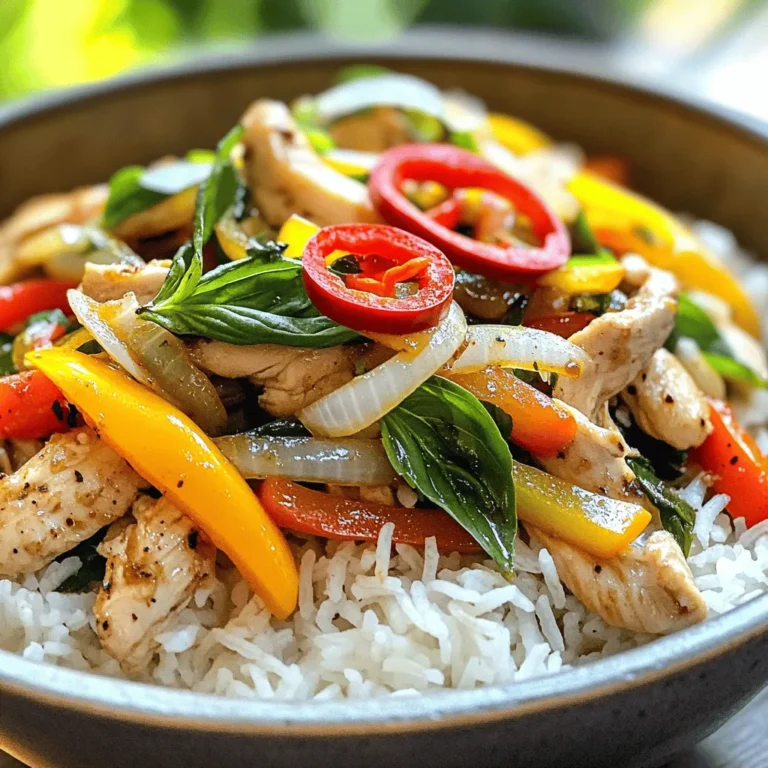
Sweet and Spicy Chicken Wings Irresistible Recipe
Looking for a delicious recipe that can wow your guests? Try my Sweet and Spicy Chicken Wings! This mouthwatering dish
Read more…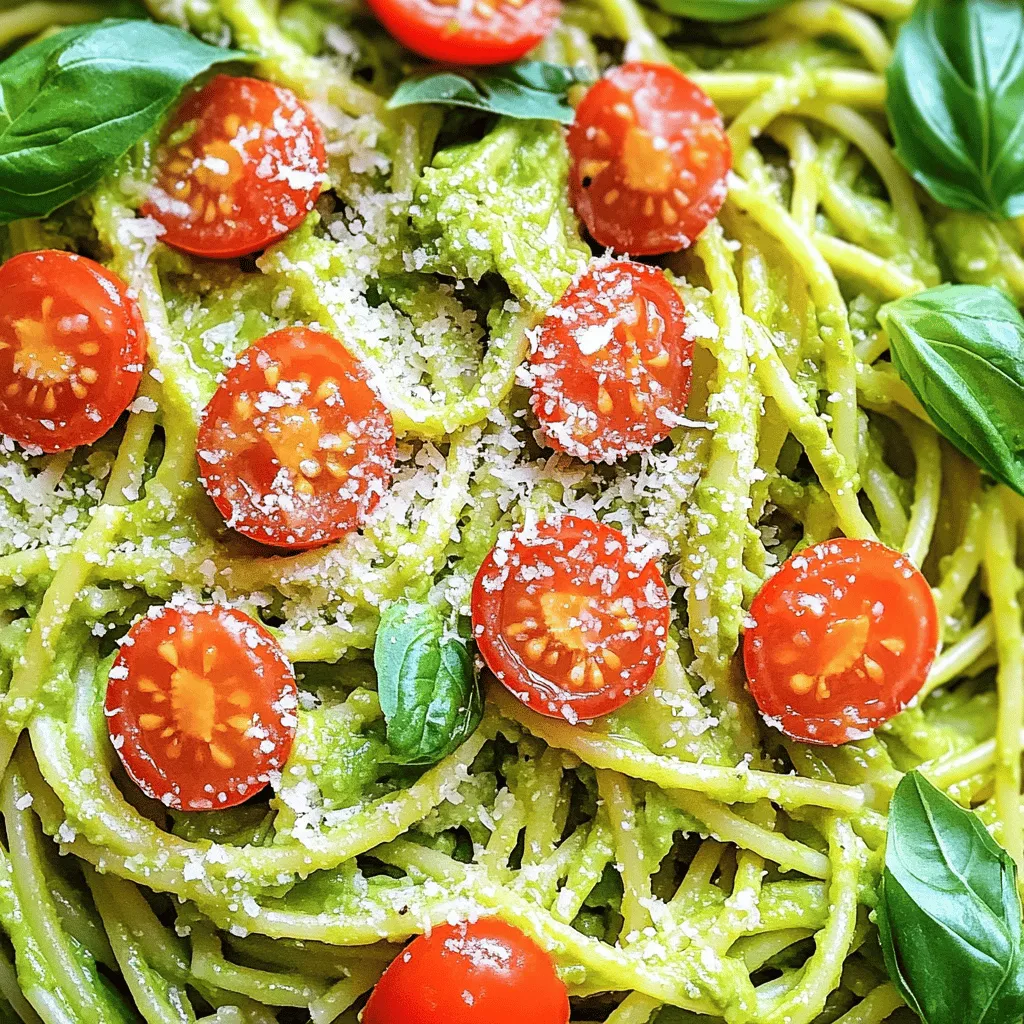
Creamy Avocado Pasta Flavorful and Easy Recipe
Are you looking for a quick, tasty meal? Creamy Avocado Pasta is your answer! This colorful dish combines ripe avocados,
Read more…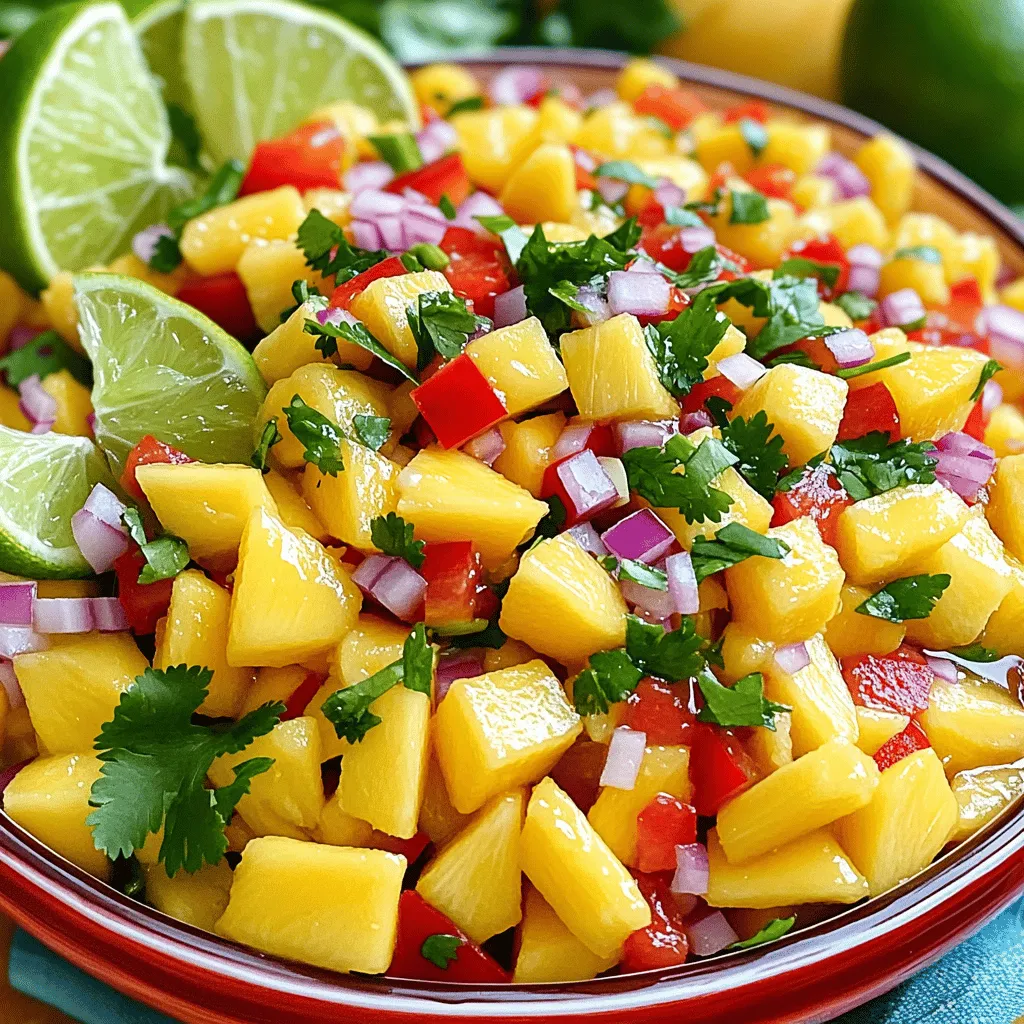
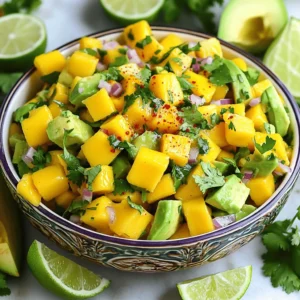
Tropical Mango Salsa Fresh and Flavorful Recipe
Looking to brighten up your meals? My Tropical Mango Salsa is fresh, colorful, and bursting with flavor! In this post,
Read more…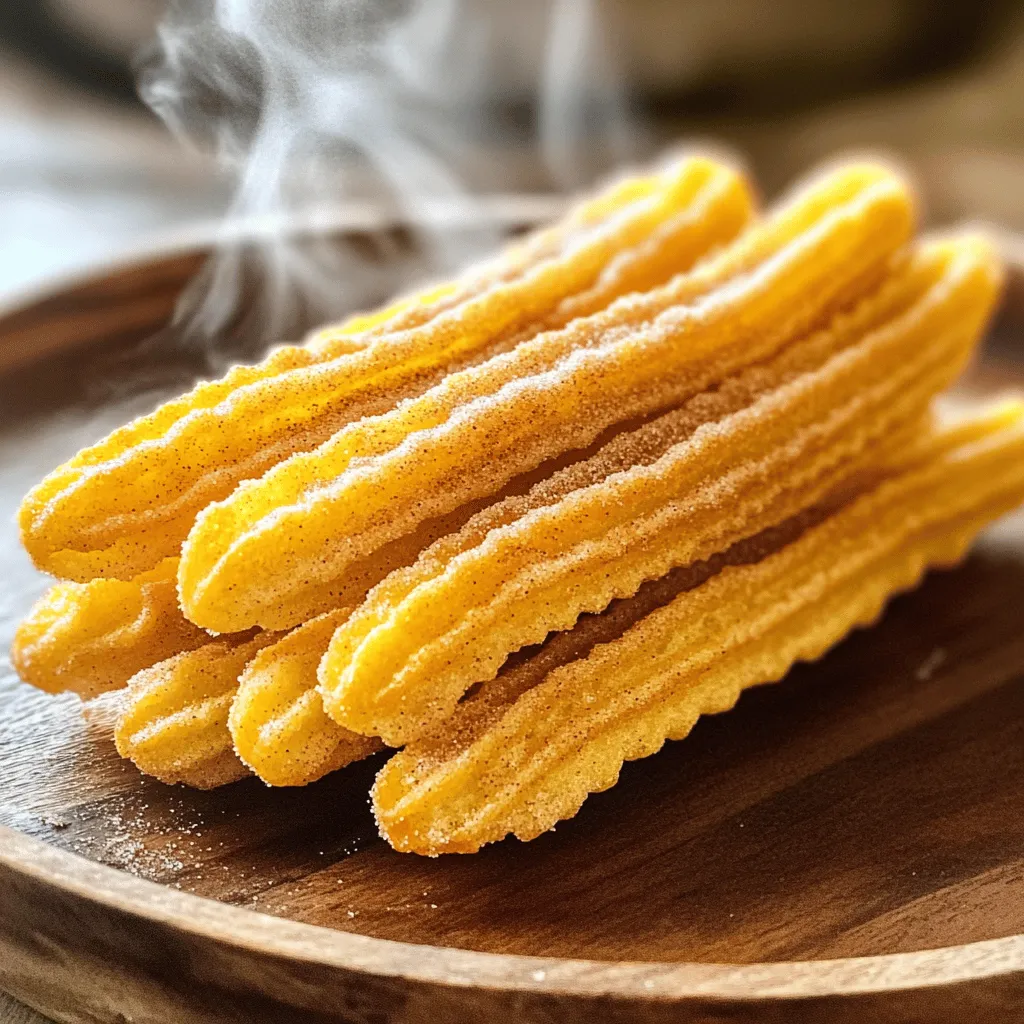
Cinnamon Sugar Churros Delightful Easy Sweet Treat
Get ready to dive into the sweet, crispy world of cinnamon sugar churros! In this guide, I’ll show you how
Read more…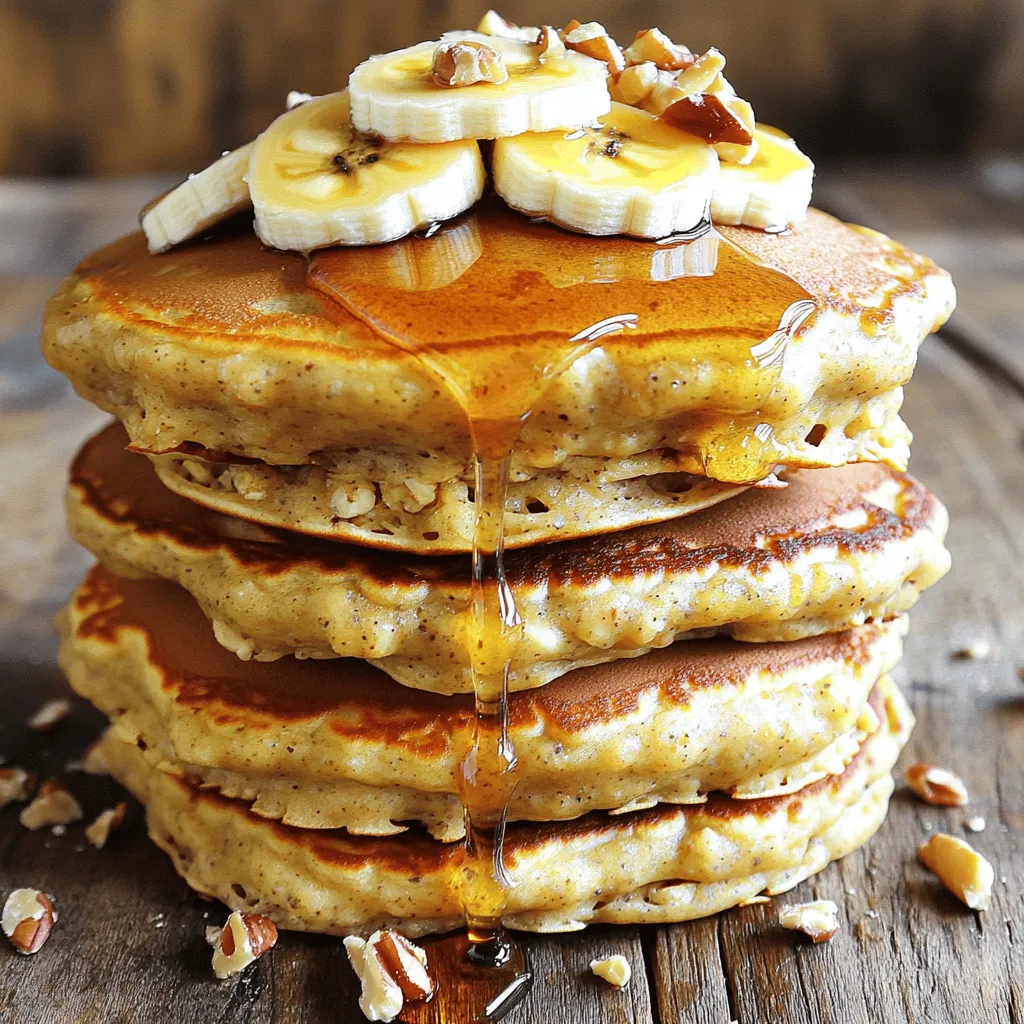
Savory Banana Oatmeal Pancakes Easy Breakfast Treat
Do you crave a quick, tasty breakfast? Try my savory banana oatmeal pancakes! They’re easy to make and packed with
Read more…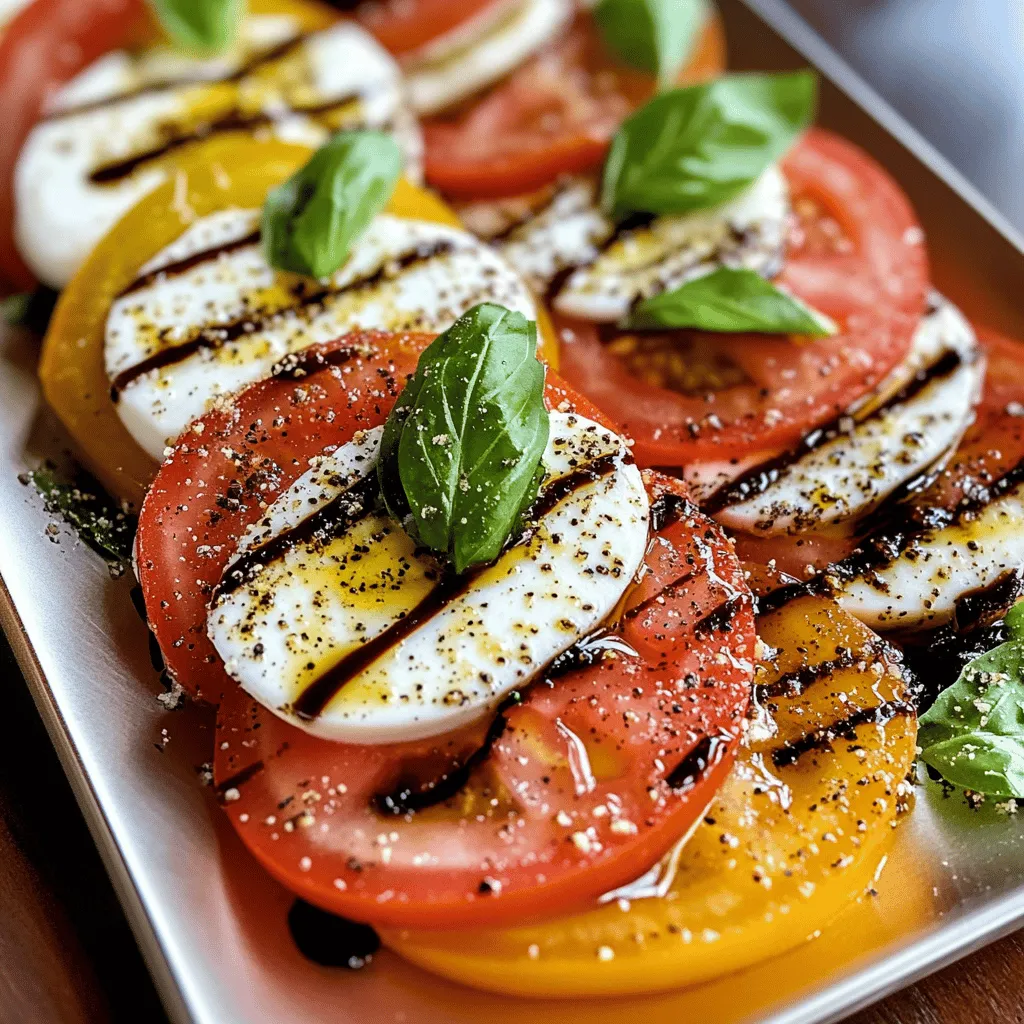
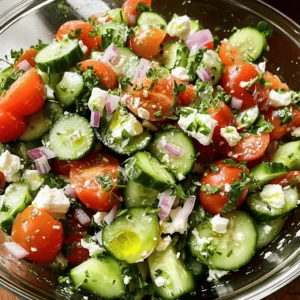
Classic Caprese Salad with Balsamic Reduction Delight
If you crave the fresh taste of summer all year round, Classic Caprese Salad with Balsamic Reduction is your answer.
Read more…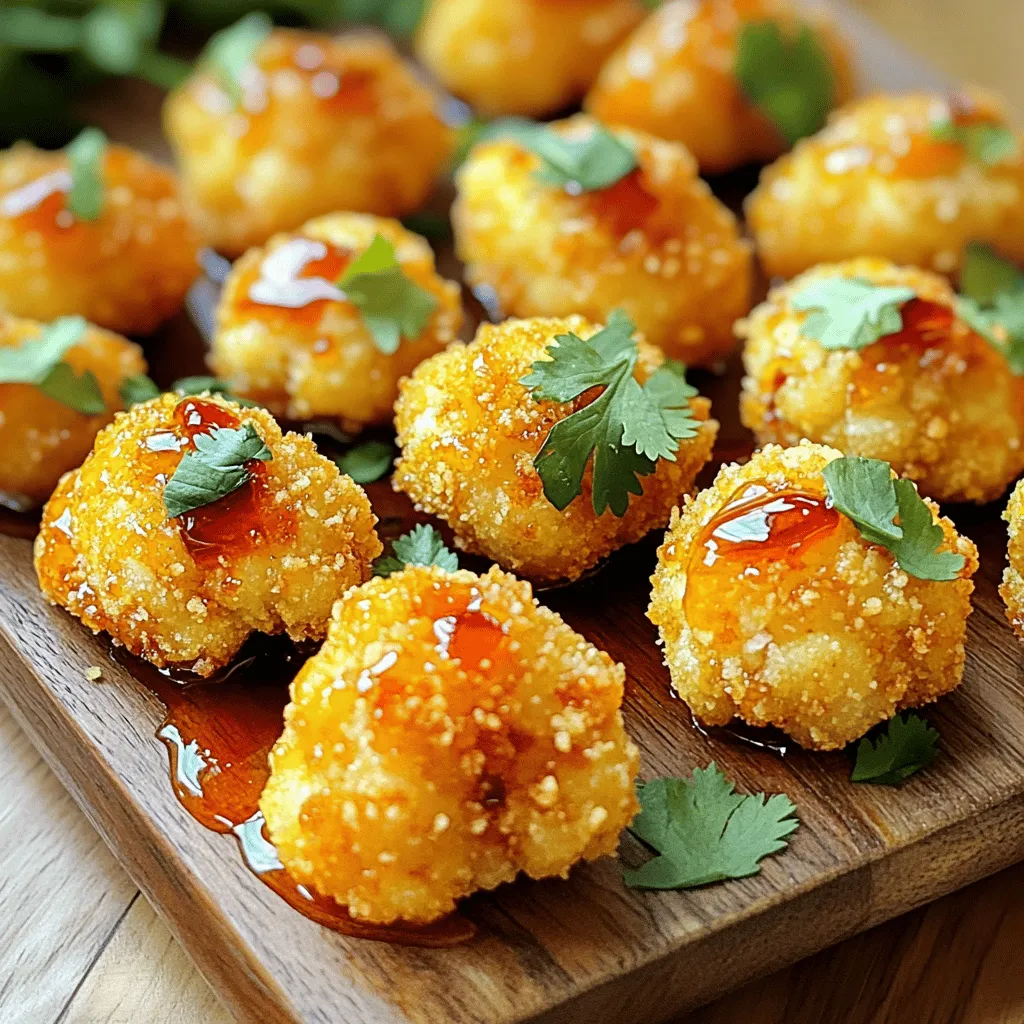
Sriracha Honey Cauliflower Bites Tasty and Simple Snack
Are you ready to spice up your snacking? These Sriracha Honey Cauliflower Bites are the perfect mix of sweet and
Read more…browse recipes


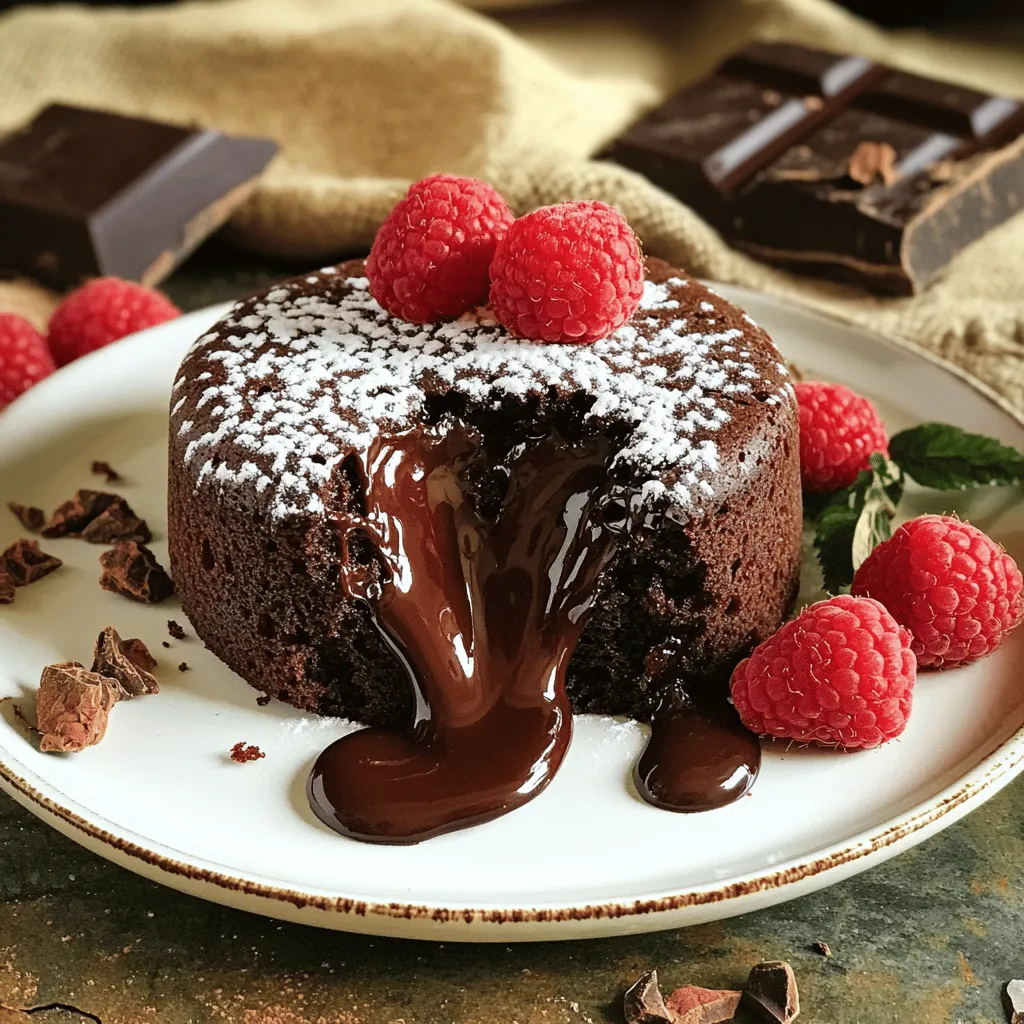
Chocolate Lava Cake Rich and Decadent Delight
If you’re craving a treat that melts in your mouth, this Chocolate Lava Cake recipe is for you! With a rich, gooey center and…
My Latest Desserts

No-Bake Chocolate Oatmeal Bars Simple and Tasty Treat
Looking for a simple and tasty treat that’s also healthy? You’ve found it! My No-Bake Chocolate Oatmeal Bars are a Read Full Recipe-
Peach Pie Cruffins Delightful and Simple Recipe
Are you ready to dive into a sweet and flaky treat? Peach Pie Cruffins are a delightful twist on classic Read Full Recipe -
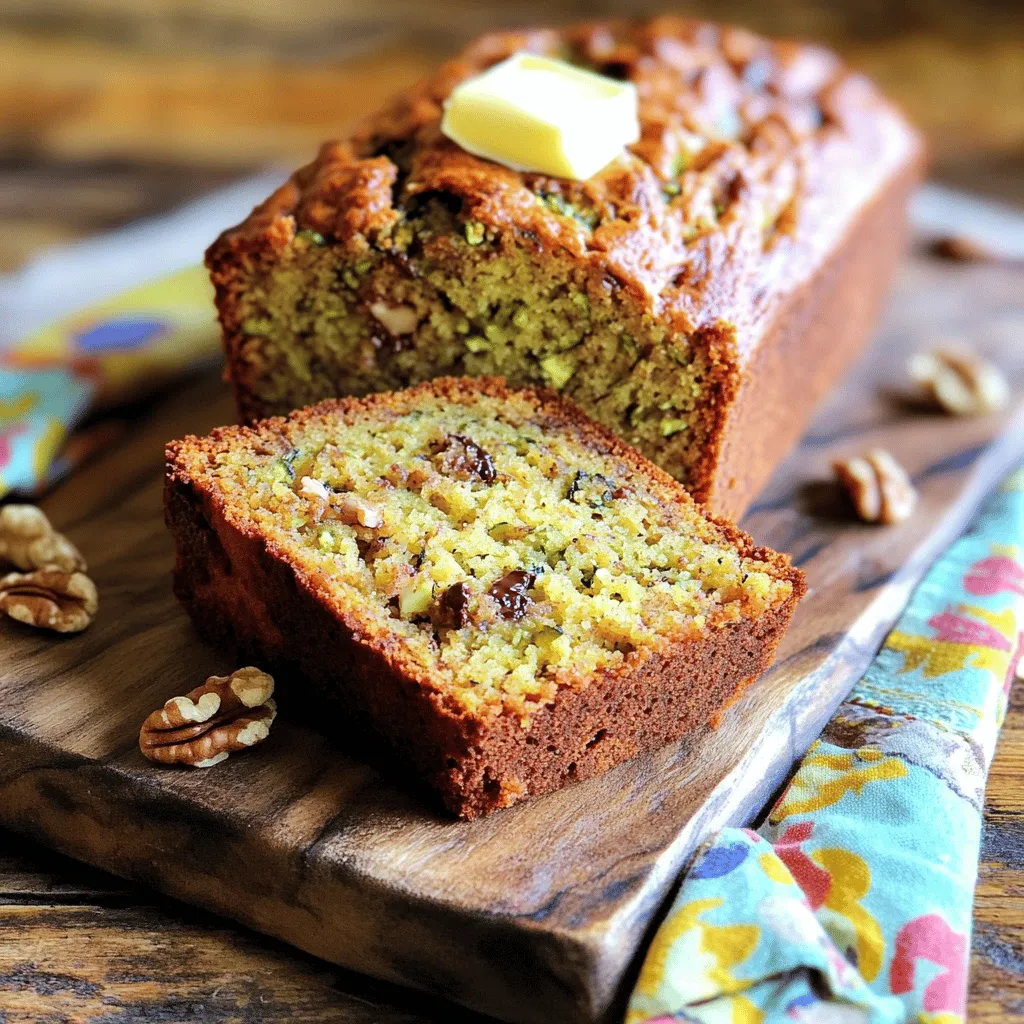
Retro Zucchini Bread Healthy and Flavorful Delight
Are you ready to bake a delicious, healthy treat? Retro Zucchini Bread is packed with flavor and goodness. This simple Read Full Recipe -
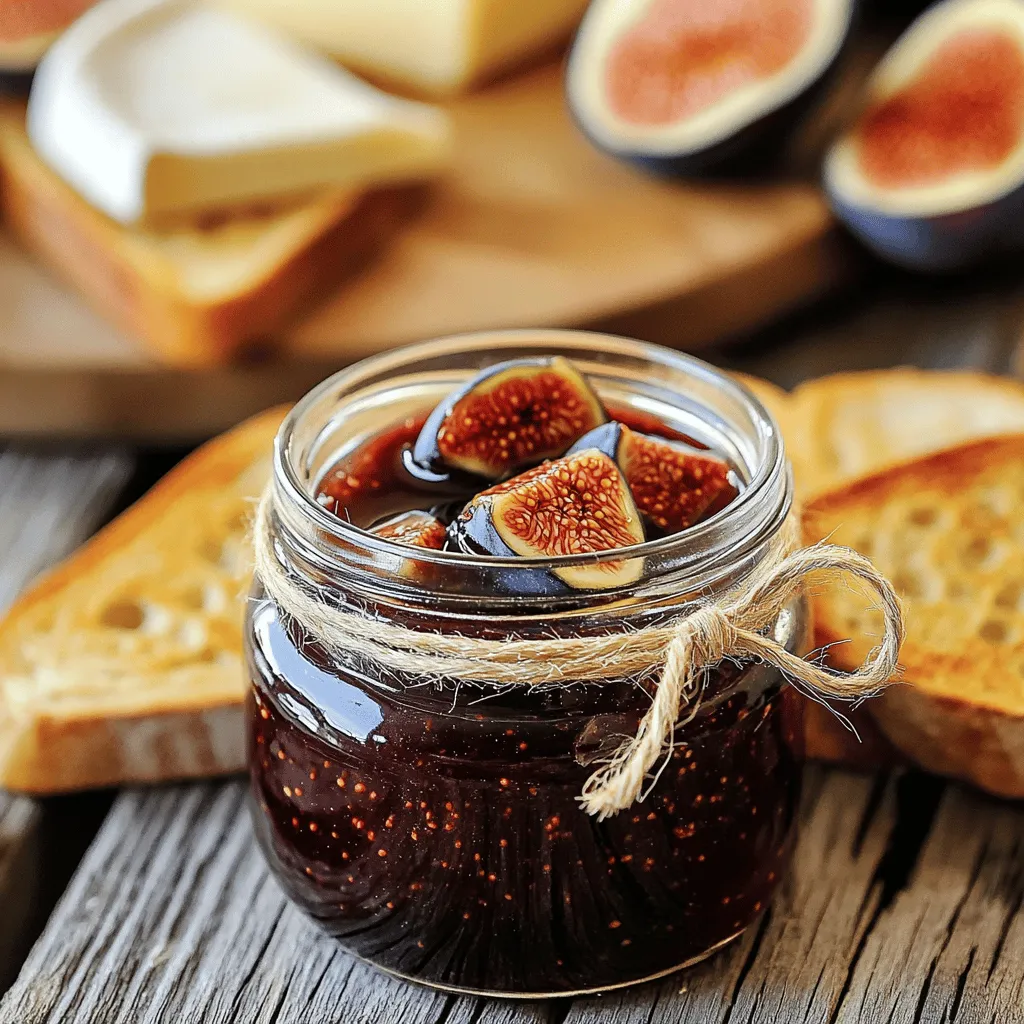
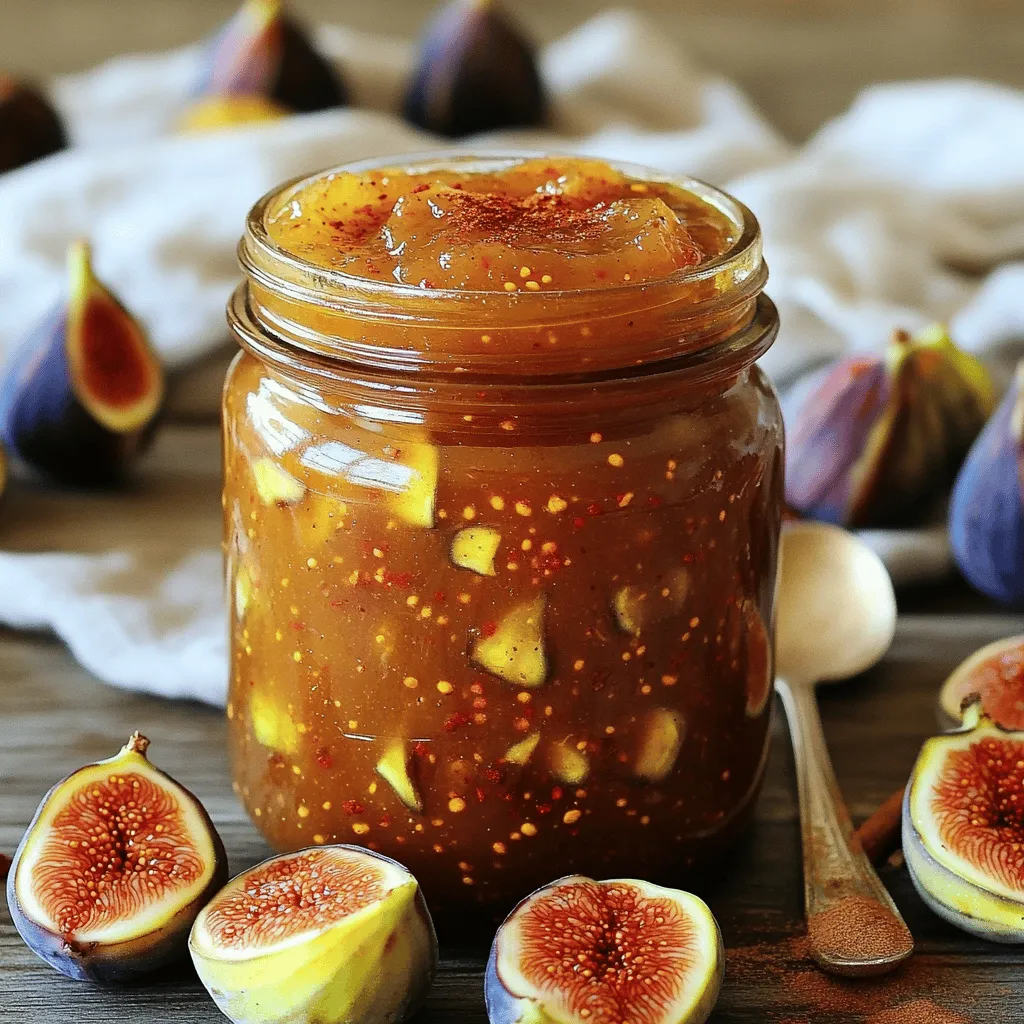
Classic Fig Jam Simple and Delicious Recipe
Are you ready to savor the sweet taste of summer year-round? Making classic fig jam is simple and rewarding. With Read Full Recipe -
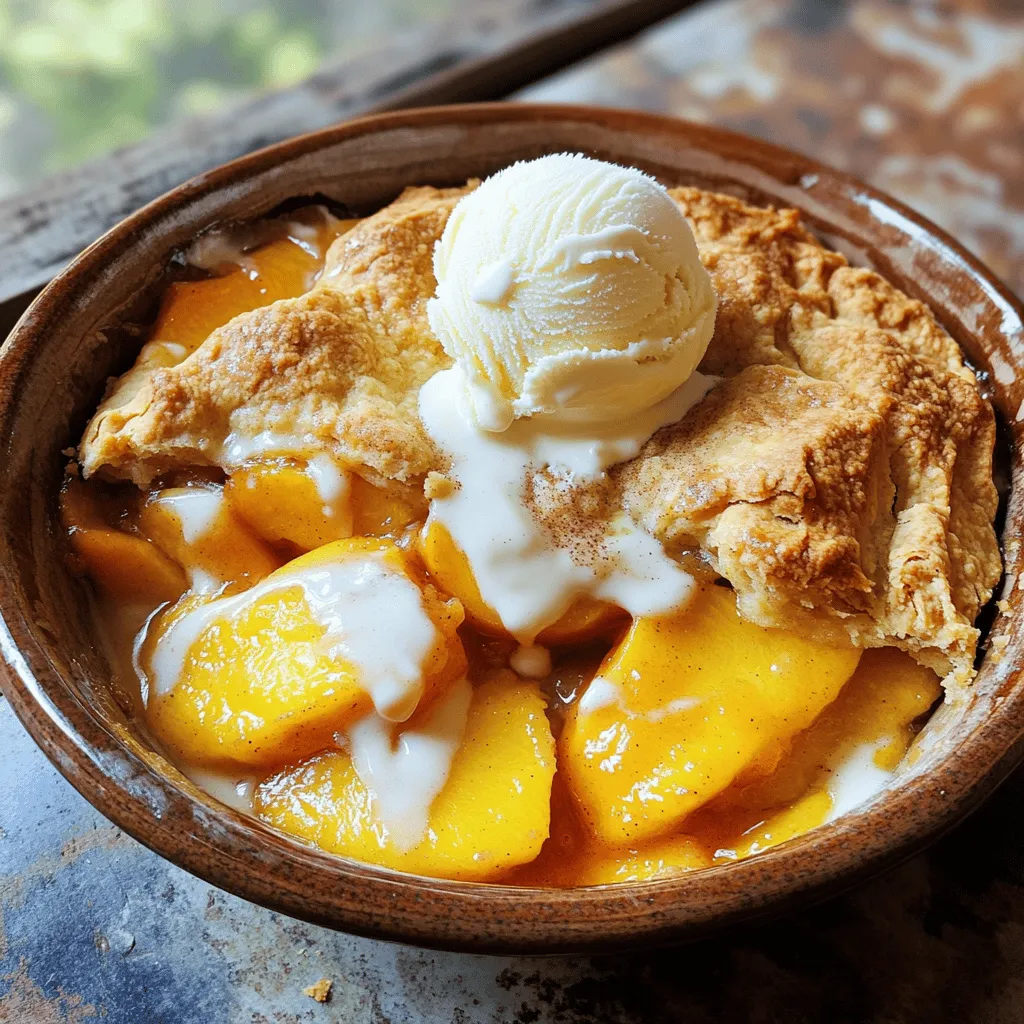
Fresh Peach Cobbler Flavorful and Easy Recipe Guide
Craving a sweet treat that showcases the juicy goodness of fresh peaches? You’re in the right place! In this guide, Read Full Recipe -
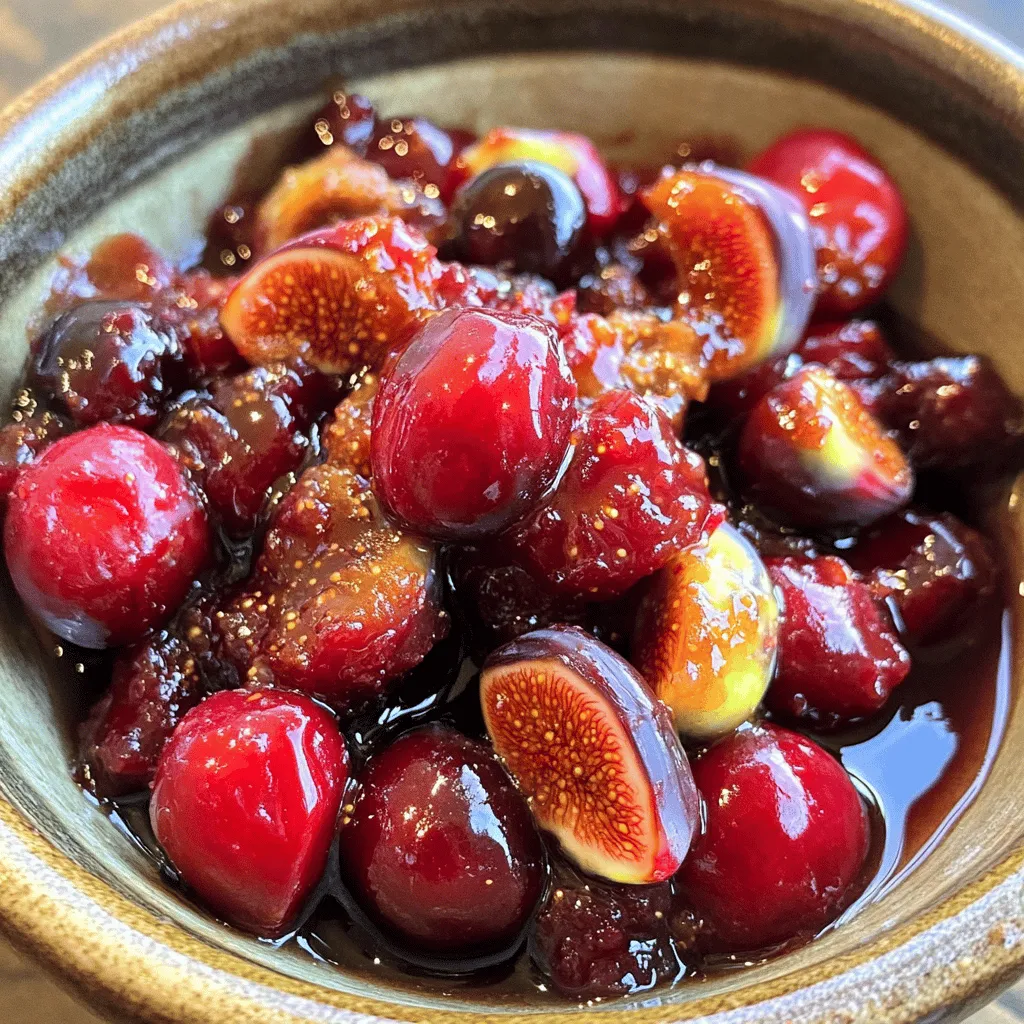
Ginger Fig Cherry Compote Flavorful and Easy Recipe
Are you ready to explore a dish that bursts with flavor? This Ginger Fig Cherry Compote is not only easy Read Full Recipe -
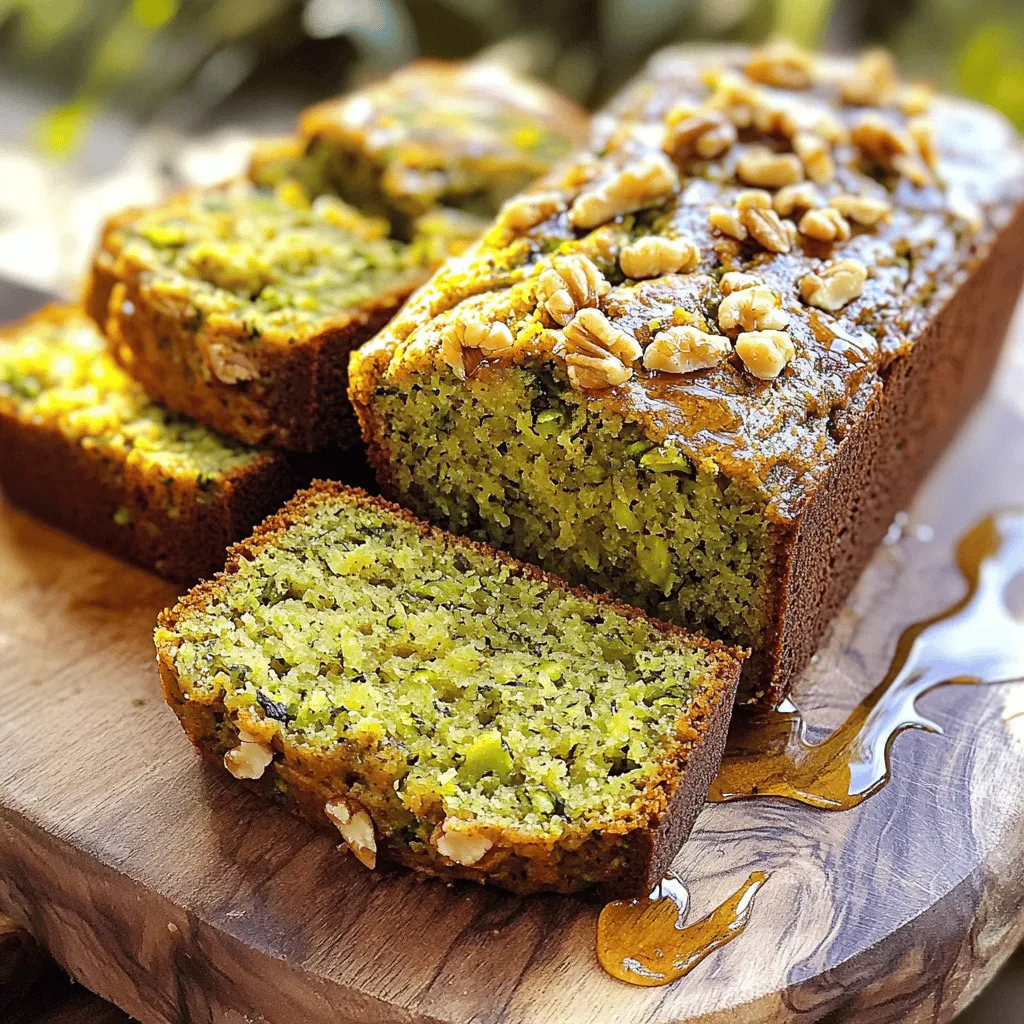
Zucchini Banana Bread Flavorful and Moist Recipe
Do you love warm, fresh bread that bursts with flavor? You’re in the right spot! This Zucchini Banana Bread recipe Read Full Recipe -
Fig Cake with Almond and Honey Delight Recipe
Are you ready to indulge in a delightful treat? My Fig Cake with Almond and Honey recipe combines rich flavors Read Full Recipe -
Simple Fig Jam Easy Recipe to Savor and Enjoy
Are you ready to make a burst of flavor with your next kitchen project? This Simple Fig Jam recipe is Read Full Recipe -
Mini Vanilla Cream Tarts with Raspberries Delight
Welcome to the sweet world of Mini Vanilla Cream Tarts with Raspberries! Today, I’ll show you how to make these Read Full Recipe


hey,
i’m !
I’m so happy you’re here!
I pour heart and skill into every recipe I create. I know you’ll taste the difference now let’s enjoy this flavorful adventure together.


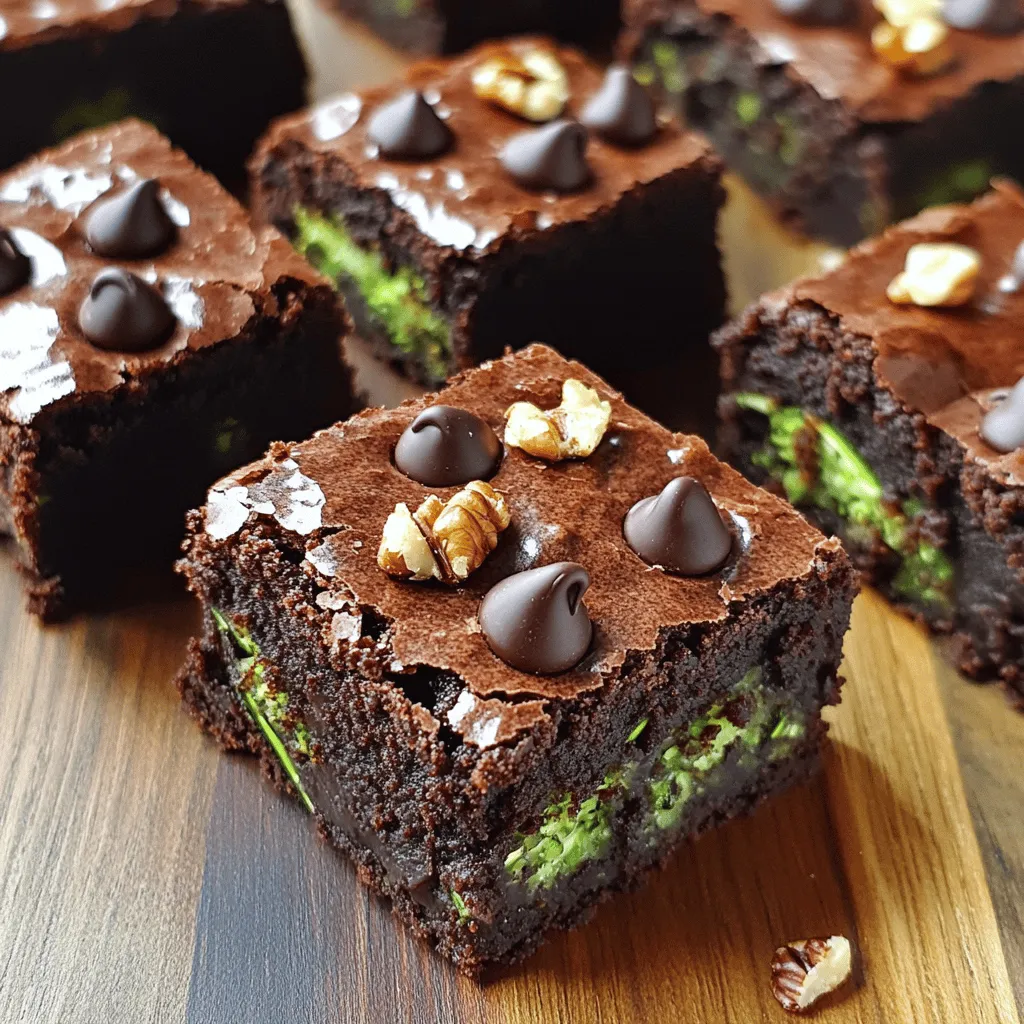
Healthy Zucchini Brownies Moist and Nutritious Treat
Are you ready to enjoy a treat that’s both delicious and healthy? These Healthy Zucchini Brownies are moist, rich, and guilt-free! Packed with wholesome…