Latest & Greatest
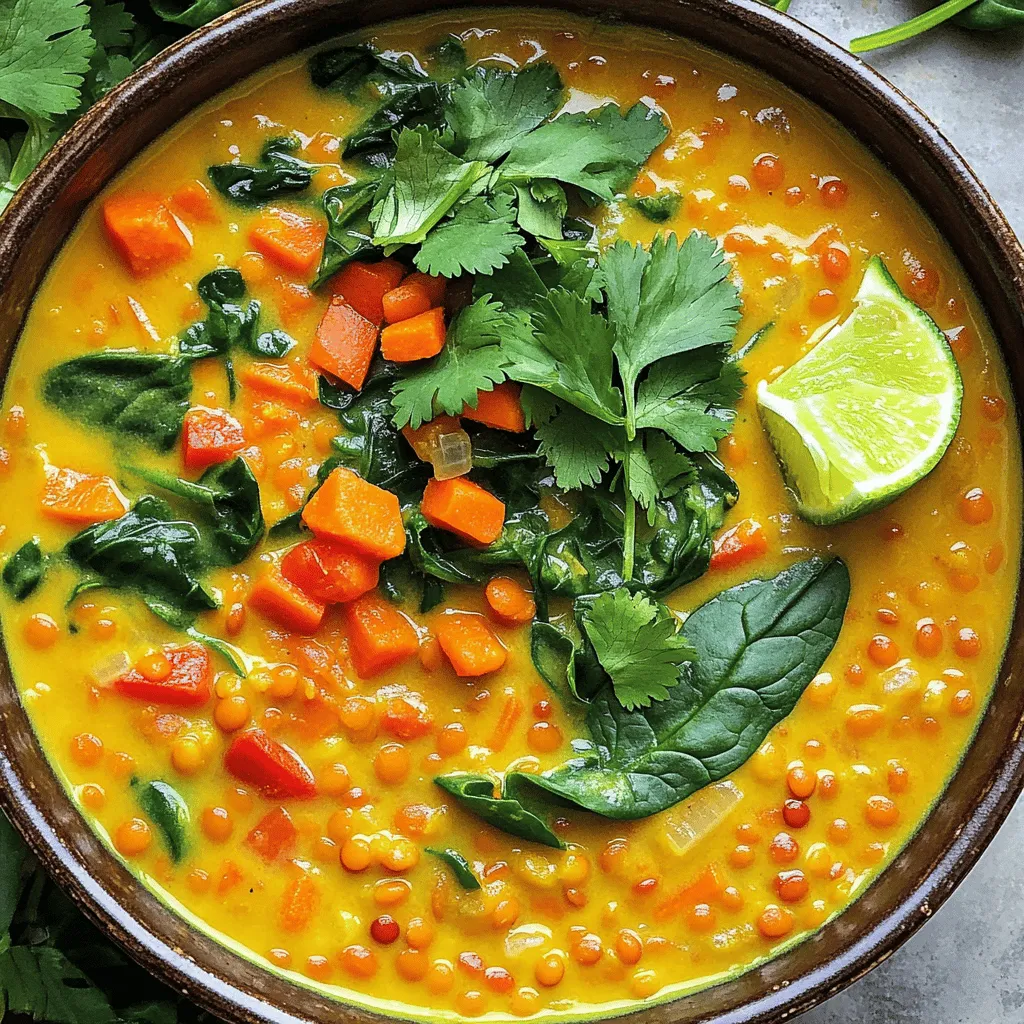
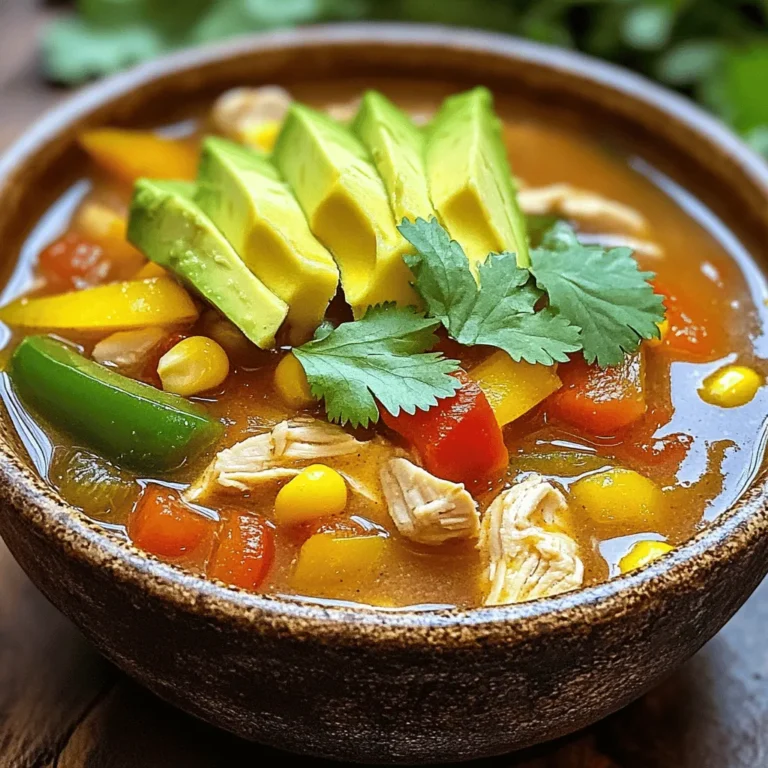
Coconut Curry Lentil Soup Hearty and Nourishing Dish
Looking for a warm, hearty dish that delights your taste buds and nourishes your body? Say hello to Coconut Curry
Read more…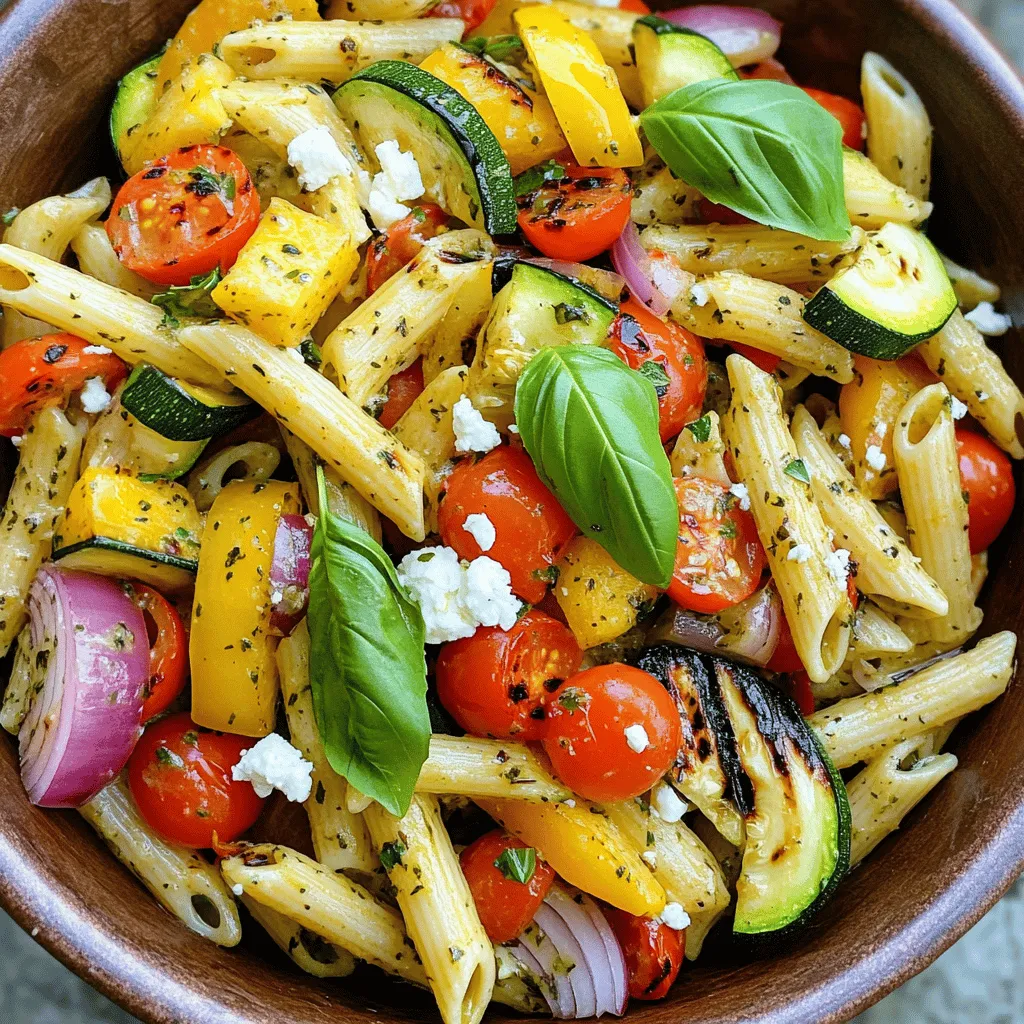
Grilled Vegetable Pasta Salad Flavorful and Satisfying
Are you ready to elevate your pasta salad game? This Grilled Vegetable Pasta Salad is not just a side dish;
Read more…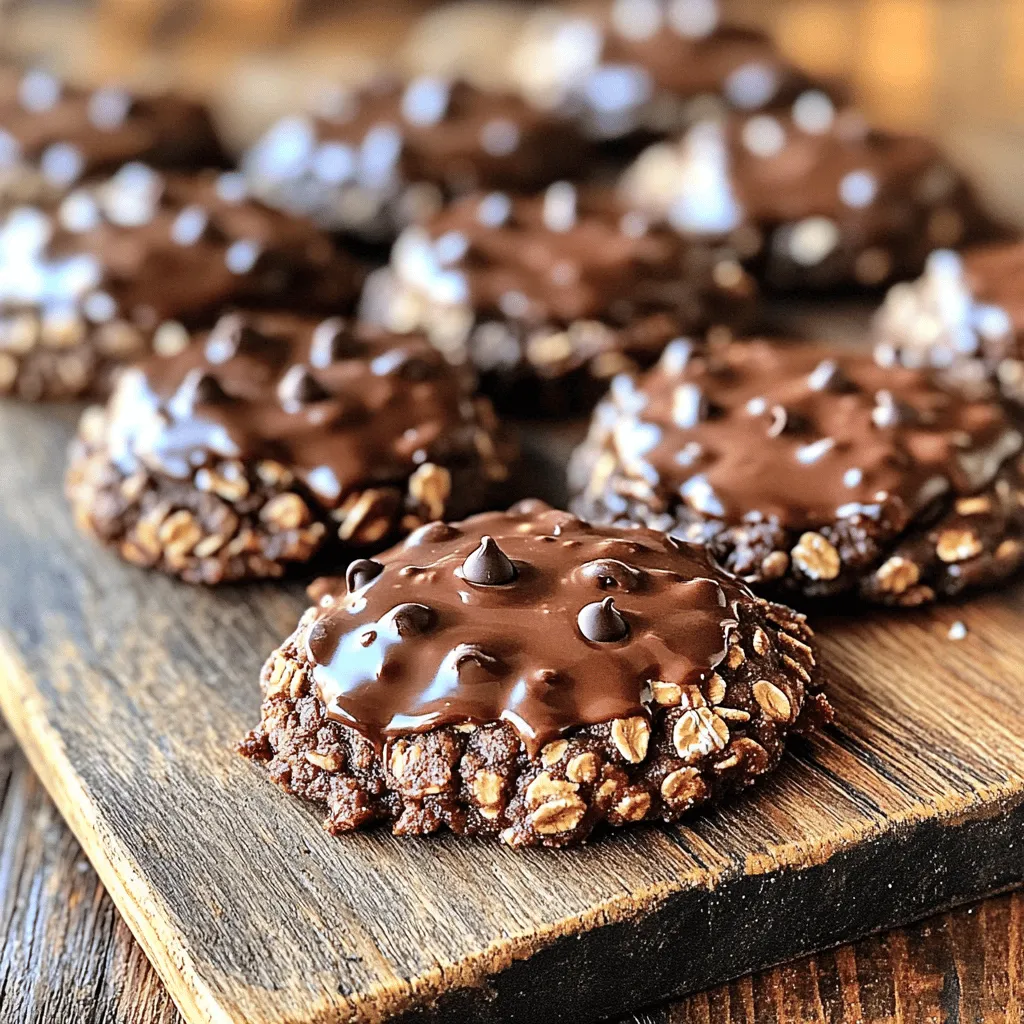
No-Bake Chocolate Oatmeal Cookies Easy Delightful Treat
Looking for a quick and tasty treat? No-bake chocolate oatmeal cookies are the answer! You need just a few simple
Read more…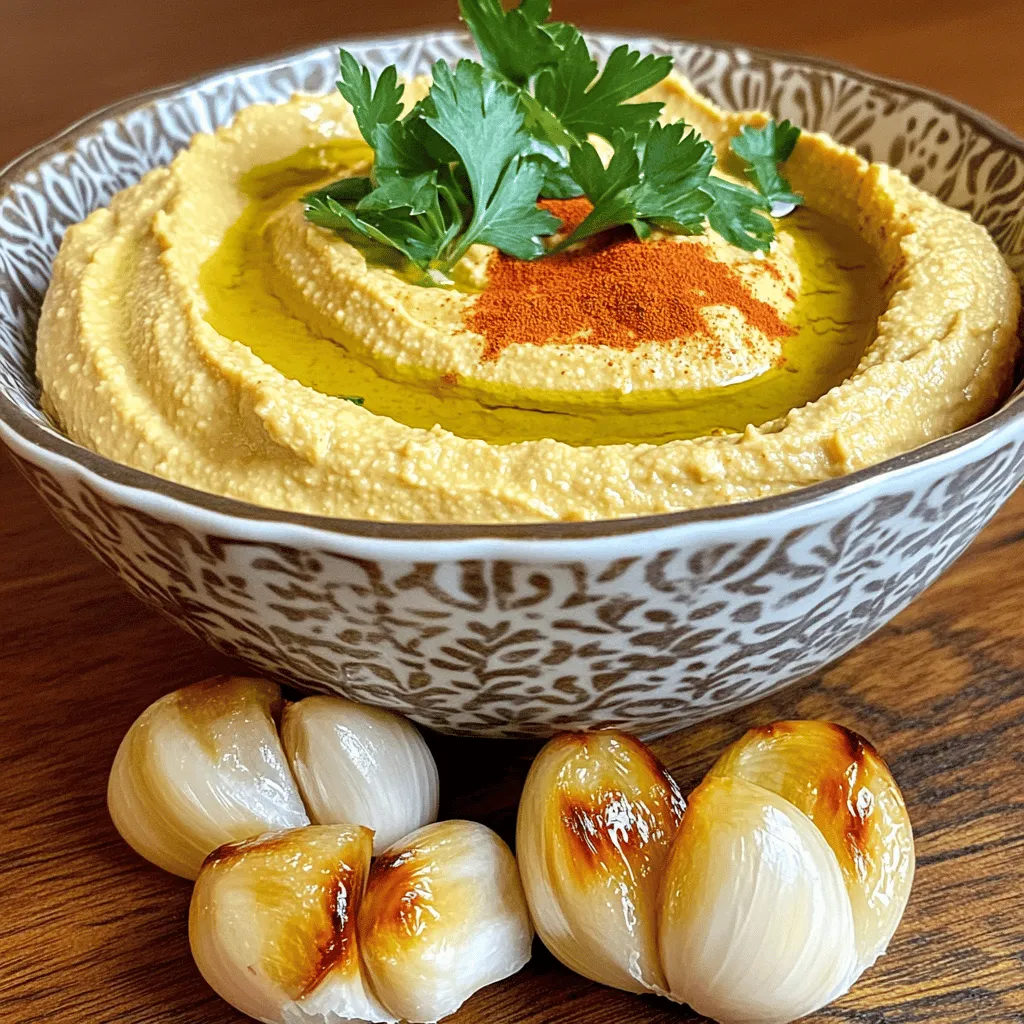
Roasted Garlic Hummus Creamy and Flavorful Dip
If you love rich flavors and creamy dips, you’ll adore this Roasted Garlic Hummus recipe! This easy guide shows you
Read more…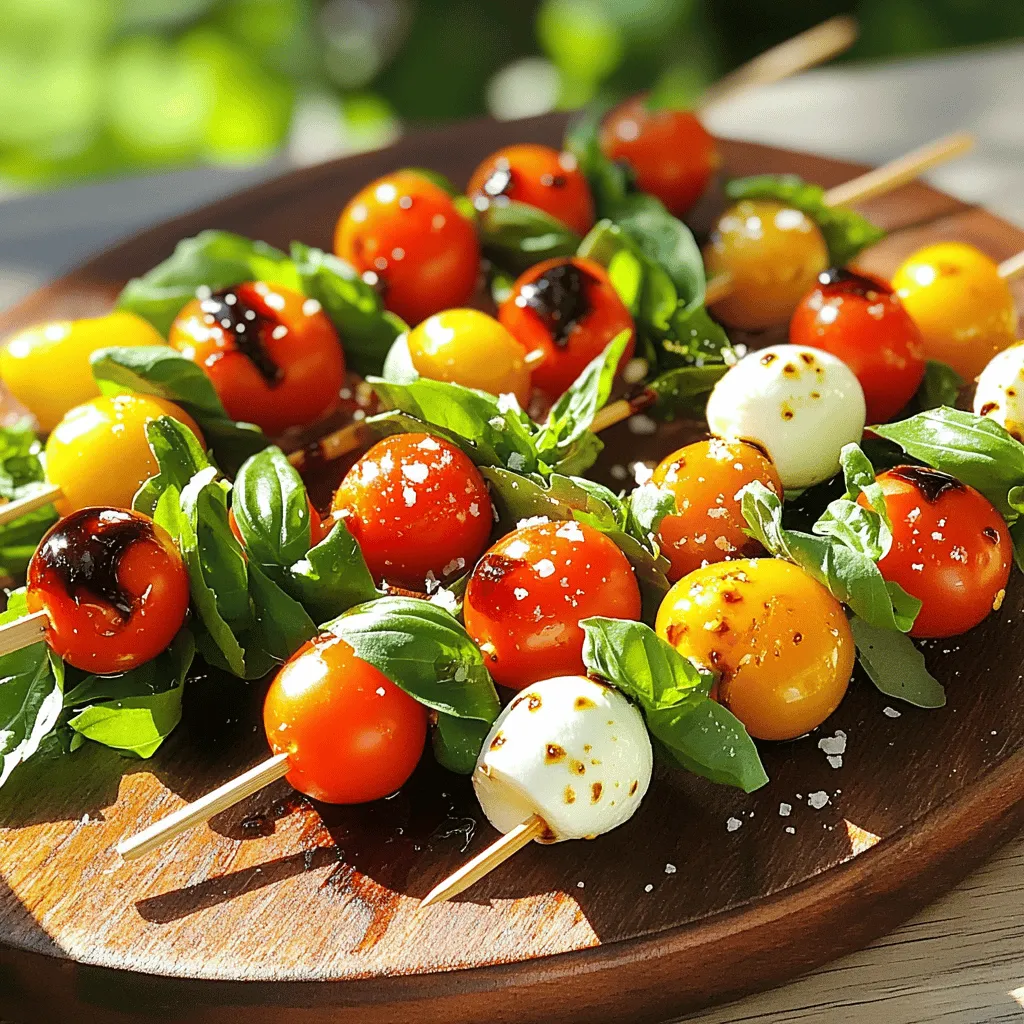
Caprese Salad Skewers Flavorful and Simple Snack
If you’re looking for a fresh, easy snack, Caprese Salad Skewers are perfect! They blend juicy tomatoes, creamy mozzarella, and
Read more…
Easy Chicken Fajitas Flavorful and Quick Meal Prep
Get ready to spice up your weeknight dinners with my Easy Chicken Fajitas! With just a few simple ingredients and
Read more…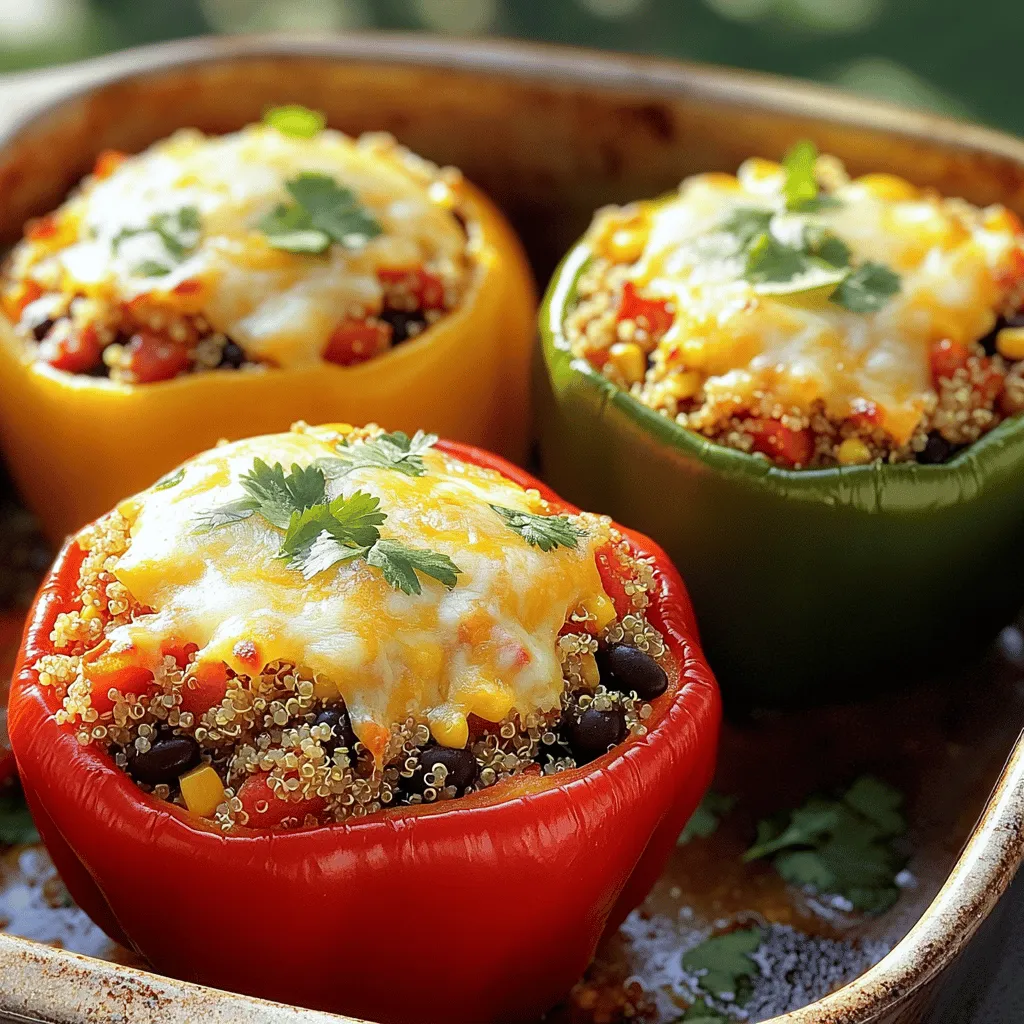
Savory Veggie Stuffed Peppers Quick and Easy Meal
If you’re searching for a quick meal that’s both tasty and healthy, look no further! Savory Veggie Stuffed Peppers are
Read more…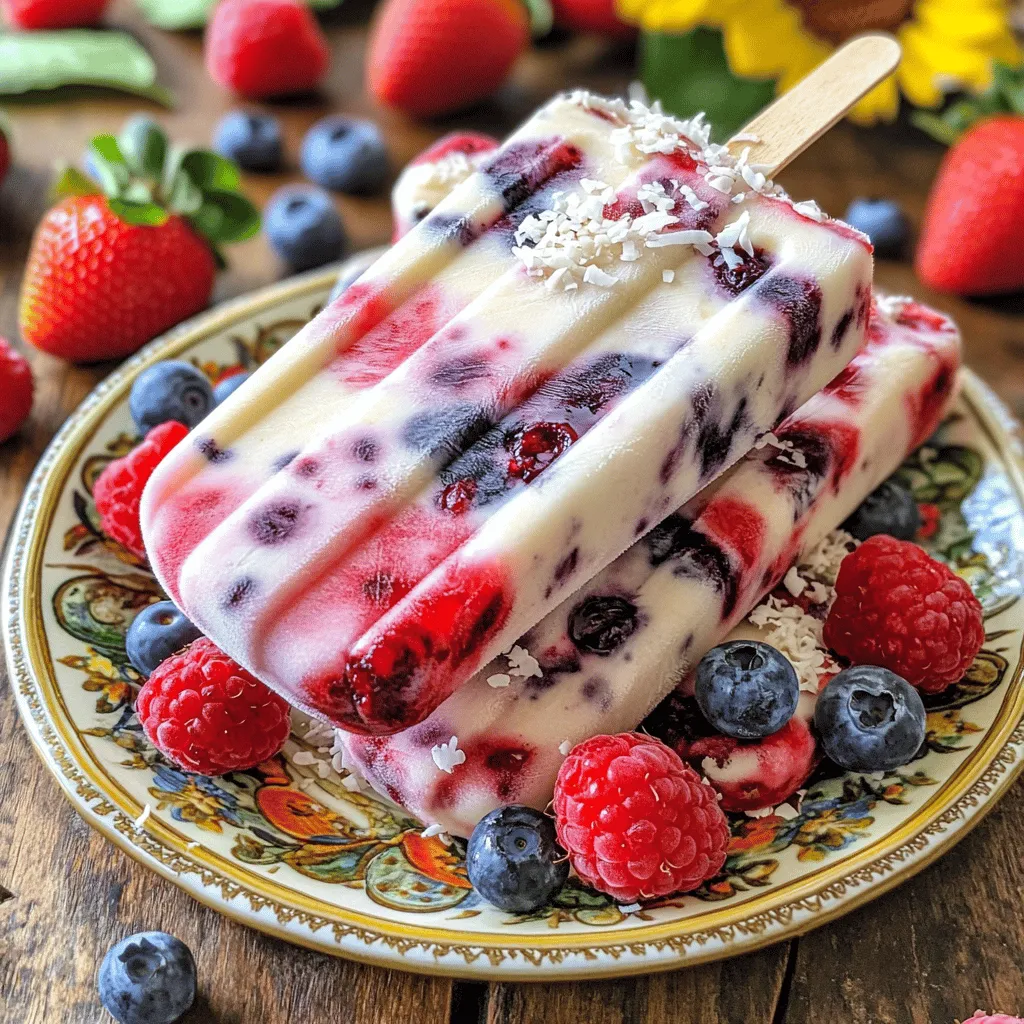
Berry Coconut Popsicles Tasty and Refreshing Treat
Are you ready for a cool and fruity treat? These Berry Coconut Popsicles are not just delicious; they’re also easy
Read more…browse recipes

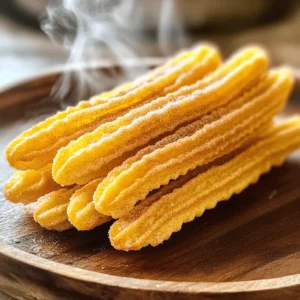


Frosty S’more Cups Irresistible No-Bake Treat
Who doesn’t love s’mores? Now, imagine enjoying that classic treat without any baking! With my Frosty S’more Cups, you can whip up a delicious,…
My Latest Desserts

Healthy Banana Oat Muffins Nutrient-Packed Recipe
Looking for a tasty snack that’s packed with nutrients? You’re in the right place! My Healthy Banana Oat Muffins recipe Read Full Recipe-
No-Bake Chocolate Oat Bars Simple and Tasty Treat
Looking for a quick, tasty treat? You’re in the right place! My No-Bake Chocolate Oat Bars are simple to make Read Full Recipe -
No-Bake Chocolate Oatmeal Bars Simple and Tasty Treat
Looking for a simple and tasty treat that’s also healthy? You’ve found it! My No-Bake Chocolate Oatmeal Bars are a Read Full Recipe -
Peach Pie Cruffins Delightful and Simple Recipe
Are you ready to dive into a sweet and flaky treat? Peach Pie Cruffins are a delightful twist on classic Read Full Recipe -
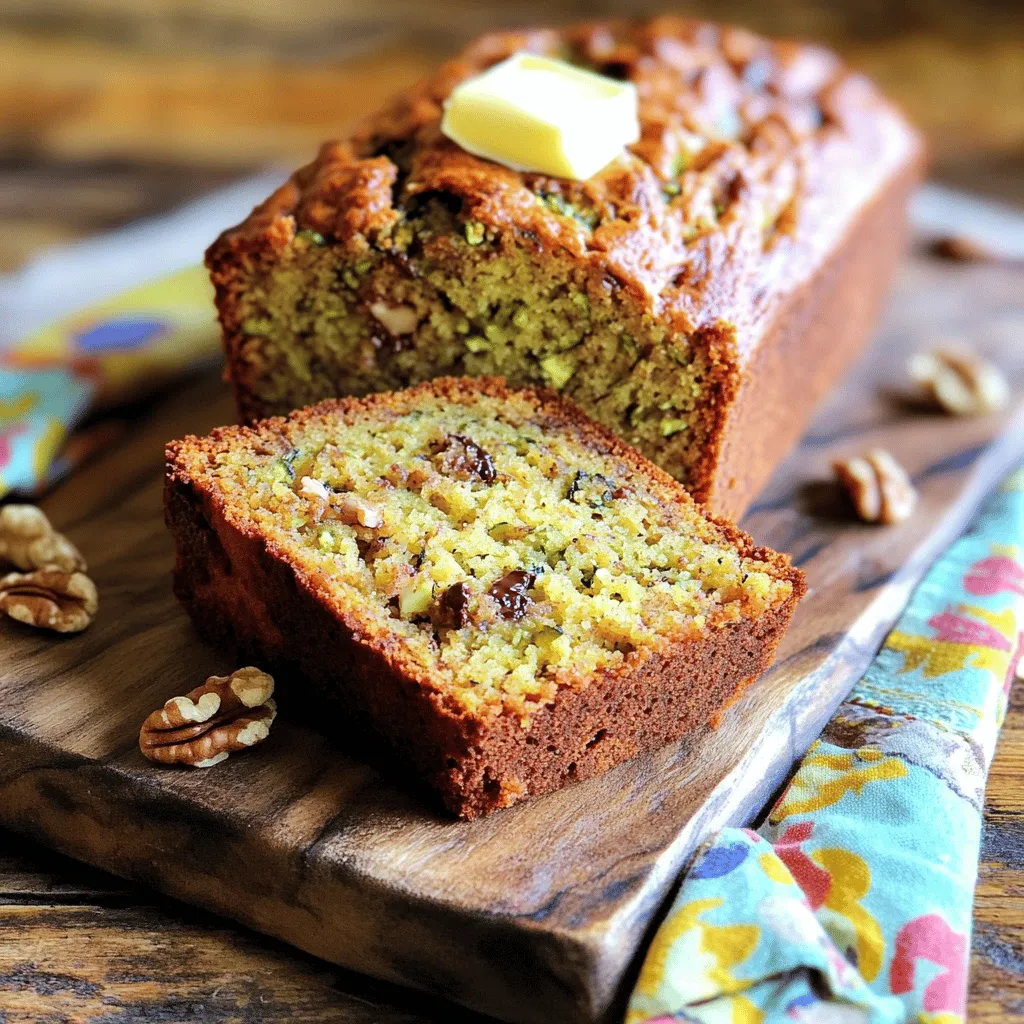
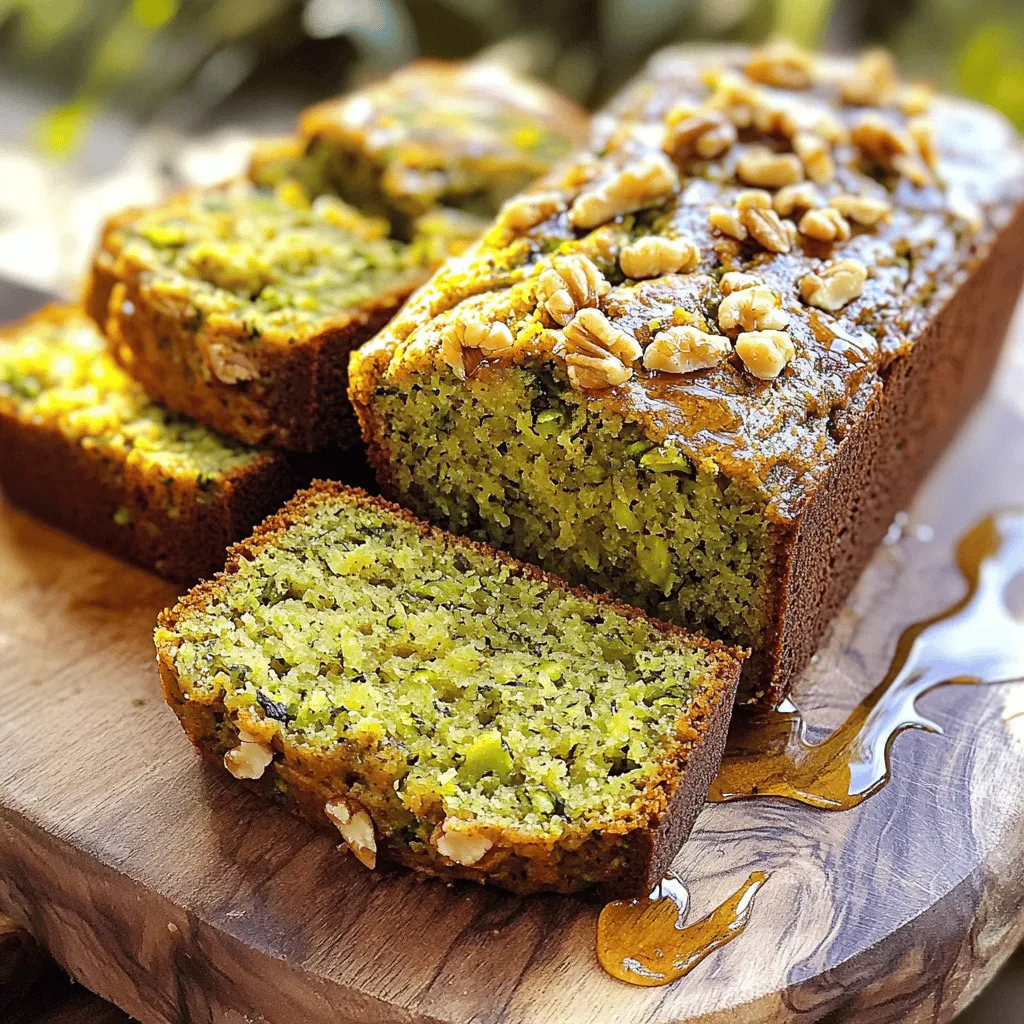
Retro Zucchini Bread Healthy and Flavorful Delight
Are you ready to bake a delicious, healthy treat? Retro Zucchini Bread is packed with flavor and goodness. This simple Read Full Recipe -
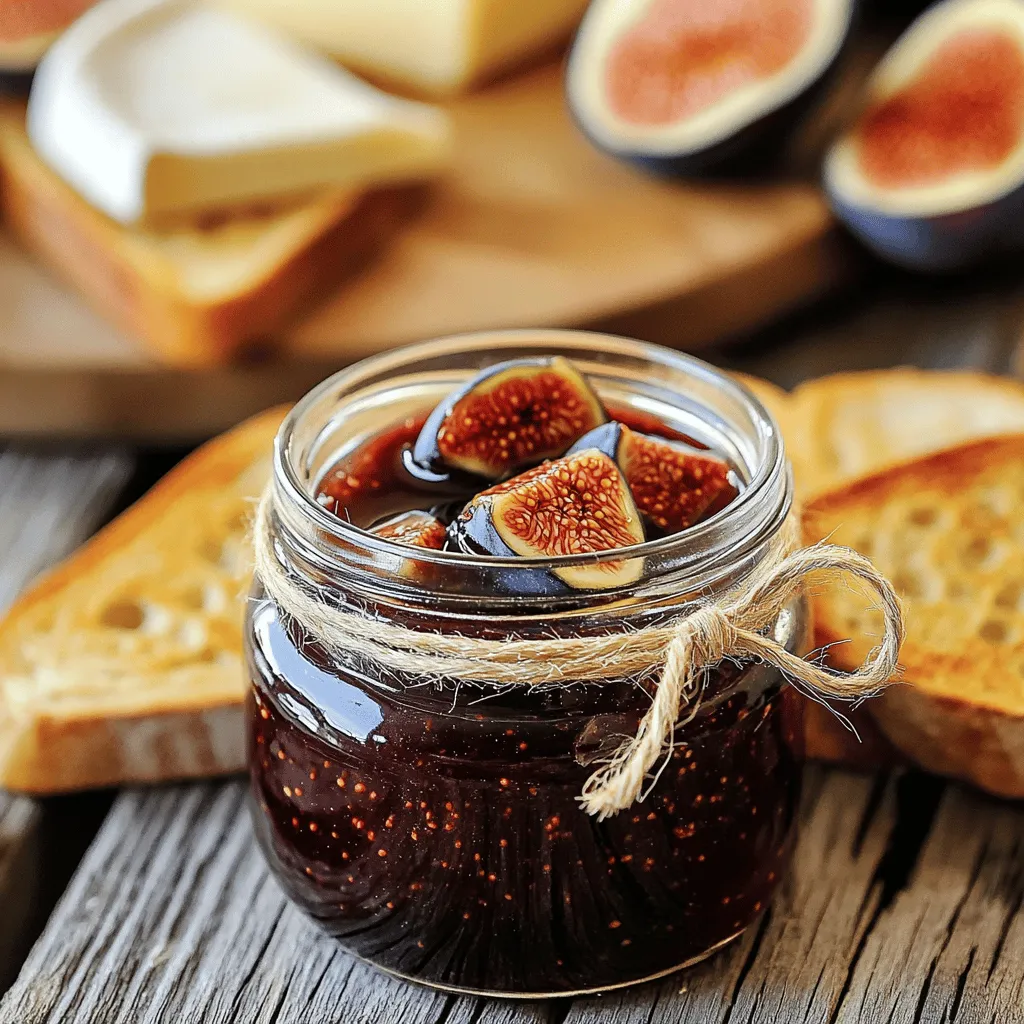
Classic Fig Jam Simple and Delicious Recipe
Are you ready to savor the sweet taste of summer year-round? Making classic fig jam is simple and rewarding. With Read Full Recipe -
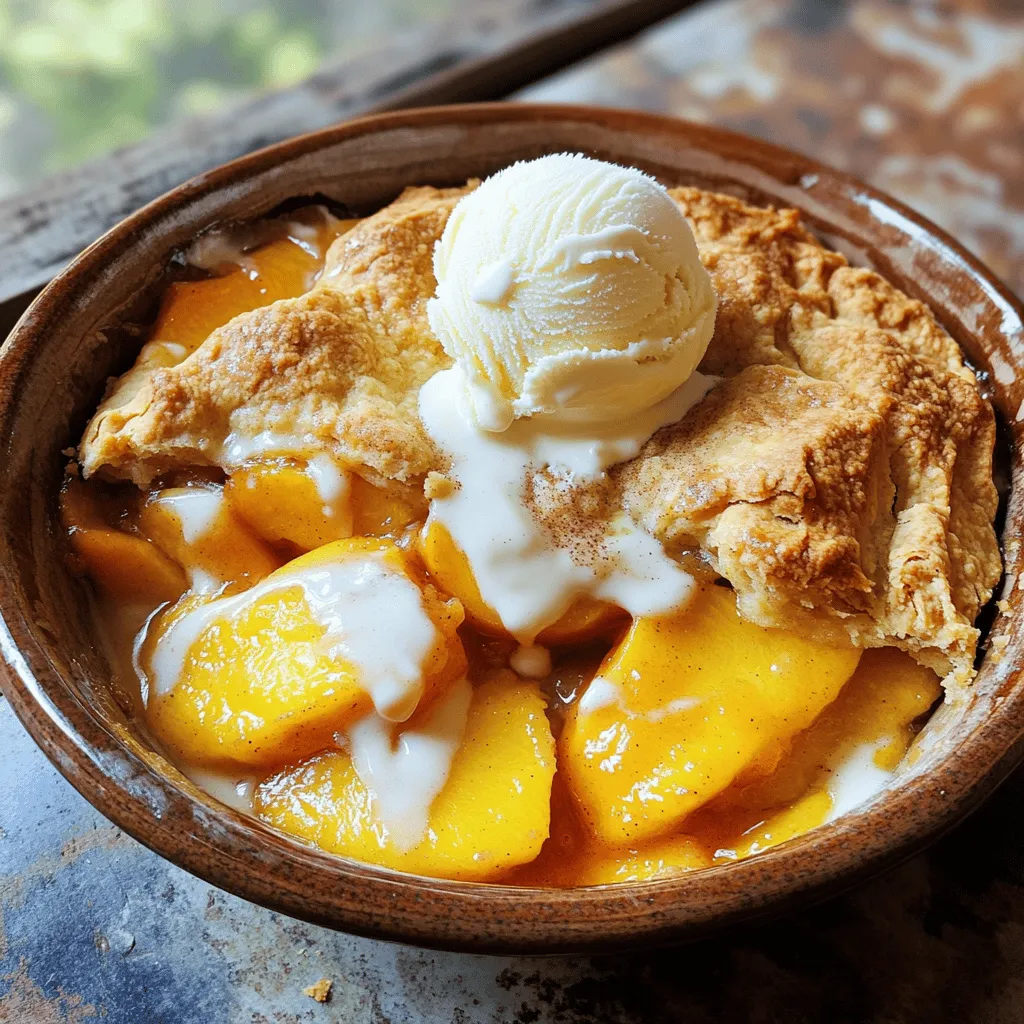
Fresh Peach Cobbler Flavorful and Easy Recipe Guide
Craving a sweet treat that showcases the juicy goodness of fresh peaches? You’re in the right place! In this guide, Read Full Recipe -
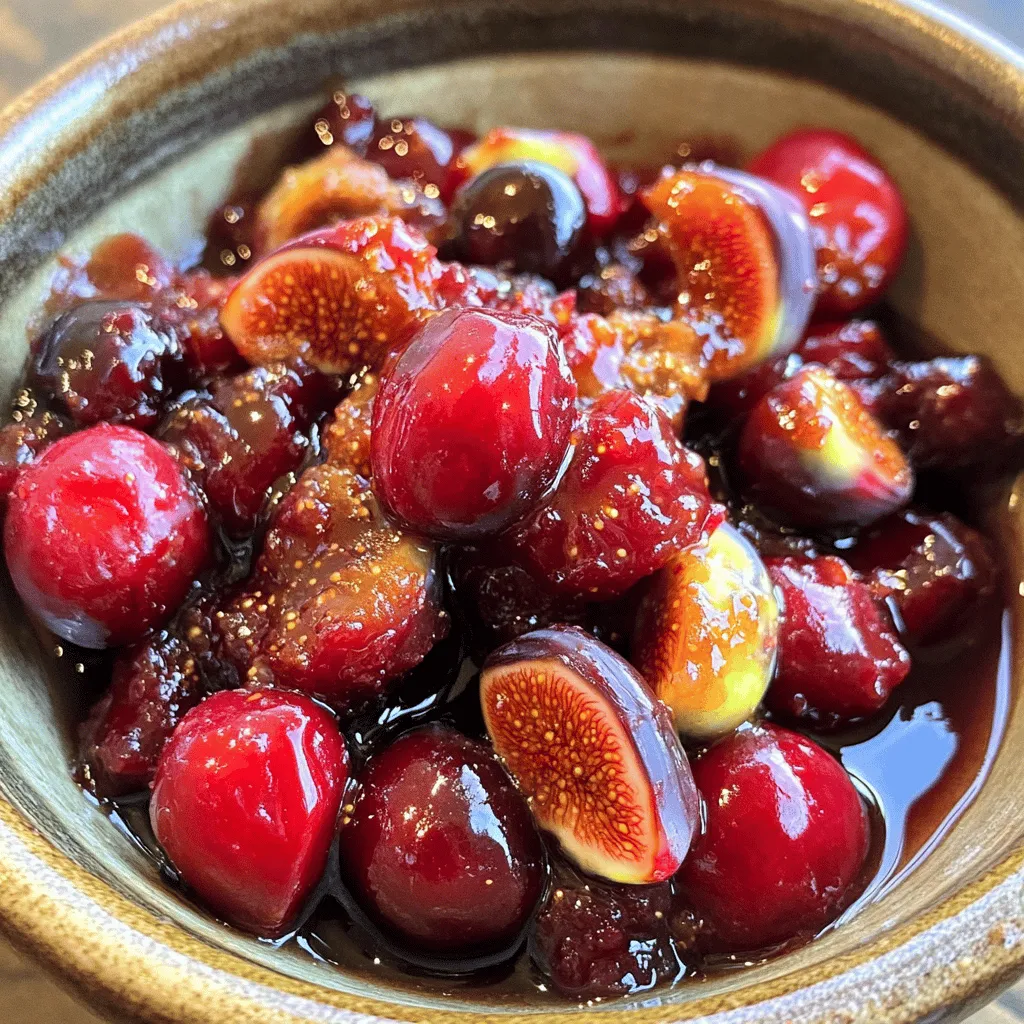
Ginger Fig Cherry Compote Flavorful and Easy Recipe
Are you ready to explore a dish that bursts with flavor? This Ginger Fig Cherry Compote is not only easy Read Full Recipe -
Zucchini Banana Bread Flavorful and Moist Recipe
Do you love warm, fresh bread that bursts with flavor? You’re in the right spot! This Zucchini Banana Bread recipe Read Full Recipe -
Fig Cake with Almond and Honey Delight Recipe
Are you ready to indulge in a delightful treat? My Fig Cake with Almond and Honey recipe combines rich flavors Read Full Recipe


hey,
i’m !
I’m so happy you’re here!
I pour heart and skill into every recipe I create. I know you’ll taste the difference now let’s enjoy this flavorful adventure together.

. How to select the best lobster tails. Choose lobster tails that feel firm and heavy for their size. The shells should be smooth and not cracked. Bright colors indicate freshness. Avoid tails that smell fishy; a fresh scent is what you want. Tips for achieving the right garlic flavor. Use fresh garlic for a strong taste. Mince it finely to release its oils. Sauté it gently so it becomes fragrant but does not burn. Burned garlic tastes bitter, which you want to avoid. Recommended side dishes to pair with lobster tails. Serve lobster tails with creamy mashed potatoes. Simple steamed asparagus offers a nice crunch. A fresh garden salad with lemon vinaigrette also complements the dish well. Garlic bread can add a lovely touch too. Best beverages to complement the meal. A chilled glass of white wine pairs nicely. Try a crisp Sauvignon Blanc or a buttery Chardonnay. If you prefer something non-alcoholic, sparkling water with lemon works great. Variations to the garlic butter sauce. Add a splash of white wine to the sauce for depth. A squeeze of fresh lemon juice brightens the flavor. You can also stir in a bit of Dijon mustard for a tangy kick. Ideas for adding additional flavors. Try mixing in fresh herbs like thyme or dill. A dash of Worcestershire sauce brings umami to the dish. You can also add finely chopped sun-dried tomatoes for a sweet, savory balance. For the full recipe, check out the detailed steps provided earlier. {{image_2}} You can grill lobster tails for a smoky flavor. Just brush them with some garlic butter. Place them flesh side down on a hot grill. Cook for about 5-7 minutes. Flip them over and baste with sauce. Cook for another 5-7 minutes until the meat is opaque. If you prefer a quick method, try the Instant Pot. Add one cup of water to the pot. Place the lobster tails on a steamer rack. Seal the lid and set the timer for 5 minutes. Once done, release the pressure. Baste with garlic butter for added flavor. To spice things up, add more red pepper flakes. You can also mix in some cayenne pepper for heat. A squeeze of fresh lemon juice adds a bright, citrusy taste. For a different twist, try using lime juice instead. Herbs can also change the flavor. Fresh thyme or basil can add a nice depth. Try fresh dill for a seafood classic. You can even use a bit of chopped cilantro for a fresh twist that brightens the dish. If you need a gluten-free option, this recipe is already safe. Just ensure all your ingredients are gluten-free. For a dairy-free version, swap the butter for olive oil and use coconut cream instead of heavy cream. You can also change the seafood. Try shrimp or scallops for a different taste. They both cook quickly and soak up flavors well. This way, you can enjoy the creamy garlic butter sauce with various seafood. For the full recipe, check out the earlier section on ingredients and steps. After enjoying your creamy garlic butter lobster tails, store any leftovers properly. Place them in an airtight container. This keeps them fresh and prevents odors from spreading. If you do this well, your lobster tails can last up to 3 days in the fridge. Just make sure they cool down before sealing them in. To reheat lobster tails, avoid drying them out. You can use the oven or stovetop. If using the oven, set it to 350°F (175°C). Place the tails in a baking dish with a splash of water. Cover the dish with foil to keep the moisture in. Heat for about 10 minutes. On the stovetop, try a skillet. Add a bit of butter and a dash of water. Heat on medium-low until warm. This method keeps the flavor intact and makes the lobster tender. Yes, you can freeze cooked lobster tails. To do this, wrap each tail tightly in plastic wrap. Then place them in a freezer bag. Press out as much air as you can. They will stay good for up to 3 months. When you're ready to eat, defrost them in the fridge overnight. This slow method helps keep the meat juicy. Avoid defrosting at room temperature, as this can change the texture. For more details, check the full recipe for creamy garlic butter lobster tails. Enjoy your delicious meal! How long does it take to cook lobster tails? Cooking lobster tails takes about 12 to 15 minutes in the oven. When baking, the meat should turn opaque and firm. If you broil them, add just 1 to 2 minutes for a nice finish. Always check for doneness to ensure they are perfectly cooked. What is the best way to tell if lobster is cooked? The best way to tell if lobster is cooked is by checking the color. Cooked lobster meat should be white and slightly firm. If it is still translucent or jelly-like, it needs more time. Use a meat thermometer to check for an internal temperature of 140°F (60°C). Can I make the garlic butter sauce ahead of time? Yes, you can make the garlic butter sauce ahead of time. Store it in an airtight container in the fridge. When you're ready to use it, simply reheat it gently on the stove. This will save you time when preparing your lobster tails. What can I substitute for heavy cream? If you need a substitute for heavy cream, use half-and-half or whole milk with a little butter mixed in. Coconut cream also works well for a dairy-free option. Keep in mind that the flavor and richness may change slightly. What are some side dishes to serve with creamy garlic butter lobster tails? Some great side dishes include garlic bread, roasted vegetables, or a fresh green salad. Creamy mashed potatoes or risotto also pair well with the rich lobster. Choose sides that balance the meal without overpowering the lobster's flavors. How should I prepare lobster tails for a special occasion? For a special occasion, make sure to present the lobster tails beautifully. Cut the shells carefully and lift the meat for a stunning look. Serve them on a nice plate with fresh herbs and lemon wedges. This adds an elegant touch to your dining experience. In this post, we explored how to make creamy garlic butter lobster tails. We covered the main ingredients, step-by-step instructions, and tips for success. You learned cooking methods, storage tips, and how to customize the dish. Remember, fresh ingredients and careful cooking bring out the best flavors. Whether you grill or bake, let your taste guide you. Enjoy this delicious seafood dish any day. It’s sure to impress.](https://foodishtalk.com/wp-content/uploads/2025/05/73e07322-94ec-460d-b5d6-97b5c03e4c52-300x300.webp)

Creamy Smothered Chicken and Rice Simple Comfort Dish
Looking for a cozy meal that warms both the heart and belly? This Creamy Smothered Chicken and Rice dish is your answer! With simple…