
Latest & Greatest
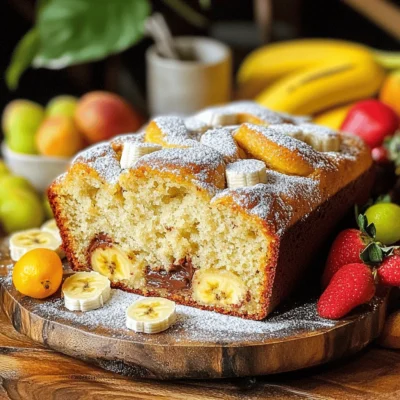
Classic Banana Bread Tasty and Moist Recipe Guide
Banana bread is a classic comfort food that everyone loves. In this guide, I will share my favorite moist and
Read more…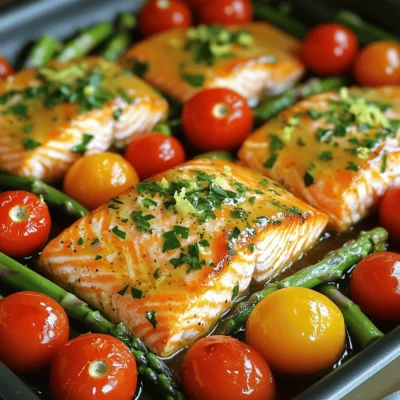
One-Pan Lemon Herb Salmon Simple and Flavorful Dish
Looking for a simple, tasty meal? One-Pan Lemon Herb Salmon is your answer! This dish bursts with fresh flavors and
Read more…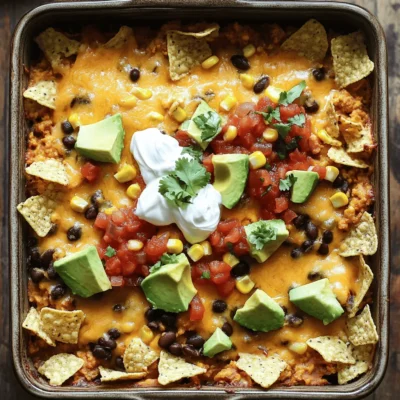
Ingredient Taco Casserole Flavorful and Easy Dish
Looking for a quick, tasty meal? You’ll love this Ingredient Taco Casserole! Packed with flavor, this dish is simple to
Read more…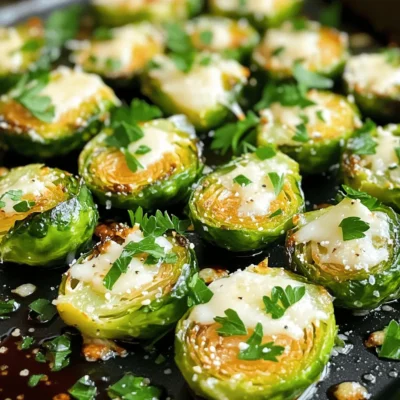
Garlic Parmesan Roasted Brussels Sprouts Tasty Delight
If you’re craving a side dish that’s packed with flavor, you’ll love Garlic Parmesan Roasted Brussels Sprouts. This dish combines
Read more…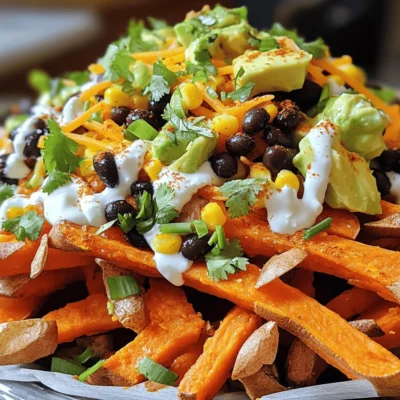
Loaded Sweet Potato Fries Crispy and Flavorful Treat
If you’re craving a tasty and healthy snack, Loaded Sweet Potato Fries are your answer! These crispy, flavorful treats are
Read more…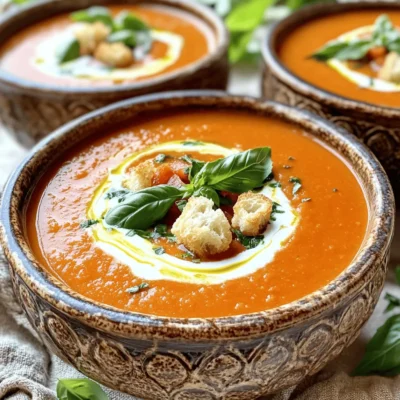
Creamy Tomato Basil Soup Yummy and Simple Recipe
Looking for a comforting dish that’s quick and easy? Let me introduce you to my creamy tomato basil soup! This
Read more…
Classic Chicken Pot Pie Comforting Family Meal Recipe
Are you ready to dive into a dish that brings warmth and joy? Classic Chicken Pot Pie offers a mix
Read more…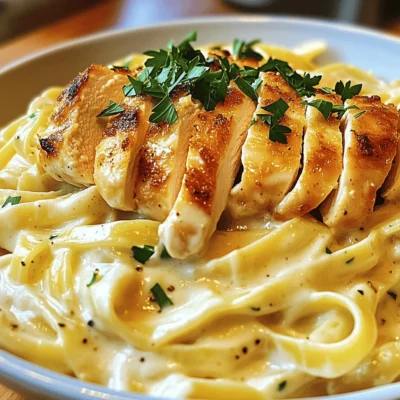
Easy Chicken Alfredo Pasta Creamy and Simple Recipe
Do you crave a creamy, comforting pasta dish that’s quick and easy? Look no further! My Easy Chicken Alfredo Pasta
Read more…browse recipes


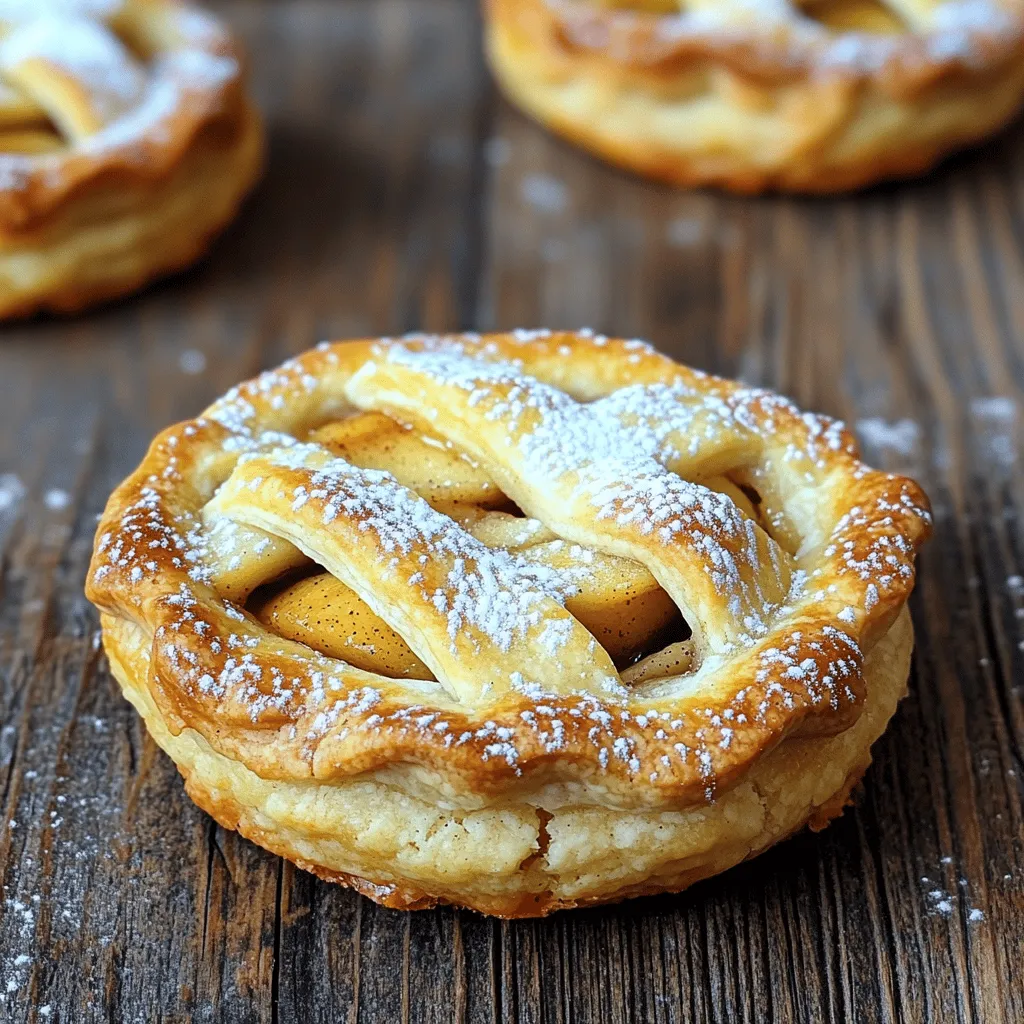
Perfect Apple Pie Cookies Easy and Delicious Recipe
If you love the taste of fresh apple pie but want a fun twist, you’ll adore these Perfect Apple Pie Cookies! I’ll guide you…
My Latest Desserts

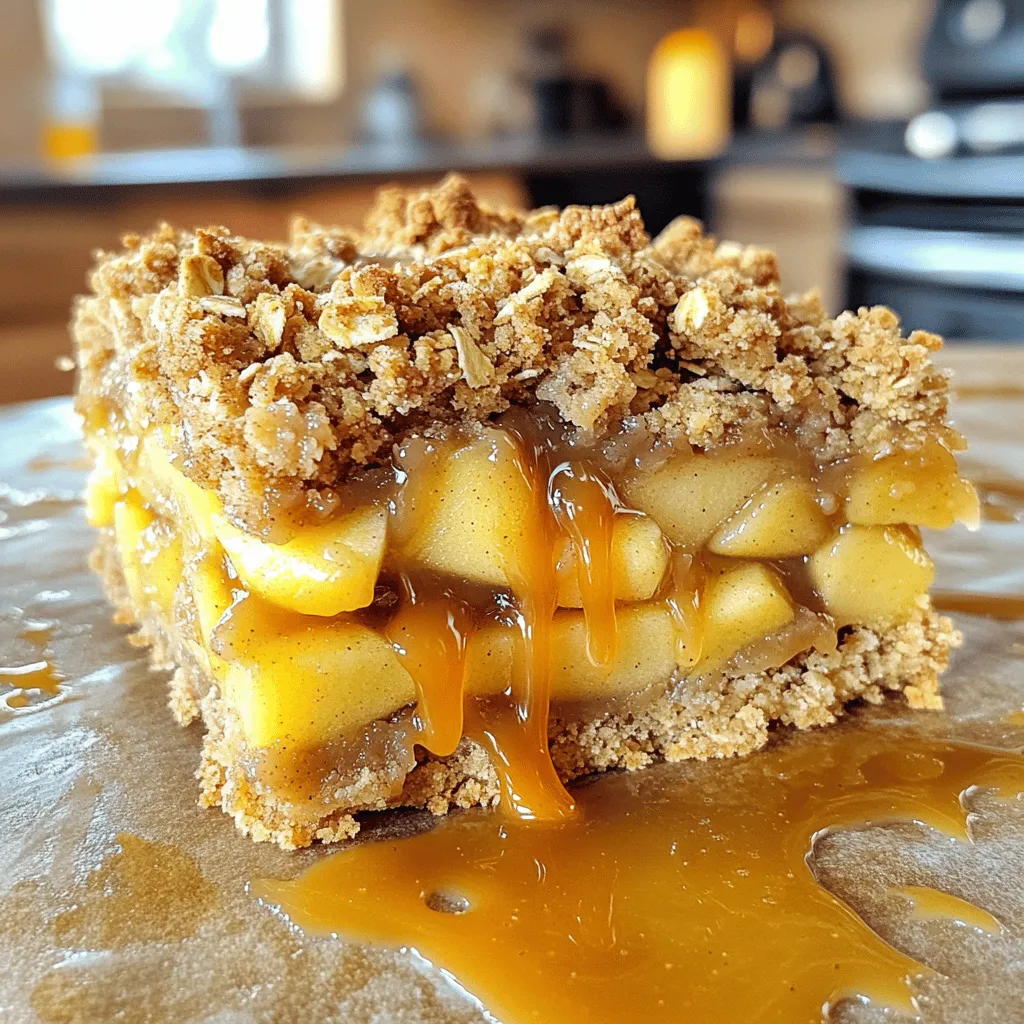
Miso Caramel Apple Crumble Bars Irresistible Treat
Are you ready to discover a dessert that combines sweet and savory in the best way? Miso Caramel Apple Crumble Read Full Recipe-
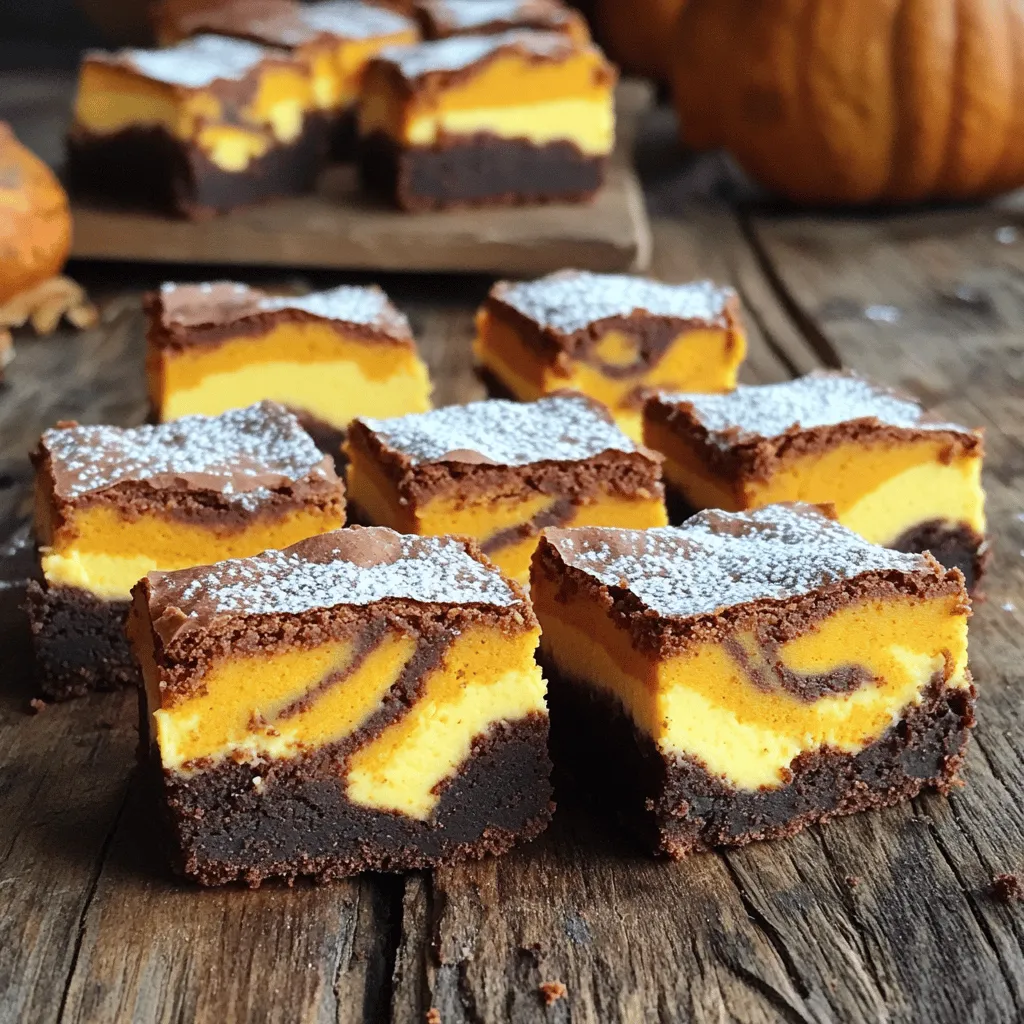
Pumpkin Cheesecake Swirl Brownies Rich and Creamy Treat
If you love rich and creamy desserts, you’re in for a treat! Pumpkin Cheesecake Swirl Brownies combine fudgy brownies with Read Full Recipe -
Miso Caramel Apple Crumble Bars Easy and Delicious Treat
If you’re looking for a treat that combines sweet apples, rich miso caramel, and a crunchy crumble, you’ve found it! Read Full Recipe -
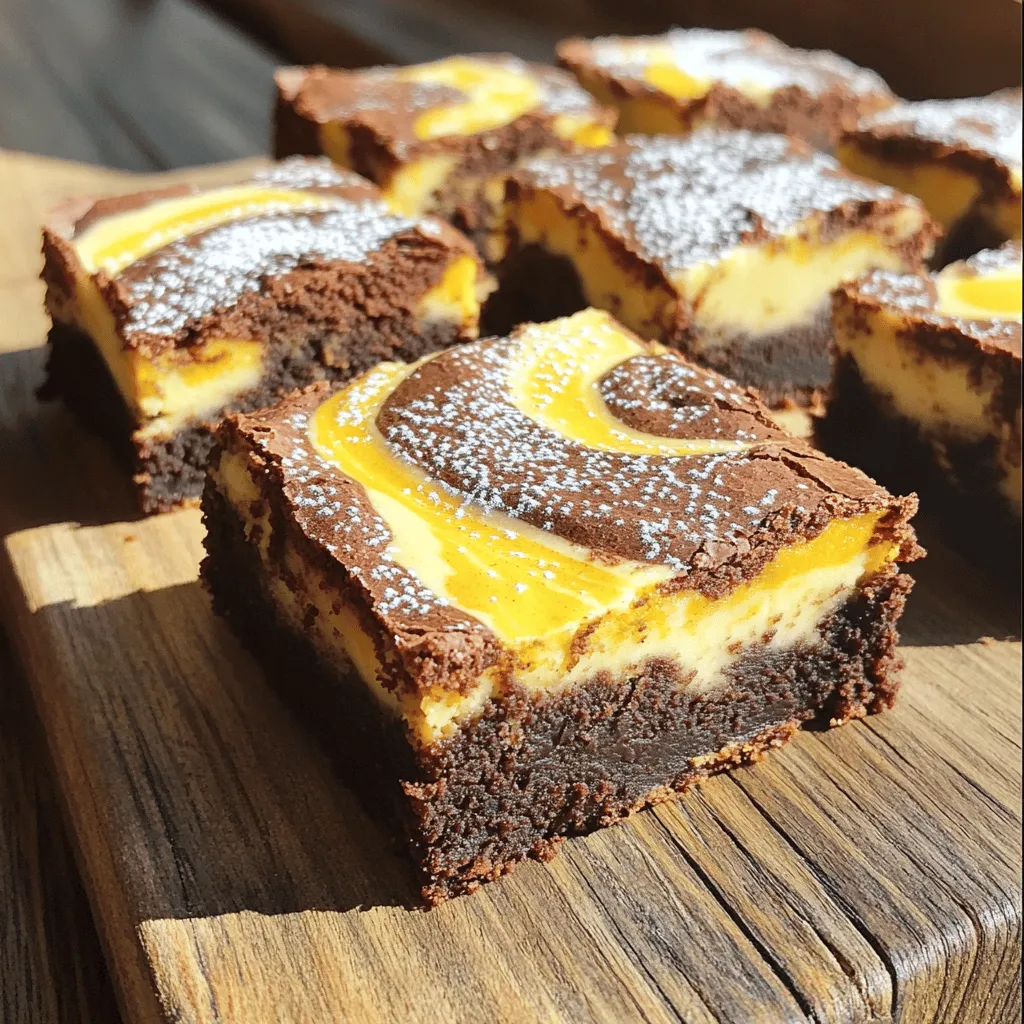
Pumpkin Cheesecake Swirl Brownies Irresistible Delight
Get ready to savor the magic of fall with my Pumpkin Cheesecake Swirl Brownies! These decadent treats combine rich brownie Read Full Recipe -
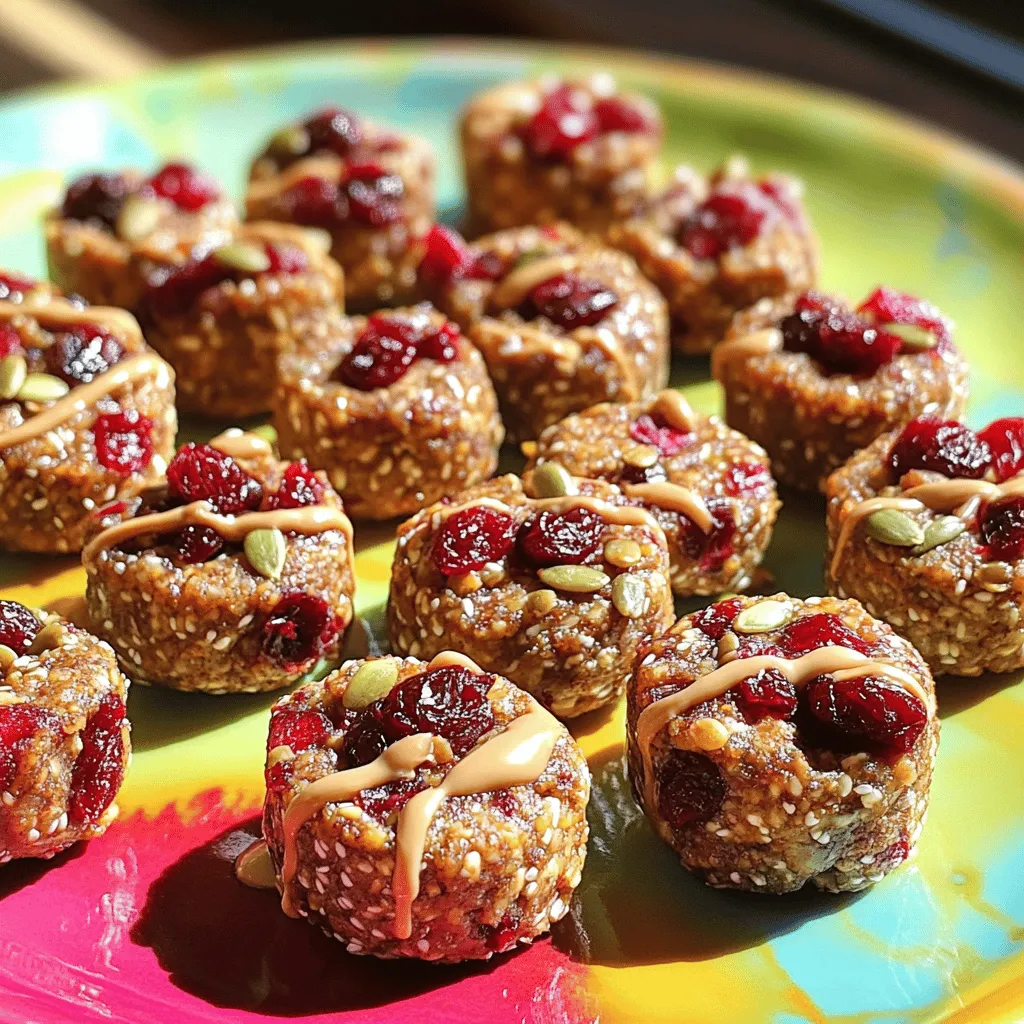
Cherry Tahini Energy Bites Healthy Snack Recipe
Looking for a quick, healthy snack? Let me introduce you to Cherry Tahini Energy Bites! Packed with flavor and nutrition, Read Full Recipe -
Root Beer Cream Bars Irresistible and Simple Treat
If you love the sweet nostalgia of root beer, you’re in for a treat! Root Beer Cream Bars combine creamy Read Full Recipe -
Cherry Chocolate Lava Mug Cake Delightful Recipe
Craving something sweet and quick? You’re in for a treat with my Cherry Chocolate Lava Mug Cake! This recipe packs Read Full Recipe -
Caprese Stuffed Cupcakes Flavorful and Unique Treat
Are you ready to treat your taste buds to something new? Caprese Stuffed Cupcakes mix fresh flavors and fun in Read Full Recipe -
Mango Tajin Cake Pops Tasty and Fun Treats
Craving a unique treat? Try my Mango Tajin Cake Pops! These fun bites blend sweet mango with the zesty kick Read Full Recipe -
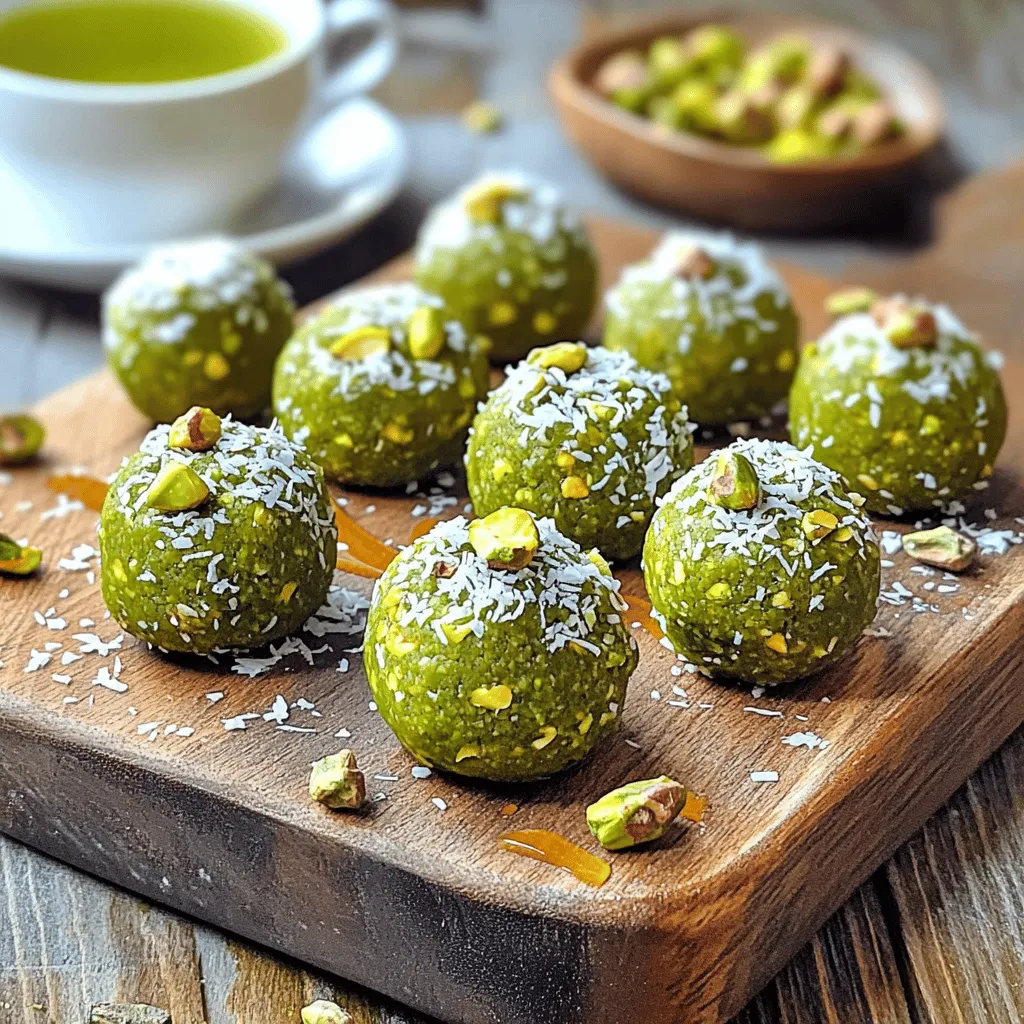
Matcha Pistachio Energy Bites Nourishing Snack Option
Looking for a tasty and healthy snack? Let me introduce you to Matcha Pistachio Energy Bites! Packed with oats, nuts, Read Full Recipe


hey,
i’m !
I’m so happy you’re here!
I pour heart and skill into every recipe I create. I know you’ll taste the difference now let’s enjoy this flavorful adventure together.


![To make Healthy Banana Oat Muffins, gather these simple and wholesome ingredients: - 2 ripe bananas, mashed - 1 cup rolled oats - 1/2 cup almond milk (or any milk of choice) - 1/4 cup honey or maple syrup - 1/4 cup coconut oil, melted - 1 teaspoon vanilla extract - 1 teaspoon baking powder - 1/2 teaspoon baking soda - 1/2 teaspoon ground cinnamon - 1/4 teaspoon salt - Optional: 1/4 cup chopped nuts or chocolate chips These ingredients blend well for a tasty and nutritious snack. The ripe bananas add natural sweetness and moisture. The rolled oats give a hearty texture. Almond milk keeps it light and dairy-free, but you can use any milk you like. Honey or maple syrup sweetens the muffins without refined sugar. Coconut oil adds rich flavor and moisture. Baking powder and soda help the muffins rise. Ground cinnamon gives warmth and spice. A pinch of salt balances the flavors. If you want to add extra crunch, toss in some nuts or chocolate chips. Check the [Full Recipe] for exact measurements and tips to make these muffins shine! - Preheat your oven to 350°F (175°C) and prepare your muffin tin with liners. - Take 2 ripe bananas and mash them in a large bowl until they are smooth. - Pour in 1/2 cup of almond milk, 1/4 cup of honey (or maple syrup), 1/4 cup of melted coconut oil, and 1 teaspoon of vanilla extract. Mix until the wet ingredients blend well. - In a separate bowl, combine 1 cup of rolled oats, 1 teaspoon of baking powder, 1/2 teaspoon of baking soda, 1/2 teaspoon of ground cinnamon, and 1/4 teaspoon of salt. Stir these dry ingredients together. - Gradually add the dry mix to the wet mix. Stir gently until just combined. - If you want, fold in 1/4 cup of chopped nuts or chocolate chips. This adds flavor and texture. - Spoon the muffin batter into the prepared muffin tin. Fill each cup about 3/4 full. - Bake in the preheated oven for 18-22 minutes. Check with a toothpick; it should come out clean. - Let the muffins cool in the tin for 5 minutes. Then move them to a wire rack to cool completely. This recipe makes 12 tasty muffins. Enjoy them warm, or as a snack later! For the full recipe, check out the details above. To get the best muffin texture, avoid overmixing the batter. When you mix too much, your muffins can turn tough. Stir just until the dry ingredients blend with the wet ones. This keeps your muffins light and fluffy. For baking time, aim for 18 to 22 minutes. You'll know they are done when a toothpick inserted in the center comes out clean. If it has wet batter on it, bake a few more minutes. Keep an eye on them to avoid overbaking, which can dry them out. If you want to swap honey or maple syrup, you can use agave nectar or brown sugar. Both options will still keep your muffins sweet. Adding spices can boost the flavor and nutrition. Consider mixing in ground flaxseed or chia seeds for extra fiber. You can also try cinnamon or nutmeg for a warm taste. These small changes can make a big difference in both nutrition and flavor. Serve your muffins warm for the best taste. You can dust them with powdered sugar or top them with Greek yogurt. This adds a nice touch and makes them look inviting. For a breakfast spread, arrange the muffins on a colorful platter. You can add fresh fruit or yogurt cups next to them. This makes your table look bright and appealing. Guests will enjoy picking from a beautiful display! {{image_2}} You can easily change some ingredients in this recipe. Here are a few simple swaps: - Whole Wheat Flour: If you want a different texture, use whole wheat flour instead of oats. This will give your muffins a denser feel while still being healthy. - Dairy-Free and Nut-Free: For a dairy-free option, use oat milk or soy milk. If you need a nut-free choice, choose sunflower oil in place of coconut oil. Adding new flavors can make these muffins even more exciting: - Adding Fruits: Try mixing in blueberries or diced apples. These fruits add natural sweetness and great texture. - Incorporating Spices: Add spices like nutmeg or ginger for extra warmth. These spices can really elevate the flavor profile of your muffins. Finish your muffins with fun toppings or drizzles: - Toppings: You can top your muffins with yogurt, nuts, or coconut flakes to enhance the look and taste. These add a nice crunch and extra nutrition. - Drizzles or Syrups: A drizzle of honey or maple syrup can provide a sweet touch. This makes each bite more delightful. Feel free to explore these variations to make your Healthy Banana Oat Muffins your own! For the complete recipe, refer to the Full Recipe. To keep your Healthy Banana Oat Muffins fresh, store them in an airtight container. This helps maintain moisture and flavor. You can keep them at room temperature for up to three days. If you want them to last longer, refrigeration is a good option. Just remember, refrigeration may change the texture a bit. Freezing is a great way to save muffins. Here’s how you can do it: 1. Cool Completely: Let the muffins cool on a wire rack. 2. Wrap Well: Wrap each muffin in plastic wrap. Then, place them in a freezer bag. 3. Label and Freeze: Write the date on the bag and put it in the freezer. For best quality, eat the muffins within three months. To thaw, place them in the fridge overnight or at room temperature for a few hours. Reheating muffins can bring back their soft texture. Here are the best methods: - Microwave: Place a muffin on a microwave-safe plate. Heat for about 15-20 seconds. Check if it’s warm enough for you. - Oven: Preheat your oven to 350°F (175°C). Wrap muffins in foil and heat for 10-15 minutes. This method makes them crispy outside and soft inside. Following these tips will help keep your muffins tasting great! For the full recipe, check out the details above. Yes, you can easily make these muffins vegan. To start, substitute the honey or maple syrup with agave nectar or brown rice syrup. For the almond milk, use any plant-based milk you like. Instead of coconut oil, try applesauce or mashed avocado. These swaps keep the muffins moist and tasty. To make your muffins gluten-free, use gluten-free rolled oats. You can also swap in almond flour or coconut flour. These flours add unique flavors and textures. Just remember, gluten-free flours may need a little more liquid. Adjust the almond milk to get the right batter consistency. You can add a lot of fun mix-ins to your muffins. Popular choices include chopped nuts, chocolate chips, or dried fruit. For a fruity twist, add blueberries or raspberries. You can also change up the spices. Try nutmeg for warmth or a dash of ginger for a kick. These muffins stay fresh for about four days at room temperature. Store them in an airtight container to keep them moist. If you notice any mold or an off smell, discard them. To extend freshness, you can freeze the muffins. They last up to three months in the freezer. When ready to eat, thaw at room temperature or warm in the microwave. These healthy banana oat muffins are easy and fun to make. We covered simple ingredients, step-by-step instructions, and various tips to perfect your muffins. You can enjoy many flavor variations and know how to store leftovers. Remember, customizing these muffins makes them unique to you. Try freezing extras for later or reheating them for a quick snack. Get creative with your add-ins and impress everyone at breakfast. Now, it’s time to bake and enjoy these tasty treats!](https://foodishtalk.com/wp-content/uploads/2025/07/37602722-0d5b-4c8d-bdfa-c0705ee5ab27-300x300.webp)

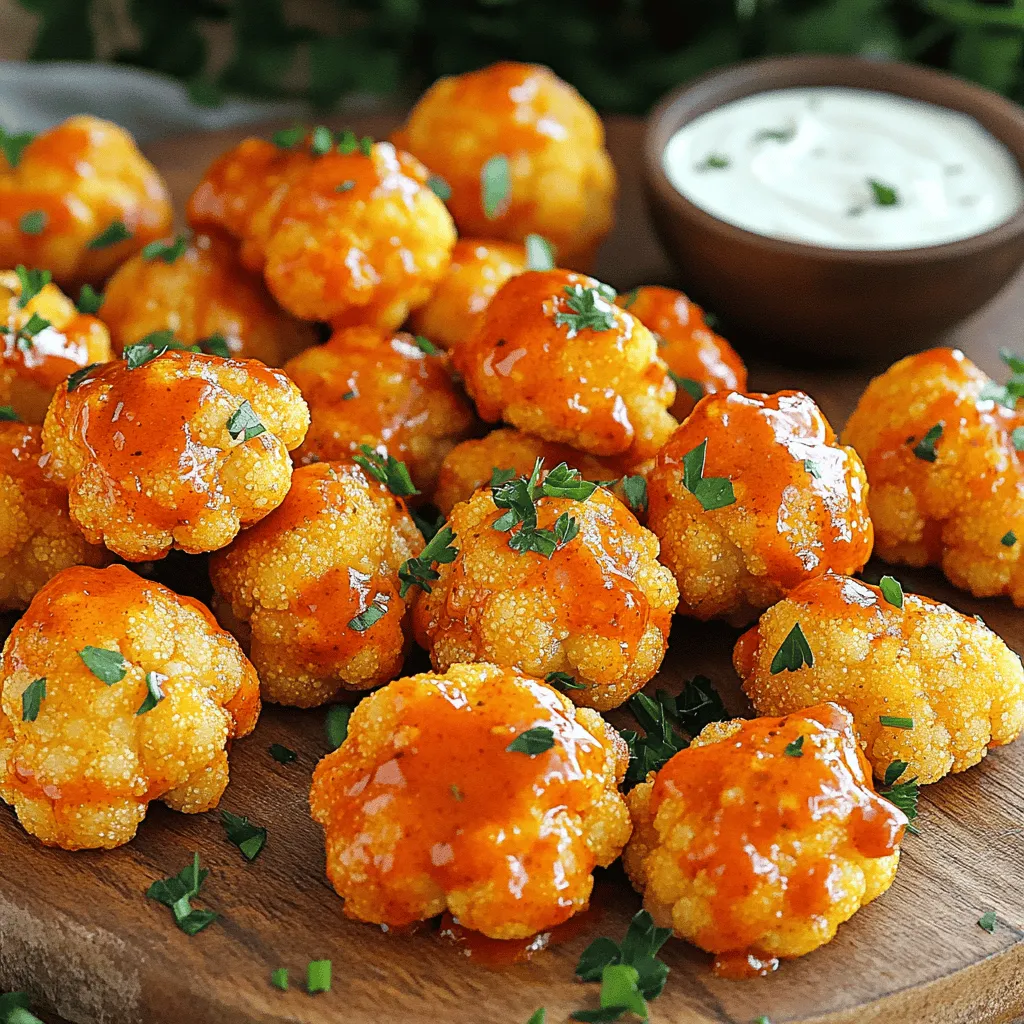
Buffalo Cauliflower Bites Crispy and Flavorful Treat
Looking for a tasty snack that’s both crispy and full of flavor? Buffalo Cauliflower Bites check all the boxes! These veggie delights are perfect…