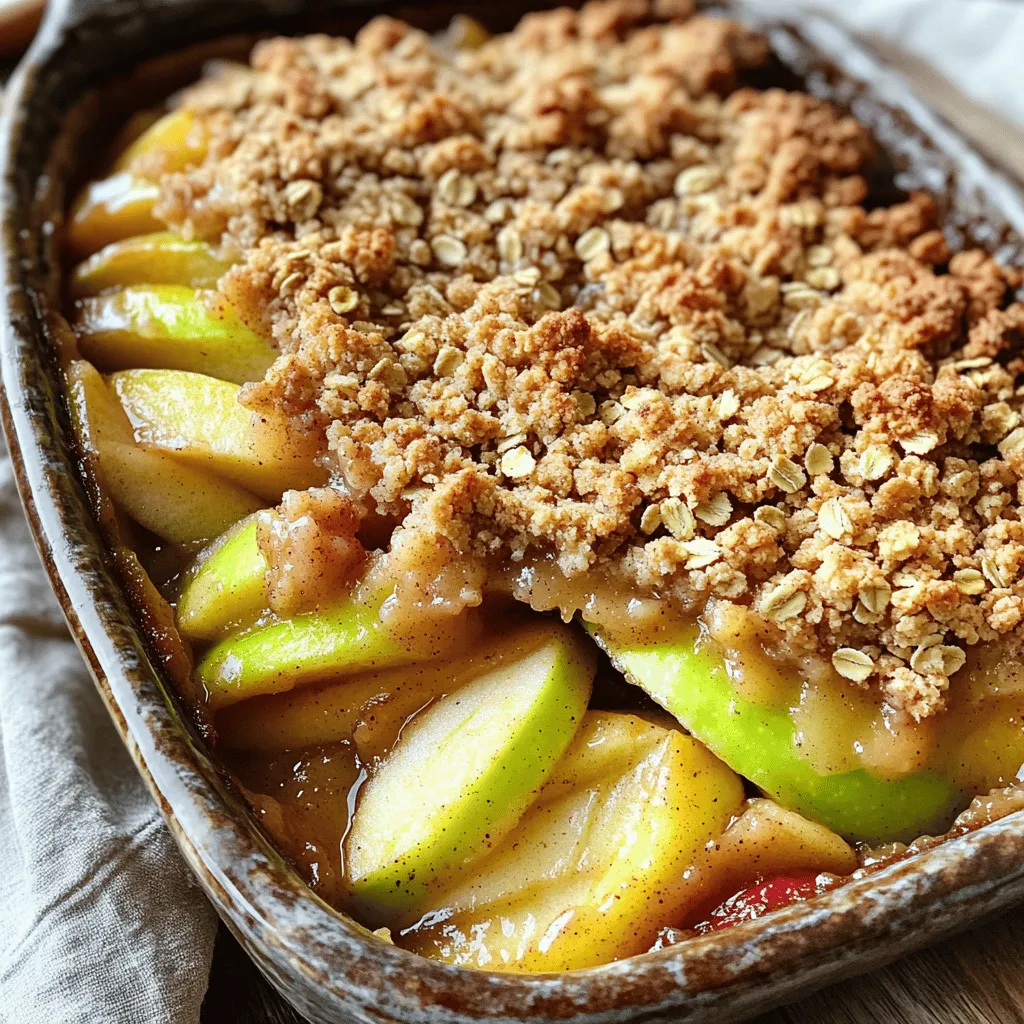
When the leaves turn and the air cools, nothing warms the soul quite like a Warm Apple Crisp with Oatmeal Crumble Topping. I’m excited to share my favorite recipe that hits all the right notes of sweet and crunchy. In this guide, you’ll find easy steps to make this cozy dessert, plus tips for the perfect bake. Grab your apples, and let’s get started on a treat that will make your home smell amazing!
Ingredients
List of Ingredients
To make the Warm Apple Crisp with Oatmeal Crumble Topping, gather these ingredients:
– 4 large apples (Granny Smith or Honeycrisp), peeled and sliced
– 1 tablespoon lemon juice
– 1/4 cup brown sugar
– 1 teaspoon cinnamon
– 1/4 teaspoon nutmeg
– 1/2 cup rolled oats
– 1/2 cup all-purpose flour
– 1/3 cup granulated sugar
– 1/2 cup cold unsalted butter, cubed
– 1/4 teaspoon salt
– 1/2 cup chopped walnuts or pecans (optional)
Suggested Apple Varieties
I recommend using Granny Smith or Honeycrisp apples. Granny Smith apples add a nice tartness. Honeycrisp apples are sweet and juicy. Mixing these varieties can give your crisp great flavor. You can also try Fuji or Braeburn apples for a different taste.
Optional Add-ins
Want to make your apple crisp even better? Consider adding some optional ingredients. You can mix in 1/2 cup of chopped walnuts or pecans for crunch. Dried cranberries or raisins can add sweetness. A splash of vanilla extract boosts flavor, too.
Step-by-Step Instructions
Prepping the Apples
To start, you need to choose your apples. I love using Granny Smith or Honeycrisp apples. They give the best taste and texture. Peel and slice four large apples. Use a sharp knife for easy slicing. In a large bowl, toss the apples with one tablespoon of lemon juice. This keeps the apples fresh and bright. Next, add 1/4 cup of brown sugar, one teaspoon of cinnamon, and 1/4 teaspoon of nutmeg. Mix everything until the apples are well coated. Once mixed, spread the apple mixture in a greased 9×13 inch baking dish.
Making the Oatmeal Crumble Topping
Now, it’s time for the oatmeal crumble topping. In a separate bowl, combine 1/2 cup of rolled oats, 1/2 cup of all-purpose flour, 1/3 cup of granulated sugar, and 1/4 teaspoon of salt. Stir these ingredients together to mix well. Then, add 1/2 cup of cold, cubed unsalted butter. Use your fingers or a pastry cutter to mix until the mix looks like coarse crumbs. If you like, fold in 1/2 cup of chopped walnuts or pecans for extra crunch.
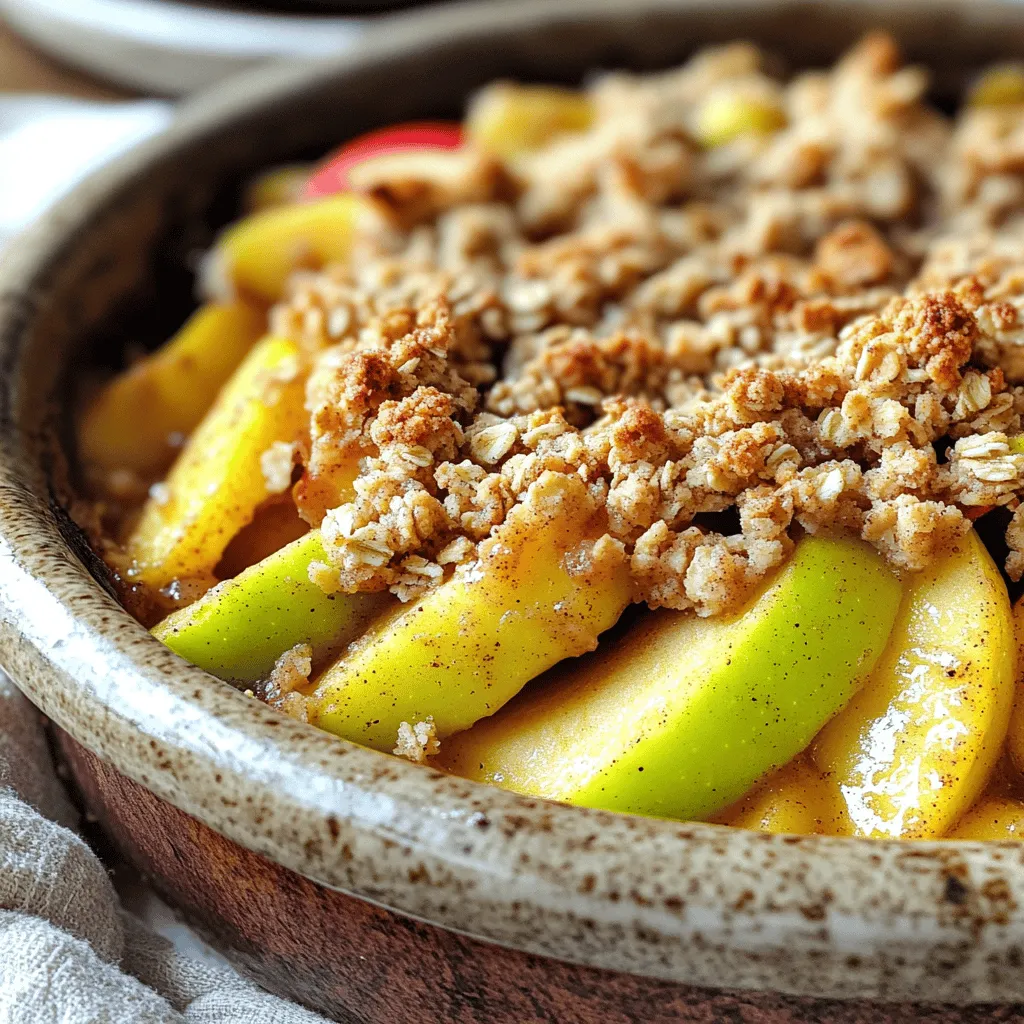
Baking and Finishing Touches
Once you have the crumble ready, spread it evenly over the apples in your baking dish. Preheat your oven to 350°F (175°C) while you prepare. Bake the dish for 30 to 35 minutes. You want the apples to be tender and the topping to turn a nice golden brown. When done, remove it from the oven and let it cool for a bit. This will help the flavors come together. Enjoy your warm apple crisp with a scoop of vanilla ice cream or whipped cream for a delightful treat!
Tips & Tricks
Best Practices for Choosing Apples
When making apple crisp, pick the right apples. I love using Granny Smith or Honeycrisp. Both types add great taste and texture. Granny Smith apples offer a nice tartness. Honeycrisp apples provide a sweet crunch. Always choose firm apples. Avoid soft or bruised ones. Fresh apples make a big difference in your dish.
Achieving the Perfect Crumble Texture
For a great crumble, combine oats, flour, and butter well. Use cold butter for the best texture. I recommend cutting the butter into small cubes. Then, mix it with your dry ingredients. You want the mixture to look like coarse crumbs. If you want some added crunch, mix in chopped nuts. Walnuts or pecans work well here.
Baking Tips for Even Cooking
To ensure even cooking, spread the apple mixture evenly in the dish. Make sure the crumble topping covers all the apples. This helps them cook evenly. Keep an eye on your crisp while it bakes. The apples should be tender, and the topping should turn golden brown. If it browns too quickly, cover it with foil. This way, your warm apple crisp turns out perfect every time!
Variations
Gluten-Free Options
You can easily make this dish gluten-free. Use gluten-free flour instead of all-purpose flour. Check that your oats are certified gluten-free too. This way, everyone can enjoy this warm apple crisp.
Nut-Free Adjustments
If you need a nut-free option, just skip the walnuts or pecans. This dessert still tastes great without nuts. You can add a bit of extra oats to the topping. This keeps the texture nice and crunchy.
Flavor Enhancements
Want to boost the flavor? Try adding a splash of vanilla extract to the apples. You can also drizzle some caramel sauce over the topping. This adds a sweet touch that pairs well with the apples. A pinch of ginger can also bring a nice kick to the dish.
Storage Info
How to Store Leftovers
To store leftovers, let the apple crisp cool. Cover it tightly with plastic wrap or foil. You can also transfer it to an airtight container. Keep it in the fridge for up to five days. The crisp may lose some crunch, but the taste will still be great.
Reheating Instructions
To reheat, preheat your oven to 350°F (175°C). Place the apple crisp in an oven-safe dish. Cover it with foil to prevent burning. Heat for about 15-20 minutes. This will warm it through and help revive some of the crisp topping. You can also microwave it in short bursts, about 30 seconds at a time.
Freezing for Future Enjoyment
Freezing apple crisp is easy. Allow it to cool completely. Cut it into portions and wrap each piece in plastic wrap. Then, place the wrapped portions in a freezer bag. Squeeze out the air and seal it well. You can freeze it for up to three months. To enjoy, just thaw it in the fridge overnight, then reheat as mentioned above.
FAQs
Can I use different types of fruit?
Yes, you can use many fruits. Pears, peaches, or berries work well. Each fruit adds its own flavor. For a twist, mix apples with another fruit. Just be sure to adjust sugar based on sweetness.
How do I know when the apple crisp is done?
You can tell it’s done when the topping is golden brown. The apples should be soft. You can poke them with a fork to check. If they give easily, it’s ready to enjoy.
Can I make this apple crisp ahead of time?
Yes, you can make it a day before. Just store it in the fridge. When you’re ready, bake it until warm. This can save time on busy days or special occasions.
This blog covered how to make a delicious apple crisp. We talked about ingredients, step-by-step instructions, and tips for the best results. You learned how to choose apples and make optional add-ins for more flavor.
Remember to store leftovers properly for later. Feel free to experiment with different fruits or flavors. With these easy steps, you can create a great dessert. Enjoy your homemade apple crisp!


