Looking for a tasty and spicy snack? Try my Vegan Buffalo Cauliflower Bites! These bites pack a punch and are perfect for game day or just a cozy night in. In this post, I'll share easy steps and tips to make sure yours come out crispy and full of flavor. Whether you're vegan or not, these bites will please everyone at your table. Let’s dive in and start cooking!
Why I Love This Recipe
- Deliciously Spicy: The buffalo sauce gives these cauliflower bites a fiery kick that’s perfect for spice lovers.
- Healthy Alternative: These bites are a guilt-free option compared to traditional buffalo wings, making them perfect for snacking.
- Easy to Make: This recipe is simple and requires minimal ingredients, perfect for quick meal prep or gatherings.
- Versatile Serving Options: Great as an appetizer, snack, or party food, and pairs well with various dips and sides.
Ingredients
List of Ingredients
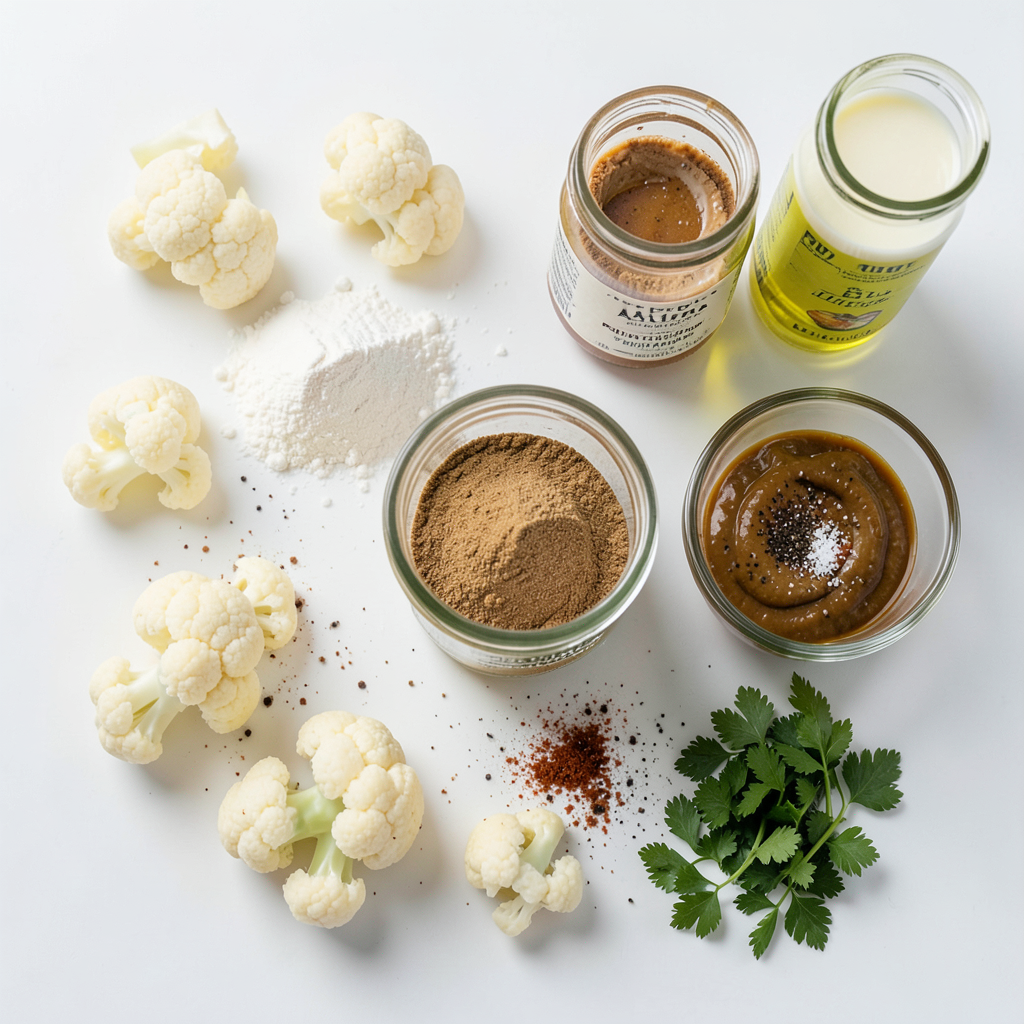
To make Vegan Buffalo Cauliflower Bites, you'll need:
- 1 large head of cauliflower, cut into bite-sized florets
- 1 cup all-purpose flour (or gluten-free flour)
- 1 cup plant-based milk (e.g., almond, soy, oat)
- 1 teaspoon garlic powder
- 1 teaspoon onion powder
- 1 teaspoon paprika
- Salt and pepper to taste
- 1 cup buffalo sauce (store-bought or homemade)
- 1 tablespoon olive oil
- Fresh parsley, chopped (for garnish)
Substitutions for Ingredients
You can easily modify this recipe. For gluten-free bites, use gluten-free flour. If you prefer a nut-free option, go with oat milk. You can swap buffalo sauce for another hot sauce if you want a different flavor. For a milder taste, reduce the amount of sauce you use. Fresh herbs like cilantro can replace parsley for a unique touch.
Nutritional Information
These bites are not only tasty but also nutritious. Each serving (about 6 bites) contains:
- Calories: Approximately 150
- Protein: 4g
- Carbohydrates: 20g
- Fat: 6g
- Fiber: 3g
This dish offers a good balance of flavors and nutrients. It’s perfect for a snack or party appetizer. Enjoy these bites with a side of veggies or a dipping sauce for a complete treat!
Step-by-Step Instructions
Preparation Steps
Start by preheating your oven to 450°F (230°C). This high heat makes the bites crispy. Line a baking sheet with parchment paper to prevent sticking. In a large mixing bowl, combine the flour, plant-based milk, garlic powder, onion powder, paprika, salt, and pepper. Whisk until you get a smooth batter. It should be thick enough to coat the florets. Now, cut your large head of cauliflower into bite-sized florets. Dip each floret into the batter, making sure it’s fully covered. Place them on the baking sheet in a single layer.
Baking Instructions
Bake your cauliflower in the preheated oven for 20 minutes. You want them to look lightly golden and crispy. This step is key for a great texture. Once the timer goes off, take the baking sheet out. Your kitchen will smell amazing!
Coating with Buffalo Sauce
In a separate bowl, mix the buffalo sauce with olive oil. This adds flavor and helps the sauce stick. After the first bake, drizzle or toss the cauliflower with this sauce mixture. Make sure every piece is well coated. Return the baking sheet to the oven for another 10 to 15 minutes. The sauce should caramelize a bit, making the bites even tastier. When they are done, let them cool for a few minutes. Enjoy your spicy snack!
Tips & Tricks
How to Achieve Crispiness
To get those bites crispy, use a high oven temperature. Preheat your oven to 450°F (230°C). This way, the batter gets a nice crunch. Make sure to coat the cauliflower well with the batter. A thick layer helps it crisp up. Spread the florets out on the baking sheet. Avoid crowding them; this keeps them from steaming.
Flavor Enhancements
You can add more flavor easily. Mix in some smoked paprika for a smoky taste. If you like heat, add cayenne pepper to the batter. Try adding a squeeze of lemon juice to the buffalo sauce. This gives a bright kick. Fresh herbs like thyme or oregano can also boost the flavor. Toss them in the batter for a tasty twist.
Serving Suggestions
Serve your cauliflower bites hot. They taste best fresh from the oven. Place them on a nice platter with celery sticks. A side of vegan ranch dressing makes for a great dip. You can also sprinkle fresh parsley on top for color. For a fun twist, serve with sliced avocados or pickles. Enjoy your tasty snack!
Pro Tips
- Use Fresh Cauliflower: Fresh cauliflower will give you the best texture and flavor, so choose a firm head with tightly packed florets.
- Adjust the Spice Level: If you prefer a milder flavor, you can mix the buffalo sauce with a bit of maple syrup or vegan ranch dressing to tone down the heat.
- Preheat Your Oven: Ensure your oven is fully preheated before baking to achieve that perfect crispiness on the cauliflower bites.
- Experiment with Seasonings: Feel free to add your favorite spices such as cayenne pepper, cumin, or smoked paprika to the batter for an extra flavor boost.
Variations
Gluten-Free Options
You can easily make these bites gluten-free. Just swap the all-purpose flour for gluten-free flour. Most brands work well. You can use almond flour or chickpea flour too. Each option adds a unique flavor. The texture remains crispy and delicious.
Spicy Alternative Ideas
If you love heat, try adding cayenne pepper to the batter. A teaspoon gives a nice kick. You can also mix in hot sauce with the buffalo sauce before coating. Another fun idea is to use sriracha instead of traditional buffalo sauce. It adds a tangy twist.
Additional Flavor Profiles
Want to switch things up? Consider using smoked paprika for a smoky flavor. This adds depth to your bites. You can also experiment with different herbs like thyme or oregano in the batter. For a zesty touch, add lemon juice or zest to the buffalo sauce. Each variation keeps the dish exciting and new!
Storage Info
Proper Storage Methods
To keep your Vegan Buffalo Cauliflower Bites fresh, store them in an airtight container. Let the bites cool completely before storing. This will help them stay crispy. Place parchment paper between layers if stacking them to avoid sticking.
Reheating Instructions
To reheat, place the cauliflower bites in the oven at 350°F (175°C) for about 10 minutes. This method keeps them crispy. You can also use an air fryer for about 5 minutes for a quick and crunchy result. Avoid using the microwave, as it can make them soggy.
Freezing Tips
You can freeze these bites for later use. After baking and cooling, arrange them in a single layer on a baking sheet. Freeze them for a couple of hours until firm. Then, transfer the bites to a freezer bag. They can last for up to three months in the freezer. When you’re ready to enjoy, bake them straight from frozen, adding a few extra minutes to the baking time.
FAQs
Can I make these buffalo cauliflower bites in an air fryer?
Yes, you can! Air fryers cook food quickly and make it crispy. To do this, dip your cauliflower in the batter, just like in the oven method. Place the coated florets in the air fryer basket in a single layer. Cook at 375°F (190°C) for about 15-20 minutes. Shake the basket halfway through for even cooking. The bites will turn out crispy and delicious.
What can I serve with Vegan Buffalo Cauliflower Bites?
You can serve these spicy bites with many tasty sides. Here are some great options:
- Celery sticks for crunch
- Carrot sticks for sweetness
- Vegan ranch dressing for dipping
- A fresh salad to balance the heat
- Rice or quinoa for a filling meal
How long do leftovers last?
Leftovers can last about 3-4 days in the fridge. Store them in an airtight container. Make sure they cool completely before sealing. If you're unsure, check for any signs of spoilage before eating.
Can I use other sauces for this recipe?
Absolutely! While buffalo sauce is popular, you can try other sauces too. Here are a few ideas:
- BBQ sauce for a sweet twist
- Teriyaki sauce for an Asian flavor
- Sweet chili sauce for a spicy-sweet combo
- Hot sauce mixed with vegan mayo for creaminess
Feel free to experiment and find your favorite!
We covered the key ingredients for buffalo cauliflower bites and how to make them. I shared tips for crispiness and flavor, along with serving ideas. We explored variations, storage methods, and answered common questions.
In my experience, these bites are tasty and fun to make. You can customize them, keep them crispy, and enjoy them later. Try this recipe your way and enjoy every bite!