Get ready to indulge in a fall favorite: Pumpkin Snickerdoodle Sandwich Cookies! These delightful treats combine soft, spiced cookies with a creamy filling that will make your taste buds dance. In this post, I’ll share step-by-step instructions, ingredient tips, and a few handy hacks to perfect them. Whether you’re baking for yourself or sharing with friends, these cookies are sure to bring smiles. Let’s dive into this sweet adventure together!
Ingredients
List of Ingredients for Cookies
– 1 cup unsalted butter, softened
– 1 cup granulated sugar
– 1/2 cup brown sugar, packed
– 1 cup pumpkin puree
– 2 large eggs
– 1 teaspoon vanilla extract
– 2 1/2 cups all-purpose flour
– 2 teaspoons cream of tartar
– 1 teaspoon baking soda
– 1/2 teaspoon salt
– 2 teaspoons ground cinnamon
– 1 teaspoon ground nutmeg
– 1/2 teaspoon ground ginger
List of Ingredients for Filling
– 1/2 cup powdered sugar
– 1/4 cup cream cheese, softened
– 1 tablespoon milk
– 1/2 teaspoon vanilla extract
Ingredient Substitutions and Tips
You can swap unsalted butter with coconut oil for a dairy-free option. Use maple syrup instead of granulated sugar if you prefer a natural sweetener. If you don’t have cream of tartar, you can replace it with lemon juice or vinegar in equal amounts. For the filling, Greek yogurt can replace cream cheese for a lighter option. Also, make sure your pumpkin puree is pure and not the spiced pie filling. This keeps the flavors just right.
Step-by-Step Instructions
Preparation and Mixing
First, preheat your oven to 350°F (175°C). This step helps the cookies bake evenly. Next, grab a large mixing bowl. In this bowl, combine 1 cup of softened unsalted butter, 1 cup of granulated sugar, and 1/2 cup of packed brown sugar. Mix these ingredients until they become light and fluffy. It should take about 2-3 minutes.
Then, add in 1 cup of pumpkin puree, 2 large eggs, and 1 teaspoon of vanilla extract. Mix it all together until fully combined. In a separate bowl, whisk together 2 1/2 cups of all-purpose flour, 2 teaspoons of cream of tartar, 1 teaspoon of baking soda, 1/2 teaspoon of salt, 2 teaspoons of ground cinnamon, 1 teaspoon of ground nutmeg, and 1/2 teaspoon of ground ginger.
Now, slowly add the dry mixture into the wet mixture. Stir until everything is well mixed. For easier handling, chill the dough in the fridge for about 30 minutes.
Baking the Cookies
After chilling, scoop tablespoon-sized portions of dough and place them on a lined baking sheet. Make sure to space them about 2 inches apart. This spacing helps the cookies spread without touching each other. Bake in your preheated oven for 10-12 minutes. The edges should turn lightly golden.
Once done, let the cookies cool on the baking sheet for a few minutes. Then, transfer them to a wire rack to cool completely. This cooling step is key to getting the right texture for your sandwich cookies.
Preparing the Filling and Assembly
While your cookies cool, prepare the filling. In a medium bowl, combine 1/2 cup of powdered sugar, 1/4 cup of softened cream cheese, 1 tablespoon of milk, and 1/2 teaspoon of vanilla extract. Mix these ingredients until you have a smooth and creamy filling.
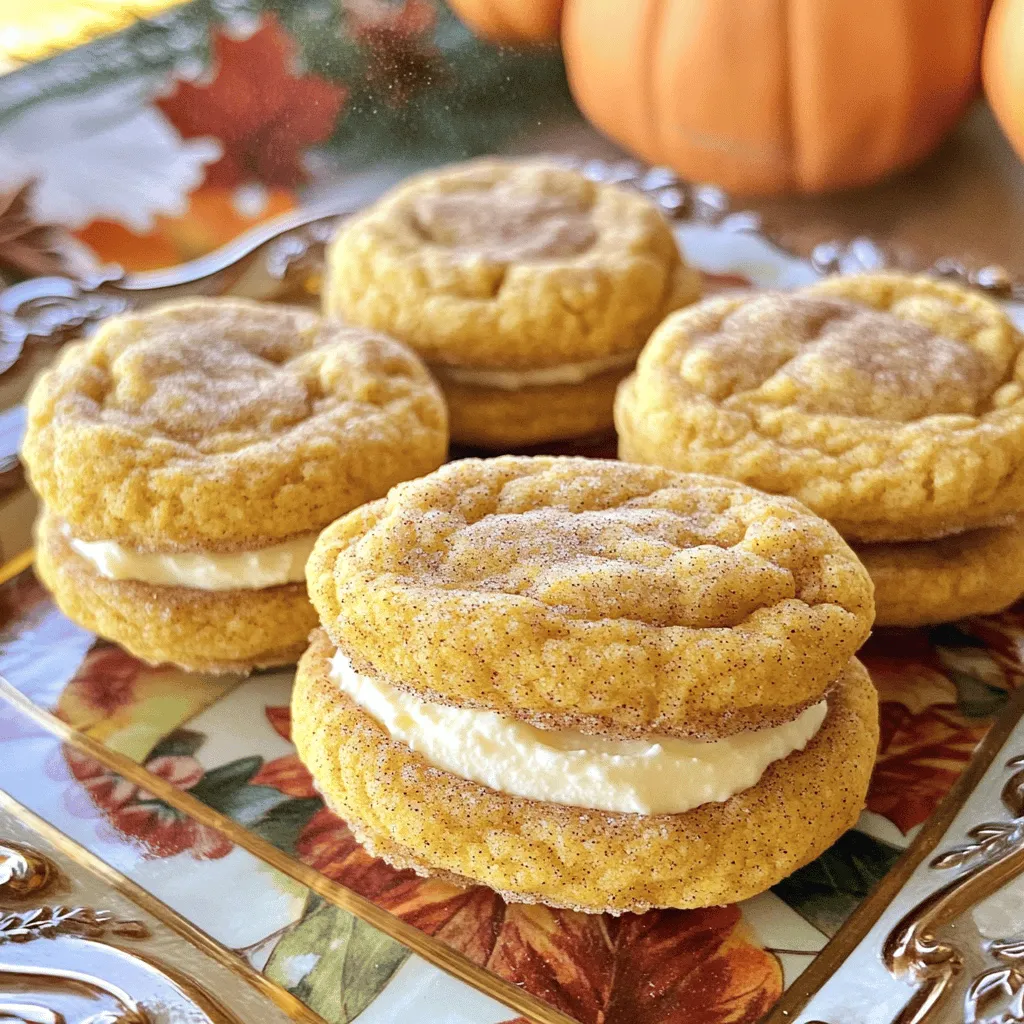
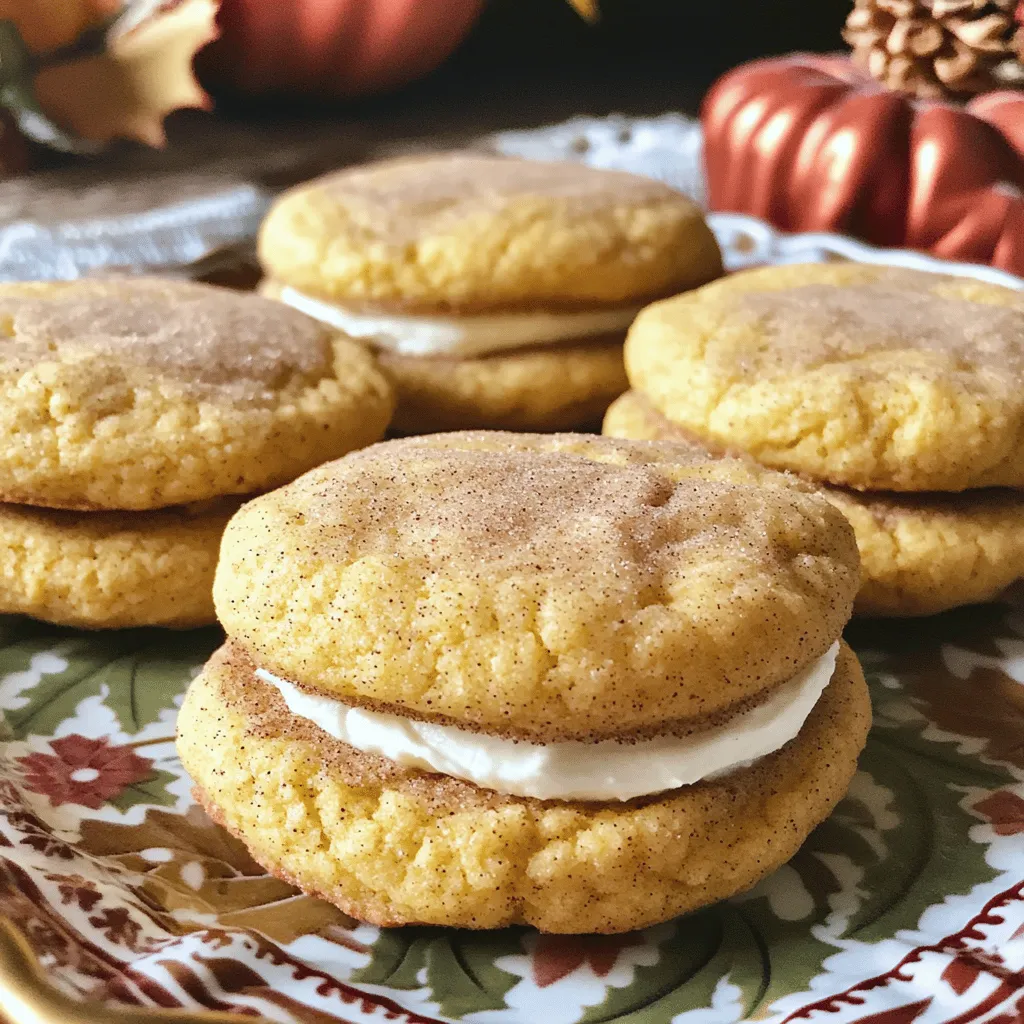
Once your cookies are completely cool, take one cookie and spread a generous tablespoon of filling on the flat side. Then, take another cookie and press it down on top to create a sandwich. Repeat this process until all cookies are filled.
Now, you have a delightful treat ready to enjoy!
Tips & Tricks
Achieving the Perfect Texture
To get the right texture for your cookies, start with room temperature butter. Cream it well with the sugars until it looks fluffy. This helps trap air, which makes the cookies light. Chill the dough for about 30 minutes before baking. This step firms up the dough, making it easier to scoop and shape. Bake until the edges are golden but the centers are soft. They will firm up as they cool.
Common Mistakes to Avoid
One common mistake is overmixing the dough. Mixing too long can make the cookies tough instead of soft. Another issue is skipping the chilling step. If you skip this, your cookies may spread too much and lose their shape. Also, be sure to measure your flour correctly. Too much flour can lead to dry cookies. Use the spoon and level method for the best results.
Enhancing Flavor with Spices
To bring out the best flavors, use fresh spices when possible. Ground cinnamon, nutmeg, and ginger all add warmth to your cookies. You can also experiment. Try adding a pinch of cloves or allspice for extra depth. For a fun twist, consider mixing in some chocolate chips or chopped nuts. This can add texture and a new flavor layer.
Variations
Alternative Fillings Ideas
You can change the filling for your Pumpkin Snickerdoodle Sandwich Cookies. Try using whipped cream for a light, airy texture. A chocolate ganache can add richness and depth. You might even love a maple cream filling for a unique twist. Each of these ideas gives a new taste to the cookies.
Gluten-Free Options
To make these cookies gluten-free, replace all-purpose flour with a gluten-free blend. You can find many good mixes at the store. Just make sure the blend includes xanthan gum for the right texture. This swap keeps the cookies soft and tasty, just like the original recipe.
Adding Unique Flavor Twists
Want to spice things up? Add a bit of orange zest to the dough. This gives a bright, fresh flavor. You could also mix in a dash of cardamom or allspice for warmth. For chocolate lovers, toss in some mini chocolate chips for a sweet surprise. These twists can make your cookies stand out even more.
Storage Info
How to Store Finished Cookies
To keep your Pumpkin Snickerdoodle Sandwich Cookies fresh, place them in an airtight container. Layer parchment paper between the cookies to prevent sticking. Store them at room temperature for up to three days. If you want them to last longer, store them in the fridge for a week.
Freezing Instructions
Freezing these cookies is easy and smart. First, let the cookies cool completely. Then, place them in a single layer on a baking sheet. Freeze them for about an hour. Once frozen, transfer them to a freezer-safe bag or container. They can last up to three months in the freezer. When you’re ready to enjoy, just thaw them at room temperature.
Shelf Life and Best Practices
These cookies are best eaten fresh but still tasty after freezing. If stored in the fridge, consume them within a week for the best flavor. To keep them soft, avoid exposing them to air. Always check for any signs of spoilage before eating, especially if they sit for a while.
FAQs
Can I use canned pumpkin for this recipe?
Yes, you can use canned pumpkin. Canned pumpkin is easy and saves time. It gives the cookies moisture and flavor. Just make sure to choose pure pumpkin, not pumpkin pie filling. This keeps your cookies from being too sweet.
How do I make these cookies softer?
To make these cookies softer, try a few tricks. First, do not over-bake them. Remove them when the edges are light golden. Second, add a little more pumpkin puree. This adds moisture, making the cookies soft. Lastly, chill the dough before baking. This helps the cookies rise and stay tender.
What can I substitute for cream cheese in the filling?
If you need a substitute for cream cheese, try mascarpone cheese. It has a similar texture and taste. You can also use Greek yogurt. It will give a tangy flavor but keep the filling creamy. Just make sure to adjust the sugar if you use a tart yogurt.
In this article, we explored the key ingredients for cookies and filling, and shared helpful tips. We also covered step-by-step instructions for preparation, baking, and assembly. You learned ways to enhance texture, avoid common mistakes, and explore fun variations. Finally, we discussed proper storage methods to keep your cookies fresh.
Now, it’s time to get baking! Trust these tips for delicious cookies that everyone will love.


