
Latest & Greatest
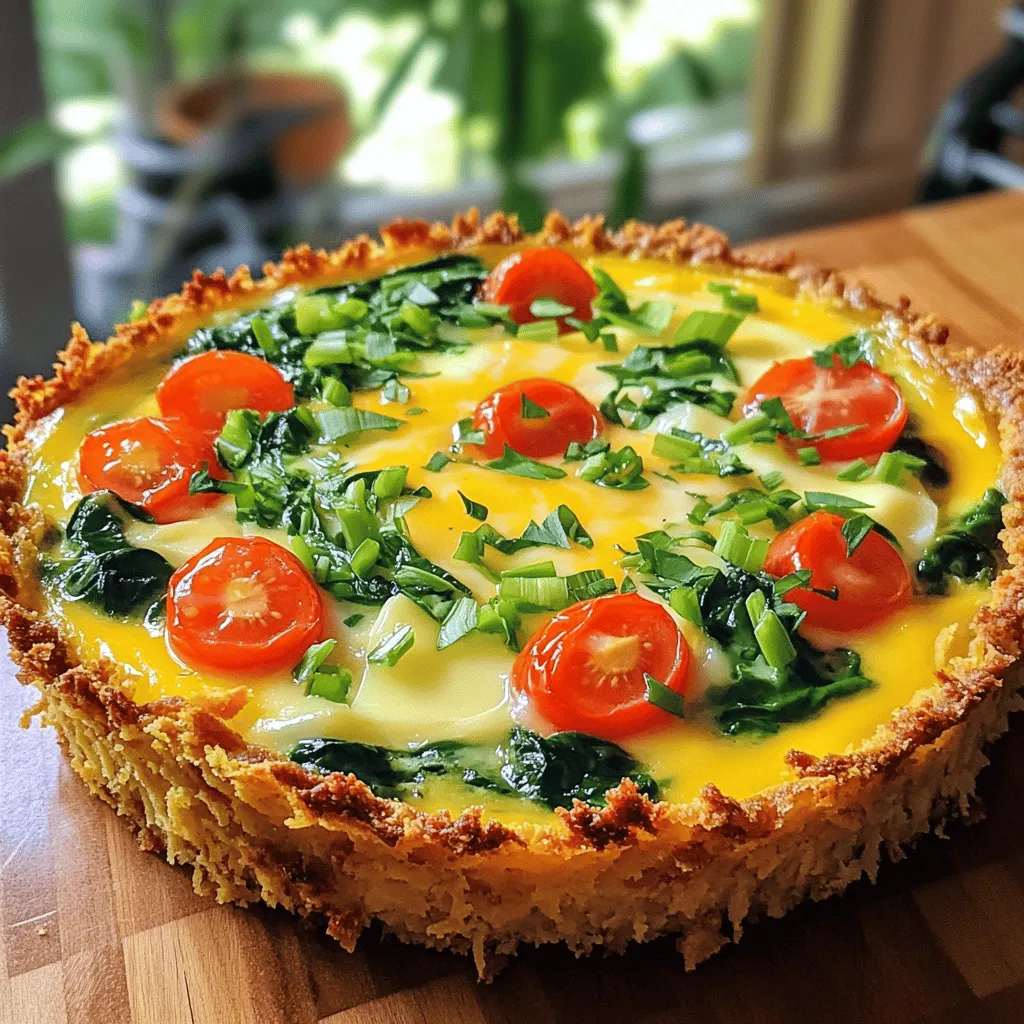
Spring Hash Brown Crust Quiche Flavorful and Easy Meal
Are you ready for a simple, tasty dish this spring? Try my Spring Hash Brown Crust Quiche! With a crispy
Read more…browse recipes


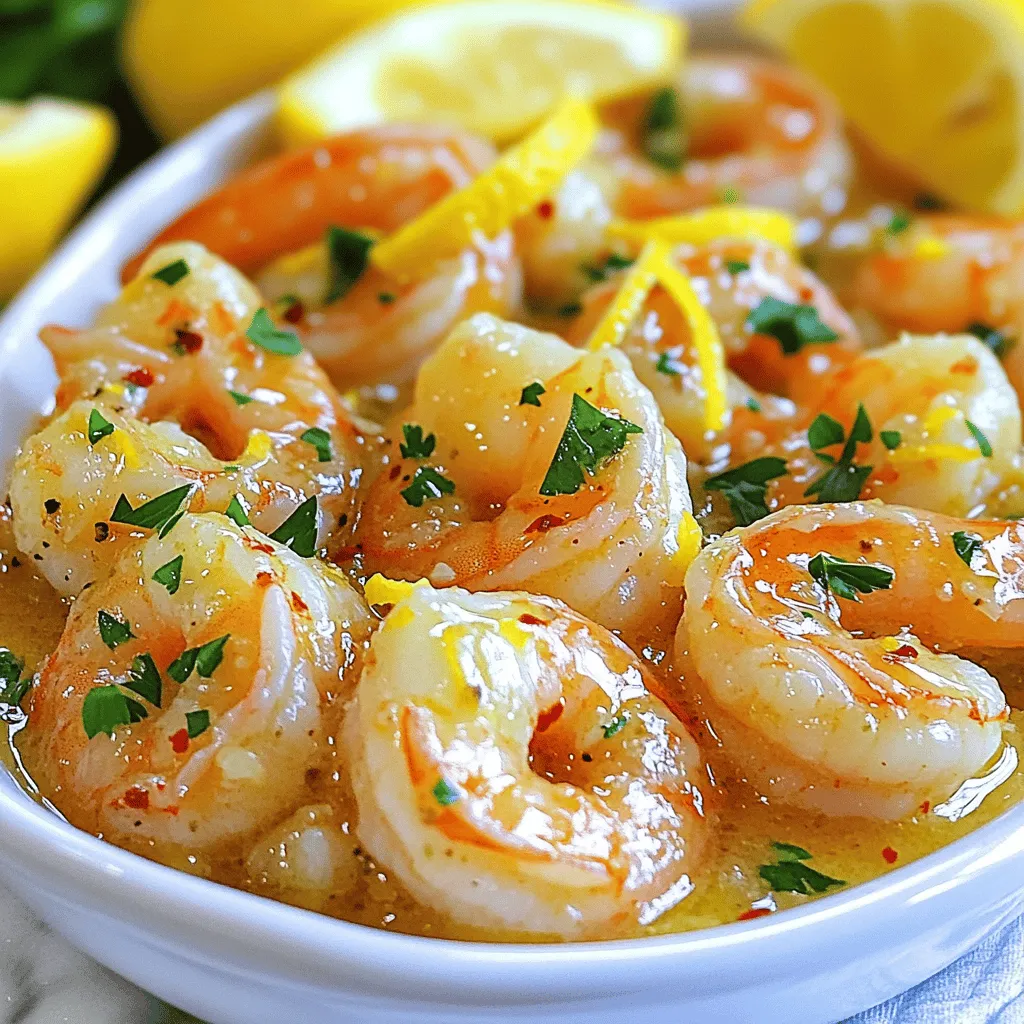
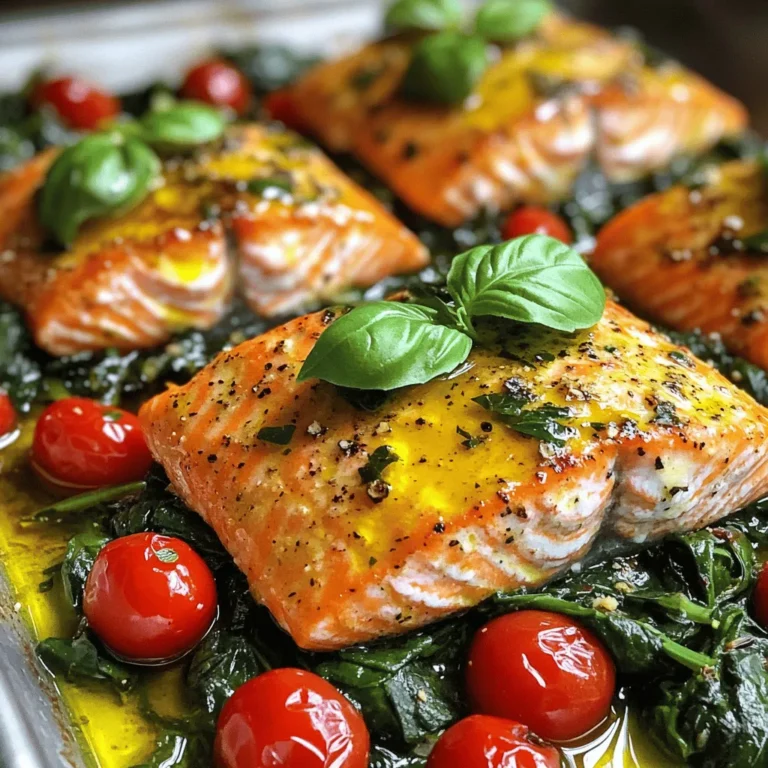
Lemon Garlic Butter Shrimp Tasty and Simple Recipe
Are you ready to dive into a delicious world of flavors? This Lemon Garlic Butter Shrimp recipe is both tasty and simple. With just…
My Latest Desserts

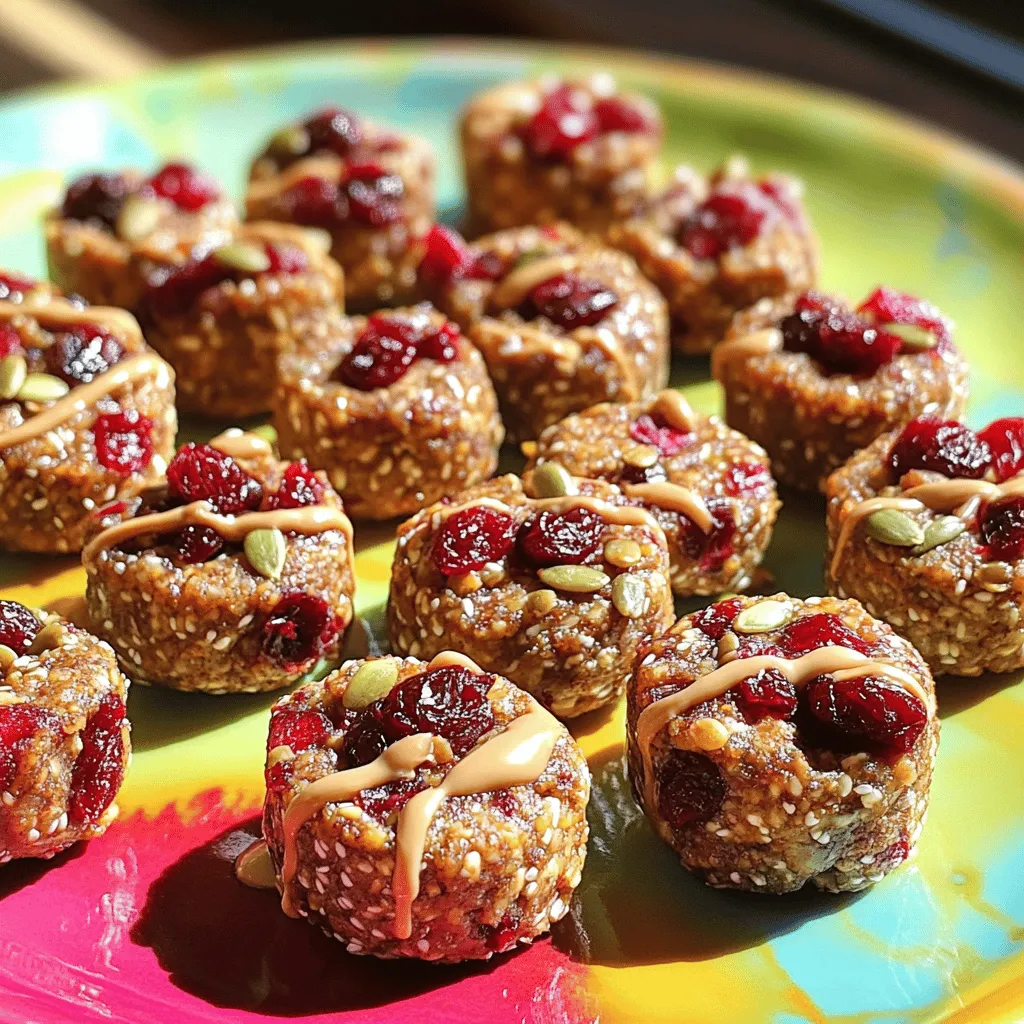
Cherry Tahini Energy Bites Healthy Snack Recipe
Looking for a quick, healthy snack? Let me introduce you to Cherry Tahini Energy Bites! Packed with flavor and nutrition, Read Full Recipe-
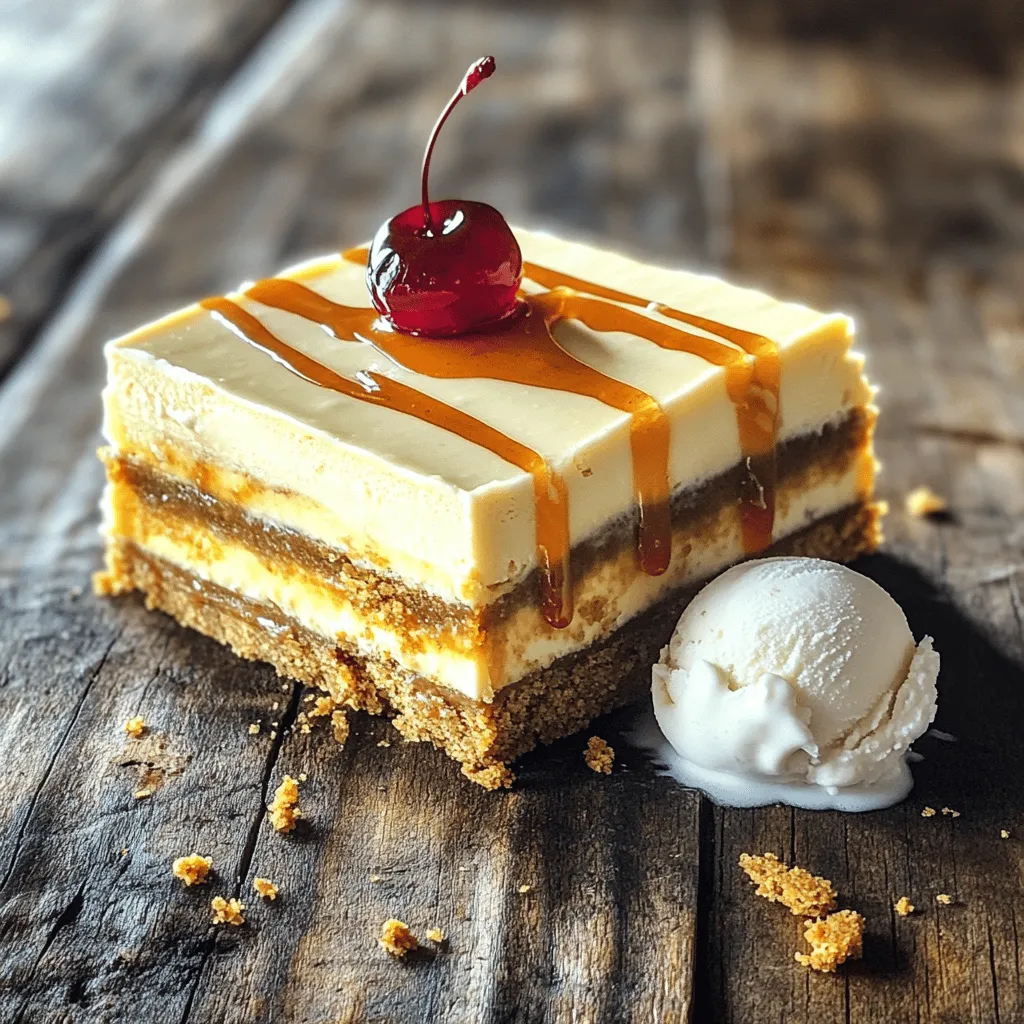
Root Beer Cream Bars Irresistible and Simple Treat
If you love the sweet nostalgia of root beer, you’re in for a treat! Root Beer Cream Bars combine creamy Read Full Recipe -
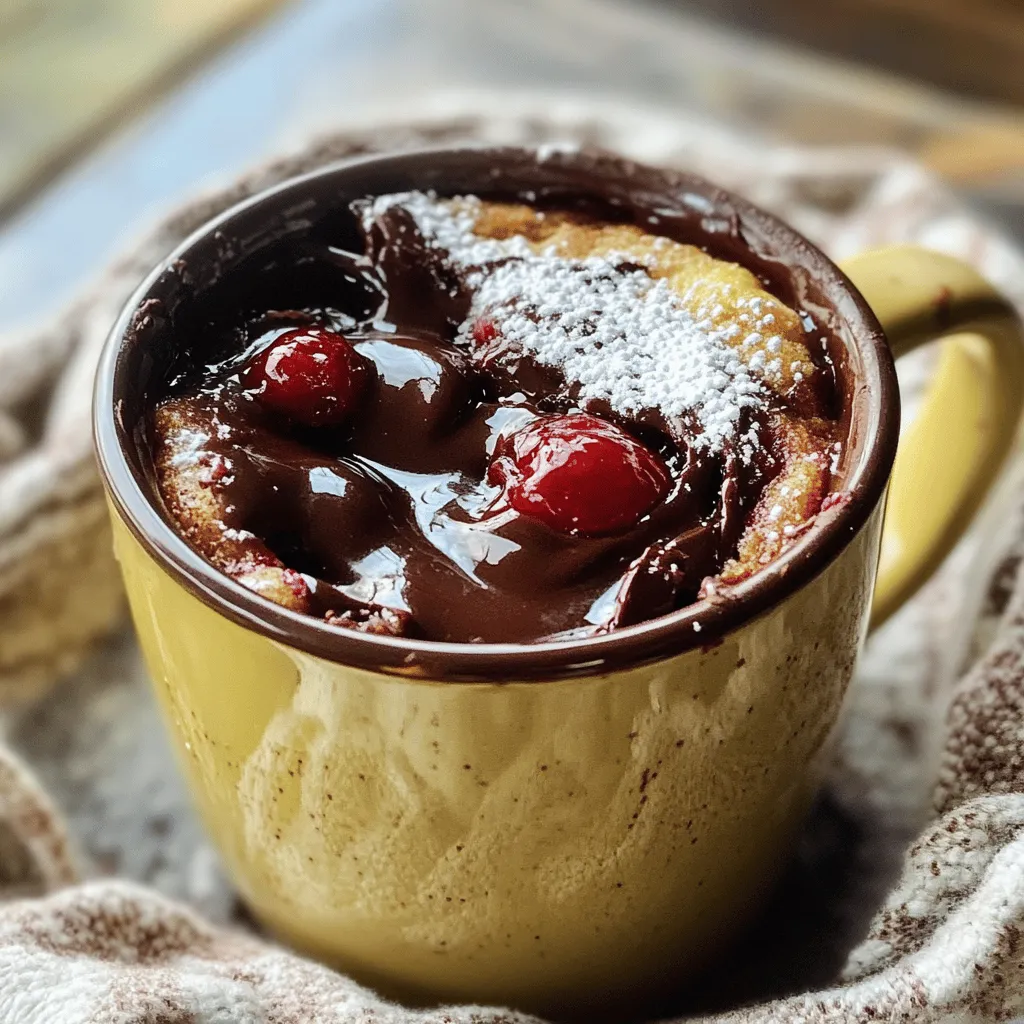
Cherry Chocolate Lava Mug Cake Delightful Recipe
Craving something sweet and quick? You’re in for a treat with my Cherry Chocolate Lava Mug Cake! This recipe packs Read Full Recipe -
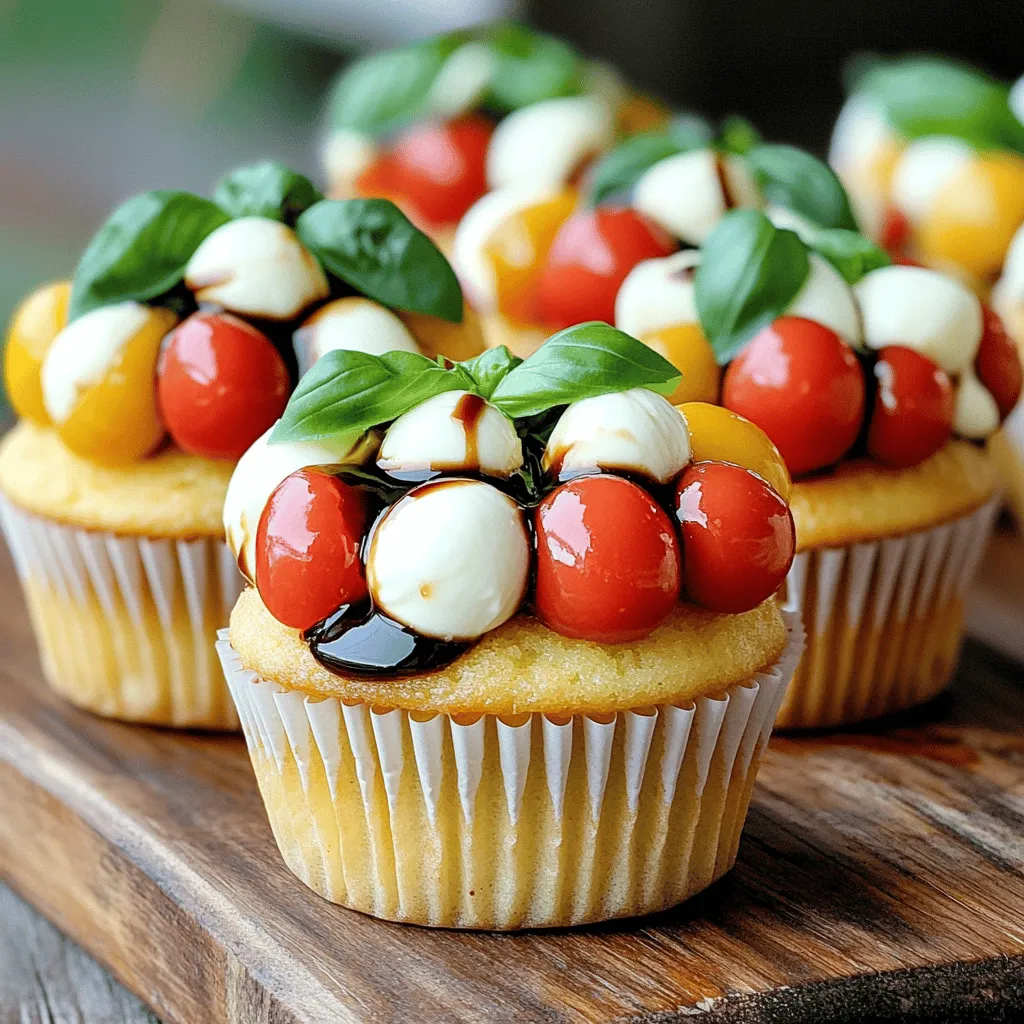
Caprese Stuffed Cupcakes Flavorful and Unique Treat
Are you ready to treat your taste buds to something new? Caprese Stuffed Cupcakes mix fresh flavors and fun in Read Full Recipe -
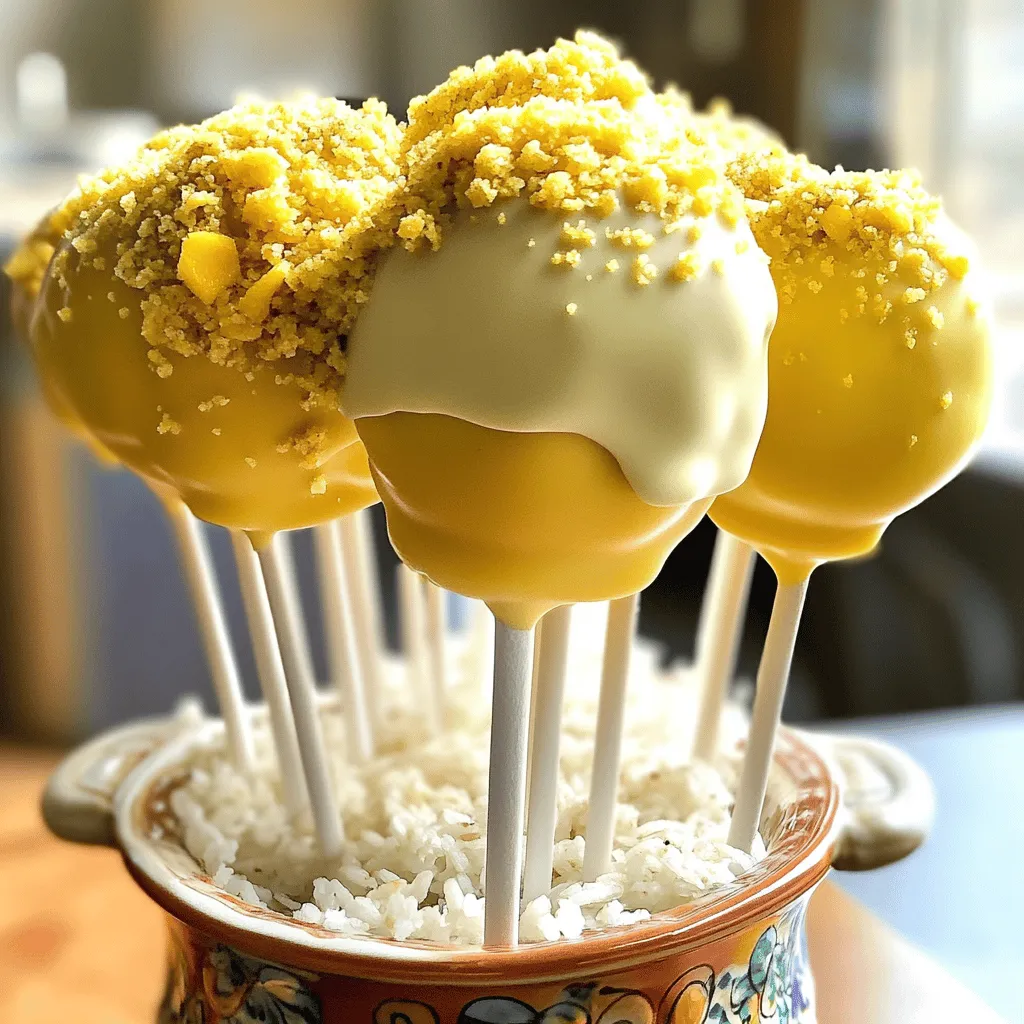
Mango Tajin Cake Pops Tasty and Fun Treats
Craving a unique treat? Try my Mango Tajin Cake Pops! These fun bites blend sweet mango with the zesty kick Read Full Recipe -
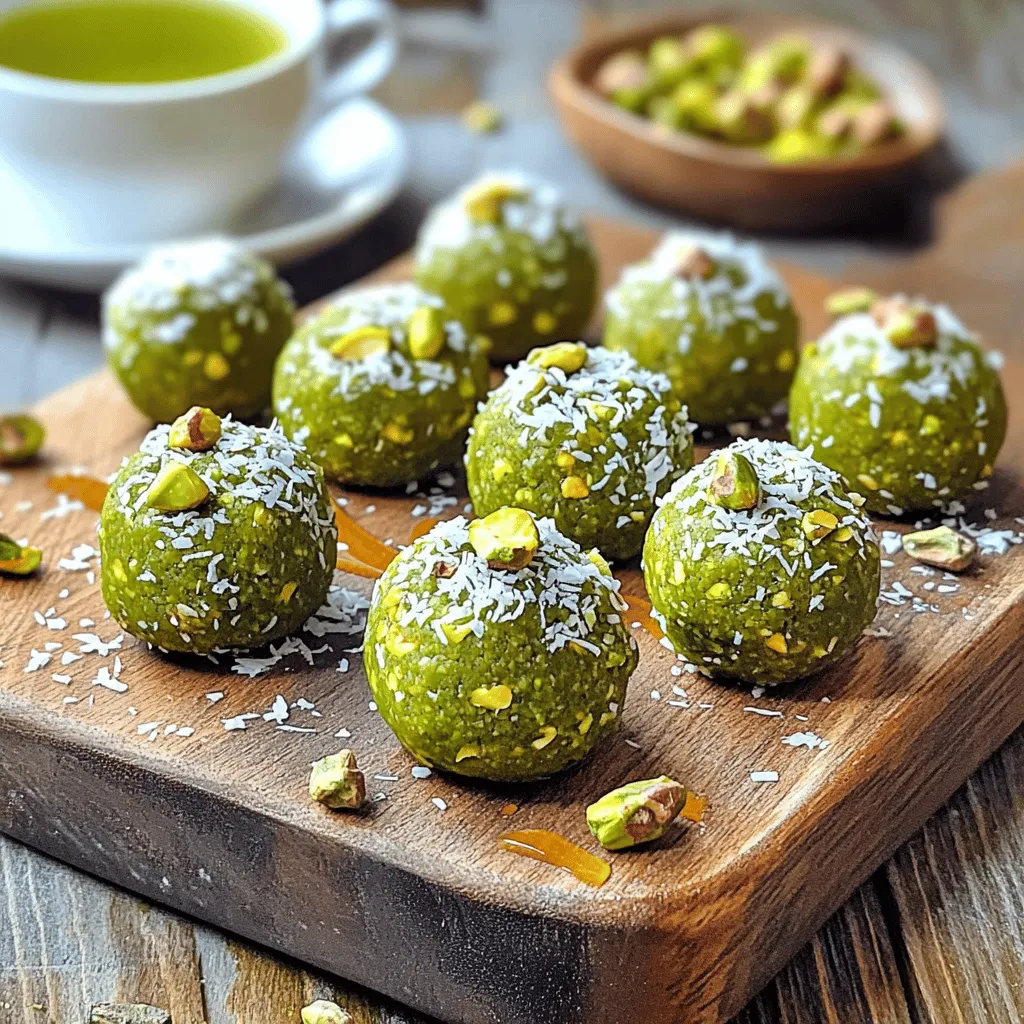
Matcha Pistachio Energy Bites Nourishing Snack Option
Looking for a tasty and healthy snack? Let me introduce you to Matcha Pistachio Energy Bites! Packed with oats, nuts, Read Full Recipe -
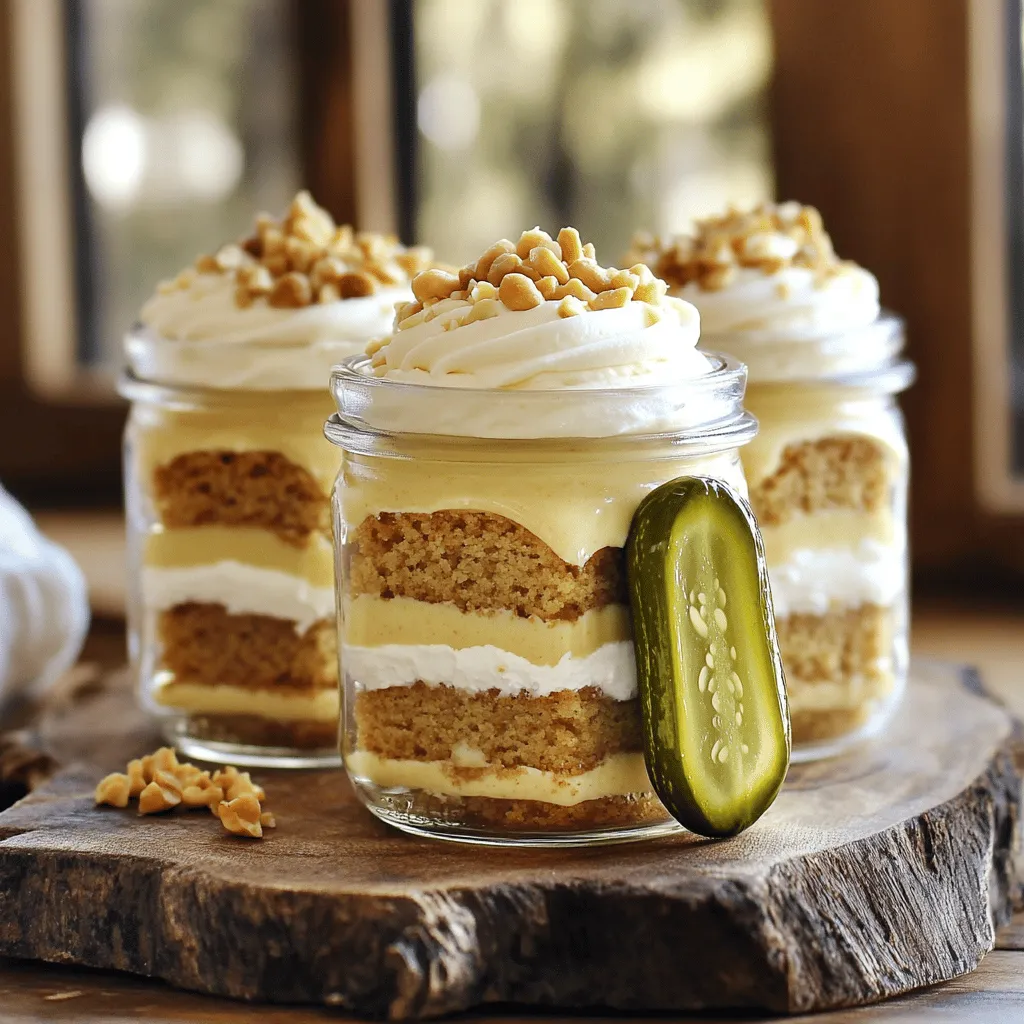
Peanut Butter Pickle Cake Jars Delightful and Unique Treat
Are you ready to try something truly different? Peanut Butter Pickle Cake Jars combine sweet and tangy flavors in a Read Full Recipe -
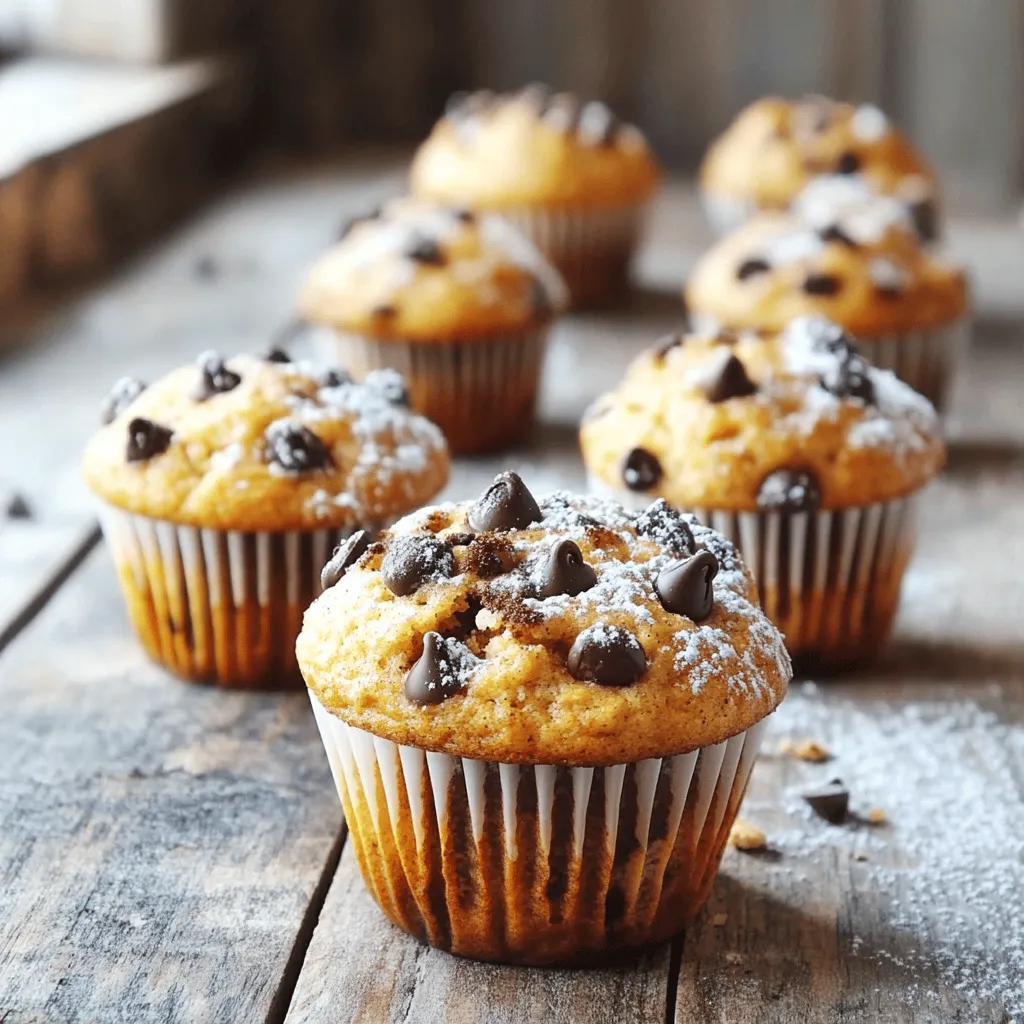
Healthy Banana Oat Muffins Nutrient-Packed Recipe
Looking for a tasty snack that’s packed with nutrients? You’re in the right place! My Healthy Banana Oat Muffins recipe Read Full Recipe -
No-Bake Chocolate Oat Bars Simple and Tasty Treat
Looking for a quick, tasty treat? You’re in the right place! My No-Bake Chocolate Oat Bars are simple to make Read Full Recipe -
No-Bake Chocolate Oatmeal Bars Simple and Tasty Treat
Looking for a simple and tasty treat that’s also healthy? You’ve found it! My No-Bake Chocolate Oatmeal Bars are a Read Full Recipe


hey,
i’m !
I’m so happy you’re here!
I pour heart and skill into every recipe I create. I know you’ll taste the difference now let’s enjoy this flavorful adventure together.


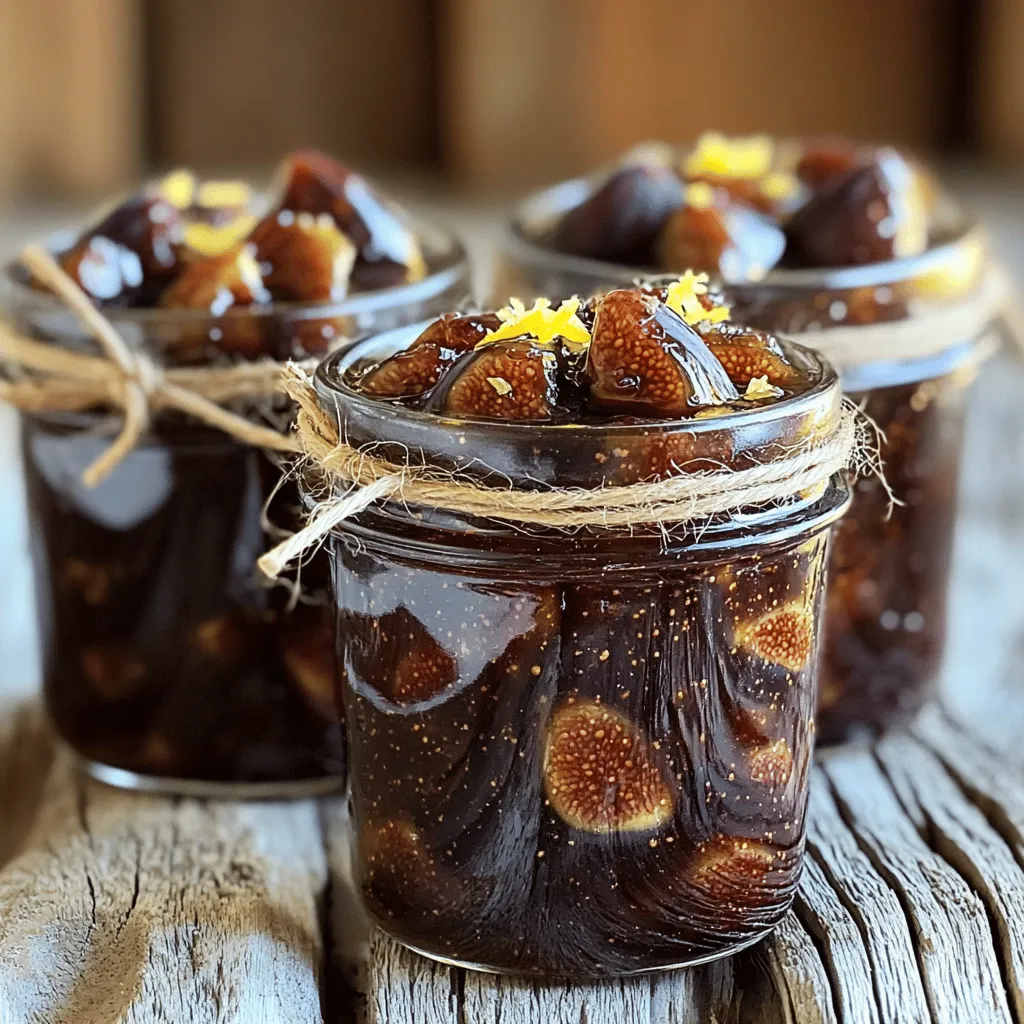
Easy Fig Jam Simple Recipe for Delicious Flavor
Are you ready to turn bountiful figs into a delightful jam? In this easy fig jam recipe, I’ll guide you step-by-step to create a…