

Latest & Greatest

Mango Sticky Rice Dessert Delightful Taste Awaits
Mango Sticky Rice is a dessert that bursts with flavor and nostalgia. This sweet treat combines glutinous rice, creamy coconut
Read more…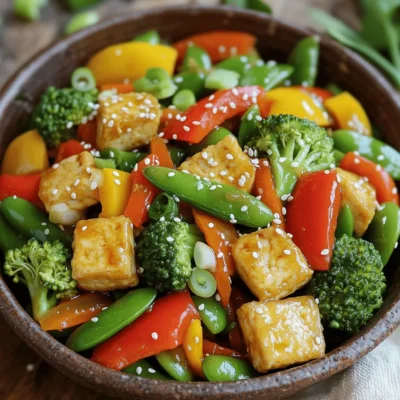
Vegetable Stir Fry with Tofu Flavorful and Healthy Meal
Looking for a quick, tasty, and healthy meal? This Vegetable Stir Fry with Tofu is your answer! Packed with fresh
Read more…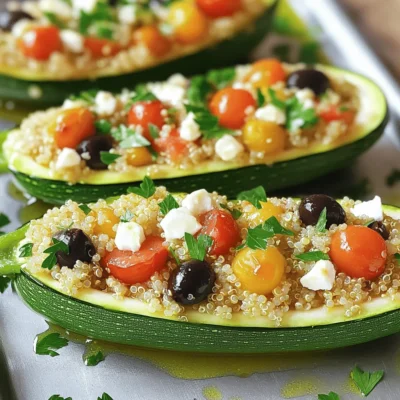
Stuffed Zucchini Boats Flavorful and Easy Recipe
Are you ready to dive into a delicious and healthy dish? Stuffed zucchini boats are not only easy to make
Read more…
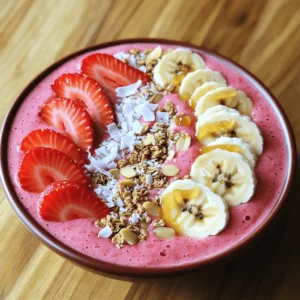
Peanut Butter Banana Smoothie Creamy and Healthy Treat
Are you ready to whip up a tasty and healthy treat? The Peanut Butter Banana Smoothie is both creamy and
Read more…
Grilled Vegetable Skewers Flavorful and Healthy Dish
Wow, are you ready to elevate your BBQ game? Grilled vegetable skewers are not only colorful and tasty, but they’re
Read more…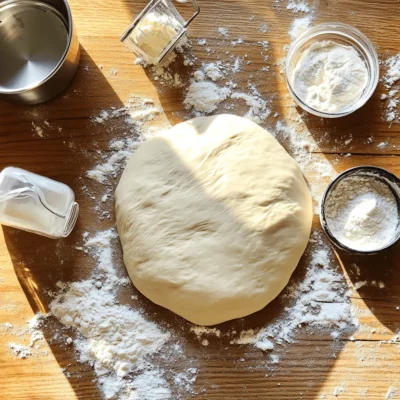
Easiest Homemade Pizza Dough Simple and Quick Recipe
Are you ready to impress friends and family with your own homemade pizza? This easy pizza dough recipe is quick
Read more…
Mini Cheesecake Bites Delightful and Easy Dessert Treat
Are you ready to indulge in a sweet treat? Mini cheesecake bites are easy to make and perfect for any
Read more…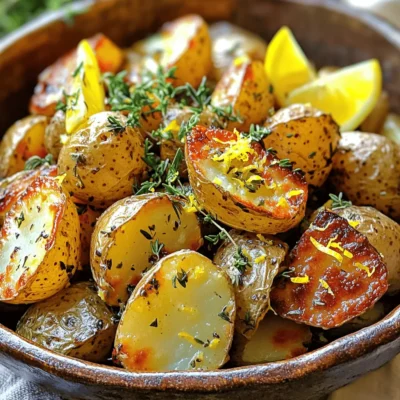
Lemon Garlic Herb Roasted Potatoes Flavorful Side Dish
Looking for a side dish that bursts with flavor? My Lemon Garlic Herb Roasted Potatoes are just what you need.
Read more…browse recipes


![- 4 boneless, skinless chicken breasts - 1 cup Greek yogurt - ½ cup cucumber, finely grated and excess water squeezed out - 2 cloves garlic, minced - 1 tablespoon fresh dill, chopped (or 1 teaspoon dried) - 1 tablespoon lemon juice - 1 teaspoon olive oil - ½ teaspoon salt - ¼ teaspoon black pepper - 1 teaspoon smoked paprika - 1 cup cherry tomatoes, halved - Fresh greens (like arugula or spinach) for serving - Pita bread or rice, for serving Greek yogurt is the star of this dish. It gives a creamy base and tangy taste. The cucumber adds freshness, while the garlic brings a strong flavor. Fresh dill adds a bright, herbal note, making it more exciting. Lemon juice helps to balance the richness. Olive oil adds a nice smoothness to the sauce. Smoked paprika gives a warm depth to the chicken, enhancing its flavor. Cherry tomatoes provide a sweet burst, making everything better. If you can’t find Greek yogurt, plain yogurt works too. You can swap chicken breasts for thighs if you prefer dark meat. Don’t have dill? Try parsley or mint for a different taste. If you want a less strong flavor, skip the garlic or use garlic powder. You can replace cherry tomatoes with bell peppers for a different texture. Start by preheating your oven to 375°F (190°C). This helps cook the chicken evenly. Next, in a medium bowl, mix the Greek yogurt, grated cucumber, minced garlic, dill, lemon juice, olive oil, salt, and black pepper. This mixture becomes your Tzatziki sauce. Remember to set aside half for drizzling later. Now, take a large baking dish and place the boneless, skinless chicken breasts inside. Rub each piece with smoked paprika for extra flavor. This spice adds a nice smokiness to the dish. Pour the remaining Tzatziki sauce over the chicken, covering it well. This ensures the chicken stays moist while cooking. Scatter halved cherry tomatoes around the chicken for sweetness and color. Cover the dish tightly with aluminum foil. This keeps the moisture in, making the chicken tender. Bake in the preheated oven for about 25 to 30 minutes. Check that the chicken reaches an internal temperature of 165°F (75°C). Once done, remove the foil and bake for another 5 to 10 minutes. This step gives the chicken a lovely golden color. After baking, let the dish cool for a few minutes. This helps the juices settle, making it easier to serve. To serve, place the chicken over a bed of fresh greens, like arugula or spinach. Drizzle the reserved Tzatziki sauce on top for added flavor. It adds a creamy touch that pairs perfectly with the chicken. You can also serve this dish with pita bread or rice on the side. Both options soak up the delicious sauce well. Enjoy your Dump-and-Bake Chicken Tzatziki! To make your Dump-and-Bake Chicken Tzatziki pop, add fresh herbs. Fresh dill works great, but you can also use parsley or mint. A splash of lemon juice brightens the dish too. If you crave heat, sprinkle in some red pepper flakes. For a touch of sweetness, add some honey to the Tzatziki sauce. This makes it more complex and yummy. The oven should be set to 375°F (190°C) for best results. If you want a faster cook, raise the temperature to 400°F (200°C). Just keep an eye on the chicken to avoid overcooking. If you use thick chicken breasts, you may need a bit more time. Always check that the chicken reaches 165°F. This keeps your meal safe and delicious. One mistake is not seasoning the chicken well. Always rub spices on each piece for depth. Another common error is overcooking. Use a meat thermometer to check the temperature. Lastly, don’t skip the foil. Covering the dish helps keep the chicken juicy. These tips will ensure your meal is a hit! For the complete recipe, refer to [Full Recipe]. {{image_2}} You can switch the chicken for other meats. Try using turkey breast or pork tenderloin. Both cook well and soak up the Tzatziki sauce. If you prefer, you can use fish. Salmon or tilapia works great. Just adjust cooking times. Fish cooks faster, so check it around 20 minutes. For a vegetarian twist, use tofu or tempeh. Press tofu to remove moisture, then cube it. Marinate it in Tzatziki sauce before baking. For a vegan option, use chickpeas instead of chicken. Toss them in the same sauce and bake until golden. Both options give you a tasty meal. You can get creative with sauces. Try a spicy harissa if you want heat. A lemon tahini sauce can add creaminess. Use pesto for a fresh herb taste. Each sauce brings a new flavor to the dish. Feel free to mix and match sauces to find your favorite blend. After making Dump-and-Bake Chicken Tzatziki, let it cool. Place leftovers in an airtight container. Store it in the fridge for up to three days. The chicken stays juicy, and the tzatziki flavors blend nicely. When ready to eat, check for any off smells or visible changes before serving. To freeze, allow the dish to cool completely. Transfer it to a freezer-safe container. You can keep it frozen for up to three months. Make sure to label the container with the date. For best results, freeze the chicken and tzatziki sauce separately. This helps maintain texture and flavor. To reheat, thaw in the fridge overnight if frozen. You can use the oven or microwave. For the oven, preheat to 350°F (175°C). Place the chicken in a baking dish, cover with foil, and heat for about 20 minutes. If using the microwave, heat in short bursts, stirring occasionally. Ensure the chicken reaches 165°F (75°C) before serving again. Enjoy it warm with fresh greens and pita bread or rice. Yes, you can use chicken thighs instead of breasts. Chicken thighs have more fat, which makes them juicy and flavorful. They also cook well in this dish. Just remember to check the cooking time. Thighs may take a bit longer than breasts. You want the internal temperature to reach 165°F (75°C). Making tzatziki sauce ahead is a great idea! Simply mix all the tzatziki ingredients in a bowl. Cover it with plastic wrap and store it in the fridge. You can make it up to a day in advance. The flavors will blend nicely if you let it sit. Just remember to save some for drizzling later when you serve. You have many choices for sides! Fresh greens like arugula or spinach work well. They add a nice crunch and color. You can also serve warm pita bread or fluffy rice. Both complement the chicken and tzatziki sauce perfectly. Try adding a simple salad for extra freshness. This article covered key ingredients, clear steps, and useful tips for your dish. You learned about ingredient options and tricks to avoid mistakes. Variations make your meals exciting, while storage tips keep leftovers fresh. Always consider different proteins and sauces to suit your taste. Now, you have the tools to create a delicious meal with ease. Enjoy cooking and exploring flavors that excite your palate.](https://foodishtalk.com/wp-content/uploads/2025/04/98406453-abf2-4a25-a517-2e88f9bc142e.webp)
Dump-and-Bake Chicken Tzatziki Flavorful Simple Meal
Looking for a quick meal that packs a punch of flavor? Say hello to Dump-and-Bake Chicken Tzatziki! This simple dish combines tender chicken with…
My Latest Desserts

Mango Tajin Cake Pops Tasty and Fun Treats
Craving a unique treat? Try my Mango Tajin Cake Pops! These fun bites blend sweet mango with the zesty kick Read Full Recipe-
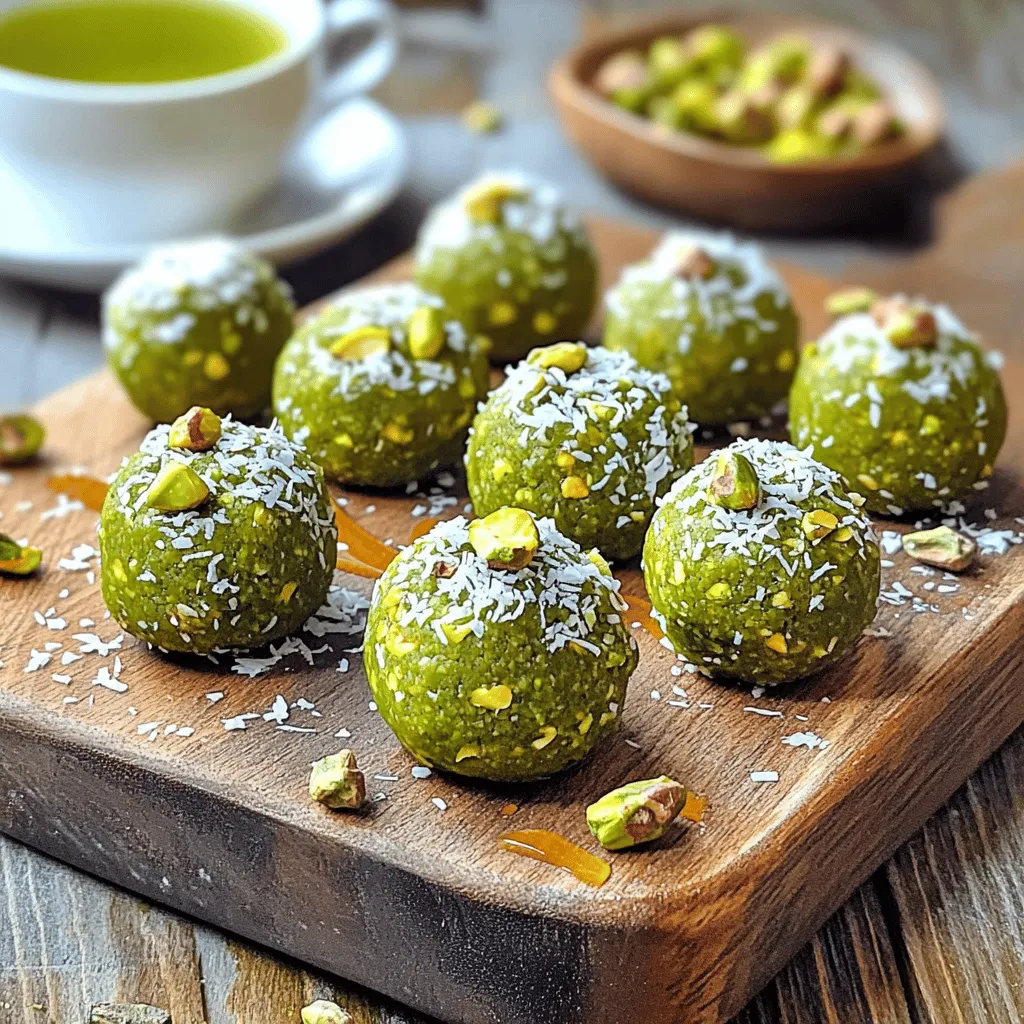
Matcha Pistachio Energy Bites Nourishing Snack Option
Looking for a tasty and healthy snack? Let me introduce you to Matcha Pistachio Energy Bites! Packed with oats, nuts, Read Full Recipe -
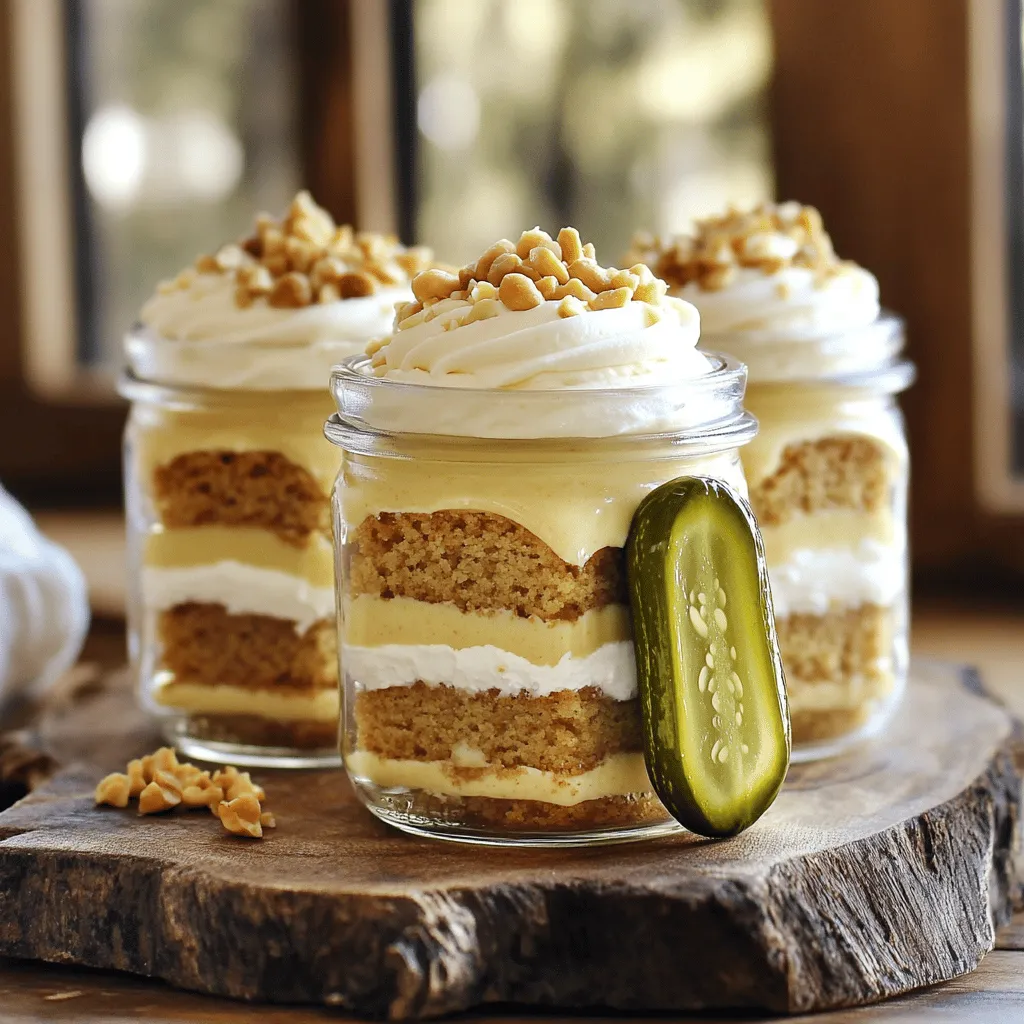
Peanut Butter Pickle Cake Jars Delightful and Unique Treat
Are you ready to try something truly different? Peanut Butter Pickle Cake Jars combine sweet and tangy flavors in a Read Full Recipe -
Healthy Banana Oat Muffins Nutrient-Packed Recipe
Looking for a tasty snack that’s packed with nutrients? You’re in the right place! My Healthy Banana Oat Muffins recipe Read Full Recipe -
No-Bake Chocolate Oat Bars Simple and Tasty Treat
Looking for a quick, tasty treat? You’re in the right place! My No-Bake Chocolate Oat Bars are simple to make Read Full Recipe -
No-Bake Chocolate Oatmeal Bars Simple and Tasty Treat
Looking for a simple and tasty treat that’s also healthy? You’ve found it! My No-Bake Chocolate Oatmeal Bars are a Read Full Recipe -
Peach Pie Cruffins Delightful and Simple Recipe
Are you ready to dive into a sweet and flaky treat? Peach Pie Cruffins are a delightful twist on classic Read Full Recipe -
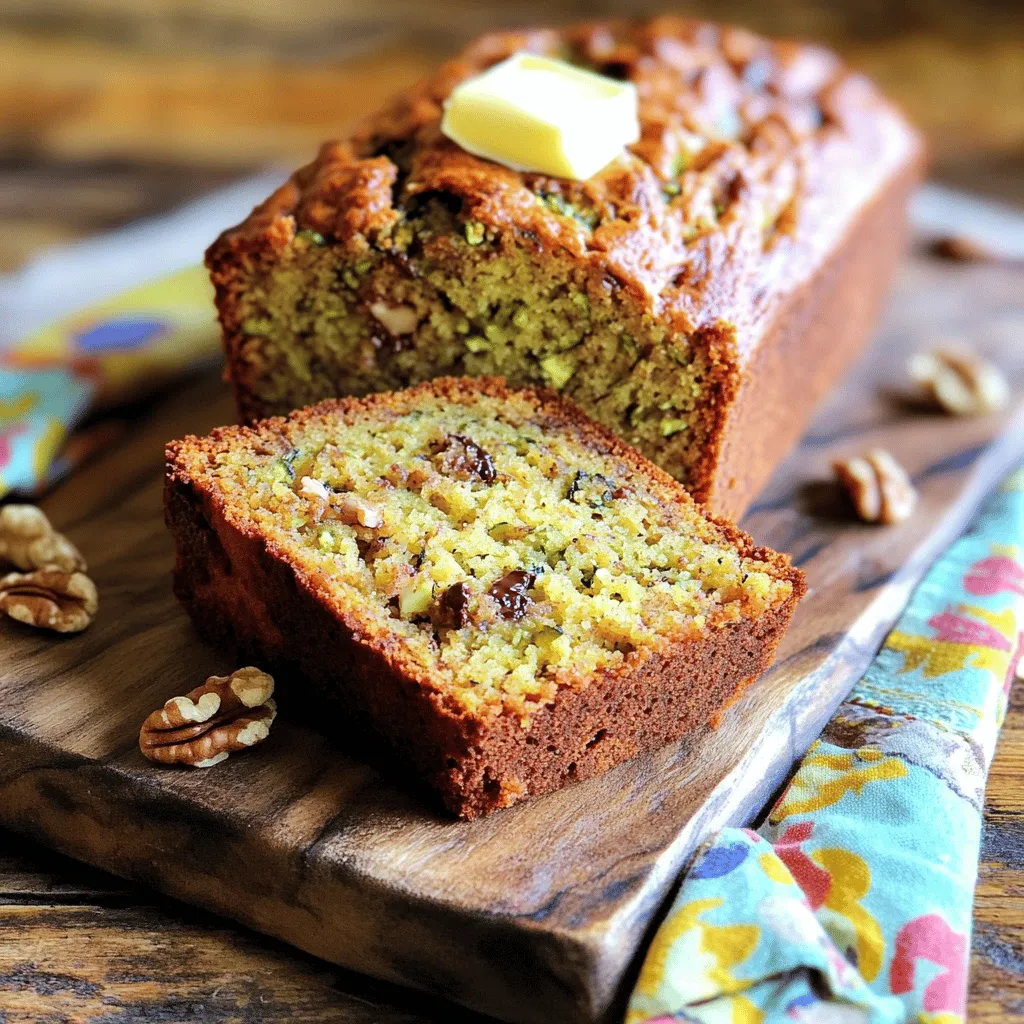
Retro Zucchini Bread Healthy and Flavorful Delight
Are you ready to bake a delicious, healthy treat? Retro Zucchini Bread is packed with flavor and goodness. This simple Read Full Recipe -
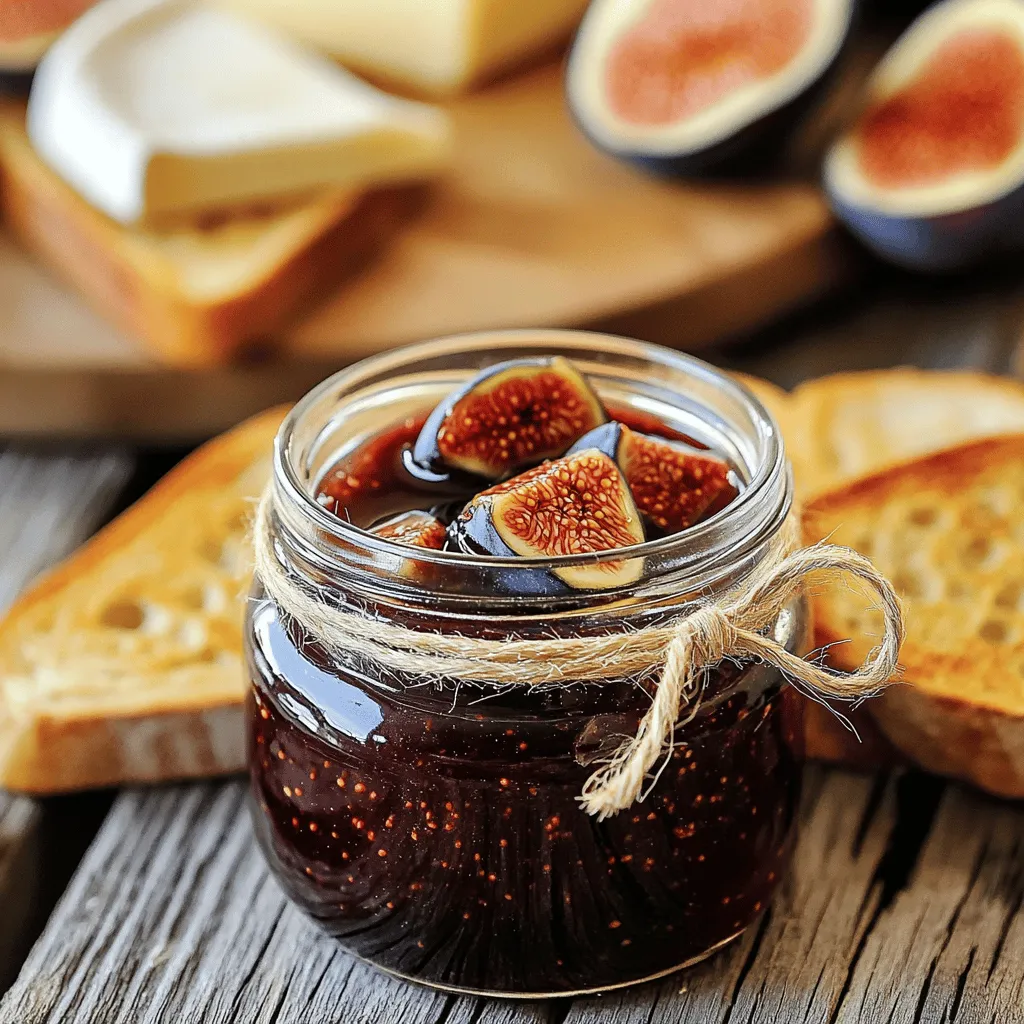
Classic Fig Jam Simple and Delicious Recipe
Are you ready to savor the sweet taste of summer year-round? Making classic fig jam is simple and rewarding. With Read Full Recipe -
Fresh Peach Cobbler Flavorful and Easy Recipe Guide
Craving a sweet treat that showcases the juicy goodness of fresh peaches? You’re in the right place! In this guide, Read Full Recipe


hey,
i’m !
I’m so happy you’re here!
I pour heart and skill into every recipe I create. I know you’ll taste the difference now let’s enjoy this flavorful adventure together.

![- 2 medium zucchinis, grated - 1 teaspoon salt - 1 cup all-purpose flour - 1/2 cup grated Parmesan cheese - 2 large eggs - 1/4 cup chopped fresh parsley - 1/2 teaspoon garlic powder - 1/4 teaspoon black pepper - Olive oil for frying - Optional: Sour cream or yogurt for serving I love using fresh zucchini for these fritters. Choose firm zucchinis with smooth skin. Look for ones that feel heavy for their size. Fresh zucchinis have a bright color and should not have blemishes. The salt will help draw out excess moisture. This step is key to crisp fritters. The ingredients blend together to create a tasty mix. The grated Parmesan adds a savory kick. Fresh parsley brings a pop of color and flavor. Garlic powder gives a warm, aromatic touch. Feel free to swap in your favorite herbs for a fun twist. For a healthier option, consider using whole wheat flour. This will change the flavor and texture a bit. You can also mix in grated carrots or corn for added sweetness. You can find the full recipe above for more details on how to prepare and cook these delightful fritters. Start by grating the zucchinis using a box grater. Place the grated zucchinis in a bowl and sprinkle them with salt. This step is vital. The salt draws out excess water, which helps keep the fritters crispy. Let them sit for about 10 minutes. After that, take a clean kitchen towel or cheesecloth. Squeeze the zucchini to remove as much moisture as you can. In a large mixing bowl, combine the drained zucchini with the flour, grated Parmesan cheese, eggs, chopped parsley, garlic powder, and black pepper. Mix the ingredients until they are just combined. Do not overmix, as this can make the fritters tough. You want a cohesive mixture that holds together well. Heat about 1/4 inch of olive oil in a large skillet over medium heat until it is hot. Use a tablespoon to scoop out the zucchini mixture. Form small patties by flattening it slightly in your hands. Carefully place the patties in the hot oil. Fry in batches to avoid overcrowding. Cook for 3-4 minutes on each side until they are golden brown and crispy. Once cooked, transfer the fritters to a plate lined with paper towels to absorb any extra oil. Enjoy them warm, and feel free to serve with sour cream or yogurt for added flavor. For the full recipe, refer to the earlier section. To make your zucchini fritters crispy, start by salting the grated zucchini. This helps draw out extra water. Let it sit for about 10 minutes. Once time is up, squeeze the zucchini with a clean towel to get rid of excess moisture. This step is key for crispy fritters. Use enough oil in the pan. A 1/4 inch layer works well. Let the oil heat up before adding the fritters. If the oil is not hot enough, they will absorb too much oil and become soggy. Fry them in small batches to keep the heat steady. You can boost the taste of your fritters easily. Add fresh herbs like chives or dill for a bright flavor. A bit of red pepper flakes can add a nice kick. For a twist, try adding a dash of lemon zest. This will give your fritters a fresh zing. Experiment with different cheeses too. Feta cheese can offer a tangy flavor, while cheddar adds richness. Mix and match to find your favorite combo. If your fritters fall apart, it might be due to too much moisture. Ensure you squeeze all the water from the zucchini. If they are too dry, add a little more egg or a splash of water to the mix. For uneven cooking, ensure your fritters are the same size. Use a spoon to measure and form them. If they are browning too fast, lower the heat a bit. Following these tips will help you create perfect zucchini fritters every time. For the complete recipe, check out the [Full Recipe]. {{image_2}} You can change the flavor by using different herbs and spices. Fresh dill or chives work great. You might also try adding cumin or paprika for a warm kick. Feel free to mix and match until you find what you love. Adding fresh herbs makes your zucchini fritters unique and fresh! While Parmesan is my go-to, other cheeses can add tasty twists. Feta cheese gives a salty bite. Cheddar can bring a rich and creamy flavor. You can even use goat cheese for a tangy touch. Each cheese adds its own character, so experiment to find your favorite. If you need a gluten-free choice, replace all-purpose flour with almond flour or oat flour. Both options work well and keep the fritters light. Ensure that your chosen flour has a fine texture for best results. These swaps make your zucchini fritters easy for everyone to enjoy. For the full recipe, check out the [Full Recipe]. You can store leftover zucchini fritters in an airtight container. Make sure they are cool before sealing. They will stay fresh for about 2-3 days in the fridge. If you notice any moisture, place a paper towel in the container to absorb it. This will help keep your fritters crispy. To reheat, I recommend using an oven or skillet. Preheat your oven to 350°F (175°C). Place the fritters on a baking sheet. Heat them for about 10-15 minutes until warm and crispy again. If using a skillet, add a little olive oil and heat over medium. Cook each side for 2-3 minutes until they are hot. Yes, you can freeze zucchini fritters! After they cool, place them in a single layer on a baking sheet. Freeze them for about an hour. Once frozen, transfer the fritters to a freezer bag. They can last for up to 2 months. When ready to eat, thaw in the fridge and reheat as mentioned above. Enjoy your crispy and flavorful delight anytime! For the full recipe, refer to the earlier section. You can pair zucchini fritters with many tasty items. They go well with sour cream. You can also use yogurt as a dip. A fresh salad adds a nice crunch. Try a simple tomato salad or a green salad. These sides balance the fritters' flavor and texture. You can serve them as a snack or a main dish. Yes, you can make these fritters ahead of time. After frying, let them cool completely. Then, store them in an airtight container in the fridge. They will stay fresh for about three days. You can also freeze them for longer storage. Just place them in a freezer bag. When you are ready to eat, reheat them in the oven or a skillet. This keeps them crispy and delicious. You can tell the fritters are done by their color. They should be golden brown on both sides. Use a fork to check the center. It should feel firm and cooked through. If the outside is brown but the inside feels soft, cook them a bit longer. Aim for about 3-4 minutes on each side. Enjoy your crispy zucchini fritters! For the full recipe, check out Zucchini Fritters Delight. You now know how to make tasty zucchini fritters. We covered all the key steps, from choosing fresh zucchinis to frying methods. You can customize your fritters with herbs or different cheeses. Remember to store leftovers well and reheat them to keep them crispy. Enjoy them with sour cream or yogurt for dipping. With these tips and tricks, you’re ready to impress everyone with your cooking skills!](https://foodishtalk.com/wp-content/uploads/2025/06/9fa2d67e-43a4-4442-8998-510ea540c13a-300x300.webp)

![- 400g spaghetti - 6 cloves garlic, thinly sliced - 1/2 cup extra virgin olive oil - 1 teaspoon red pepper flakes - Zest and juice of 1 lemon - 1/4 cup fresh parsley, finely chopped - Salt, to taste - Parmesan cheese shavings for serving Spaghetti Aglio e Olio is a simple dish that shines with few ingredients. Each ingredient plays a key role in the flavor. I love how the garlic brings warmth, while olive oil adds richness. The red pepper flakes give a gentle heat. When you add lemon zest and juice, it brightens the dish, making it refreshing. Fresh parsley not only adds color but also a nice herbal touch. Parmesan cheese is optional, but it gives a creamy finish. You can adjust the salt to your taste, which makes this dish even better. For the full recipe, you can find all the steps to create this savory delight! - Bring salted water to a boil - Cook spaghetti until al dente Start by filling a large pot with water. Add a generous amount of salt. Bring the water to a boil. This step is key for flavor. Once boiling, add 400g of spaghetti. Stir the pasta to prevent it from sticking. Follow the package instructions for cooking time. You want it al dente—firm but not hard. Before draining, reserve 1 cup of that starchy pasta water. It will help the sauce later. - Heat olive oil over medium heat - Add garlic and sauté until golden brown In a large skillet, pour in 1/2 cup of extra virgin olive oil. Heat it over medium heat. Wait until the oil shimmers but does not smoke. Now, add 6 cloves of thinly sliced garlic. Sauté the garlic, stirring often for about 2-3 minutes. Keep an eye on it; we want it golden brown, not burnt. This garlic will be the heart of your dish. - Stir in red pepper flakes - Toss in the cooked spaghetti with the garlic oil mixture After the garlic is golden, stir in 1 teaspoon of red pepper flakes. This adds a nice kick. Sauté for another 30 seconds to release the flavor. Now, add the drained spaghetti to the skillet. Toss it well in the garlic oil mixture. If it looks dry, add some reserved pasta water a little at a time. Incorporate lemon zest and juice to brighten the dish. Finally, season with salt and toss in 1/4 cup of fresh chopped parsley. Your Spaghetti Aglio e Olio is ready to serve! For the full recipe, check out the complete guide. To make perfect spaghetti, cook it for about 8-10 minutes. This timing can vary by brand, so always check the package. You want it firm but not hard. To test for doneness, take a strand and bite it. It should be tender but still have a slight bite. Garlic can burn easily, which makes it bitter. To avoid this, sauté it on medium heat. Stir it often and watch for a golden color. This takes about 2-3 minutes. If it turns too dark, start over. Burnt garlic ruins the flavor. Lemon adds brightness to Spaghetti Aglio e Olio. Use both zest and juice for a fresh taste. Start with half a lemon, then taste. You can always add more! For spice, red pepper flakes give a nice kick. Adjust the amount to your heat preference. A little goes a long way. {{image_2}} You can make Spaghetti Aglio e Olio even heartier by adding proteins. Grilled chicken or shrimp works great. Simply cook them separately and toss them in with the pasta. You can also add sautéed vegetables. Spinach, zucchini, or bell peppers add color and nutrition. Just sauté them in the garlic oil before mixing them with the spaghetti. To switch things up, try different herbs. Fresh basil or thyme can add a new taste. Just chop them and mix them in at the end. You can also use various cheeses for extra flavor. A sprinkle of feta or a bit of goat cheese can change the whole dish. Experiment with what you like! If you need gluten-free options, there are great pasta choices. Look for gluten-free spaghetti made from rice or corn. Other shapes like penne or fusilli also work well with this recipe. They will still soak up the garlic oil and flavors nicely. Remember, the key is to enjoy your meal in a way that works for you. To keep your Spaghetti Aglio e Olio fresh, follow these steps: - Let the spaghetti cool down. - Place it in an airtight container. - Store it in the fridge for up to three days. Use clear containers so you can see what’s inside. When it's time to enjoy leftovers, you want to keep that great taste. Here’s how: - Use a skillet on low heat. - Add a splash of olive oil or pasta water. This helps keep the spaghetti moist. Stir gently to warm it through. Can you freeze Spaghetti Aglio e Olio? Yes, you can! Here’s how: - Cool it completely first. - Place it in a freezer-safe bag. - Squeeze out as much air as you can. To thaw, move it to the fridge overnight. Reheat gently in a skillet for the best results. Enjoy your meal again! Aglio e Olio means "garlic and oil" in Italian. This dish comes from Naples, Italy. It is simple yet full of flavor. The dish uses just a few key ingredients: spaghetti, garlic, olive oil, and red pepper flakes. This style of cooking shows how basic items can create magic. Yes, you can prepare this dish ahead of time. Cook the spaghetti and toss it with oil and garlic. Store it in an airtight container in the fridge. When you want to eat, simply reheat it on low heat. Add a splash of olive oil and a bit of pasta water to keep it moist. You can serve this dish with many sides. A fresh salad with greens and a light vinaigrette works well. Garlic bread is a classic choice too. For drinks, pair it with white wine or sparkling water. These flavors balance the dish nicely. Yes, this recipe is vegetarian. It contains no meat or animal products, making it a great choice for vegetarians. If you want to make it vegan, skip the Parmesan cheese. You can also add roasted vegetables for extra texture and taste. For the full recipe, check out [Full Recipe]. In this blog post, I covered how to make Spaghetti Aglio e Olio. We discussed the key ingredients like spaghetti, garlic, and olive oil. I shared step-by-step cooking instructions and tips for perfect texture and flavor. Variations included adding proteins and experimenting with herbs. Lastly, we looked at proper storage and reheating methods. This dish shines with simplicity. With a few tweaks, it can fit any taste. Give it a try and enjoy!](https://foodishtalk.com/wp-content/uploads/2025/05/5e0e473c-4389-4105-aba1-c254e8021b91-300x300.webp)
Blueberry Cheesecake Bars Simple and Delicious Treat
Looking for a dessert that’s easy to make and bursting with flavor? You’ve found it! These Blueberry Cheesecake Bars are simple to whip up.…

