
Latest & Greatest

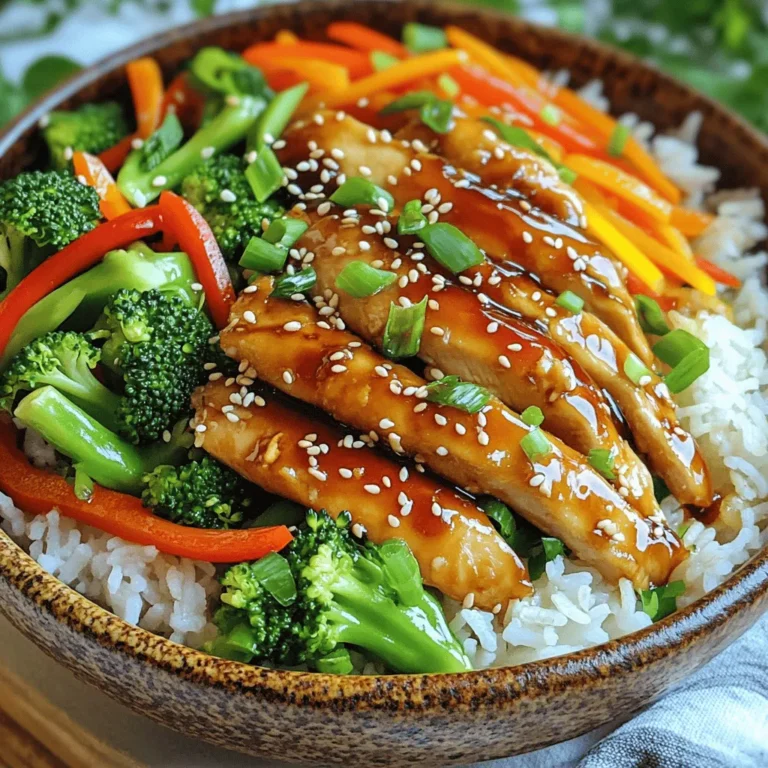
Teriyaki Chicken Rice Bowls Simple and Tasty Recipe
Are you ready to whip up a meal that’s both simple and delicious? Teriyaki Chicken Rice Bowls are perfect for
Read more…
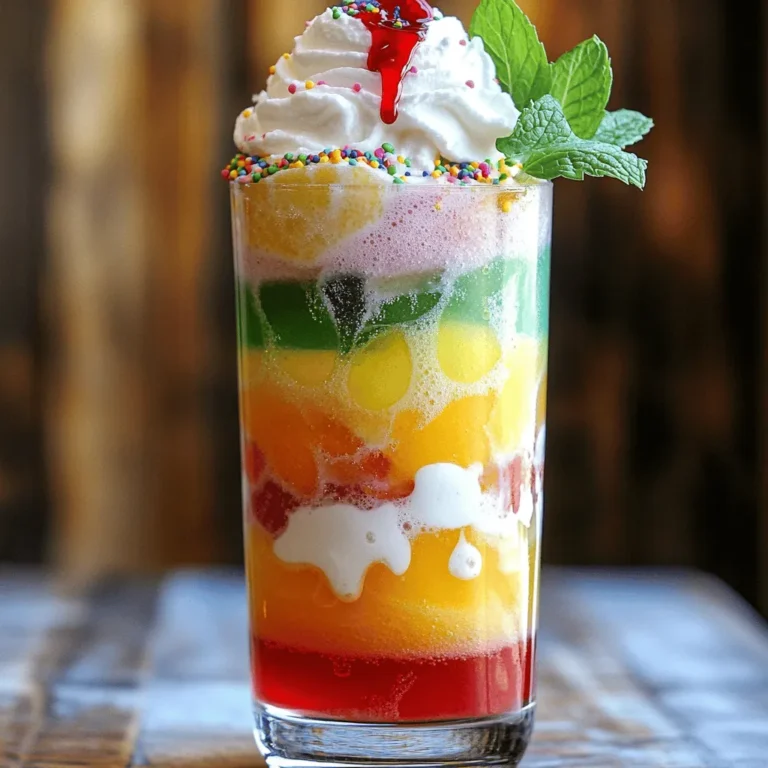
S’mores Brownies Delightful and Easy to Bake
If you love the gooey goodness of S’mores, you’ll adore S’mores Brownies! They are simple to make and pack all
Read more…
Homemade Chicken Noodle Soup Comfort in Every Bowl
Nothing beats a warm bowl of homemade chicken noodle soup when you’re craving comfort. In this post, I’ll share my
Read more…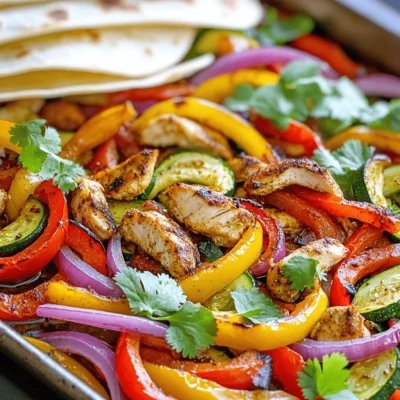
Sheet Pan Fajitas Flavorful and Simple Recipe Guide
Ready for a dinner that’s simple, tasty, and fun to make? Sheet pan fajitas are your answer! You can whip
Read more…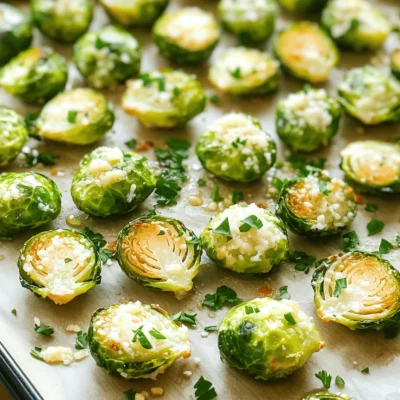
Garlic Parmesan Roasted Brussels Sprouts Delight
Are you ready to elevate your vegetable game? These Garlic Parmesan Roasted Brussels Sprouts will change how you view this
Read more…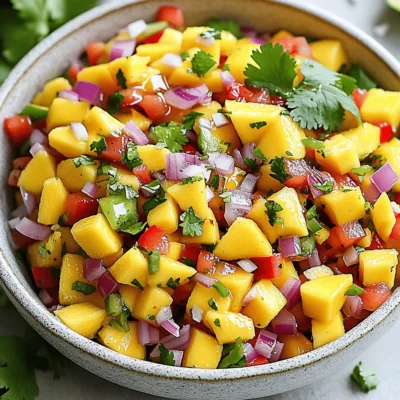
Mango Salsa Easy Fresh Flavorful Dip Recipe
Are you ready to spice up your meals with a fresh, vibrant dip? This easy mango salsa recipe is packed
Read more…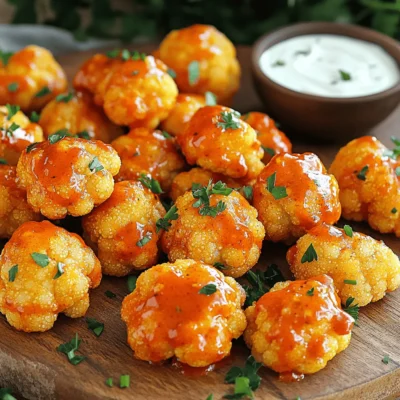
Buffalo Cauliflower Bites Crispy and Flavorful Treat
Looking for a tasty snack that’s both crispy and full of flavor? Buffalo Cauliflower Bites check all the boxes! These
Read more…
Chocolate Chip Cookie Dough Bites Irresistible Treat
Are you ready for a sweet treat that hits the spot? Chocolate Chip Cookie Dough Bites are the perfect blend
Read more…browse recipes


![For my Easy Sheet Pan Fajitas, you need a few key items. Here’s the list: - 1 pound boneless chicken breast, sliced into thin strips - 1 red bell pepper, sliced - 1 yellow bell pepper, sliced - 1 medium red onion, sliced - 3 tablespoons olive oil - Salt and pepper to taste - Fresh cilantro, for garnish - Flour tortillas, for serving - Lime wedges, for serving These ingredients come together to create a colorful and tasty dish. The chicken adds protein, while the peppers and onion give it a fresh crunch. To make your fajitas pop with flavor, you’ll want to add some seasonings. Here’s what I use: - 2 teaspoons chili powder - 1 teaspoon cumin - 1 teaspoon garlic powder - 1 teaspoon onion powder These seasonings create a warm and zesty taste. Chili powder brings heat, while cumin adds a nice earthy flavor. Garlic and onion powder boost the overall taste without being too overpowering. Serving your fajitas can be fun and creative. I like to wrap them in warm flour tortillas. It makes each bite soft and satisfying. Fresh lime wedges are a must. Squeeze lime juice on top for a zesty kick. You can also add toppings like diced avocado, sour cream, or salsa. Fresh cilantro adds a nice touch, too. With these options, you can customize your meal to fit everyone’s taste. For the complete recipe, check out the [Full Recipe]. It gives you all the steps to make this easy and delicious meal! First, gather all your ingredients. You need one pound of boneless chicken breast. Slice the chicken into thin strips. Next, take one red bell pepper and one yellow bell pepper. Slice them into thin strips too. Then, grab a medium red onion and slice it as well. Add these veggies to a large bowl with the chicken. Now, drizzle three tablespoons of olive oil over the chicken and veggies. Sprinkle two teaspoons of chili powder, one teaspoon of cumin, one teaspoon of garlic powder, and one teaspoon of onion powder. Add salt and pepper to taste. Toss everything together until the chicken and veggies are well coated with the spices. Preheat your oven to 425°F (220°C). Line a large baking sheet with parchment paper. Spread the chicken and veggie mixture in a single layer on the baking sheet. This helps them cook evenly. Bake in the preheated oven for 20 to 25 minutes. Stir the mixture halfway through for even cooking. The chicken should be cooked through, and the veggies should be tender. Once the timer goes off, carefully remove the baking sheet from the oven. Let the fajitas rest for a few minutes. This helps the flavors blend together. To serve, warm your flour tortillas in the oven or microwave. Spoon the chicken and veggie mix onto the tortillas. Garnish with fresh cilantro for a pop of color and flavor. Squeeze some fresh lime juice over the top for extra zest. Enjoy your easy sheet pan fajitas with friends or family. For the complete recipe, check out the Full Recipe section. To cook chicken and veggies just right, use thin strips. This helps them cook evenly. When roasting, space them out on the pan. Crowding the pan can lead to steaming instead of roasting. Stir halfway through to ensure all pieces get the heat. Look for the chicken to reach 165°F. The vegetables should be tender and slightly charred. To amp up the taste, try adding lime juice and zest before serving. Fresh herbs, like cilantro, make a big difference. You can also add a dash of smoked paprika for a smoky kick. If you like heat, toss in some sliced jalapeños. For a sweet touch, add a bit of honey or agave to your spice mix. A large baking sheet is key for even cooking. Use one that is rimmed to catch any juices. Parchment paper helps with easy clean-up and prevents sticking. A good mixing bowl makes it easy to toss ingredients with oil and spices. If you have a meat thermometer, it’s a handy tool to check chicken doneness. For serving, grab some warm flour tortillas and lime wedges to complete your meal. For the full recipe, check the notes above. {{image_2}} You can make sheet pan fajitas without meat. Replace chicken with hearty veggies. Try using mushrooms, zucchini, or chickpeas. These options give you great texture and flavor. Season them just like the meat version. Use the same spices for a tasty meal. Serve with warm tortillas and fresh toppings. Add avocado or guacamole for creaminess. Switching proteins can bring fun twists. Use shrimp, beef, or pork for different tastes. If you want leaner options, turkey works well too. Each protein will soak up the spices nicely. Adjust cooking times based on what you choose. Shrimp cooks quickly, while beef may need more time. Keep an eye on them to avoid overcooking. Exploring flavors can make your fajitas unique. For a smoky taste, add chipotle powder. If you prefer a sweet touch, include some paprika or cinnamon. Fresh herbs like oregano or thyme can brighten the dish. You can also experiment with citrus zest for a fresh kick. Don't hesitate to mix and match spices from what you have at home. Each batch can be a new adventure! For the full recipe, check the Easy Sheet Pan Fajitas section. After you enjoy your sheet pan fajitas, store any leftovers right away. Place them in an airtight container. Make sure to cool them down first before sealing. This step keeps your fajitas fresh and tasty. Store them in the fridge for up to three days. When it's time to eat your leftovers, you can reheat them easily. The best way is to use your oven. Preheat the oven to 350°F (175°C). Spread the fajitas on a baking sheet and heat for about 10-15 minutes. This method keeps the chicken juicy and the veggies crisp. You can also microwave them, but the oven gives better results. If you want to save your fajitas for later, freezing is a great option. First, let the fajitas cool completely. Then, place them in a freezer-safe bag or container. Squeeze out any air and seal it tightly. They can last in the freezer for up to three months. When you're ready to enjoy them, thaw in the fridge overnight and reheat as mentioned above. For the full recipe, check out the Easy Sheet Pan Fajitas section! You bake the fajitas for 20 to 25 minutes. This time allows the chicken to cook fully and the veggies to get soft. Stir halfway through to ensure even cooking. Always check the chicken's internal temperature to make sure it’s 165°F (75°C). Yes, you can use different vegetables in this recipe. Try zucchini, mushrooms, or corn for a twist. Just remember to cut them into even pieces so they cook well. Mixing colors adds great visual appeal and flavor. Serve sheet pan fajitas in warm flour tortillas. You can add fresh cilantro and lime juice for extra flavor. Some like to add cheese, salsa, or guacamole on top. Let everyone customize their own fajitas for fun and flavor. Absolutely! You can prep the chicken and veggies a day before. Just store them in the fridge until you’re ready to bake. This makes dinner even easier. Just remember to mix the spices right before baking for the best flavor. Yes, you can freeze sheet pan fajitas before cooking. Place the raw chicken and veggies in a freezer bag. Add the spices and oil, then seal tightly. When you’re ready, let it thaw in the fridge overnight before baking. Enjoy a quick and easy meal any night! For the full recipe, check out Easy Sheet Pan Fajitas. You now know how to make easy sheet pan fajitas. We covered key ingredients, cooking steps, and tips for a tasty meal. Remember, you can mix and match flavors and proteins, so have fun with your recipes. Proper storage ensures your leftovers stay fresh and delicious. Don't forget to experiment with different veggies and spices. Enjoy your cooking, and make this meal a family favorite!](https://foodishtalk.com/wp-content/uploads/2025/06/c96918c6-9fb7-411b-9267-be29e7bc45d3.webp)
Easy Sheet Pan Fajitas Simple and Flavorful Meal
Looking for a quick and tasty meal? My Easy Sheet Pan Fajitas are the answer! With vibrant veggies and juicy chicken, this dish packs…
My Latest Desserts

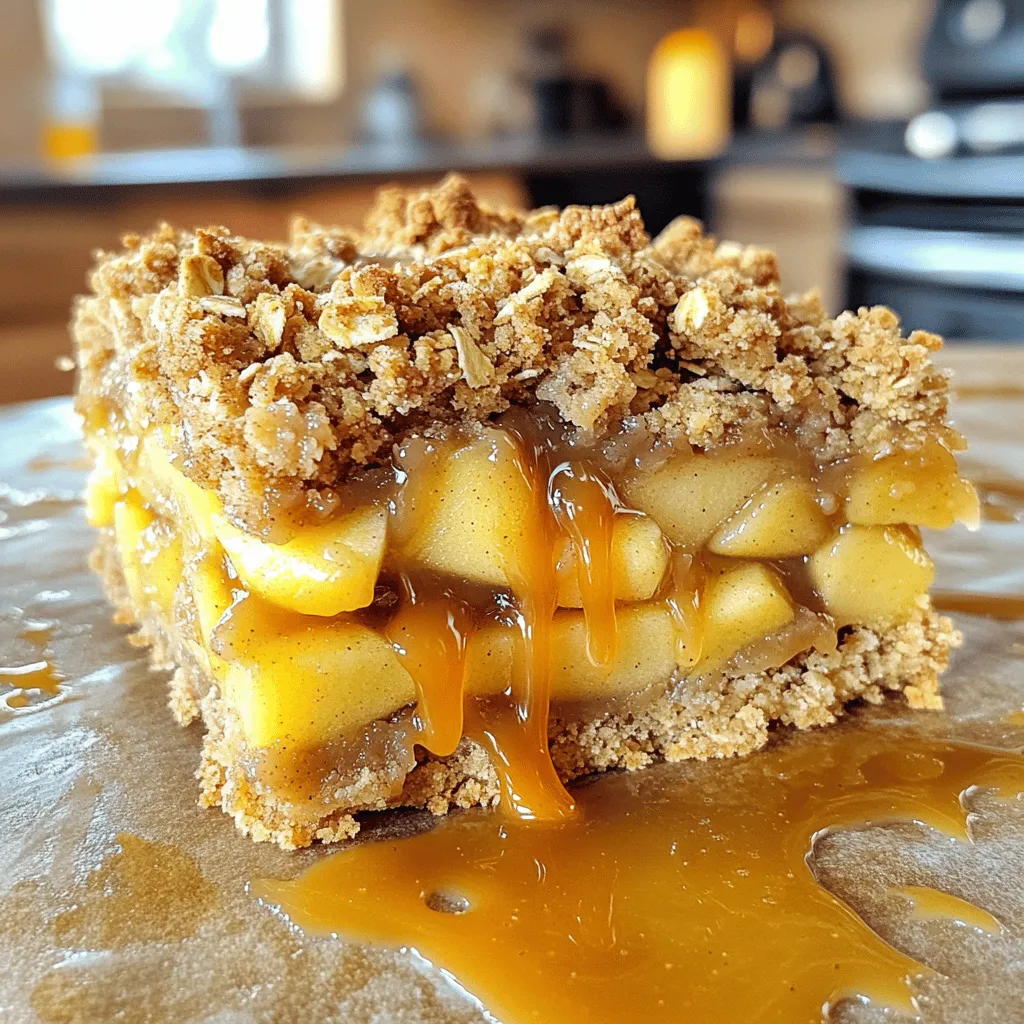
Miso Caramel Apple Crumble Bars Easy and Delicious Treat
If you’re looking for a treat that combines sweet apples, rich miso caramel, and a crunchy crumble, you’ve found it! Read Full Recipe-
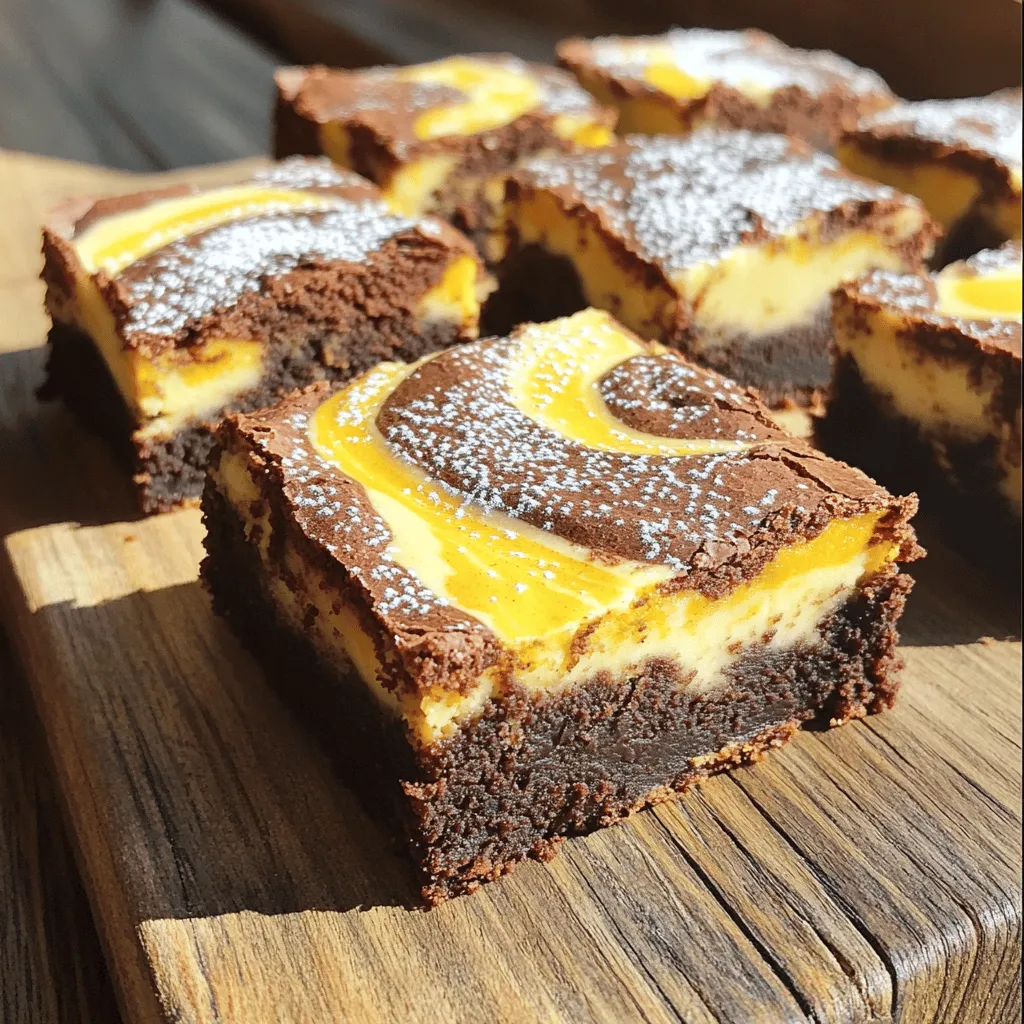
Pumpkin Cheesecake Swirl Brownies Irresistible Delight
Get ready to savor the magic of fall with my Pumpkin Cheesecake Swirl Brownies! These decadent treats combine rich brownie Read Full Recipe -
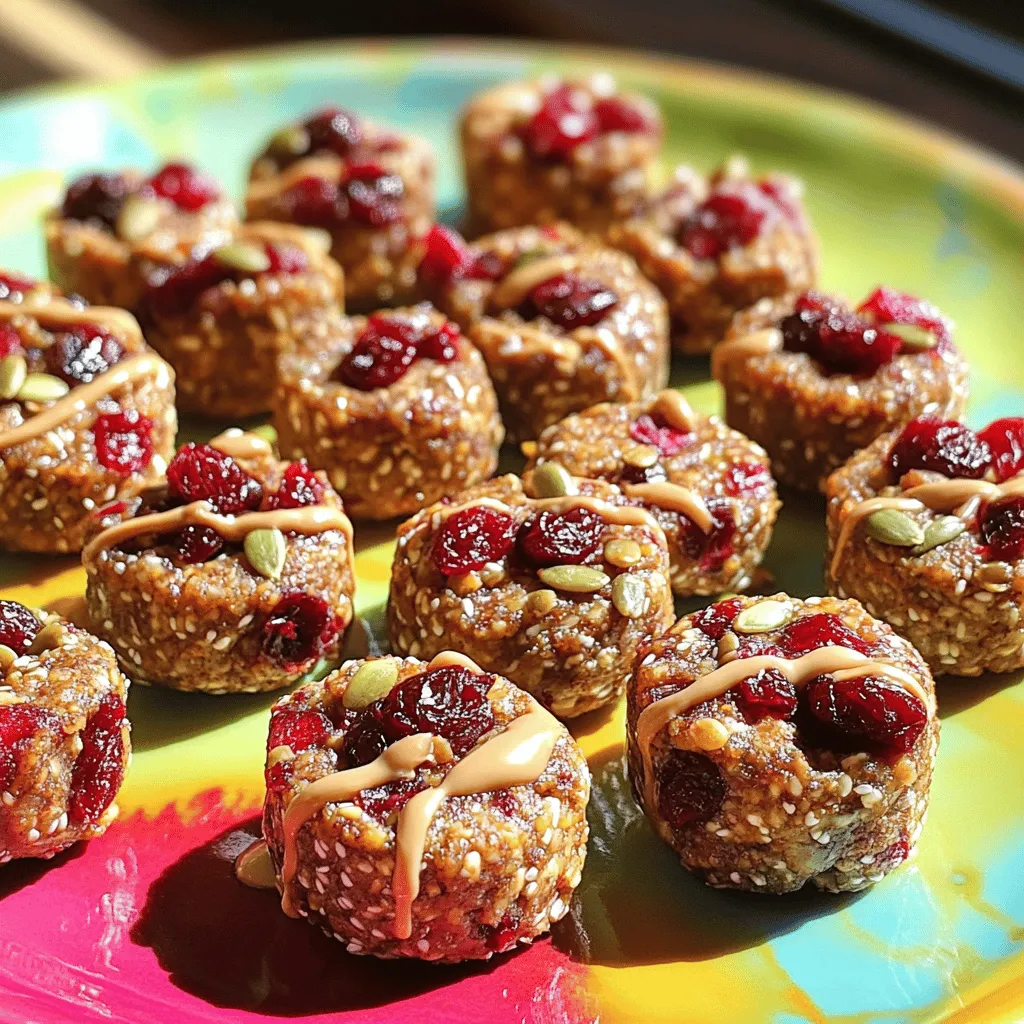
Cherry Tahini Energy Bites Healthy Snack Recipe
Looking for a quick, healthy snack? Let me introduce you to Cherry Tahini Energy Bites! Packed with flavor and nutrition, Read Full Recipe -
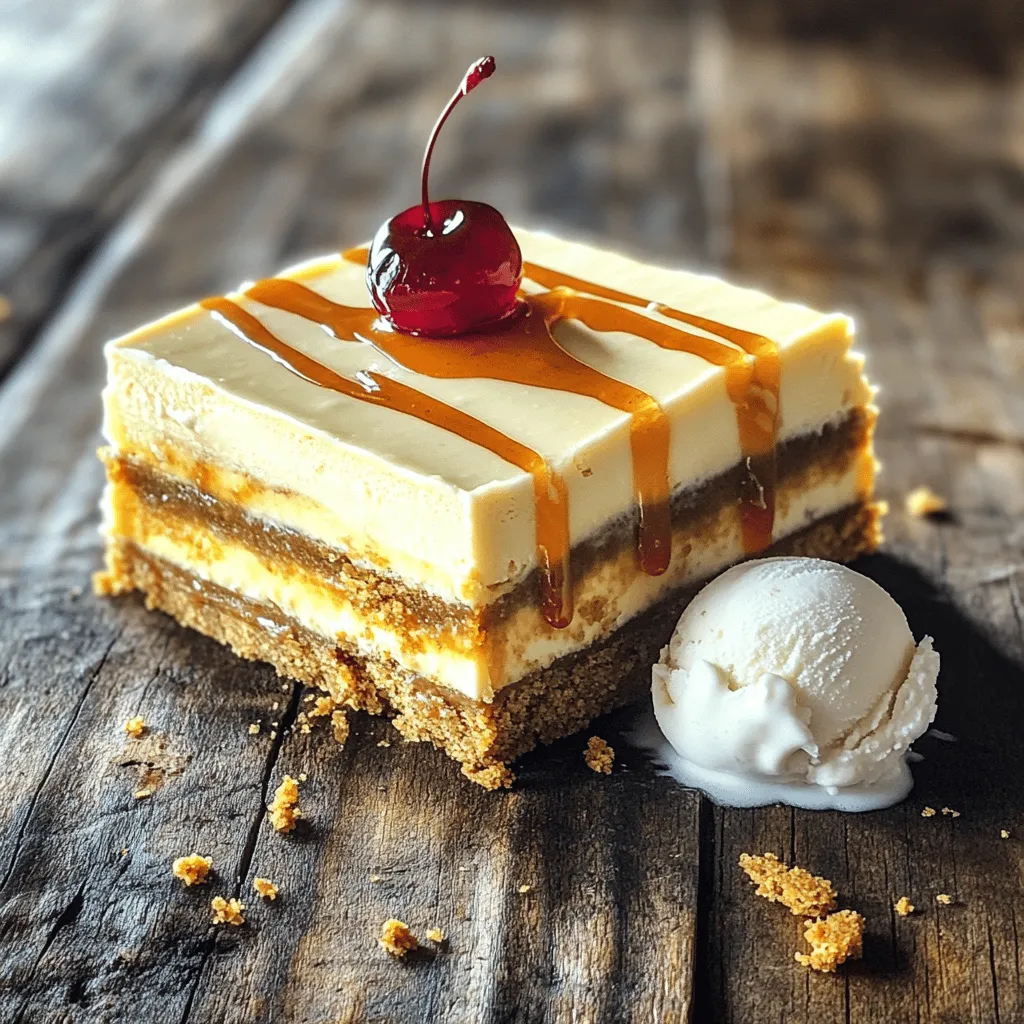
Root Beer Cream Bars Irresistible and Simple Treat
If you love the sweet nostalgia of root beer, you’re in for a treat! Root Beer Cream Bars combine creamy Read Full Recipe -
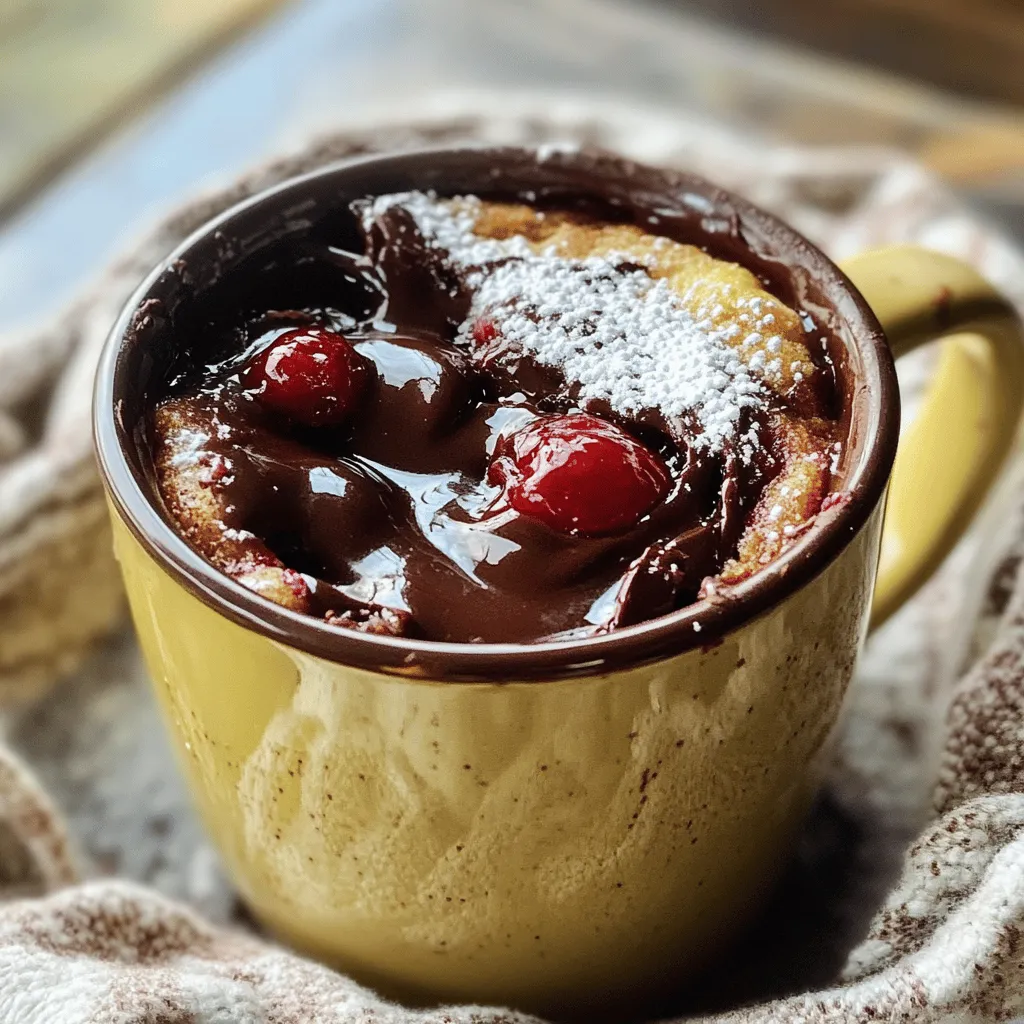
Cherry Chocolate Lava Mug Cake Delightful Recipe
Craving something sweet and quick? You’re in for a treat with my Cherry Chocolate Lava Mug Cake! This recipe packs Read Full Recipe -
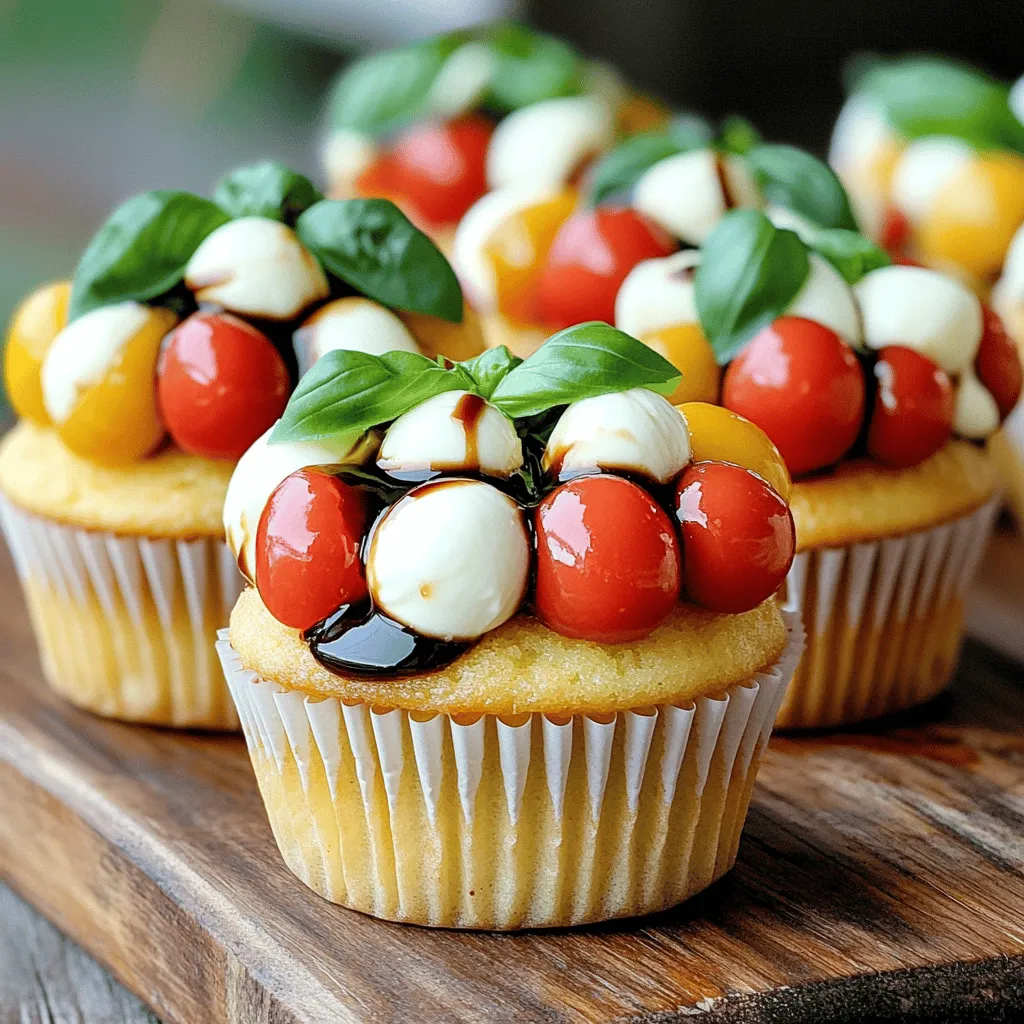
Caprese Stuffed Cupcakes Flavorful and Unique Treat
Are you ready to treat your taste buds to something new? Caprese Stuffed Cupcakes mix fresh flavors and fun in Read Full Recipe -
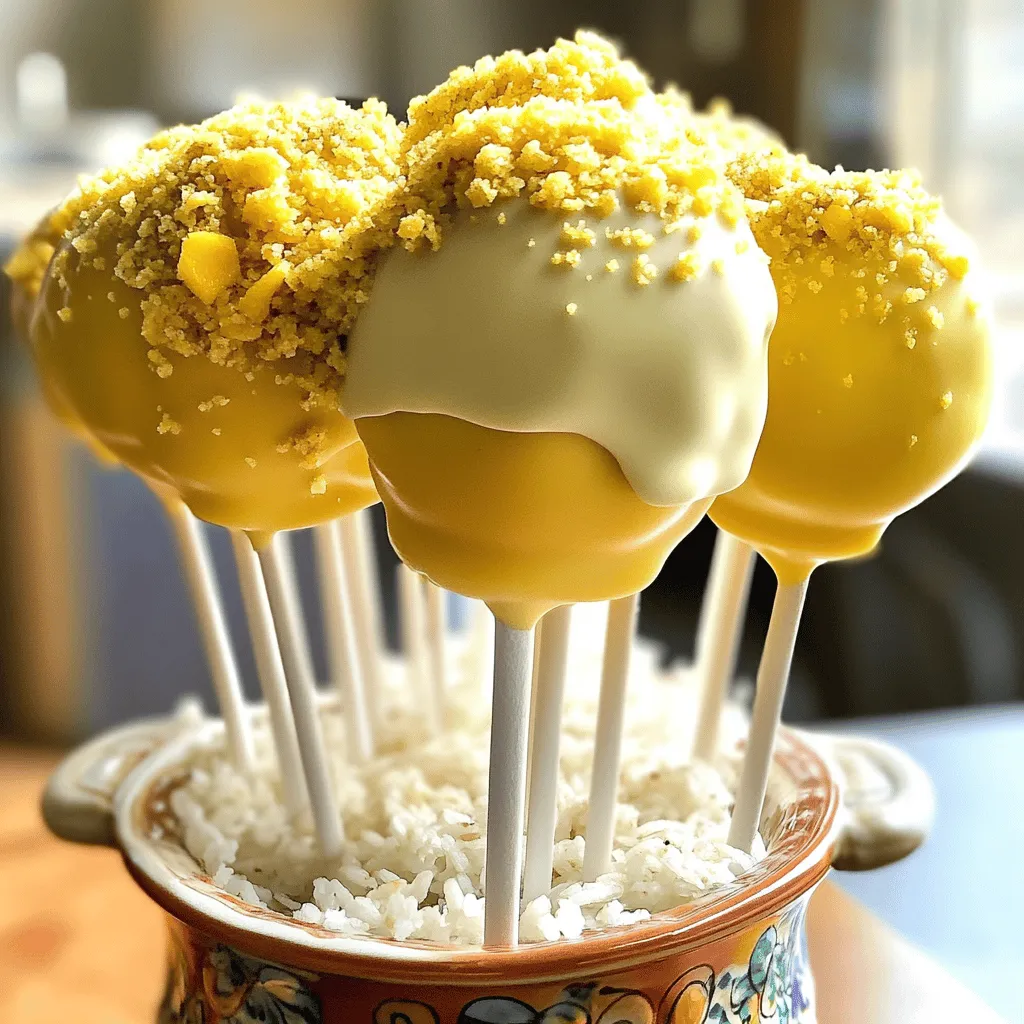
Mango Tajin Cake Pops Tasty and Fun Treats
Craving a unique treat? Try my Mango Tajin Cake Pops! These fun bites blend sweet mango with the zesty kick Read Full Recipe -
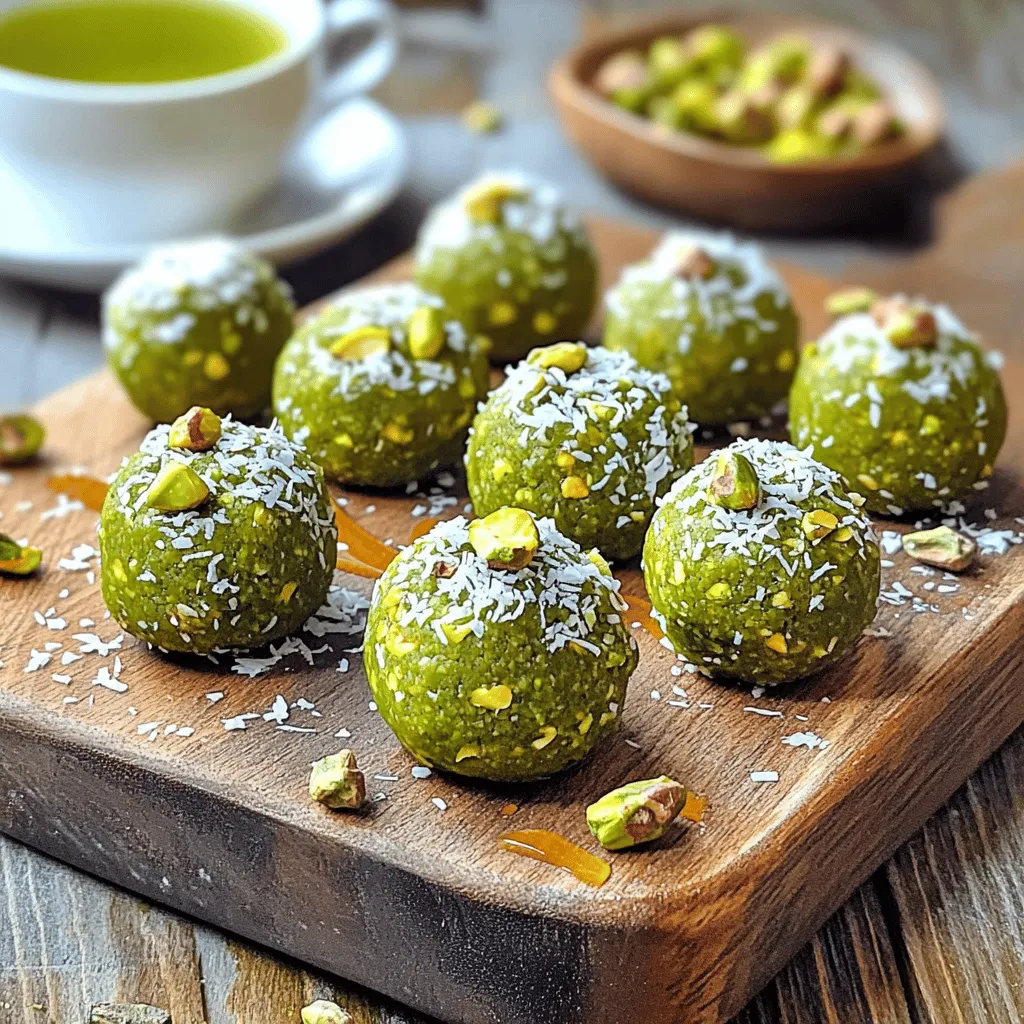
Matcha Pistachio Energy Bites Nourishing Snack Option
Looking for a tasty and healthy snack? Let me introduce you to Matcha Pistachio Energy Bites! Packed with oats, nuts, Read Full Recipe -
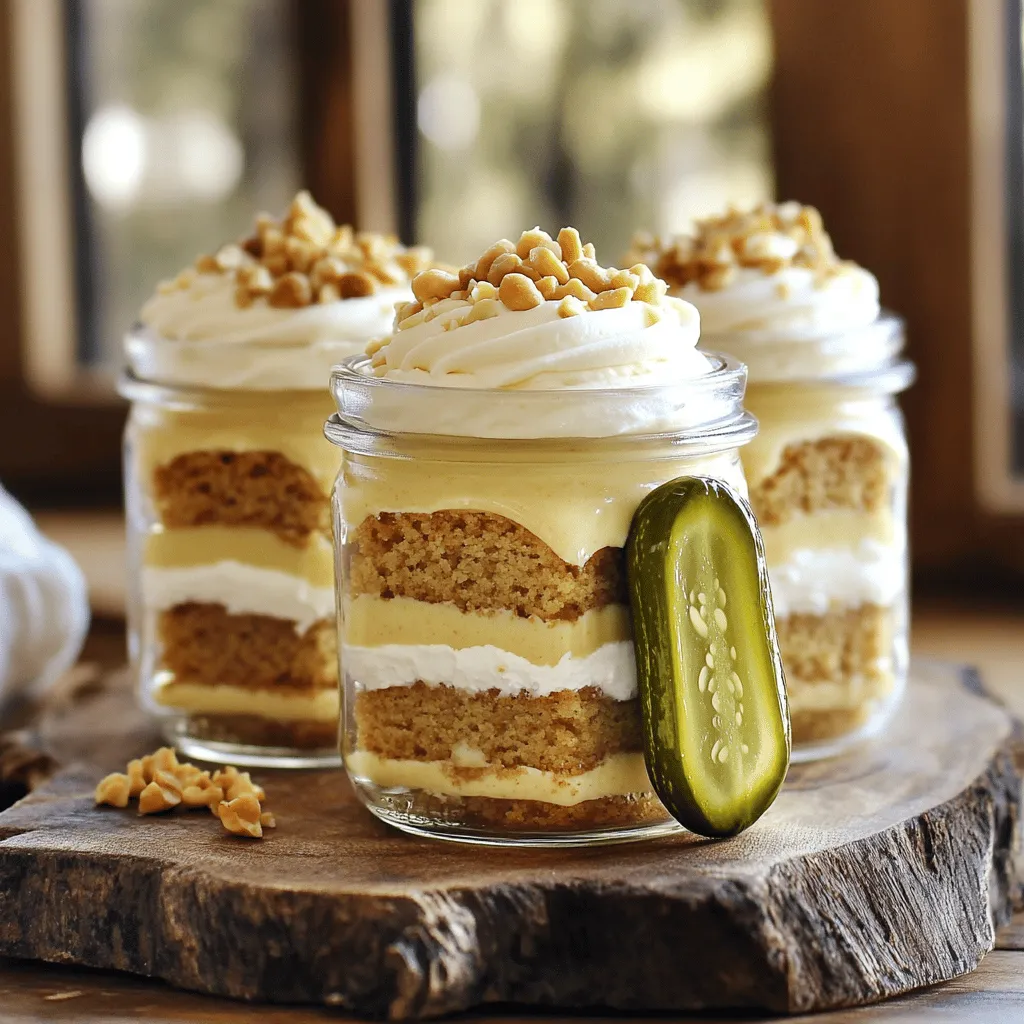
Peanut Butter Pickle Cake Jars Delightful and Unique Treat
Are you ready to try something truly different? Peanut Butter Pickle Cake Jars combine sweet and tangy flavors in a Read Full Recipe -
Healthy Banana Oat Muffins Nutrient-Packed Recipe
Looking for a tasty snack that’s packed with nutrients? You’re in the right place! My Healthy Banana Oat Muffins recipe Read Full Recipe


hey,
i’m !
I’m so happy you’re here!
I pour heart and skill into every recipe I create. I know you’ll taste the difference now let’s enjoy this flavorful adventure together.


Easy Peach Cake Simple and Delicious Summer Treat
Looking for a tasty summer treat? Look no further than this Easy Peach Cake! With juicy peaches and simple ingredients, it’s perfect for warm…
. Preheat the Oven and Prepare the Pan Start by heating your oven to 350°F (175°C). Grease a 9-inch round cake pan with butter or cooking spray. This step helps the cake release easily after baking. Creaming the Butter and Sugar In a large bowl, combine the softened butter and granulated sugar. Use an electric mixer on medium speed to mix them. Beat until the mixture is light and fluffy. This usually takes about 3 to 5 minutes. The air you whip in will help the cake rise. Incorporating the Eggs and Vanilla Next, add the eggs to the mixture one at a time. Mix well after each addition. This helps each egg blend into the batter. Then, stir in the vanilla extract. This adds a nice flavor to the cake. Whisking Together the Dry Components In another bowl, whisk together the flour, baking powder, baking soda, salt, and ground cinnamon (if using). Mixing these dry ingredients well ensures even rising and flavor. Combining with Wet Ingredients Gradually add the dry ingredients to the wet mixture. Do this in three parts, alternating with the buttermilk. Start and finish with the flour mixture. Mix until just combined. Avoid overmixing to keep the cake light. Folding in the Diced Peaches Gently fold in the diced peaches into the batter. Make sure the peaches are evenly distributed. This will give you sweet bites of peach in every slice. Pouring the Batter into the Cake Pan Carefully pour the batter into the prepared cake pan. Use a spatula to smooth the top. This helps the cake bake evenly. Baking Instructions Place the pan in the preheated oven. Bake for 30 to 35 minutes. To check if it's done, insert a toothpick into the center. If it comes out clean, the cake is ready. Let it cool in the pan for 10 minutes before moving it to a wire rack. Dust the top with powdered sugar before serving. For the full recipe, check out the [Full Recipe]. Suggested Flavor Additions You can boost the taste with a few simple extras. Try adding a teaspoon of almond extract for a nutty twist. A splash of orange juice gives a bright note. You might also sprinkle in some fresh ginger for a spicy kick. Each of these will add a unique layer to your peach cake. How to Ensure Moisture To keep your cake moist, use ripe peaches. They add natural juice to the batter. You can also add an extra egg yolk for richness. Another trick is to use buttermilk. It helps create a soft texture. Make sure not to overmix the batter as well; this can make the cake tough. Preventing a Dry Cake To avoid a dry cake, watch your baking time closely. Start checking at 25 minutes. If a toothpick comes out clean, it’s done. If it pulls out with wet batter, give it more time. Remember, every oven is a bit different, so adjust as needed. Checking for Doneness Test the cake with a toothpick. Insert it in the center and pull it out. If it’s clean, the cake is ready. If you see batter, bake a bit longer. You want a soft, springy feel when you touch the top. Serving Recommendations Serve your peach cake warm or at room temperature. A dollop of whipped cream pairs nicely. You can also add a scoop of vanilla ice cream for extra creaminess. This dessert shines at summer gatherings. Creative Garnishing Ideas For a fun touch, sprinkle powdered sugar on top. You can also add fresh peach slices for color. Mint leaves make a great garnish, too. They add a pop of green and a fresh taste. These small details make your cake look as good as it tastes. For the full recipe, check out the Peachy Paradise Cake. {{image_2}} You can switch peaches for other fruits. Try using ripe plums, nectarines, or berries. These fruits add their unique flavors. They also keep the cake fresh and vibrant. Seasonal fruits work best. Use what you find at your local market. You can even mix fruits for fun twists. Think about adding blueberries with peaches or raspberries with nectarines. Some people need special diets. For gluten-free options, replace all-purpose flour with almond flour or gluten-free flour. These choices give you a moist cake with a nice crumb. If you want a vegan version, swap eggs for flax eggs. Mix one tablespoon of flaxseed meal with three tablespoons of water. Let it sit until thick. For butter, use coconut oil or vegan butter. This way, everyone can enjoy a slice! Frosting can change your cake's vibe. Cream cheese frosting pairs well with peaches. It gives a tangy kick that complements the fruit. If you want something lighter, try whipped cream. You can also serve the cake plain and top it with fresh peach slices. For a fun twist, sprinkle nuts or granola on top for crunch. Drizzle honey or maple syrup for added sweetness. There are so many ways to dress up this cake! For the complete recipe, check out the [Full Recipe]. To keep your peach cake fresh, store it in an airtight container. This helps keep moisture in and prevents it from drying out. If you have leftover slices, wrap them tightly in plastic wrap before placing them in the container. You can also store the cake at room temperature for up to three days. If you want to store it longer, refrigerate it. The cold will help it last about a week. If you want to save the cake for later, freezing is a great option. First, let the cake cool completely. Then, wrap it tightly in plastic wrap. After that, place the wrapped cake in a freezer-safe bag or container. It can stay frozen for up to three months. When you are ready to eat it, move the cake to the fridge to thaw overnight. This way, it will be ready for a tasty treat whenever you want! To keep your cake moist, focus on a few key tips: - Use ripe peaches. Fresh, juicy peaches add moisture. - Don't overmix the batter. This can make the cake dense. - Add buttermilk, which makes the cake soft and tender. - Bake just until a toothpick comes out clean. Overbaking can dry it out. These steps will help you create a cake that stays moist and delicious. Yes, you can use canned peaches. If you go this route, here are some tips: - Drain and rinse the canned peaches. This removes excess syrup. - Cut them into smaller pieces, similar to fresh peaches. - Reduce the sugar in the recipe slightly. Canned peaches can be sweeter. This way, your cake will still taste great with canned peaches! Peach cake can last up to 3 days at room temperature. Here are some guidelines for storage: - Keep it in an airtight container. This helps maintain moisture. - If you want it to last longer, store it in the fridge. It can last up to a week there. - For longer storage, freeze the cake. Wrap it well in plastic wrap and foil. With these tips, you can enjoy your peach cake for days! This blog post covered everything you need for a great peach cake. We discussed the key ingredients, like fresh peaches, eggs, and buttermilk. I shared step-by-step instructions for making the cake, from mixing to baking. You also learned handy tips to enhance flavor and ensure moistness. Plus, I explored variations, storage tips, and addressed common questions. With this guide, you can make a delicious peach cake with ease. Enjoy baking!](https://foodishtalk.com/wp-content/uploads/2025/06/1136ab2f-d07e-476d-a8da-cc55492adb9c.webp)
