


Latest & Greatest

Cheesy Broccoli Rice Casserole Simple and Comforting
Are you craving a warm, cheesy dish that feels like a hug? This Cheesy Broccoli Rice Casserole is simple and
Read more…
Creamy White Chicken Chili Comforting and Hearty Recipe
Craving something warm, hearty, and easy to make? Look no further than creamy white chicken chili! This dish combines tender
Read more…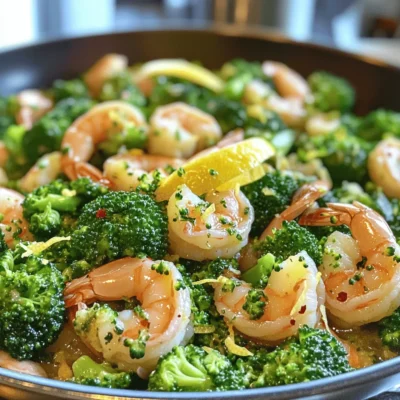
One Pan Lemon Garlic Shrimp Simple Flavorful Dish
If you crave a big burst of flavor in just one pan, this One Pan Lemon Garlic Shrimp dish is
Read more…
Stuffed Bell Peppers Delightful Flavorful Recipe
Stuffed bell peppers are a tasty way to enjoy healthy meals! In this delightful recipe, I’ll guide you step by
Read more…
Easy Chicken Parmesan Simple and Tasty Dinner Recipe
Craving a delicious, simple dinner? You’re in the right place! My Easy Chicken Parmesan recipe brings together tender chicken, rich
Read more…
Cheesy Broccoli Rice Casserole Simple Comfort Food
Welcome to your new favorite comfort dish: Cheesy Broccoli Rice Casserole! This simple recipe combines creamy, cheesy goodness with healthy
Read more…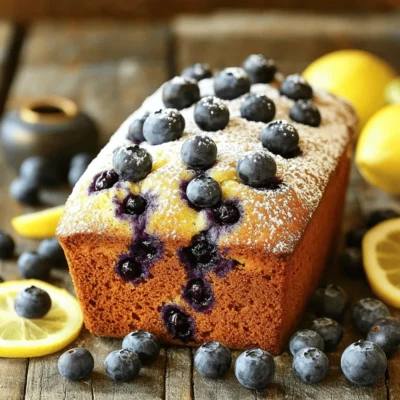
Lemon Blueberry Pound Cake Delightful and Easy Recipe
Are you ready to create a delightful Lemon Blueberry Pound Cake that’s simple and delicious? This easy recipe brings together
Read more…
Buffalo Chicken Dip Irresistible Party Favorite Recipe
Are you ready to impress your guests with a dish everyone loves? Buffalo Chicken Dip is the ultimate party favorite
Read more…browse recipes


![- 12 jumbo pasta shells - 1 cup cooked chicken, shredded - 1/2 cup cream cheese, softened - 1/4 cup buffalo wing sauce - 1/2 cup shredded mozzarella cheese - 1/4 cup blue cheese crumbles (optional) To make Quick Buffalo Chicken Stuffed Shells, these main ingredients are key. The jumbo pasta shells hold the delicious filling. The cooked chicken adds protein and flavor. Cream cheese makes the filling creamy. Buffalo wing sauce gives it a spicy kick. Shredded mozzarella adds a melty texture. You can add blue cheese if you like its tangy taste. - 1/4 teaspoon garlic powder - 1/4 teaspoon onion powder - Salt and pepper to taste These spices and seasonings are important for flavor. Garlic powder adds depth, while onion powder enhances the taste. Salt and pepper balance all the flavors. Adjust them to fit your taste buds. - 1/4 cup chopped green onions for garnish - 1 cup marinara sauce Garnishes and sauces elevate the dish. Chopped green onions add a fresh crunch on top. Marinara sauce provides a rich base for the stuffed shells. Together, they create a beautiful and tasty presentation. For the full recipe, check the details above. - Preheat your oven to 375°F (190°C). - Cook the jumbo pasta shells according to package instructions until al dente. Start by heating your oven. This step is key to ensuring everything bakes evenly. While the oven warms, boil water for your pasta. You want those shells just right—not too soft. Al dente gives the best texture and helps hold the filling. - In a mixing bowl, combine shredded chicken, cream cheese, buffalo wing sauce, and seasonings. Next, grab a bowl. Here, mix shredded chicken with cream cheese. Add buffalo wing sauce for that spicy kick! I often adjust the sauce based on your heat preference. Toss in garlic powder, onion powder, salt, and pepper. Stir until everything blends well. This mix should have a creamy and zesty flavor. - Carefully stuff each shell with the mixture and arrange in a baking dish. - Spread marinara sauce and top with cheeses before baking. Now for the fun part! Take each shell and stuff it with your tasty filling. Place them seam side up in a baking dish. Once all shells are in, spread marinara sauce over them. Top with mozzarella cheese and blue cheese crumbles if desired. Cover the dish with foil to keep moisture in. Bake for 20 minutes, then remove the foil and bake for another 10 minutes. Wait for that cheese to bubble and turn golden. You can find the complete recipe [Full Recipe]. - Ensure shells are cooked al dente for better texture. This means they should be firm yet tender. - Mix filling ingredients thoroughly for even flavor distribution. This helps every bite taste great. - Cover with foil to retain moisture during the first bake. This keeps the dish juicy and delicious. - Remove foil for the last few minutes to achieve a golden cheese topping. This adds a nice crispness. - Serve with a side salad or garlic bread for a complete meal. This adds freshness and balance to your plate. - Drizzle with extra buffalo sauce for more heat. This gives it that extra kick everyone loves. {{image_2}} - Use cooked rotisserie chicken for faster prep. This saves time and adds flavor. - Swap buffalo sauce for barbecue sauce for a different flavor profile. This can make it sweeter and less spicy. - Make it gluten-free by using gluten-free pasta shells. This way, everyone can enjoy the dish. - Use dairy-free cream cheese and mozzarella for a dairy-free version. This caters to those with lactose intolerance. - Add diced celery or carrots to the filling for extra crunch. This gives the dish more texture. - Include spices like cayenne or paprika for an extra kick. This enhances the heat and depth of flavor. Try these variations to make your Quick Buffalo Chicken Stuffed Shells even more exciting. For the full recipe, check out the details above. You can store leftovers in an airtight container in the fridge for up to 3 days. This keeps the shells fresh and tasty. When you're ready to eat, reheat them in the oven or microwave. Using the oven gives the best results. You will enjoy the warm, cheesy goodness again. You can freeze baked stuffed shells in individual portions. This makes for easy meals later on. When you want to eat them, thaw overnight in the fridge. This way, they will heat evenly when you’re ready to enjoy. If you plan to freeze the stuffed shells, assemble them but do not bake. Baking them fresh gives the best taste and texture. The flavors will shine through, and you will enjoy them more. For the full recipe, check out the earlier section. Yes, you can prepare the shells a day in advance and refrigerate before baking. This makes meal prep easy. Just store them covered in the fridge. When you're ready, bake as directed. This saves time on busy nights. Pair with a fresh salad, garlic bread, or veggie sticks for a balanced meal. These sides add color and nutrition. A crisp salad cools the spicy flavors. Garlic bread offers a nice crunch. Veggie sticks provide a crunchy contrast. The cheese should be bubbly and golden brown, and the filling should be heated through. You can check by inserting a fork into the shells. If it feels hot, they are ready to enjoy. This ensures every bite is delicious. In this post, I shared how to make delicious Buffalo Chicken Stuffed Shells. We covered key ingredients, step-by-step instructions, and tips for perfecting your dish. Remember, the right cooking methods and ingredients can elevate your meal. Feel free to mix things up with variations or dietary swaps. Plus, you can store leftovers easily for later. Enjoy this tasty recipe as part of your family meals and impress your guests with the bold flavors.](https://foodishtalk.com/wp-content/uploads/2025/06/69b71d57-0c66-433f-93d8-b1f530974753.webp)
Quick Buffalo Chicken Stuffed Shells Flavorful Delight
Are you ready to spice up dinner with a quick and tasty dish? Let’s dive into these Quick Buffalo Chicken Stuffed Shells that pack…
My Latest Desserts

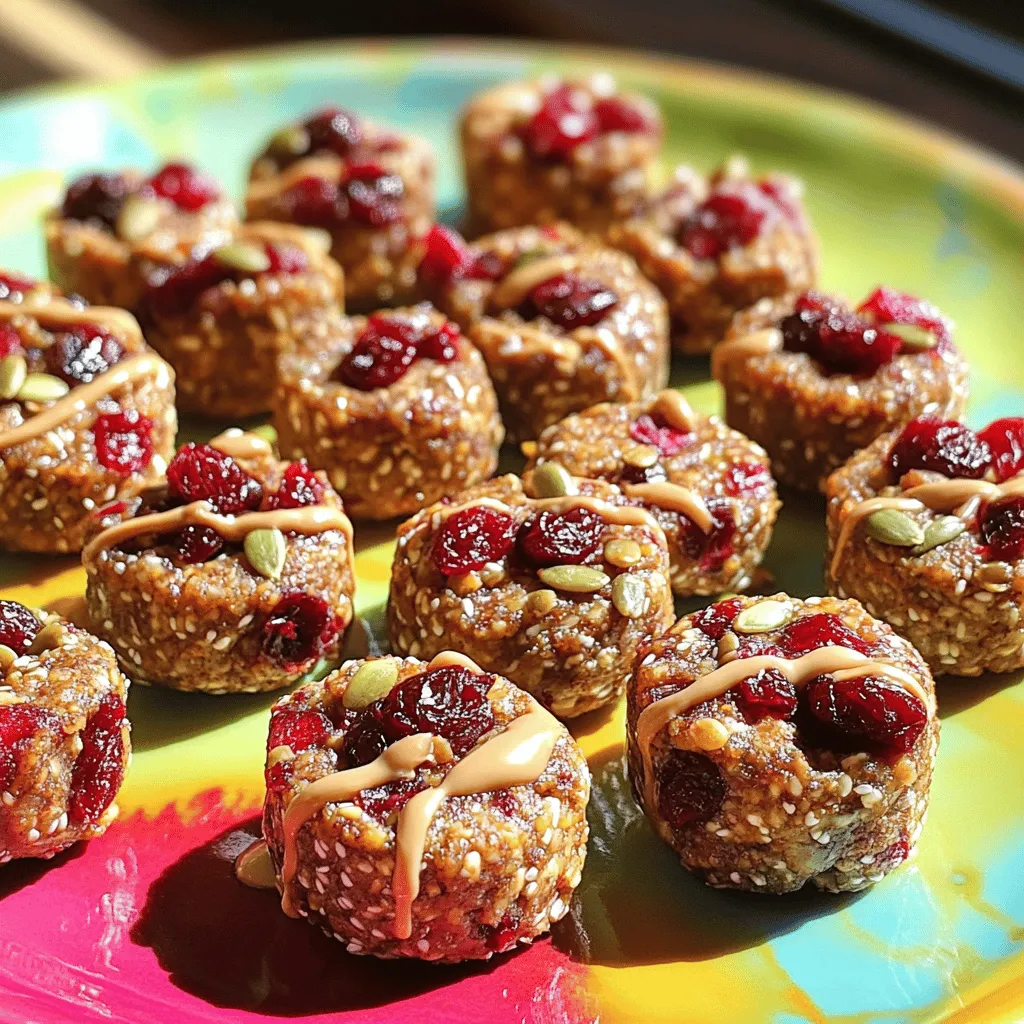
Cherry Tahini Energy Bites Healthy Snack Recipe
Looking for a quick, healthy snack? Let me introduce you to Cherry Tahini Energy Bites! Packed with flavor and nutrition, Read Full Recipe-
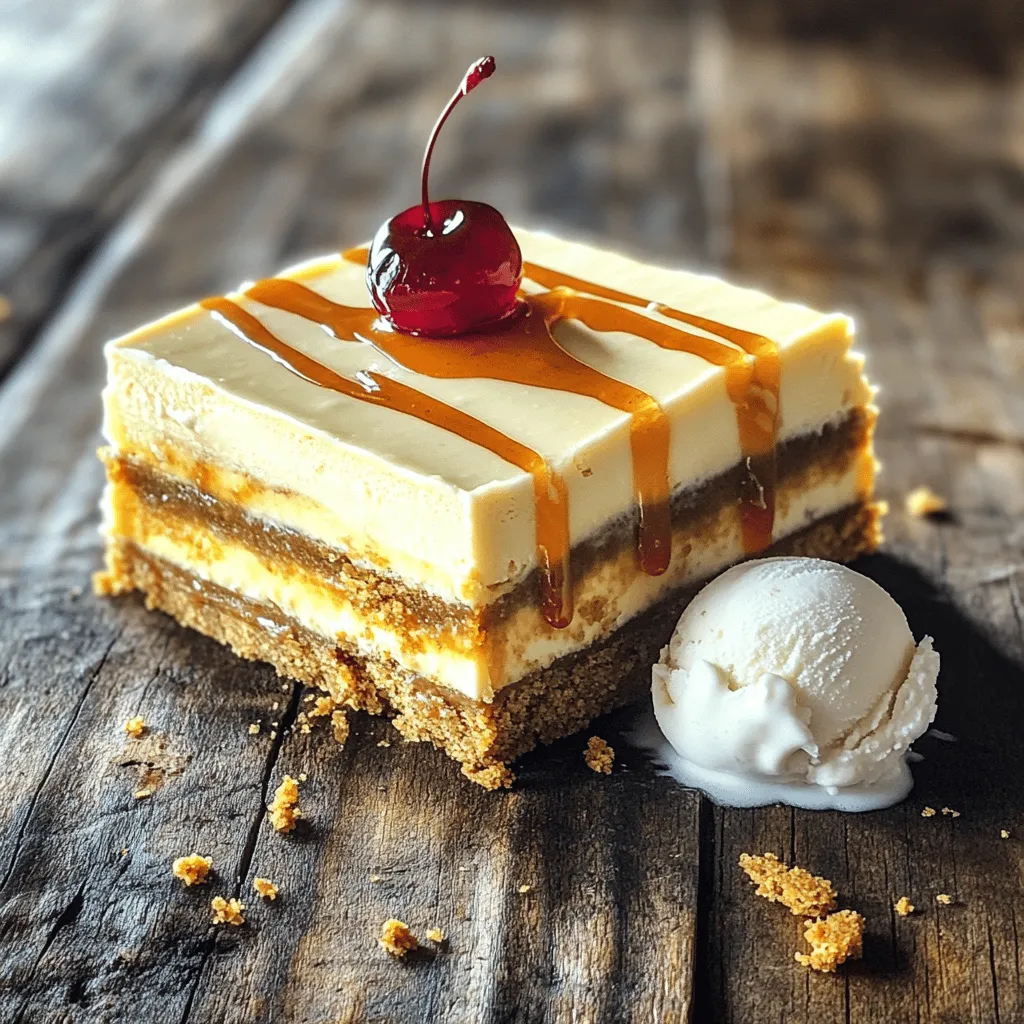
Root Beer Cream Bars Irresistible and Simple Treat
If you love the sweet nostalgia of root beer, you’re in for a treat! Root Beer Cream Bars combine creamy Read Full Recipe -
Cherry Chocolate Lava Mug Cake Delightful Recipe
Craving something sweet and quick? You’re in for a treat with my Cherry Chocolate Lava Mug Cake! This recipe packs Read Full Recipe -
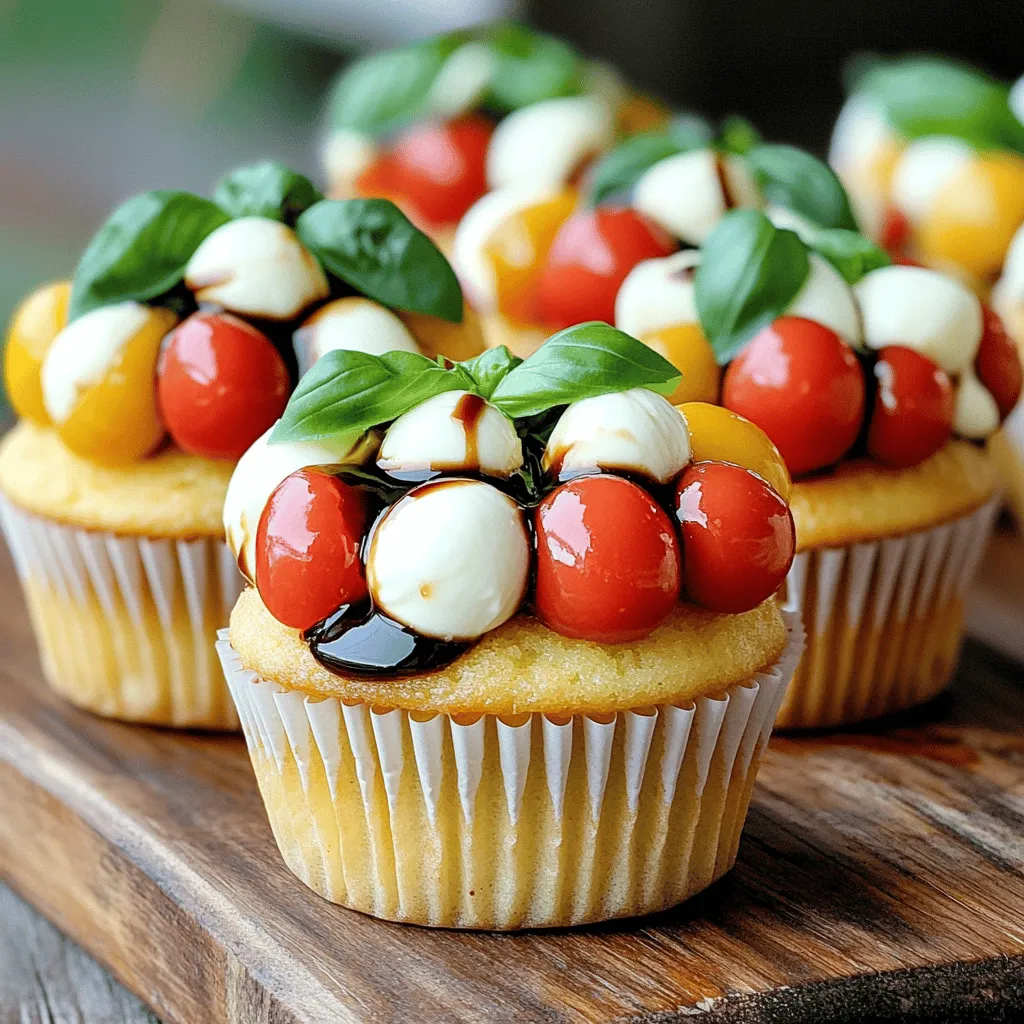
Caprese Stuffed Cupcakes Flavorful and Unique Treat
Are you ready to treat your taste buds to something new? Caprese Stuffed Cupcakes mix fresh flavors and fun in Read Full Recipe -
Mango Tajin Cake Pops Tasty and Fun Treats
Craving a unique treat? Try my Mango Tajin Cake Pops! These fun bites blend sweet mango with the zesty kick Read Full Recipe -
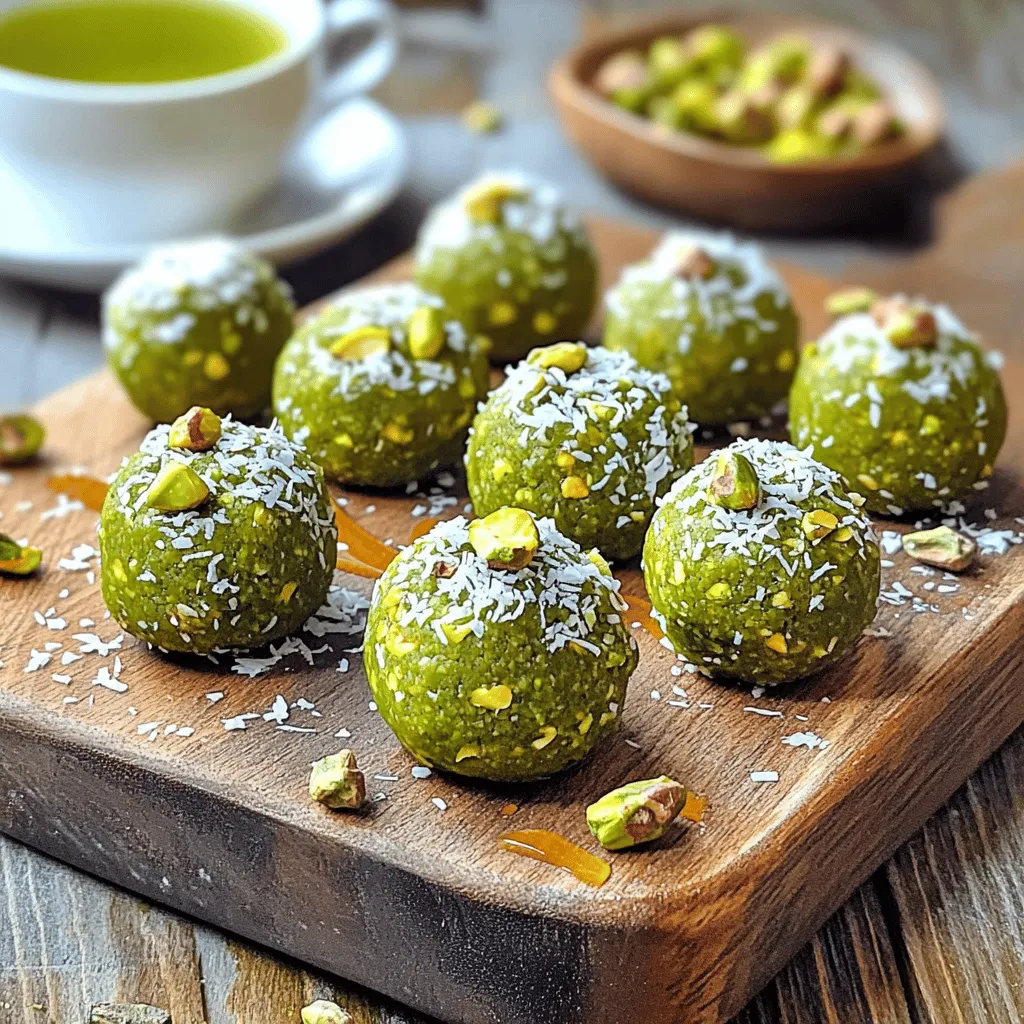
Matcha Pistachio Energy Bites Nourishing Snack Option
Looking for a tasty and healthy snack? Let me introduce you to Matcha Pistachio Energy Bites! Packed with oats, nuts, Read Full Recipe -
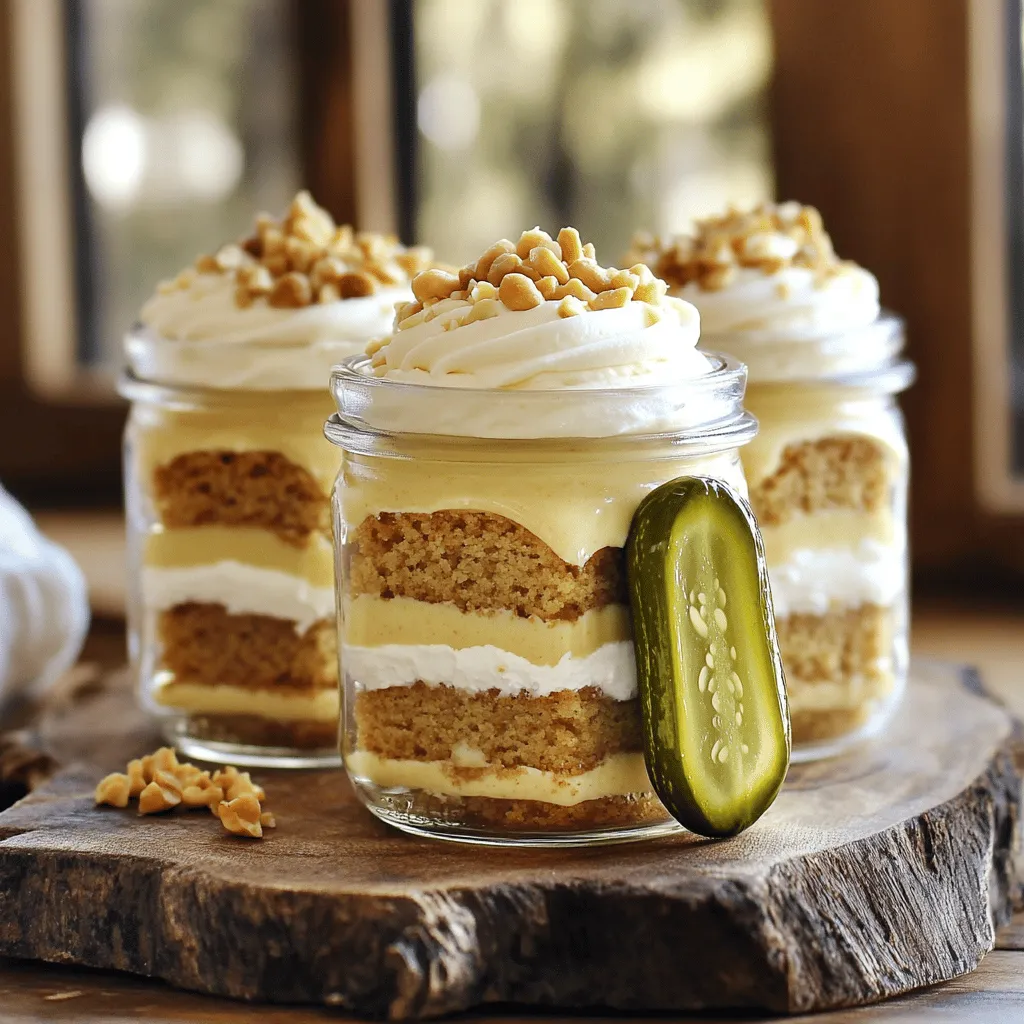
Peanut Butter Pickle Cake Jars Delightful and Unique Treat
Are you ready to try something truly different? Peanut Butter Pickle Cake Jars combine sweet and tangy flavors in a Read Full Recipe -
Healthy Banana Oat Muffins Nutrient-Packed Recipe
Looking for a tasty snack that’s packed with nutrients? You’re in the right place! My Healthy Banana Oat Muffins recipe Read Full Recipe -
No-Bake Chocolate Oat Bars Simple and Tasty Treat
Looking for a quick, tasty treat? You’re in the right place! My No-Bake Chocolate Oat Bars are simple to make Read Full Recipe -
No-Bake Chocolate Oatmeal Bars Simple and Tasty Treat
Looking for a simple and tasty treat that’s also healthy? You’ve found it! My No-Bake Chocolate Oatmeal Bars are a Read Full Recipe


hey,
i’m !
I’m so happy you’re here!
I pour heart and skill into every recipe I create. I know you’ll taste the difference now let’s enjoy this flavorful adventure together.

![To make Greek loaded hummus, you need some key ingredients. These form the base and flavor of your dish: - 1 can (15 oz) chickpeas, drained and rinsed - 1/4 cup tahini - 2 tablespoons lemon juice - 2 cloves garlic, minced - 1/4 cup olive oil - 1 teaspoon ground cumin - Salt to taste These ingredients create a smooth, creamy hummus that is both tasty and healthy. Chickpeas give it protein and fiber. Tahini adds a nutty flavor, while lemon juice and garlic bring brightness. Olive oil makes it rich and smooth. Next, let’s talk about the fun toppings. These add color and crunch: - 1/2 cup cherry tomatoes, halved - 1/2 cucumber, diced - 1/4 red onion, finely chopped - 1/2 cup Kalamata olives, pitted and sliced - 1/2 cup feta cheese, crumbled - Fresh parsley, for garnish These toppings not only look good but also enhance the taste. Tomatoes add juiciness, while cucumbers give a refreshing crunch. Red onion provides a bit of bite, and olives add saltiness. Feta cheese brings creaminess and tang. Finally, don’t forget the spices and seasonings. These are key to adding depth to your hummus: - 1 teaspoon ground cumin - Salt to taste Cumin gives a warm, earthy flavor. Salt is vital for bringing all the tastes together. For the full recipe, check out the detailed steps. Enjoy making this Greek loaded hummus that is both flavorful and healthy! To make Greek loaded hummus, follow these easy steps. First, gather all your ingredients. You will need a food processor for this recipe. 1. Combine Ingredients: Start by adding the chickpeas, tahini, lemon juice, minced garlic, olive oil, ground cumin, and salt into the food processor. 2. Blend Until Smooth: Blend the mix for about one minute. You want it creamy and smooth. 3. Adjust Consistency: If your hummus feels thick, add a bit of water or extra olive oil to thin it out. Blend again until you reach your desired texture. Next, it's time to layer the toppings. 4. Transfer the Hummus: Carefully move the hummus to a shallow serving dish. 5. Create a Well: Use the back of a spoon to make a well in the center. This is where your toppings will go. 6. Layer Toppings: Start with the cherry tomatoes, then add the diced cucumber, red onion, and Kalamata olives into the well. Now, finish your masterpiece. 7. Add Feta: Evenly sprinkle crumbled feta on top of the hummus and toppings. 8. Drizzle Olive Oil: Pour a little olive oil over the whole dish. This adds flavor and makes it look nice. 9. Garnish: Finally, add some fresh parsley for a splash of color. Serve your Greek loaded hummus with warm pita bread or fresh veggies. Enjoy! For the full recipe, see the section above. To make your Greek loaded hummus even tastier, try adding spices. A pinch of smoked paprika gives a nice smoky flavor. You could also use a dash of cayenne for heat. Both will make your dish pop. If your hummus is too thick, don’t worry! Add a bit of water or more olive oil. Blend well until you reach a smooth and creamy texture. Adjust to your liking. When it comes to serving, presentation is key. Use a shallow dish for a beautiful look. Create a well in the center. This allows for a colorful display of toppings. Layer your cherry tomatoes, cucumber, onion, and olives neatly. Finish with crumbled feta on top. A drizzle of olive oil adds shine. For even more flair, garnish with fresh parsley. You can also serve it with warm pita bread. This adds a delightful touch for dipping. For the full recipe, check out the [Full Recipe]. {{image_2}} You can make Greek loaded hummus even more fun! Try adding roasted red peppers or artichokes for a smoky, sweet flavor. These add-ins bring a new taste and texture. You can also switch up the toppings. For a vegan option, leave out the feta cheese. Instead, use a sprinkle of nutritional yeast for a cheesy flavor. Serve the hummus with different sides. Instead of pita bread, use fresh veggie sticks, like carrots or bell peppers. You can even spoon it onto a salad for a healthy twist. The options are endless, and each variation makes it unique! For the full recipe, check out the [Full Recipe]. When you have extra Greek loaded hummus, store it properly to keep it fresh and tasty. Place the hummus in an airtight container. This helps seal in the flavor and maintain texture. Refrigerate it as soon as possible. For the best taste, use the hummus within three to five days. This keeps the ingredients fresh and safe to eat. If you notice any strange smells or colors, it is time to toss it out. To refresh stored hummus before serving, stir it well. If it seems dry, add a splash of olive oil or a bit of water. This helps bring back the creamy texture. You can also mix in fresh toppings like diced cucumbers or tomatoes. This adds a burst of flavor and color. For more details on making this dish, check the Full Recipe. What can I use instead of tahini? You can use sunflower seed butter or Greek yogurt. Both add creaminess. If you want a nut-free option, try using olive oil. Each choice gives a nice flavor. Can I prepare Greek loaded hummus in advance? Yes, you can make it a day ahead. Store it in the fridge in an airtight container. Just add the toppings right before serving for the best taste and texture. How do I make hummus without a food processor? You can mash chickpeas with a fork or potato masher. Mix in other ingredients by hand. It may take longer, but you can still enjoy tasty hummus. Is Greek loaded hummus gluten-free? Yes, Greek loaded hummus is gluten-free. Just be sure to serve it with gluten-free pita or veggies. This way, everyone can enjoy it safely. For the full recipe, check out the Greek Loaded Hummus section. In this post, I covered how to make Greek loaded hummus. We talked about key ingredients like chickpeas, tahini, and spices. I provided step-by-step instructions to make it easy for you. You learned tips to enhance flavor and serve it creatively. Lastly, I shared storage tips to keep it fresh. Greek loaded hummus is versatile and tasty. Now, you can enjoy it with your favorite dishes or share it at gatherings. Making this dish is simple and satisfying. Enjoy your delicious creation!](https://foodishtalk.com/wp-content/uploads/2025/06/38fa5a0c-55d9-44ba-87e7-4386ce332865-300x300.webp)


Lemon Blueberry Overnight Oats Easy and Tasty Recipe
Start your day off right with Lemon Blueberry Overnight Oats! This tasty and easy recipe offers a fresh twist on a breakfast classic. If…
![To make these tasty Lemon Blueberry Overnight Oats, gather the following ingredients: - 1 cup rolled oats - 1 cup unsweetened almond milk (or milk of choice) - 1/2 cup Greek yogurt (plain or vanilla) - 1/2 cup fresh blueberries (plus extra for topping) - Zest of 1 lemon - 2 tablespoons lemon juice - 2 tablespoons honey or maple syrup (adjust sweetness to taste) - 1/2 teaspoon vanilla extract - A pinch of salt These ingredients blend to create a refreshing and healthy breakfast. Each bite is filled with the bright taste of lemon and juicy blueberries. When picking blueberries, look for berries that are plump and firm. They should have a deep blue color. Avoid any that are soft or have green spots. Fresh blueberries should smell sweet and fruity. You can also check for the white powder on the skin, which is called bloom. This shows they are fresh and untouched. If you want a dairy-free option, try using plant-based yogurt instead of Greek yogurt. You can also skip the yogurt for a lighter version. For sweeteners, you can swap honey for agave syrup or stevia. Maple syrup works well too. Adjust the sweetness to your liking, so you enjoy every bite. For the full recipe, check out the details above! To start, gather your ingredients. You need rolled oats, almond milk, Greek yogurt, blueberries, lemon zest, lemon juice, honey or maple syrup, vanilla extract, and a pinch of salt. In a medium bowl or large mason jar, combine the rolled oats, almond milk, and Greek yogurt. Then, add the lemon zest, lemon juice, honey or maple syrup, vanilla extract, and salt. Mix everything well until it is smooth. Make sure the oats soak up the liquid. After mixing, gently fold in the fresh blueberries. Save a few for later. Cover the bowl or seal the jar. Place it in the fridge overnight. This soak time helps the oats soften and absorb the flavors. For best results, let them chill for at least 4-6 hours. When morning arrives, take the oats out of the fridge. Stir the mixture again. If it feels too thick, add a splash of almond milk. You want it creamy but not runny. Serve the oats in bowls or keep them in the jar for an easy breakfast. Top with extra blueberries and a drizzle of honey or maple syrup if you like. Enjoy your tasty Lemon Blueberry Overnight Oats! For a full recipe, check the earlier section. To get creamy overnight oats, you need the right mix of ingredients. I recommend using rolled oats. They soak up the liquid well. You can adjust the amount of almond milk based on your taste. If you want thicker oats, use less milk. For creamier oats, add a bit more. After soaking, give the oats a good stir. If they feel too thick in the morning, just add a splash of almond milk. Adding extra flavor can make your oats even better. You might try adding nuts or seeds. Chia seeds are a great choice. They are tiny but pack a flavor punch. You can also mix in spices like cinnamon or nutmeg. For a tropical twist, try adding diced mango or coconut. These flavors will work well with the lemon and blueberries. Don't forget to taste as you go. Adjust sweetness with honey or maple syrup, too. If you have extra overnight oats, store them in the fridge. Use a sealed jar or container to keep them fresh. They will last for up to three days. Just remember to check for any changes in smell or texture. If they seem off, it's better to toss them. You can also freeze them for later. Just thaw in the fridge overnight when you're ready to eat. This way, you can enjoy lemon blueberry overnight oats whenever you like! For the full recipe, check the earlier section. {{image_2}} You can change the fruit in this recipe to suit your taste. Try strawberries, raspberries, or peaches for a different flavor. Mango pairs well with coconut milk for a tropical twist. You can even use dried fruits like cranberries or apricots for a chewy texture. Mix and match fruits for fun flavors each week! To make this recipe vegan, swap Greek yogurt for coconut yogurt. Use maple syrup instead of honey. For gluten-free oats, select certified gluten-free rolled oats. This way, you can enjoy tasty oats while sticking to your diet. You can still have delicious breakfast options with these simple swaps. Toppings make your oats even better! Add nuts like almonds or walnuts for a crunchy bite. Seeds, such as chia or flax, add fiber and omega-3s. Fresh fruit, like sliced bananas or more berries, gives a fresh taste. You can also sprinkle granola on top for extra texture. Get creative and try different combinations! To keep your lemon blueberry overnight oats fresh, use an airtight container. Glass jars work great. They help keep the oats from drying out or picking up other smells. Always store them in the fridge. Make sure to label your jars with the date. This way, you remember when you made them. Lemon blueberry overnight oats can last up to five days in the fridge. The oats soak up the flavors over time. After a few days, they may get softer but still taste good. If you see any signs of spoilage, like mold or an off smell, throw them away. You can freeze lemon blueberry overnight oats too. Just pour the mixture into freezer-safe containers. Leave some space at the top, as the oats will expand when frozen. They can last up to three months in the freezer. When you’re ready to eat, thaw them in the fridge overnight. Yes, you can easily make this recipe vegan. Just swap the Greek yogurt for a plant-based yogurt, like coconut or almond yogurt. Use maple syrup instead of honey for sweetness. Lastly, choose almond milk or any other plant milk for the base. This way, you keep the zesty lemon and blueberry flavors while making it vegan-friendly. You can adjust the texture by changing the liquid amount. For creamier oats, add more almond milk. If you prefer thicker oats, reduce the liquid. You can also blend the oats briefly before mixing. This makes them softer and smoother. Experiment with the soaking time too. A longer soak gives a creamier texture, while a shorter soak keeps them chewier. Yes, meal prepping is easy with Lemon Blueberry Overnight Oats. Make multiple jars at once and store them in the fridge. They last up to five days. Just make sure to keep the toppings separate until you're ready to eat. This way, the oats stay fresh and tasty. You can grab a jar in the morning for a quick breakfast. For the complete recipe, check the [Full Recipe]. Lemon blueberry overnight oats are easy and fun to make. We covered fresh ingredients, tips for great taste, and how to store your oats. You can try different fruits or diets too. Remember, these oats are not just tasty; they are also healthy. Enjoy your creation and explore new flavors! Make these oats your own. Please share your favorite twist on this recipe with others. Your taste buds will thank you!](https://foodishtalk.com/wp-content/uploads/2025/05/fb6be10e-0f75-496b-95e5-7ef4af8ab16f.webp)
