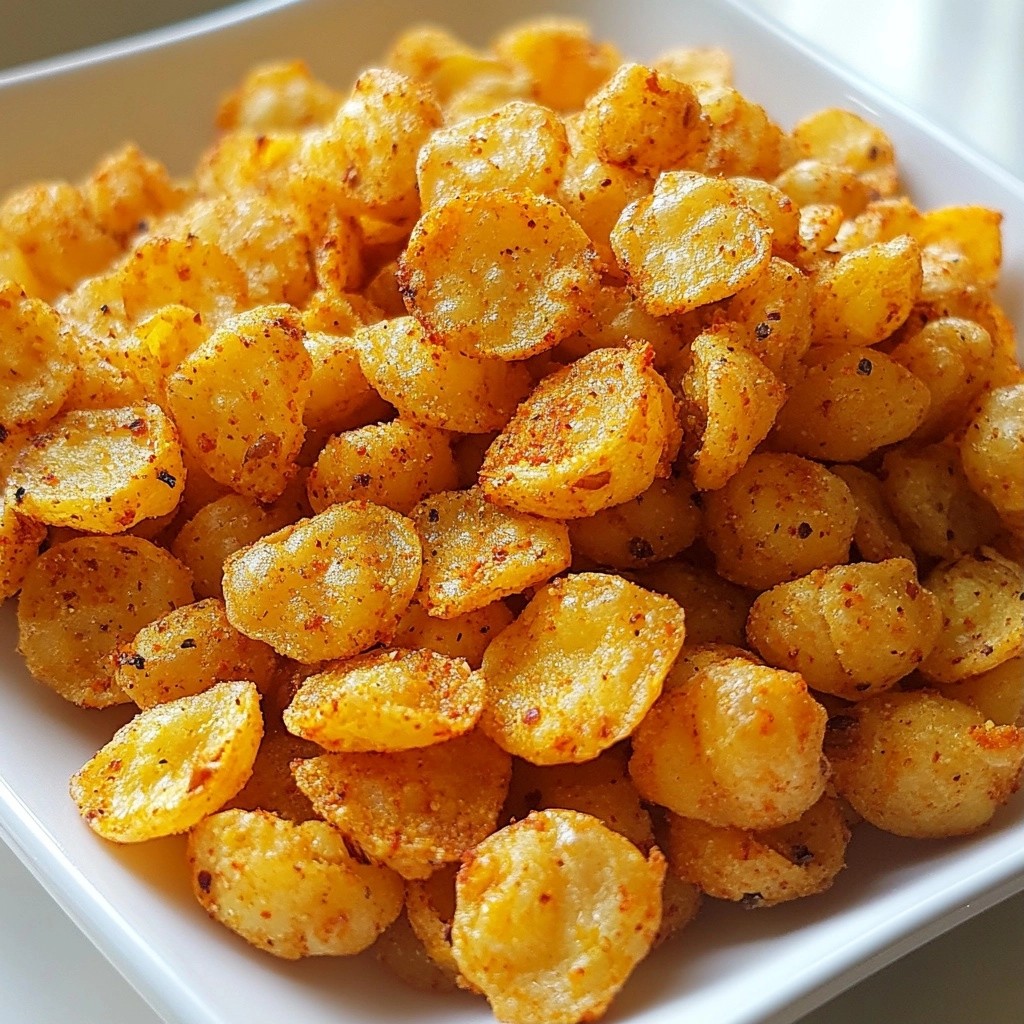
If you're craving a crunchy snack that's both tasty and packed with protein, then you're in the right place! This Crunchy High-Protein Spicy Chickpea Crisps Recipe is simple and fun to make. With just a few easy steps, you can turn canned chickpeas into a spicy, crunchy treat that satisfies your snack cravings. Ready to kick your snack game up a notch? Let’s dive in!
Why I Love This Recipe
- High in Protein: These chickpea crisps are packed with protein, making them a perfect snack to keep you energized throughout the day.
- Customizable Spice Level: You can easily adjust the cayenne pepper to suit your heat preference, ensuring everyone can enjoy them.
- Crispy Texture: Baking the chickpeas creates a delightful crunch that satisfies snack cravings without the guilt.
- Quick and Easy: This recipe takes only 10 minutes of prep time, making it a convenient option for busy days.
Ingredients
For my crunchy high-protein spicy chickpea crisps, I keep the ingredient list simple. Here’s what you will need:
- Canned chickpeas
- Olive oil
- Spices: smoked paprika, cumin, garlic powder, cayenne pepper
- Salt and nutritional yeast (optional)
Canned chickpeas are the star. They are high in protein and fiber. Olive oil adds richness and helps the spices stick. The spices bring heat and flavor. Smoked paprika gives a nice depth, while cumin and garlic powder enhance the taste. Adjust the cayenne pepper for your spice level. Salt is key for balance, and nutritional yeast is optional. It adds a cheesy flavor that many love.
Gather these ingredients, and let’s make something delicious!

Step-by-Step Instructions
Preheating the Oven
First, set your oven to 400°F (200°C). This temperature helps the chickpeas get crispy. Next, line a baking sheet with parchment paper. This step keeps the chickpeas from sticking and makes cleanup easy.
Preparing the Chickpeas
Start by rinsing and draining the chickpeas. This removes excess sodium and helps them crisp up. Once drained, put the chickpeas in a large bowl. Drizzle them with 2 tablespoons of olive oil. Now, add the spices: 1 teaspoon of smoked paprika, 1 teaspoon of cumin, 1/2 teaspoon of garlic powder, and 1/2 teaspoon of cayenne pepper. Adjust the cayenne for your spice level. Don’t forget to add salt to taste. If you want a cheesy flavor, sprinkle in 1 tablespoon of nutritional yeast. Toss the chickpeas gently until they are fully coated with the oil and spices.
Baking to Perfection
Spread the chickpeas out in a single layer on the baking sheet. Make sure they are not overcrowded. This allows the air to flow and helps them crisp up. Bake them in the preheated oven for 25-30 minutes. Halfway through baking, shake the pan to ensure even cooking. The chickpeas should turn golden brown and become crunchy. Once they are done, remove them from the oven and let them cool for a few minutes. They will get even crunchier as they cool. Taste your chickpea crisps and adjust the salt or spices if needed before serving.
Tips & Tricks
Achieving Maximum Crunchiness
To make your chickpea crisps super crunchy, follow these steps. First, let them cool after baking. Cooling helps them get even crisper. Second, avoid overcrowding the baking sheet. If they sit too close together, they will steam instead of crisp. Spread them out in a single layer. This way, hot air can move around each chickpea.
Spice Adjustments
You can make these crisps as spicy as you like. For less heat, cut back on the cayenne pepper. If you love heat, add more! You can also try different spice blends. I like using taco seasoning or a curry mix for a unique twist. Experiment to find your favorite flavor.
Flavor Enhancements
Nutritional yeast adds a cheesy taste without dairy. It makes the crisps even tastier! You can also add other spices for fun. Try onion powder or a pinch of cinnamon for a surprise flavor. Get creative and enjoy the process!
Pro Tips
- Drain and Dry: Ensure chickpeas are well-drained and patted dry before seasoning to achieve maximum crispiness.
- Customize Spice: Feel free to adjust the cayenne pepper to your desired spice level or experiment with other spices like chili powder or curry powder.
- Even Layer: Spread chickpeas in a single layer on the baking sheet to prevent steaming and promote even crisping.
- Storage: Store leftovers in an airtight container at room temperature for up to 3 days for optimal crunchiness.
Variations
Alternative Seasonings
You can change up the spices for your chickpea crisps. Try a taco spice mix for a fun twist. Or use a blend of Italian herbs like oregano and basil. For a sweet option, sprinkle cinnamon and sugar before baking. This will give your crisps a unique flavor. You can also mix in some chili powder for extra heat. Play around until you find your favorite mix!
Dietary Modifications
If you need gluten-free options, you're in luck! Chickpeas are naturally gluten-free. Just make sure your spices are also gluten-free. For a vegan version, this recipe is already perfect. The ingredients are all plant-based, so enjoy without worry. If you want a cheesy flavor, use nutritional yeast. It adds a nice touch without any dairy.
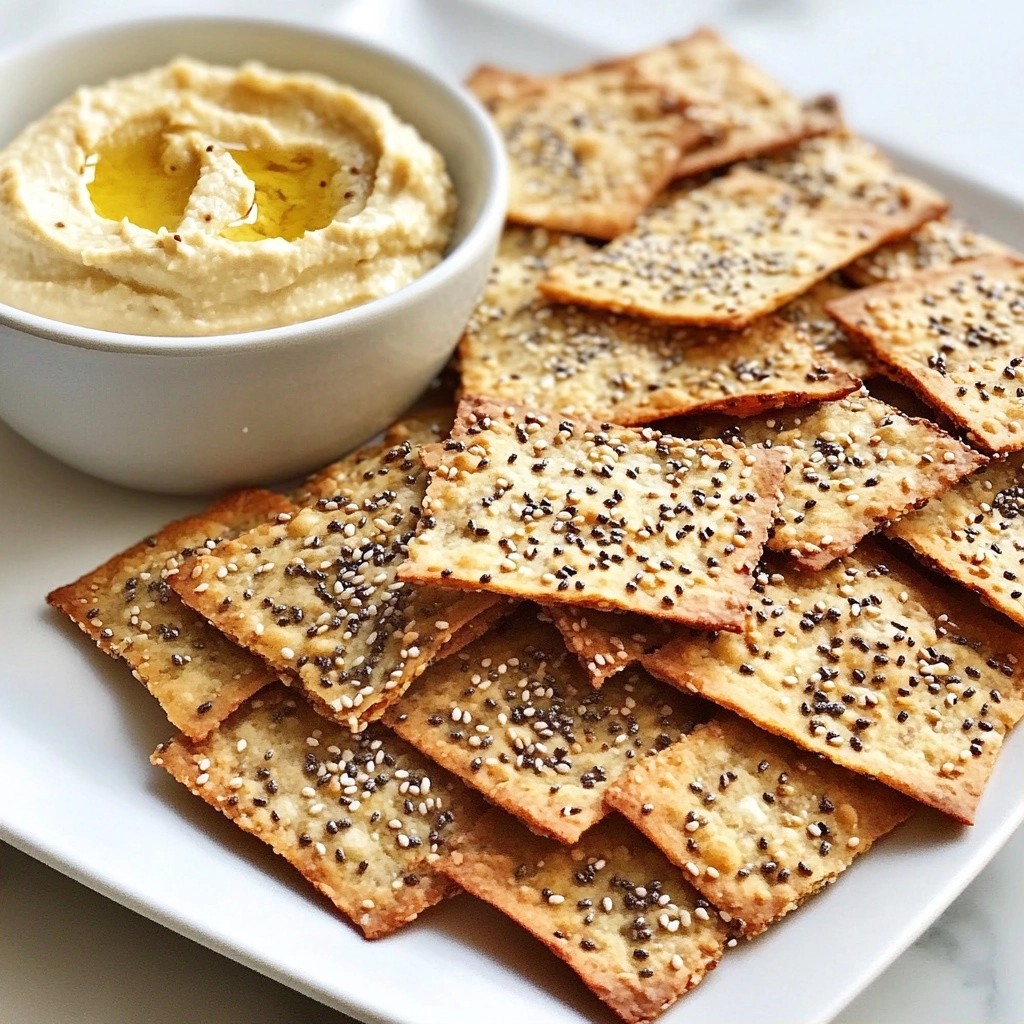
Pairing Suggestions
These chickpea crisps taste great with dips. Try them with hummus for a classic pairing. You might also enjoy a spicy salsa or a creamy avocado dip. For snacks, serve these crisps alongside fresh veggies or cheese. They make a perfect crunchy bite next to your favorite foods. Get creative and find what you love!
Storage Info
Proper Storage Techniques
To keep your spicy chickpea crisps fresh, use airtight containers. Glass jars or plastic bins work well. Make sure they seal tightly. Store them in a cool, dry place away from sunlight. This helps maintain their crunchiness.
Shelf Life
These chickpea crisps last up to one week when stored properly. After that, they may lose their crispness. Look for signs of spoilage like off smells or a change in texture. If they feel soft or chewy, it’s time to toss them out.
Reheating Recommendations
To make your chickpea crisps crispy again, reheat them in the oven. Set it to 350°F (175°C) and spread the crisps on a baking sheet. Heat them for about 5-10 minutes. This will bring back their crunch. Avoid microwaving them, as this will make them soggy.
FAQs
How to make chickpea crisps?
To make chickpea crisps, start by preheating your oven to 400°F (200°C). Line a baking sheet with parchment paper. Rinse and drain a can of chickpeas. In a bowl, mix the chickpeas with olive oil and spices like smoked paprika and cumin. Toss them well to coat. Spread the chickpeas on the baking sheet and bake for 25-30 minutes. Shake the pan halfway through for even cooking. Let them cool to get extra crunch.
Can I use dried chickpeas instead of canned?
Yes, you can use dried chickpeas! Soak 1 cup of dried chickpeas overnight. Drain and rinse them. Boil them in water for about 1 hour until soft. Then, follow the same steps for seasoning and baking as you would with canned chickpeas.
How can I adjust the recipe for different flavors?
You can change the spices to create new flavors! Try adding curry powder for an Indian twist. For a sweet taste, mix in cinnamon and a touch of sugar. You can also experiment with different dried herbs, like oregano or thyme. Just remember to adjust the spice levels to your liking.
Are spicy chickpea crisps healthy?
Yes, spicy chickpea crisps are healthy! They are high in protein and fiber. Chickpeas help keep you full longer. The olive oil adds healthy fats. Plus, you can control the salt and spice levels. Overall, they make a great snack choice!
This blog post covered how to make delicious chickpea crisps. We reviewed the key ingredients, including canned chickpeas, olive oil, and spices. I provided step-by-step instructions for preparation and baking. I also shared tips for achieving maximum crunchiness and variations to suit your taste.
In conclusion, enjoy experimenting with flavors and textures. These chickpea crisps are a tasty snack option. You can customize them to fit your dietary needs. Keep them fresh by storing them well, and they will remain delicious. Happy snacking!