If you want your sugar cookies to shine with beautiful icing that hardens perfectly, you’re in the right place. In this guide, I’ll share my foolproof recipe and tips for icing that not only looks great but also sets with a gorgeous finish. From essential ingredients to clever techniques, I’ll help you master cookie decorating like a pro. Let’s dive in and make your cookies the talk of the party!
Ingredients
Essential Ingredients for Icing
– 2 cups powdered sugar
– 2 tablespoons meringue powder
– 4 tablespoons warm water
– 1 teaspoon vanilla extract
– Food coloring (optional)
To make sugar cookie icing that hardens, I focus on key ingredients. First, I use powdered sugar, which gives the icing its sweet taste. Meringue powder helps the icing set well. You need warm water to mix everything smoothly. Adding vanilla extract adds a lovely flavor. If you want colors, grab some food coloring.
Additional Tools Needed
– Mixing bowl
– Piping bags with round tips
– Parchment paper
Having the right tools makes a big difference. A mixing bowl helps in combining the ingredients. Piping bags with round tips let you create beautiful designs. Parchment paper is great for keeping your workspace clean and neat. With these ingredients and tools, you can make perfect icing every time.
Step-by-Step Instructions
Preparing the Icing Base
To start, you need to make the icing base. First, grab a mixing bowl. In it, combine 2 cups of powdered sugar and 2 tablespoons of meringue powder. Mix them well until they are fully blended. Next, slowly add 4 tablespoons of warm water. Stir continuously as you pour. Keep going until the mixture is smooth and thick but still pourable.
Achieving the Right Consistency
Now, let’s make sure our icing has the right feel. Mix it until it’s smooth and thick. Test it by lifting your spoon. The icing should fall back into the bowl in a thick ribbon. This texture is key for good decorating. Then, add 1 teaspoon of vanilla extract for a nice flavor. Stir well until everything is combined.
Coloring the Icing
If you want to add some fun colors, this is the time. Divide the icing into smaller bowls. If you like, add food coloring to each bowl. Use a toothpick or a small spatula to mix the color in. Make sure to stir until the color is even throughout. This will help your cookies look bright and cheerful!
Tips & Tricks
Achieving a Perfect Hardened Finish
To get the best hard finish on your icing, let it dry for at least 6-8 hours. This drying time is key. Place your cookies in a cool, dry spot. Avoid direct sunlight to keep your colors bright. Humidity can cause problems. High humidity makes icing take longer to set. If it’s humid, be patient. The icing will harden, just not as fast.
Effective Piping Techniques
When outlining and filling, use a piping bag with a round tip. Start by outlining your cookie edges. This creates a barrier for your fill. Let the outline dry for about 10 minutes. Then, fill the center with icing. For smooth fills, use the back of a spoon. For designs, try different piping tips. A star tip adds texture, while a plain tip gives smooth lines.
Common Mistakes to Avoid
One common mistake is icing too thin. If your icing is too runny, it won’t hold shape. Add more powdered sugar to fix it. Another issue is not letting it dry long enough. If your icing feels sticky, it’s not done yet. Make sure to check your drying time. If your icing cracks, it may be too thick. Thin it slightly with warm water for better results.

Variations
Flavor Variations
You can change the flavor of your icing easily. Just add different extracts. Almond extract gives a nice nutty taste. Lemon extract adds a bright, fresh zing. You can also try orange or peppermint for fun twists.
To infuse your icing with unique tastes, mix in the extracts when you combine the sugar and meringue powder. This way, the flavor blends well. Tasting as you go can help you find your perfect mix.
Color Techniques
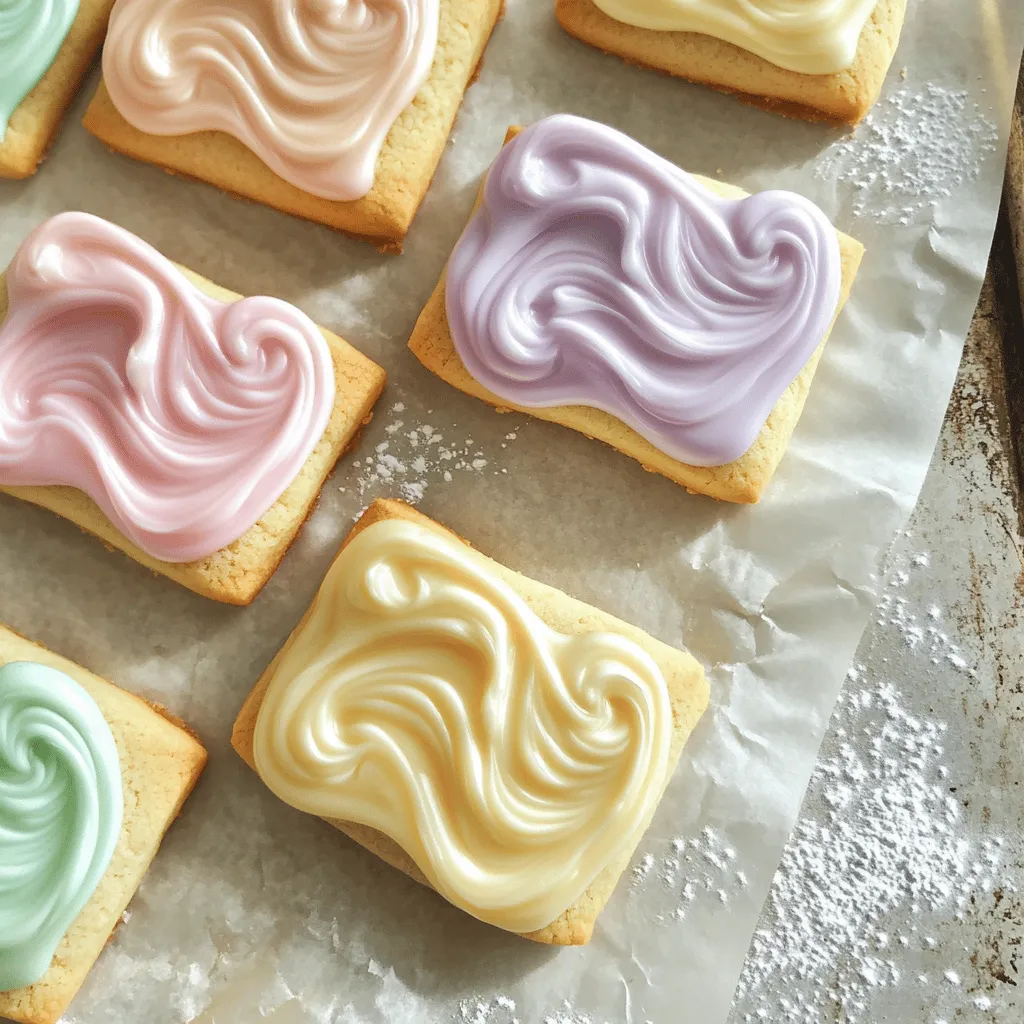
Coloring your icing can make your cookies pop. One fun method is marbling. To do this, drop different colors of icing onto your cookie. Then, use a toothpick to swirl them together. This creates a beautiful, swirled effect.
Layering colors is another great technique. First, outline your cookie with one color. Let it dry for a bit. After that, fill it with another color. This adds depth and interest to your designs.
Non-Traditional Piping Designs
Don’t feel stuck with the usual designs. Freehand piping lets you express your creativity. Try drawing hearts, swirls, or even simple letters. This method feels more personal.
If you want more control, use stencils. They help create consistent shapes and designs on each cookie. Just place the stencil on the cookie and pipe over it. Lift the stencil carefully to reveal your work.
These variations can make your cookies unique and fun.
Storage Info
Storing Icing and Decorated Cookies
To keep your icing fresh, store it in an airtight container. You can also cover the bowl with plastic wrap. Make sure the wrap touches the icing’s surface to prevent a crust. For decorated cookies, let them dry completely first. Then, place them in a single layer in a container. If you stack them, put parchment paper between layers. This way, the icing stays intact.
Shelf Life
Iced cookies can last for up to two weeks at room temperature. If you keep them in the fridge, they can last a bit longer, around three weeks. Watch for signs of spoilage. If the icing looks dull or starts to crack, it’s time to toss them. Any off smell or strange texture is also a sign they are no longer good.
Freezing Options
You can freeze undecorated cookies for up to three months. Let them cool completely before freezing. Place the cookies in a single layer on a baking sheet first. Once frozen, transfer them to a freezer bag. When you’re ready to decorate, thaw them in the fridge overnight. After thawing, let them come to room temperature before icing. This helps the icing stick better.
FAQs
How to make sugar cookie icing that hardens?
To make sugar cookie icing that hardens, follow these easy steps:
1. Mix the Base: Start by combining 2 cups of powdered sugar and 2 tablespoons of meringue powder in a bowl. Stir until they mix well.
2. Add Water: Gradually add 4 tablespoons of warm water. Keep stirring until the icing becomes smooth. It should be thick but easy to pour.
3. Flavor It: Add 1 teaspoon of vanilla extract and mix again. This step adds great flavor to your icing.
4. Coloring: If you want colors, divide the icing and add food coloring. Mix until the color is even.
5. Piping: Use a piping bag with a round tip. First, outline your cookies. Let the outlines dry a bit before filling the centers.
6. Drying Time: Let the cookies sit at room temperature for 6-8 hours. This allows the icing to harden properly.
This sweet glaze recipe is perfect for decorating cookies!
If your icing is not hardening, several factors may affect it:
– Too Much Water: Adding too much warm water can make the icing too runny. This will prevent it from setting.
– Humidity: High humidity can slow down the drying time. It makes it harder for the icing to dry.
– Meringue Powder Quality: Old or low-quality meringue powder may not work well. Always check the freshness of your ingredients.
– Insufficient Drying Time: If you don’t let the cookies dry long enough, the icing will remain soft.
Can I use this icing for other baked goods?
Yes, you can use this icing on many baked goods! Here are some ideas:
– Other Cookies: It works great on gingerbread, shortbread, or any cookie you like.
– Cakes and Cupcakes: You can drizzle this icing on cakes or cupcakes for a sweet touch.
– Brownies: Spread some icing on brownies for a fun twist.
This icing’s versatility makes it a must-have for your baking adventures!
In this article, we explored the key ingredients and tools for making icing. You learned how to prepare the icing base, achieve the right consistency, and add color. We also shared tips for perfect piping and common mistakes to avoid. Finally, we discussed icing variations and storage tips to keep your treats fresh. Use these insights to create eye-catching and tasty decorations for your cookies. Enjoy experimenting and have fun with your icing projects!


