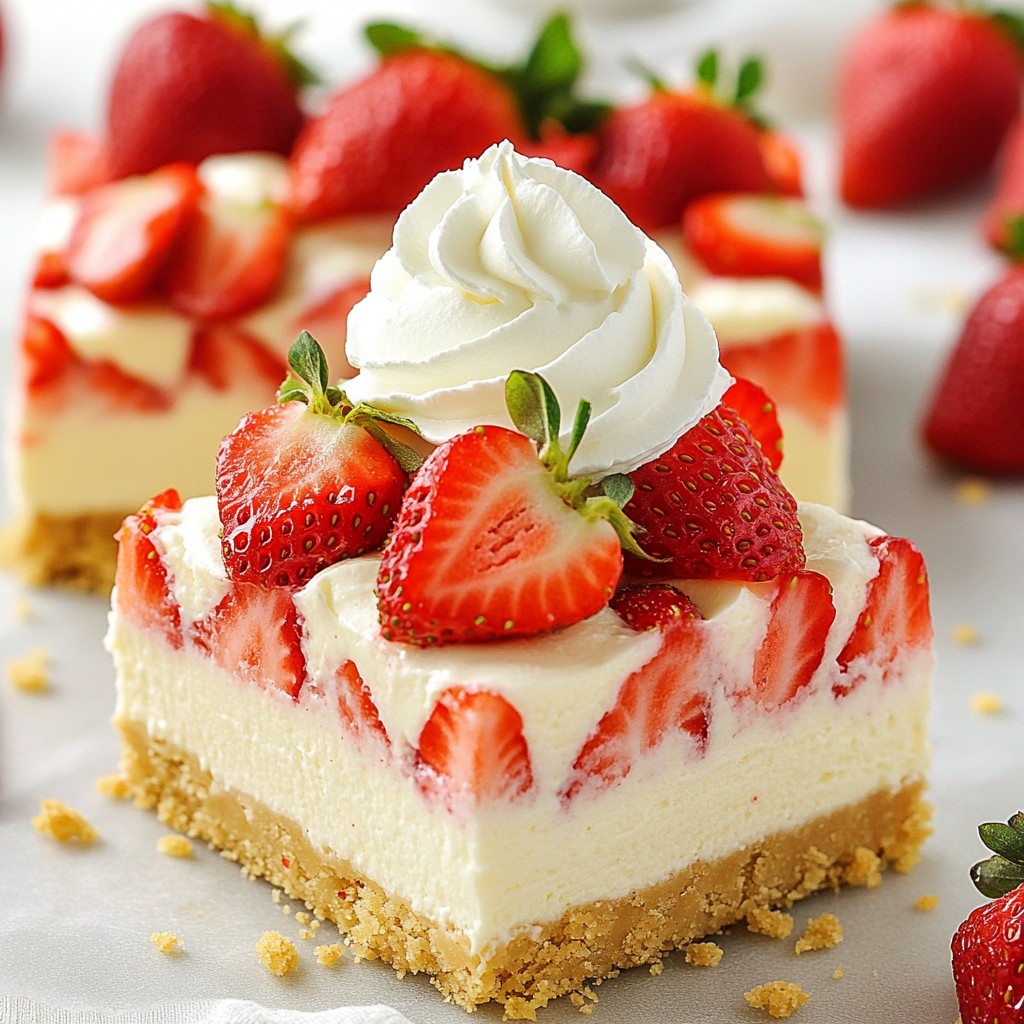
If you love desserts that are both easy and delightful, these Strawberry Shortcake Cheesecake Bars are a must-try! With their mix of creamy cheesecake and fresh strawberries, they offer a satisfying flavor in every bite. I’ll guide you through simple steps to create this delicious treat that’s perfect for any occasion. Get ready to impress your family and friends with this quick and tasty dessert!
Why I Love This Recipe
- Delicious Flavor Combination: The blend of creamy cheesecake and fresh strawberries creates a delightful balance of flavors that is simply irresistible.
- Easy to Make: This recipe is straightforward, making it perfect for both beginners and experienced bakers looking for a quick dessert.
- Perfect for Any Occasion: Whether it's a family gathering, a picnic, or a special celebration, these cheesecake bars are a crowd-pleaser.
- Make-Ahead Convenience: With a chilling time that allows for preparation in advance, these bars can be made ahead of time for stress-free entertaining.
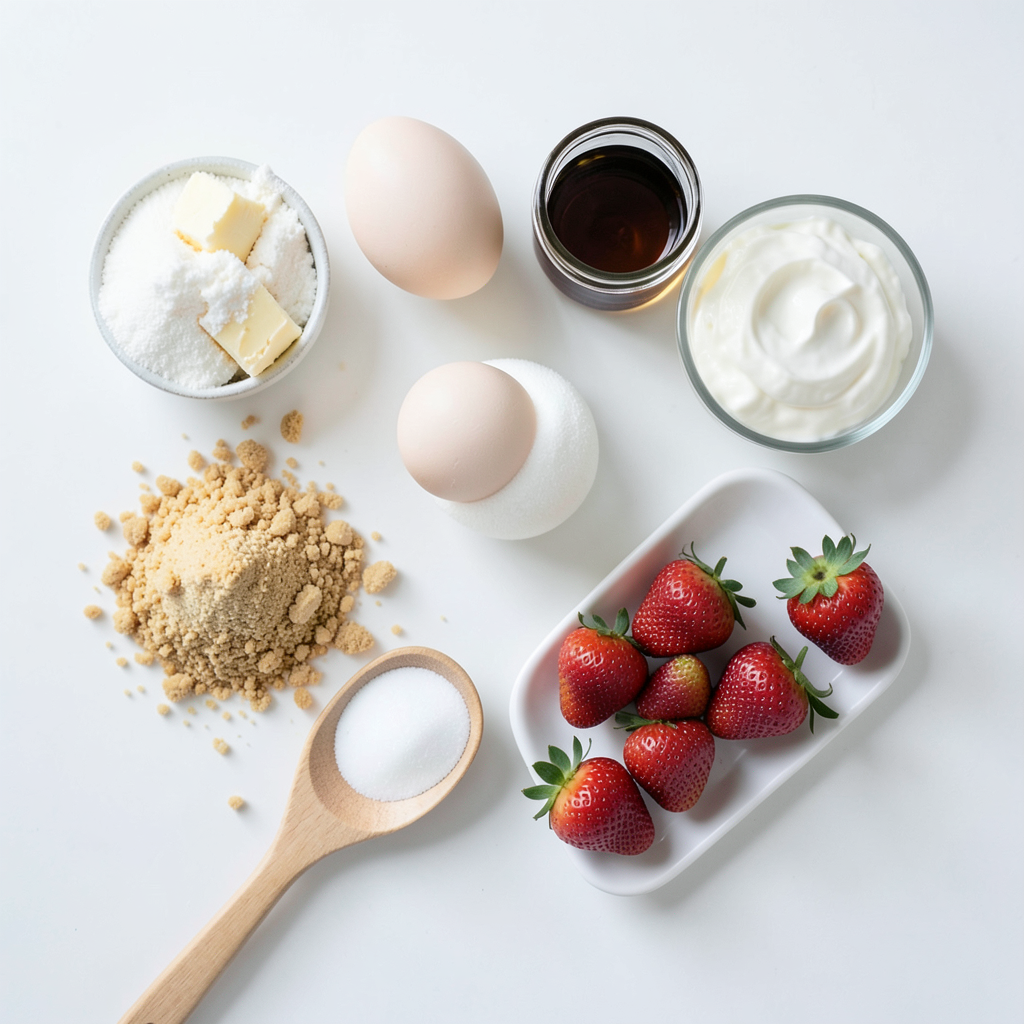
Ingredients
Main Ingredients for Strawberry Shortcake Cheesecake Bars
- 1 ½ cups graham cracker crumbs
- ½ cup unsalted butter, melted
- 1 cup sugar, divided
- 2 cups cream cheese, softened
The base of our cheesecake bars starts with graham cracker crumbs. They give a sweet crunch. You’ll mix these crumbs with melted butter and sugar. This creates a tasty crust. Press this mixture into your baking pan firmly. This step is key to getting a nice, sturdy base for your bars.
Cream cheese is the star of the cheesecake filling. It needs to be soft, so take it out of the fridge ahead of time. Beat it until smooth. Gradually add your sugar, mixing until it is creamy. This will form the rich layer we all love.
Additional Ingredients
- 2 large eggs
- 1 teaspoon vanilla extract
- 1 cup sour cream
- 1 cup fresh strawberries, hulled and chopped
Next, you’ll add eggs one at a time to the cream cheese mix. This helps create a light and fluffy texture. Vanilla extract adds a lovely flavor. Sour cream enriches the filling, making it creamy and tangy.
Chop fresh strawberries and fold them gently into the filling. Be careful not to mash them too much. This adds a burst of fruity flavor throughout the bars.
Optional Toppings
- Whipped cream
- More fresh strawberries for garnish
To serve, you can top your cheesecake bars with whipped cream. This adds a nice light touch. Fresh strawberries also make a great garnish. They look pretty and taste great!
Step-by-Step Instructions
Preparing the Crust
1. Preheat your oven to 325°F (163°C). Line a 9x9 inch baking pan with parchment paper. Leave some paper hanging over the edges for easy removal later.
2. In a bowl, mix 1 ½ cups graham cracker crumbs, ½ cup melted butter, and ¼ cup sugar. Stir until everything is well mixed and crumbly.
3. Press the mixture firmly into the bottom of the pan. Bake for 10 minutes. Let the crust cool for a bit after baking.
Making the Cheesecake Filling
1. In a large bowl, beat 2 cups of softened cream cheese until smooth. Gradually add ¾ cup sugar and mix until creamy.
2. Add 2 large eggs one at a time. Mix well after each egg. Then stir in 1 teaspoon vanilla extract, 1 cup sour cream, 2 tablespoons cornstarch, and ½ teaspoon lemon zest until it’s all smooth.
3. Gently fold in 1 cup of chopped strawberries. Be careful not to mash them too much as you mix.
Baking and Cooling
1. Pour the cheesecake mixture over the cooled crust. Spread it out evenly with a spatula.
2. Bake in the oven for 45-50 minutes. Look for the edges to be set, but the center should have a slight jiggle.
3. Turn off the oven and crack the door open. Let the cheesecake cool in the oven for an hour. This helps prevent cracks.
After cooling, chill the cheesecake bars in the fridge for at least 4 hours or overnight for the best flavor and texture.
Tips & Tricks
Achieving the Perfect Cheesecake Texture
To get a nice, creamy texture, use room temperature ingredients. Cold cream cheese does not blend well. Let it sit out for at least 30 minutes before mixing. This makes it smooth and easy to beat.
When you fold in the strawberries, be gentle. Use a spatula instead of a whisk. This keeps the strawberries whole. If you mash them too much, the filling will turn pink and watery.
Equipment for Success
For mixing, I recommend using a stand mixer. It makes beating the cream cheese easy and gets the right texture. A nine-inch square baking pan works best for this recipe.
When it's time to serve, a sharp knife helps cut clean bars. A spatula can help lift them from the pan without breaking.
Serving Suggestions
Top your cheesecake bars with whipped cream for extra flavor. Fresh strawberries on top add a nice touch.
These cheesecake bars are perfect for parties or picnics. They pair well with iced tea or lemonade. You can even serve them with a scoop of vanilla ice cream for a treat!
Pro Tips
- Use Room Temperature Ingredients: Ensure your cream cheese and eggs are at room temperature for a smoother batter and better incorporation of ingredients.
- Don’t Overmix: When incorporating the strawberries into the cheesecake mixture, fold gently to avoid breaking them down too much.
- Cool Gradually: Cracking can occur if the cheesecake cools too quickly. Allow it to cool gradually in the oven after baking.
- Chill Overnight: For the best texture and flavor, refrigerate the cheesecake bars overnight before slicing and serving.
Variations
Flavor Variations
You can change the fruit in your cheesecake bars. Try using blueberries or raspberries. These fruits add a fun twist and new flavors. If you want to mix flavors, add lemon or almond extract. A hint of lemon zest brightens the taste. Almond extract gives a warm and nutty flavor. These changes keep your cheesecake bars exciting!
Gluten-Free Alternatives
If you need gluten-free options, swap the graham crackers for gluten-free crumbs. Look for brands that match the taste. You can also adjust the sugar for dietary needs. Use a sugar substitute that works well in baking. This way, everyone can enjoy your delicious bars!
No-Bake Option
You can make these cheesecake bars without baking. Start with a no-bake crust using crushed cookies and butter. For the filling, use cream cheese, sugar, and whipped cream. Mix until smooth and creamy. Pour it over the crust and chill for a few hours. This gives you a rich and creamy treat without the oven!
Storage Info
Proper Storage Techniques
To store your cheesecake bars, place them in an airtight container. Keep them in the fridge. This keeps them fresh and tasty. Be sure to let them cool completely before storing.
If you want to freeze them, cut the bars first. Wrap each piece tightly in plastic wrap. Then, place them in a freezer bag. This way, they won’t stick together.
When you want to eat them, thaw the bars in the fridge overnight. This keeps the texture nice and creamy.
Shelf Life
In the fridge, these cheesecake bars last for about five days. Make sure to check for any changes before eating.
Watch for signs of spoilage. If you see mold or an off smell, it’s best to throw them away. Enjoy your delicious strawberry shortcake cheesecake bars fresh!
FAQs
What is the best way to slice cheesecake bars?
To slice cheesecake bars perfectly, use a sharp knife. Dip the knife in hot water. Wipe it dry with a towel between cuts. This method helps create clean and neat slices.
Can I make these cheesecake bars ahead of time?
Yes, you can make these cheesecake bars a day ahead. Simply bake and cool them. After cooling, cover them tightly and store in the fridge. This way, they will be ready for your event.
Are cheesecake bars gluten-free?
These cheesecake bars are not gluten-free. They use graham cracker crumbs, which contain gluten. For a gluten-free option, swap the graham crackers with gluten-free crumbs.
How do I prevent cheesecake from cracking?
To avoid cracks, cool the cheesecake slowly. After baking, crack the oven door open and let it cool inside for an hour. This gradual cooling helps keep your bars smooth and pretty.
Strawberry shortcake cheesecake bars are a delicious treat that combines rich flavors and great textures. We covered the key ingredients, step-by-step instructions, and helpful tips to guide you. You learned how to store them properly and explored variations to suit your taste.
With the right techniques, you can create a dessert that impresses everyone. Enjoy baking and sharing these tasty bars with friends and family! Your cheesecake adventure starts now!