


Latest & Greatest
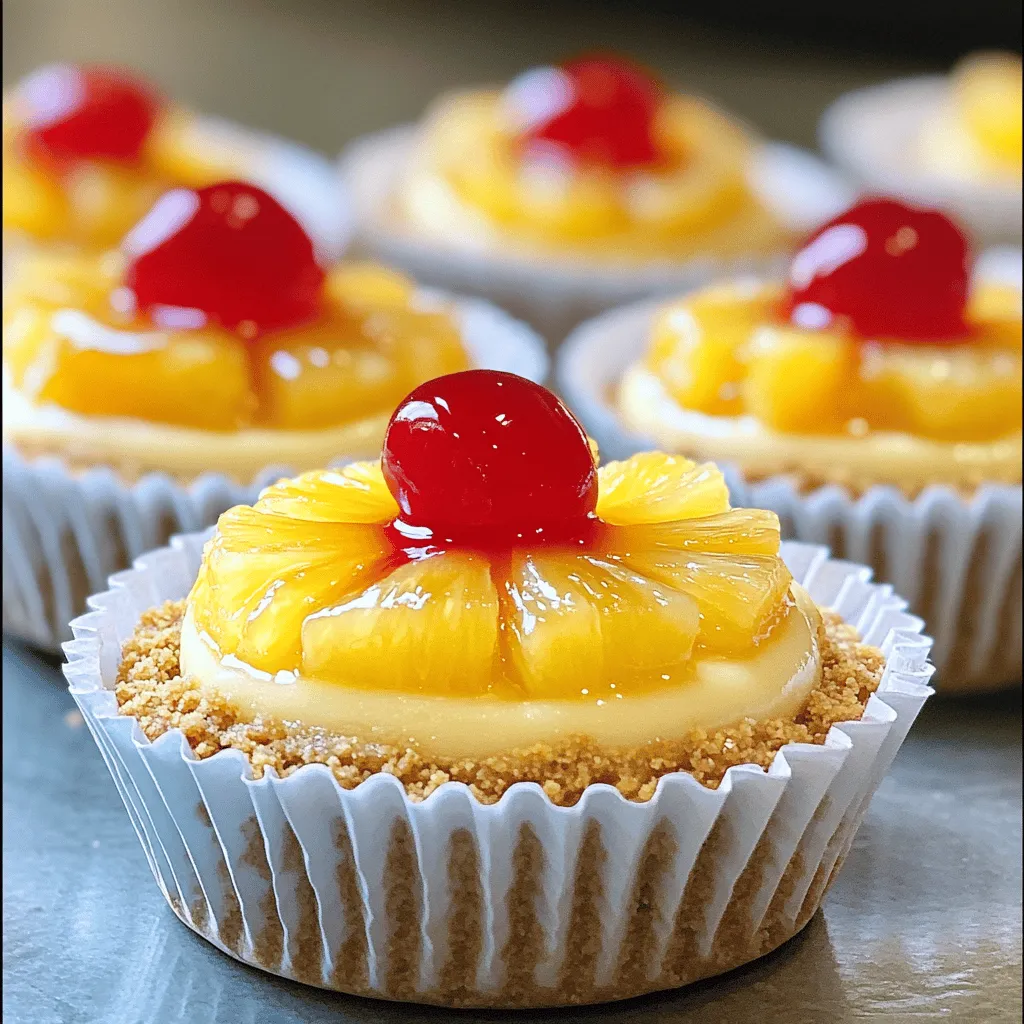
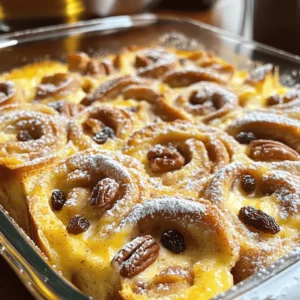
Mini Pineapple Upside-Down Cheesecakes Delight
Get ready for a treat with Mini Pineapple Upside-Down Cheesecakes! These delightful bites combine sweet pineapple with rich cheesecake for
Read more…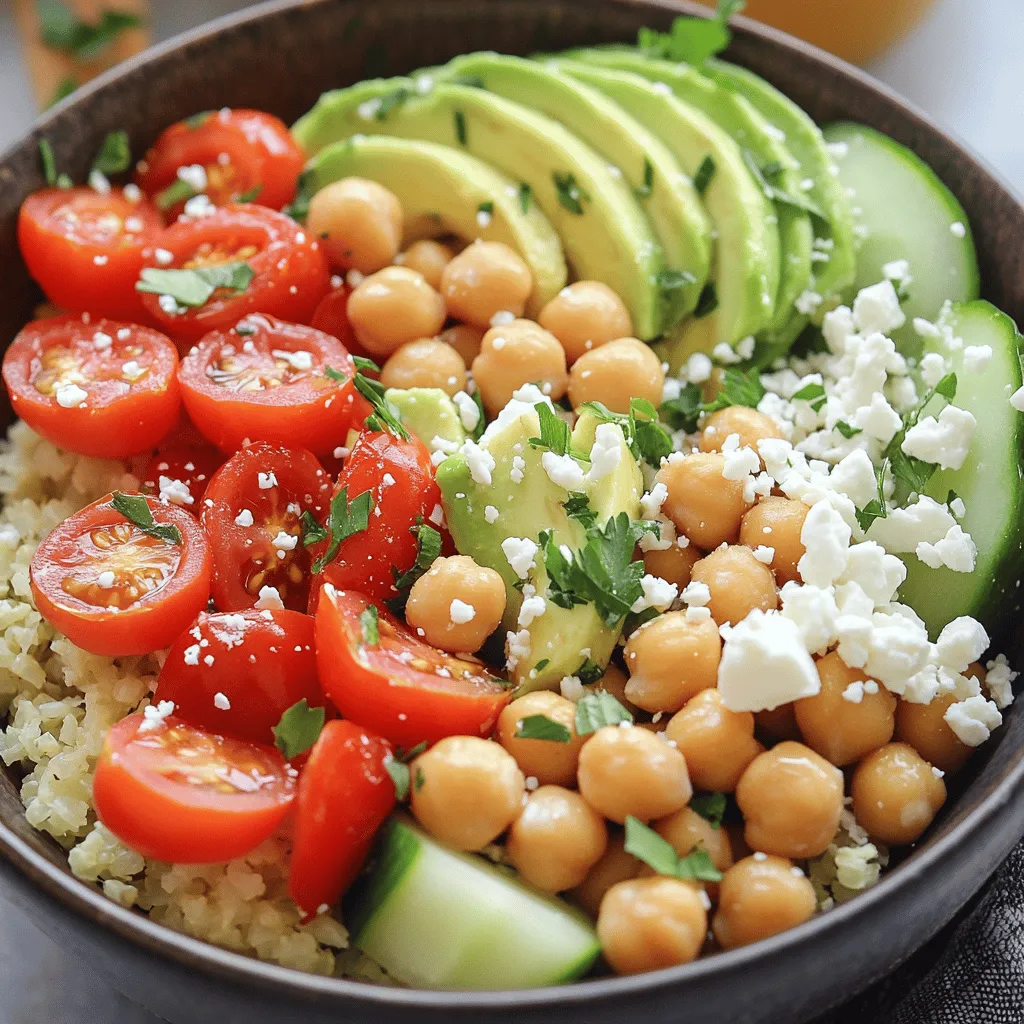
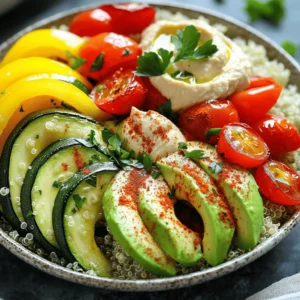
Cauliflower Rice Bowl Fresh and Flavorful Delight
Are you looking for a fresh and flavorful meal? Let me introduce you to the Cauliflower Rice Bowl! This dish
Read more…
Garlic Butter Chicken Savory and Simple Delight
Are you ready to spice up your dinner routine? In my latest post, Garlic Butter Chicken: Savory and Simple Delight,
Read more…
Creamy Smothered Chicken and Rice Simple Comfort Dish
Looking for a cozy meal that warms both the heart and belly? This Creamy Smothered Chicken and Rice dish is
Read more…
Creamy Chicken and Rice Flavorful Family Meal
Looking for a delicious and easy family meal? Creamy Chicken and Rice is the answer! This cozy dish brings warmth
Read more…
Peruvian Chicken with Creamy Green Sauce Delight
If you crave a dish bursting with flavor, you’re in for a treat! My Peruvian Chicken with Creamy Green Sauce
Read more…
Korean BBQ Meatballs with Spicy Mayo Delight
Get ready to wow your taste buds with my Korean BBQ Meatballs with Spicy Mayo Delight! These tasty meatballs blend
Read more…
S’mores Cookies Delightful Recipe for Sweet Treats
If you love sweet treats, you’ll adore my S’mores Cookies recipe! These soft, chewy cookies combine rich chocolate, gooey marshmallows,
Read more…browse recipes


. To keep your homemade granola bars fresh, store them in an airtight container. This helps prevent them from getting stale. You can use glass jars, plastic containers, or resealable bags. If you want to keep them extra fresh, place a piece of parchment paper between layers of bars. At room temperature, these bars last about one week. For longer storage, freeze them. Wrapped in plastic wrap or foil, they can last up to three months in the freezer. Just remember to thaw them at room temperature before enjoying. Check for signs of spoilage before eating. If the bars smell off or have a dry texture, it's time to toss them. Also, if you see mold or any weird spots, throw them away. Trust your senses; they are good guides for freshness. How to make granola bars without nut butter? You can use mashed bananas, applesauce, or tahini instead of nut butter. These options help bind the bars together like nut butter does. They also add moisture and flavor. Can I use different types of oats? Yes, you can use quick oats or steel-cut oats. Quick oats will make the bars softer. Steel-cut oats will give a chewier texture. Just note that cooking times may vary. What can I substitute for honey? Maple syrup or agave nectar works well as a honey substitute. Both add sweetness without changing the taste too much. You can also use brown rice syrup if you want a thicker texture. Are homemade granola bars healthier than store-bought? Yes, homemade bars often contain fewer added sugars and no preservatives. You can control the ingredients, making them healthier. Plus, you can add superfoods like seeds and dried fruit for extra nutrition. What is the calorie count for one bar? Each granola bar has about 150 calories. The exact count can change based on your ingredients and portion size. For a more precise number, consider the specific brands you use. Can I add protein powder? Absolutely! You can mix in protein powder to boost the protein content. Start with one scoop and adjust based on your taste. Just remember to increase the wet ingredients slightly to balance it out. How to make them less sweet? Cut down on honey or syrup by one-half. You can also add unsweetened coconut or nuts for flavor without extra sugar. This way, you can enjoy a tasty treat without too much sweetness. You can make delicious granola bars with simple ingredients and easy steps. First, we covered the key items needed and how to prepare your baking pan. Then, I shared tips for mixing, baking, and enhancing flavors. You can even try vegan and gluten-free options. Finally, I explained the best ways to store your bars for freshness. Enjoy your homemade granola bars as a healthy snack or on-the-go treat!](https://foodishtalk.com/wp-content/uploads/2025/06/b7713dad-fcf8-4a76-ae37-79b24d1ad4dc.webp)
Homemade Granola Bars Nutrient-Packed Easy Recipe
Are you tired of store-bought snacks loaded with sugar? Let’s change that! I’m sharing my easy, nutrient-packed homemade granola bars recipe. This simple guide…
My Latest Desserts

Mini Vanilla Cream Tarts with Raspberries Delight
Welcome to the sweet world of Mini Vanilla Cream Tarts with Raspberries! Today, I’ll show you how to make these Read Full Recipe-
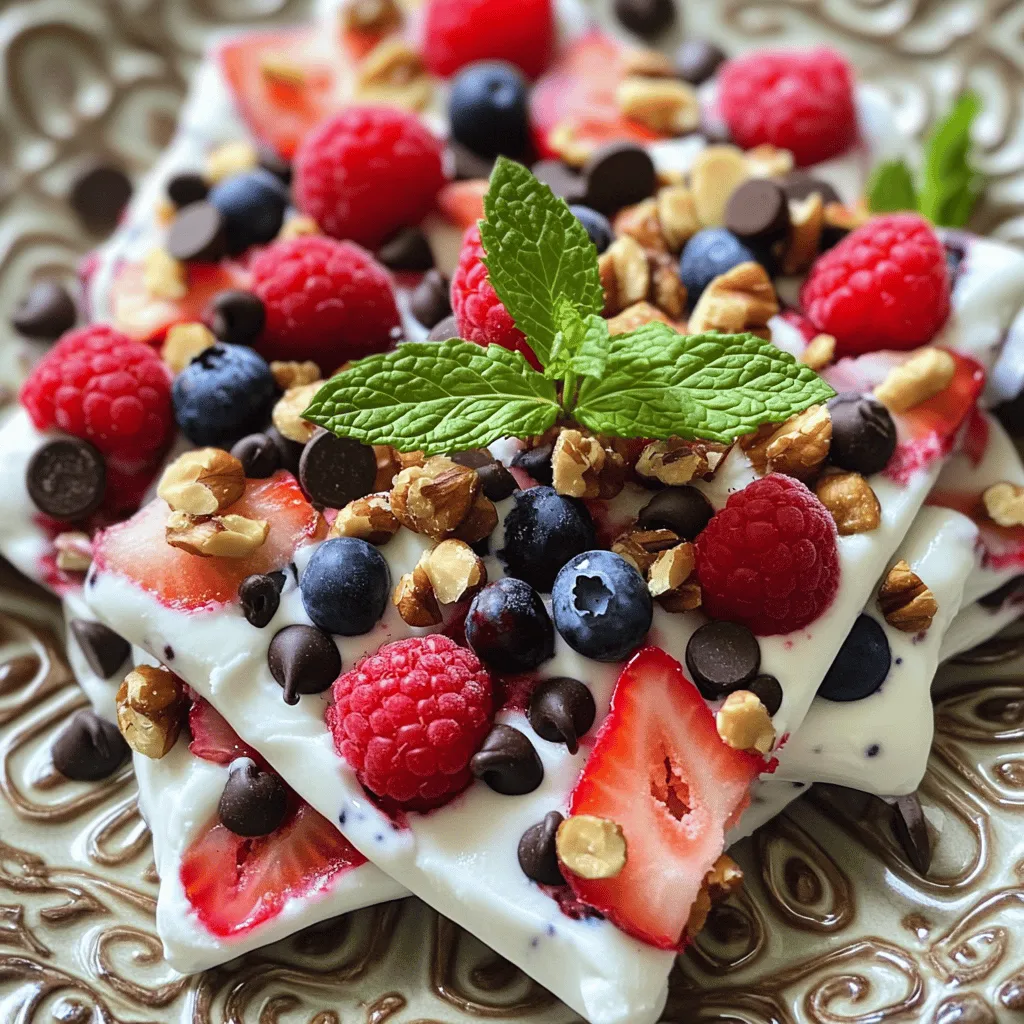
Frozen Yogurt Bark Delightful and Simple Treat
If you’re looking for a quick, tasty treat, frozen yogurt bark is a winner. It’s easy to make and fun Read Full Recipe -
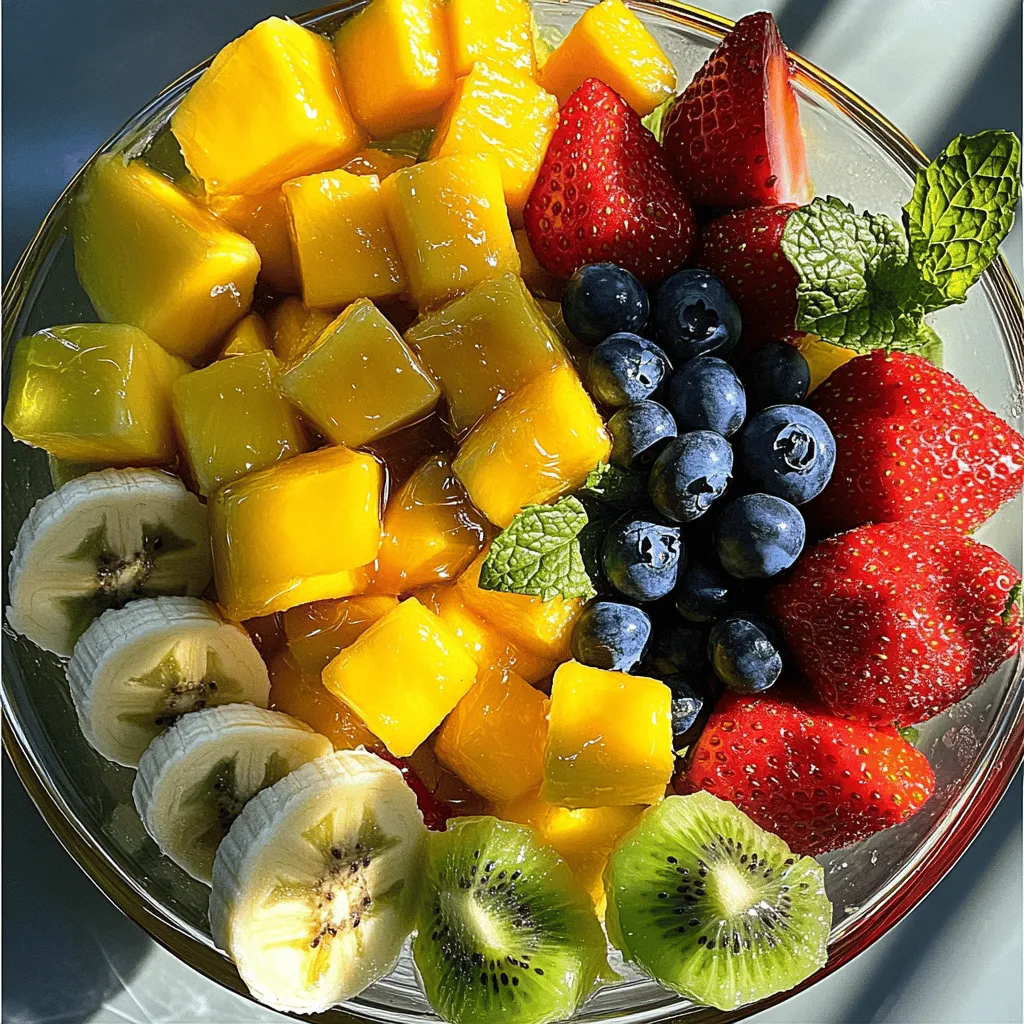
Fruit Salad with Honey Lime Dressing Easy Recipe
Looking for a fresh and easy treat? This Fruit Salad with Honey Lime Dressing is the perfect choice. Bursting with Read Full Recipe -
Blueberry Cheesecake Bars Simple and Delicious Treat
Looking for a dessert that’s easy to make and bursting with flavor? You’ve found it! These Blueberry Cheesecake Bars are Read Full Recipe -
Lemon Cheesecake Crumb Bars Delightful and Fresh Treat
Are you ready to brighten your day with a sweet treat? These Lemon Cheesecake Crumb Bars combine creamy cheesecake with Read Full Recipe -
Blueberry Heaven Cookies Irresistible Sweet Treat
Welcome to your new favorite cookie recipe! Blueberry Heaven Cookies are the perfect blend of sweet and tart, making them Read Full Recipe -
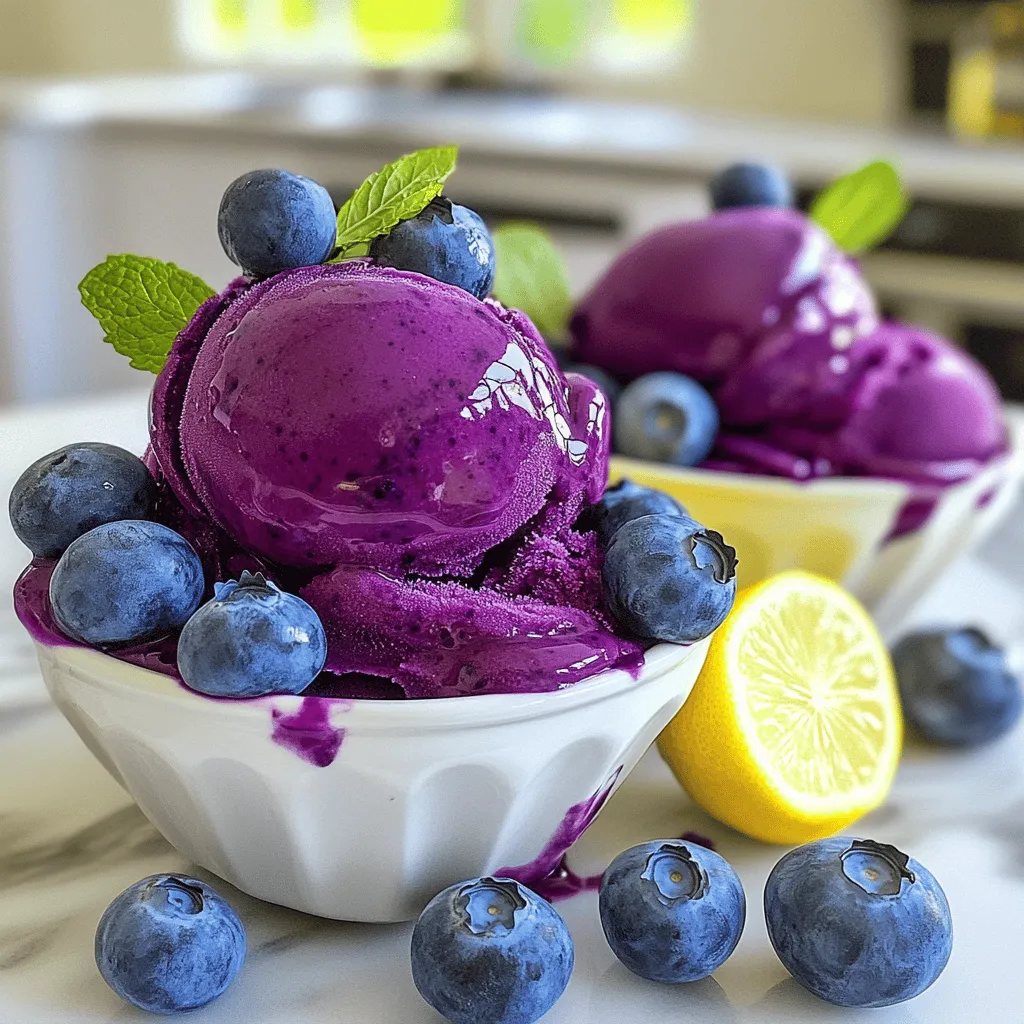
Lemon Blueberry Sorbet Fresh and Refreshing Delight
Cool off with a bowl of Lemon Blueberry Sorbet! This sweet, tangy treat is perfect for hot days. You only Read Full Recipe -
Lemon Blueberry Cupcakes Delightful and Light Treat
Are you ready to indulge in a sweet treat that brightens your day? These Lemon Blueberry Cupcakes are just what Read Full Recipe -
Blueberry Cheesecake Cookies Delightful and Easy Recipe
If you love the sweet and tangy combo of blueberry cheesecake, you’re in for a treat! I’ll show you how Read Full Recipe -
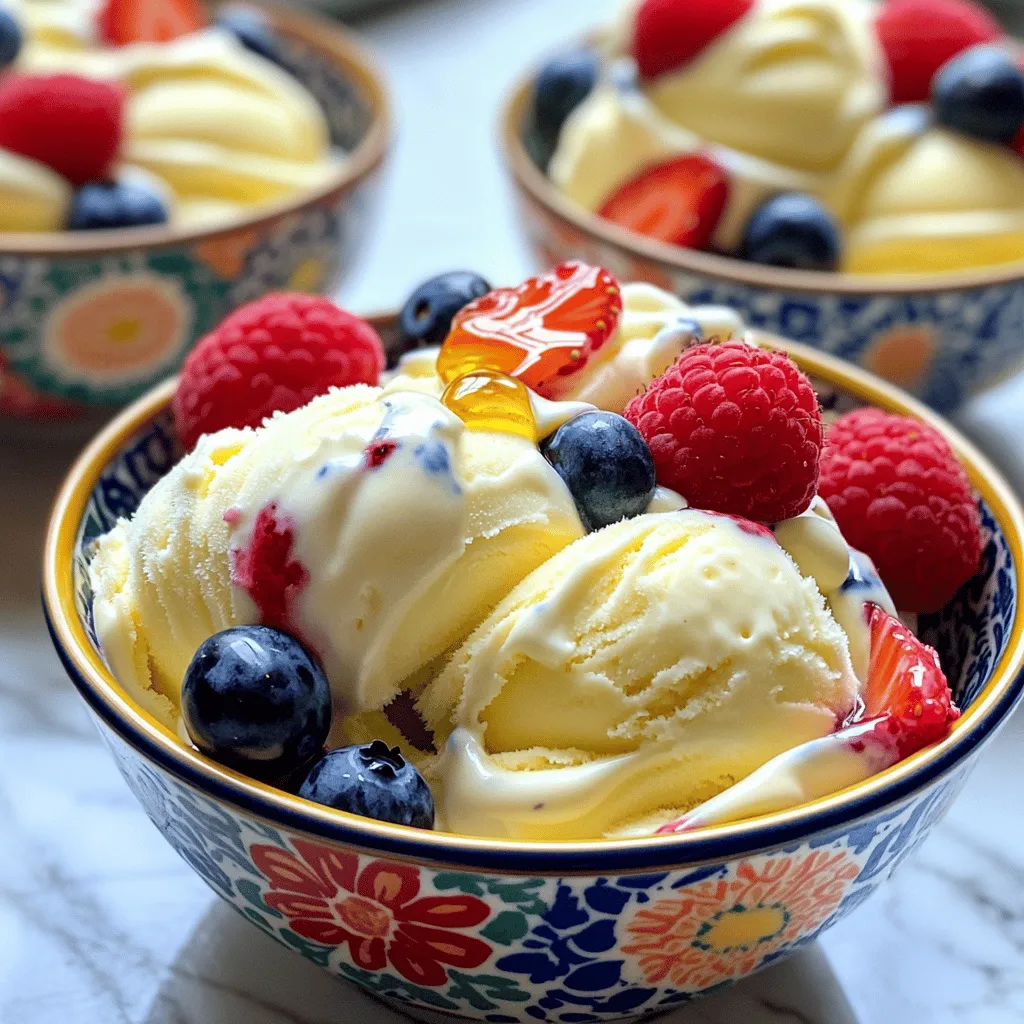
Greek Yogurt Ice Cream Creamy and Simple Delight
Looking for a cool treat that’s both delicious and easy to make? Greek yogurt ice cream is your answer! This Read Full Recipe


hey,
i’m !
I’m so happy you’re here!
I pour heart and skill into every recipe I create. I know you’ll taste the difference now let’s enjoy this flavorful adventure together.


Lemon Blueberry Zucchini Bread Easy and Tasty Recipe
Have you ever tried making Lemon Blueberry Zucchini Bread? If not, you’re in for a treat! This easy recipe combines fresh flavors and wholesome…
![- 1 medium zucchini, grated - 1 cup fresh blueberries (or frozen) - 1 cup all-purpose flour - 1 cup whole wheat flour - 1 teaspoon baking powder - 1/2 teaspoon baking soda - 1/2 teaspoon salt - 1 teaspoon ground cinnamon - 1/2 cup vegetable oil - 1 cup granulated sugar - 2 large eggs - Zest of 1 lemon - 2 tablespoons lemon juice - 1 teaspoon vanilla extract To make Lemon Blueberry Zucchini Bread, gather these key ingredients. The zucchini gives moisture. Blueberries add sweetness and flavor. The mix of all-purpose and whole wheat flours provides a nice texture. Baking powder and baking soda help it rise. Salt and cinnamon enhance the taste. Vegetable oil keeps it moist. Sugar adds sweetness, while eggs bind everything together. The lemon zest and juice brighten the flavor. Finally, vanilla gives a lovely aroma. - Nuts (walnuts, pecans) - Seeds (chia, flaxseed) - Spices (nutmeg, ginger) - Glazes (lemon glaze, cream cheese frosting) - Toppings (powdered sugar, lemon zest) You can elevate your bread with optional ingredients. Adding nuts or seeds boosts nutrition. They also add crunch. Spices like nutmeg or ginger can bring warmth. A lemon glaze or cream cheese frosting can make it sweeter and richer. Toppings like powdered sugar or extra lemon zest make it look fancy. - 1 cup = 240 mL - 1 teaspoon = 5 mL - 1 tablespoon = 15 mL When measuring, you can convert to metric units. This helps if you're using different measuring tools. For example, 1 cup equals 240 mL. If you need more or less, adjust the amounts. Use these conversions to keep your baking accurate. 1. First, preheat your oven to 350°F (175°C). This helps the bread bake evenly. 2. Prepare a 9x5 inch loaf pan. You can grease it with butter or use parchment paper for easy removal. 3. In a medium bowl, mix the all-purpose flour and whole wheat flour. Add baking powder, baking soda, salt, and cinnamon. Stir well and set aside. 1. In a large bowl, whisk together vegetable oil and sugar. Make sure they blend well. 2. Next, add the eggs, lemon zest, lemon juice, and vanilla extract. Whisk until smooth. 3. Now, fold in the grated zucchini gently. Add the blueberries, being careful not to burst them. 4. Gradually mix the dry ingredients into the wet ingredients. Stir until just combined. Avoid overmixing for a light bread. 1. Pour the batter into your prepared loaf pan. Spread it evenly with a spatula. 2. Bake in the preheated oven for 55-60 minutes. Check with a toothpick; it should come out clean when done. 3. When baked, remove the bread from the oven. Let it cool in the pan for 10 minutes. Transfer it to a wire rack to cool completely. This Lemon Blueberry Zucchini Bread is simple and full of flavor! For the full recipe, check out the details above. Enjoy your baking! To make great lemon blueberry zucchini bread, avoid overmixing your batter. When you mix too much, the bread can turn tough. Stir just until combined. This keeps the texture light and fluffy. Moisture is key for this bread. Grated zucchini adds moisture naturally. Make sure to squeeze out excess water after grating. Too much water can make the bread soggy. Adjusting sweetness is easy. If you like it sweeter, add more sugar. If you prefer less sweetness, cut back. Taste the batter before baking to find your perfect balance. Using fresh blueberries is best, but frozen blueberries work too. If you use frozen, do not thaw them. Adding them straight from the freezer helps keep the bread from turning blue. If your bread sinks in the middle, it could be underbaked. Always check with a toothpick. If it comes out clean, your bread is done. To prevent burning, keep an eye on your oven temperature. If the top browns too fast, cover it with foil. This protects the bread while it finishes baking. For the full recipe, check the section above. {{image_2}} You can make this lemon blueberry zucchini bread your own with fun add-ins. - Nuts: Add walnuts or pecans for extra crunch. They bring a nice flavor too. - Other fruits: Try cranberries or raspberries for a twist. These fruits add more color and taste. You can easily adjust this recipe for special diets. - Gluten-free versions: Use gluten-free flour instead of regular flour. This change keeps the bread light and tasty. - Low-sugar alternatives: Substitute granulated sugar with a sugar alternative. Stevia or monk fruit work well, making it sweeter without extra calories. Feel free to change the flavors to match your taste. - Citrus blends: Mix in some orange or lime zest. This adds a fresh burst of flavor. - Spice variations: Consider adding nutmeg or ginger. These spices give warmth and depth to your bread. These variations let you customize your lemon blueberry zucchini bread. You can find the full recipe [Full Recipe] for the base to start experimenting! To keep your Lemon Blueberry Zucchini Bread fresh, store it properly. You have two options: room temperature or refrigeration. - Room Temperature Storage: Place the bread in an airtight container. It stays good for about 2-3 days at room temperature. Make sure it's cool before sealing. This keeps it moist. - Refrigeration Tips: If you want to keep it longer, put it in the fridge. Wrap it in plastic wrap or foil first. It will last for about a week. Just remember, refrigeration can change the texture a bit. If you want to enjoy this bread later, freezing is a great option. Here’s how to do it right. - Proper Wrapping Techniques: Wrap the cooled bread tightly in plastic wrap. Then, put it in a freezer bag or an airtight container. This helps prevent freezer burn. - Thawing Instructions: When you’re ready to eat it, take it out of the freezer. Leave it in the fridge overnight or let it sit at room temperature for a few hours. It will taste just as good as fresh. You want to enjoy your bread, not eat spoiled food. Here are some signs to look for. - Recognizing Mold and Off Odors: Check for any mold on the surface. If you see any, toss the bread. Also, if it smells sour or strange, that’s a red flag. - Best Before Dates: Always keep track of how long it's been stored. If it’s past a week in the fridge or a few months in the freezer, it’s safer to throw it away. To keep your Lemon Blueberry Zucchini Bread moist, follow these tips: - Use fresh zucchini. Grate it and squeeze out some water but not all. - Add a little extra oil. This helps add moisture. - Don’t overbake your bread. Check for doneness early. - Let the bread cool in the pan. This traps moisture. These steps help make sure your bread stays tender and delicious. Yes, you can use frozen zucchini. Here are some pros and cons: Pros: - It saves time. No need to grate fresh zucchini. - It can be more convenient. Frozen zucchini is often cheaper. Cons: - It may have more water. Drain it well before using. - Texture might be softer. This can change the final look of your bread. Using frozen zucchini can work well if you prepare it right. Yes, you can make this bread vegan. Here are some substitutes: - Use flax eggs. Mix 1 tablespoon of flaxseed meal with 2.5 tablespoons of water. - Swap vegetable oil for coconut oil or applesauce. This keeps it moist. - Replace regular sugar with coconut sugar or maple syrup. These changes help you enjoy the same tasty bread without animal products. To check if your bread is done, use a toothpick. Here’s how: - Insert a toothpick into the center of the bread. - If it comes out clean, your bread is ready. - Look for a golden color and a firm top. These signs tell you your Lemon Blueberry Zucchini Bread is perfectly baked. This blog post covered everything you need for Lemon Blueberry Zucchini Bread. We talked about essential and optional ingredients. You learned handy measurement conversions, step-by-step instructions, and baking tips. I shared variations and storage info, plus answers to common questions. Baking this bread can be fun and tasty. Don't hesitate to experiment with different ingredients or flavors. Enjoy your baking journey and the delicious results!](https://foodishtalk.com/wp-content/uploads/2025/06/5c64a64b-122f-4dcb-90c8-ccde213430b7.webp)
