Latest & Greatest
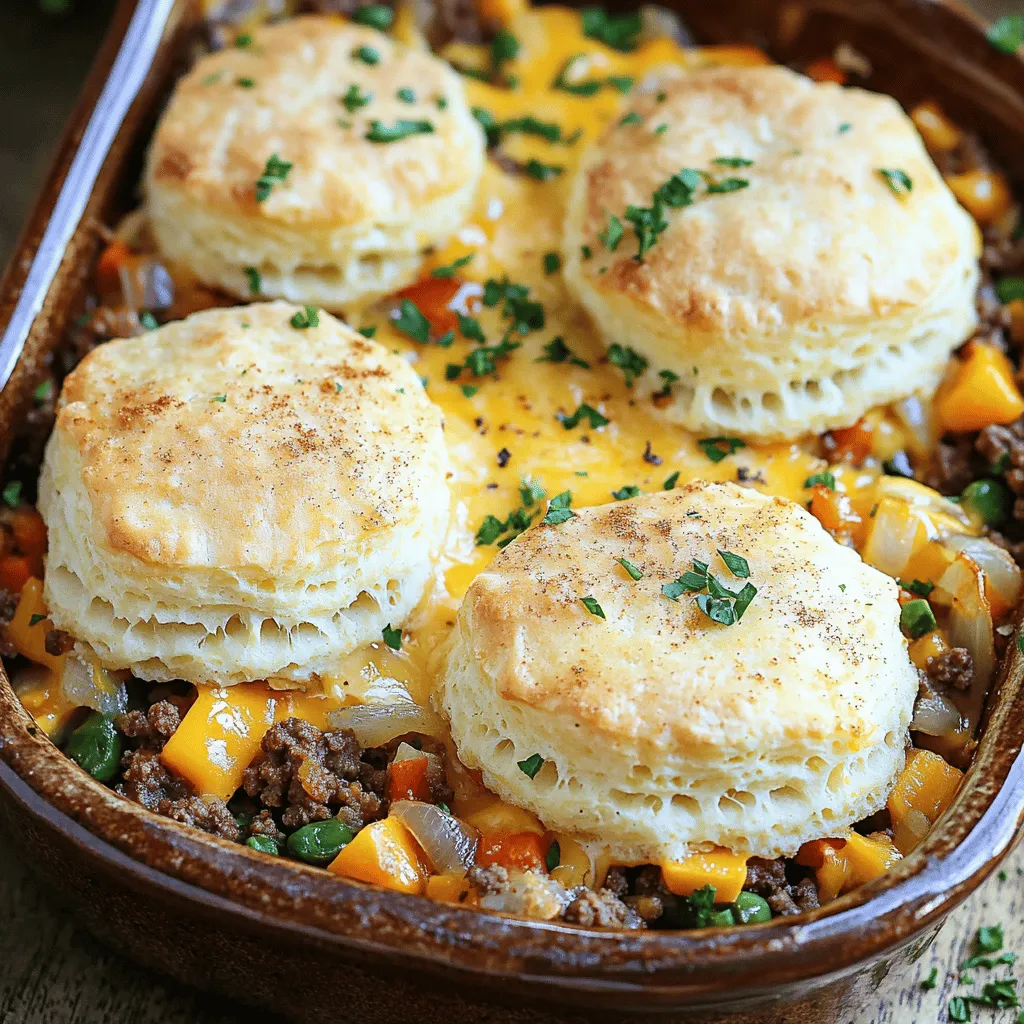
Cheddar Bay Ground Beef Cobbler Flavorful and Easy Meal
If you’re searching for a simple, tasty meal that delights your taste buds, you’ll love Cheddar Bay Ground Beef Cobbler.
Read more…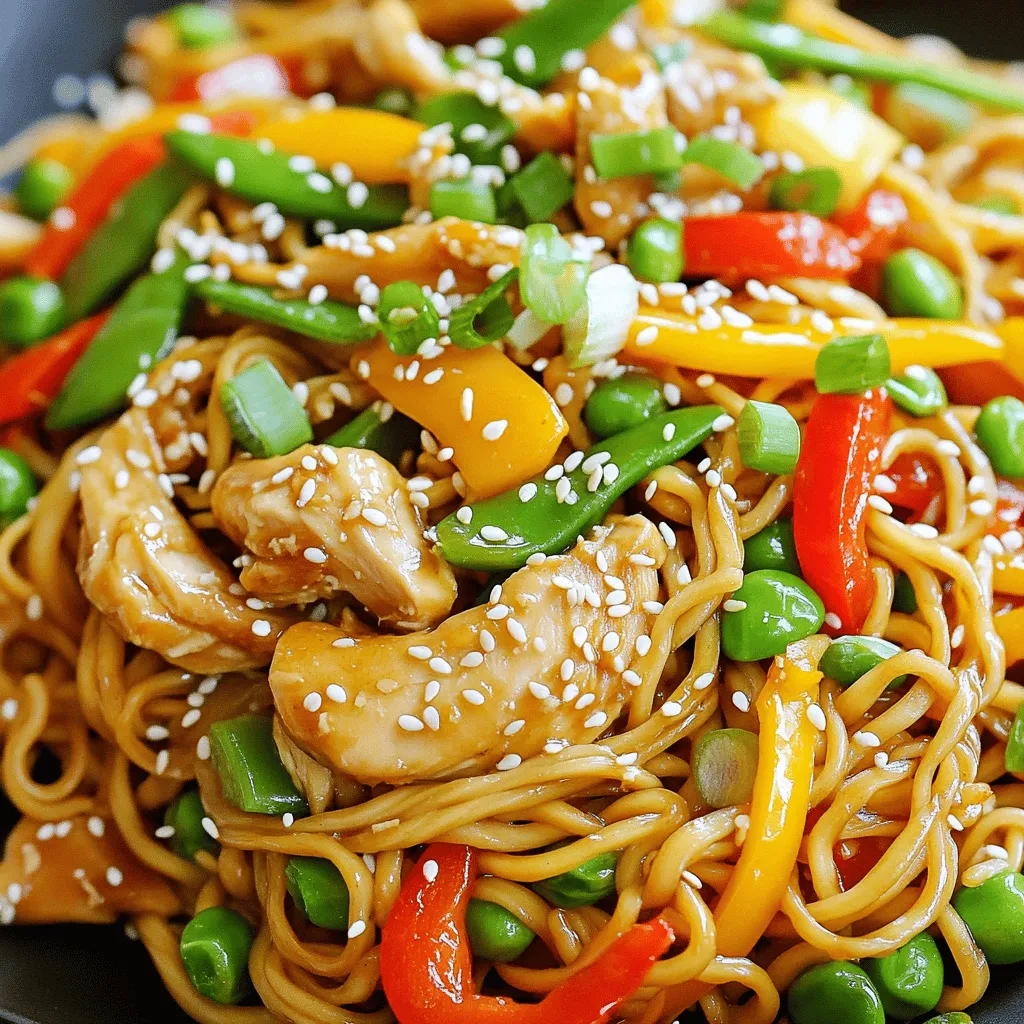
15-Minute Chicken Stir Fry Noodles Quick and Tasty Meal
Are you craving a quick and tasty meal? Look no further! This 15-Minute Chicken Stir Fry Noodles recipe will satisfy
Read more…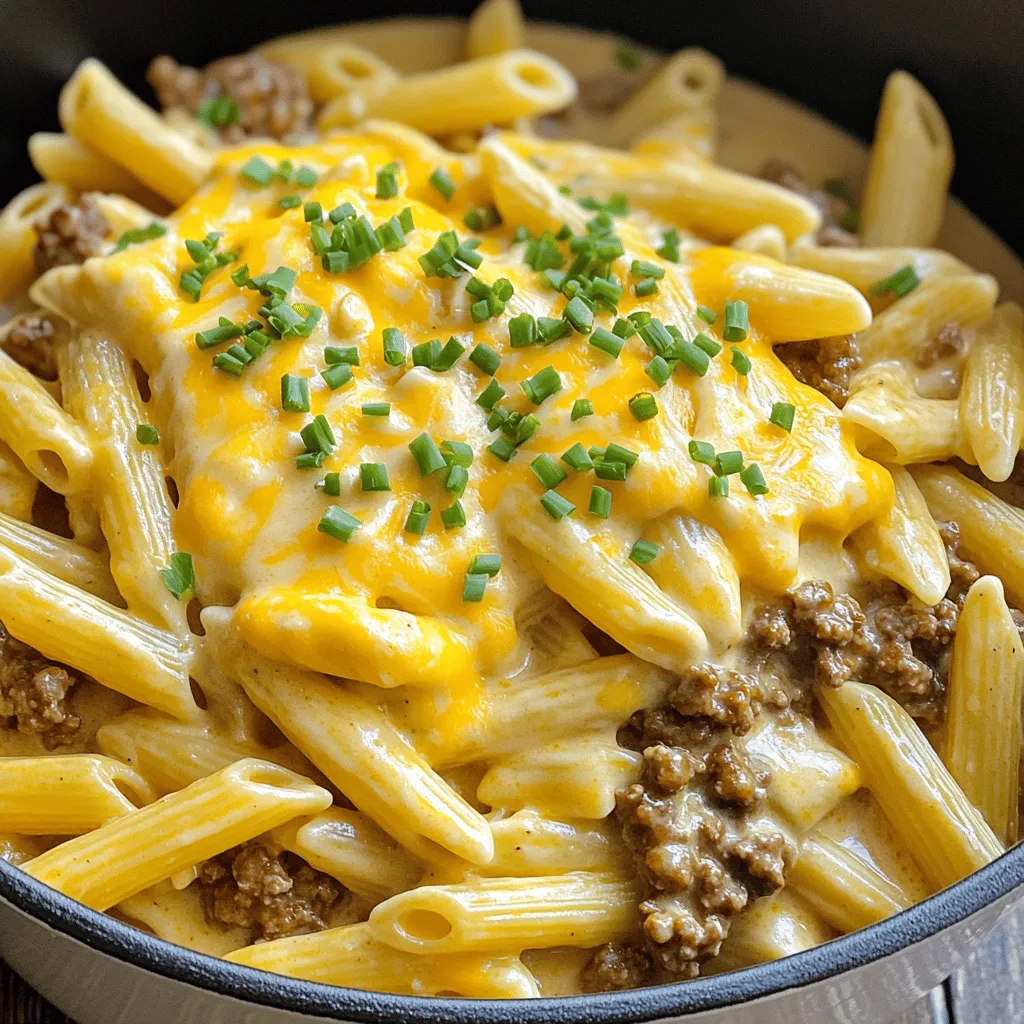
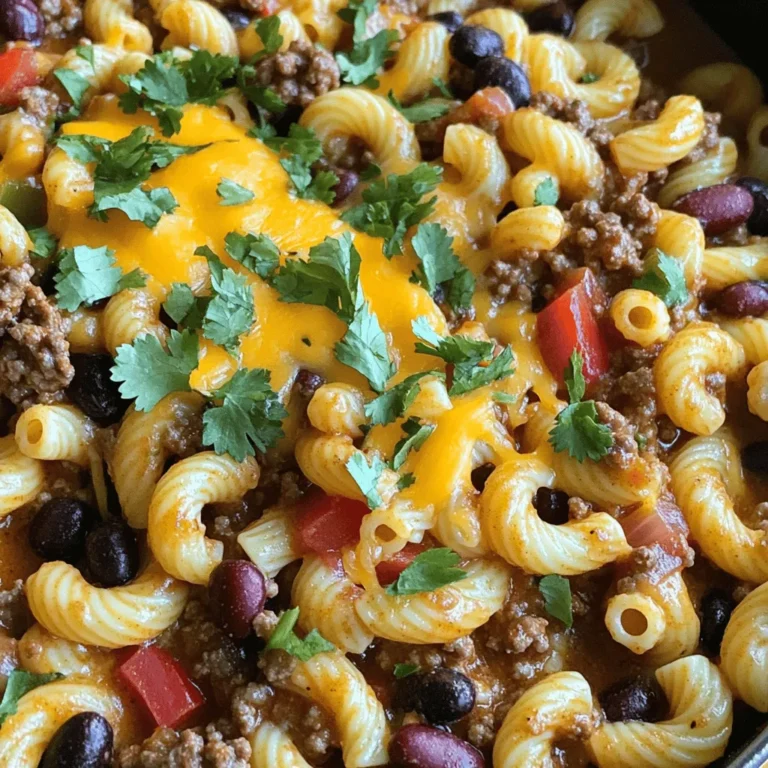
One-Pot Beef and Cheddar Ranch Pasta Simple Meal
Looking for an easy, delicious meal? I’ve got just the thing! This One-Pot Beef and Cheddar Ranch Pasta is simple
Read more…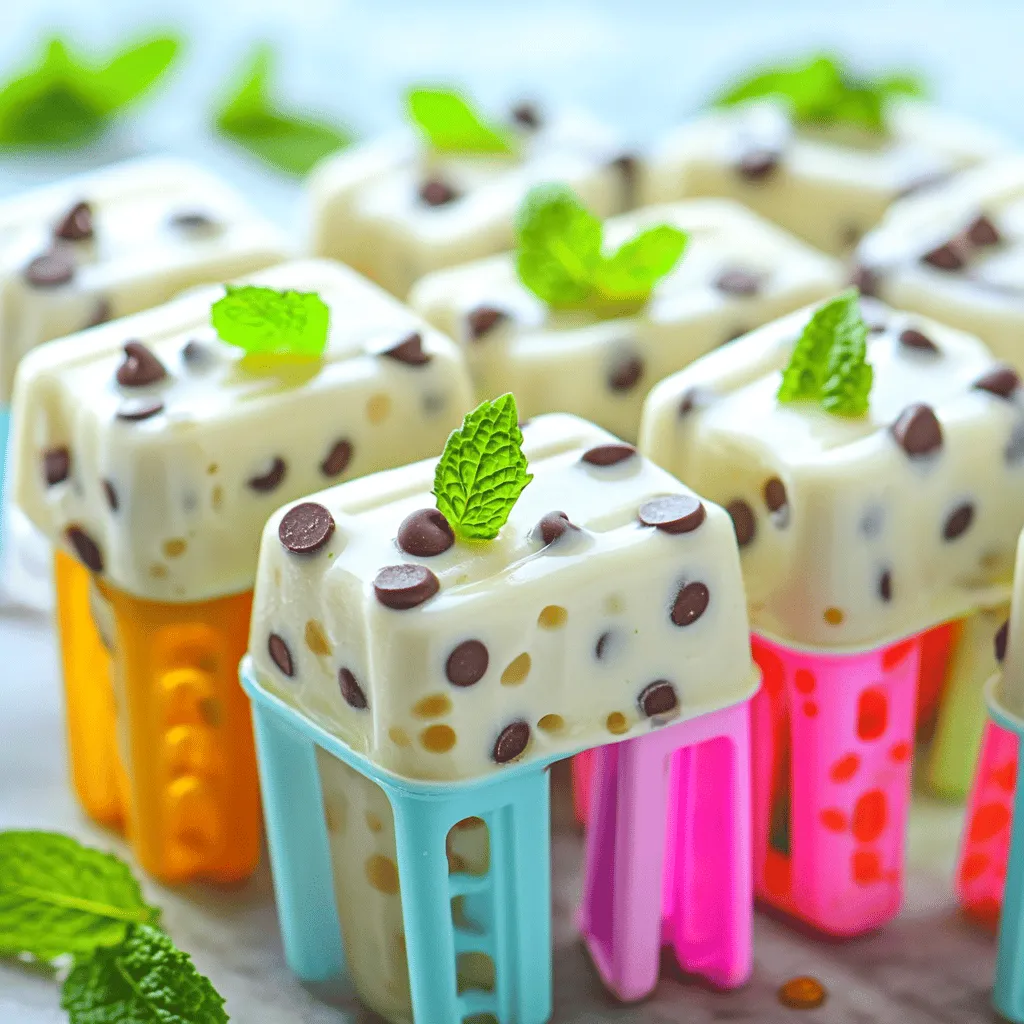
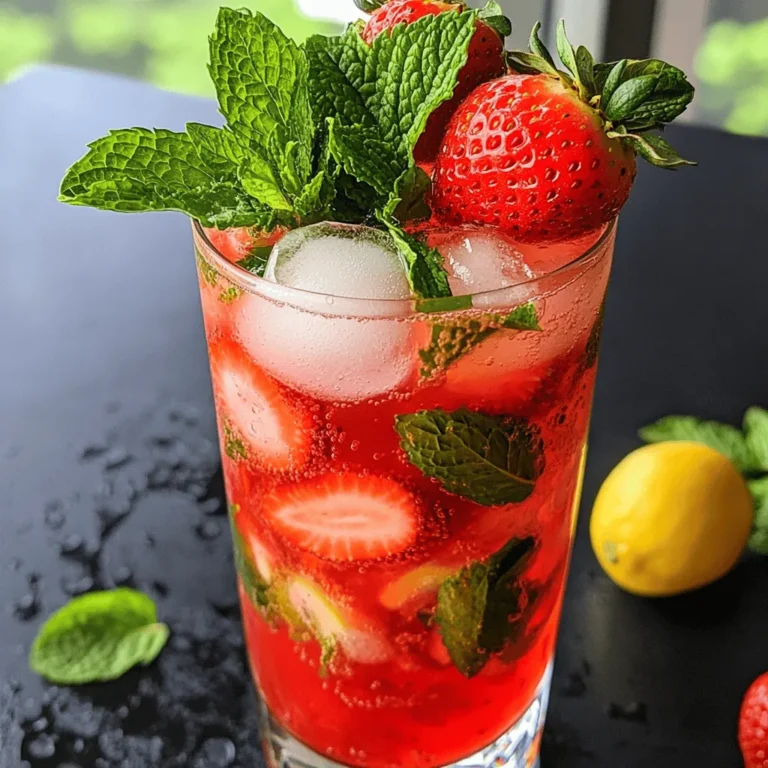
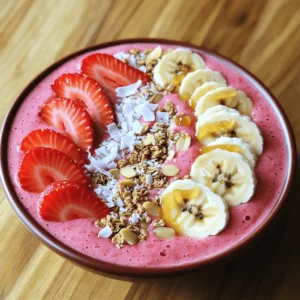
Chocolate Chip Mint Greek Yogurt Pops Delightful Treat
Indulge in a cool treat that’s both delicious and healthy! These Chocolate Chip Mint Greek Yogurt Pops are perfect for
Read more…
Garlic Chicken Puffs Tasty and Simple Snack Idea
Looking for a quick and tasty snack? These Garlic Chicken Puffs are your answer! With just a few simple ingredients,
Read more…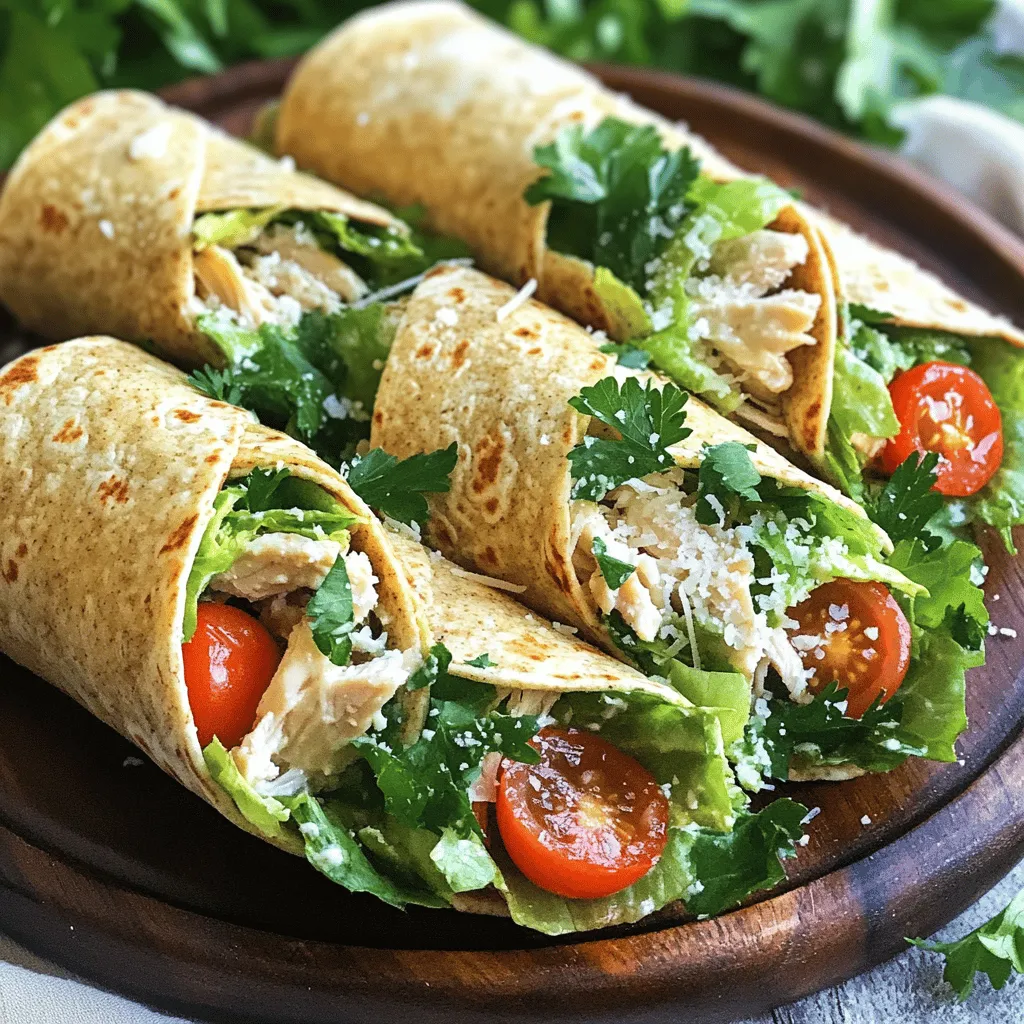
Savory Chicken Caesar Wrap Easy and Delicious Meal
Are you hungry for a quick, tasty meal? Let me introduce you to the Savory Chicken Caesar Wrap! This easy
Read more…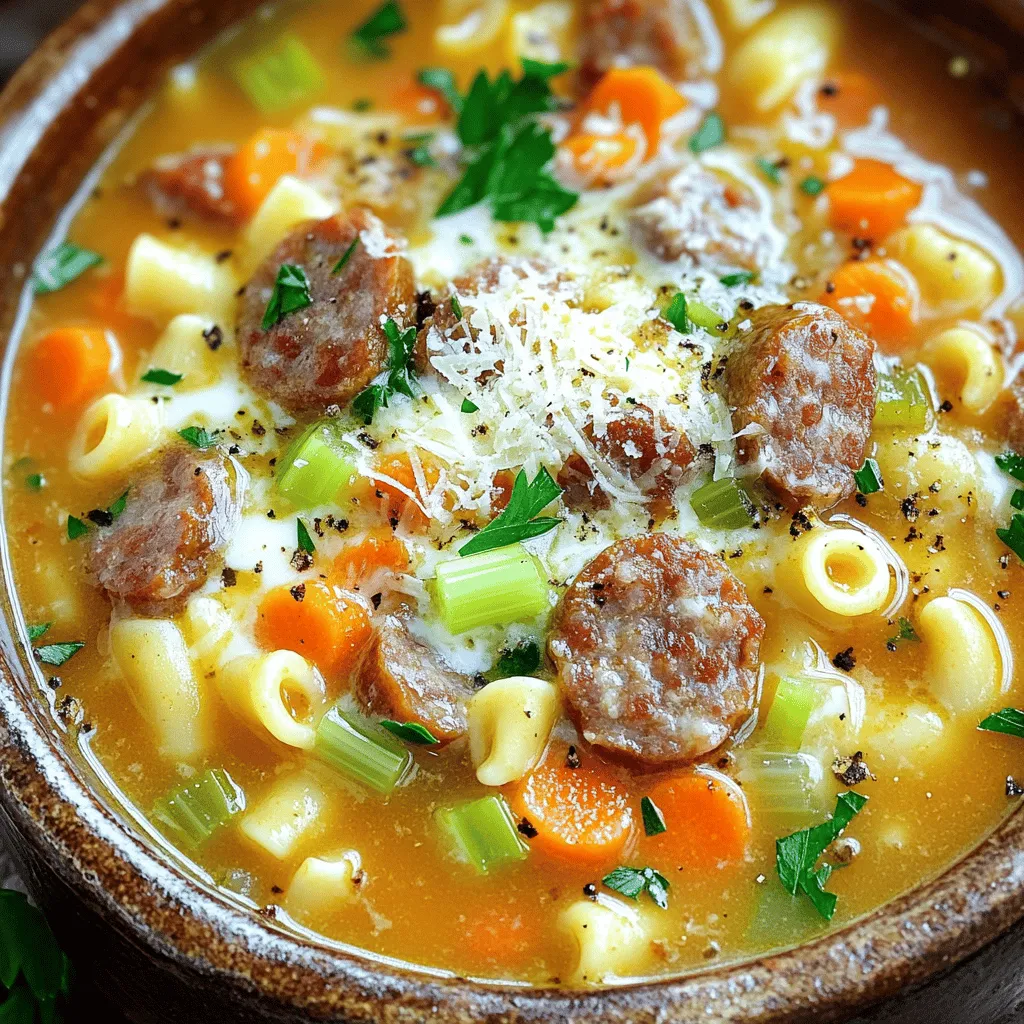
Creamy Parmesan Sausage Ditalini Soup Delightful Recipe
Looking for a warm, comforting dish that’s packed with flavor? This Creamy Parmesan Sausage Ditalini Soup is a delightful option
Read more…
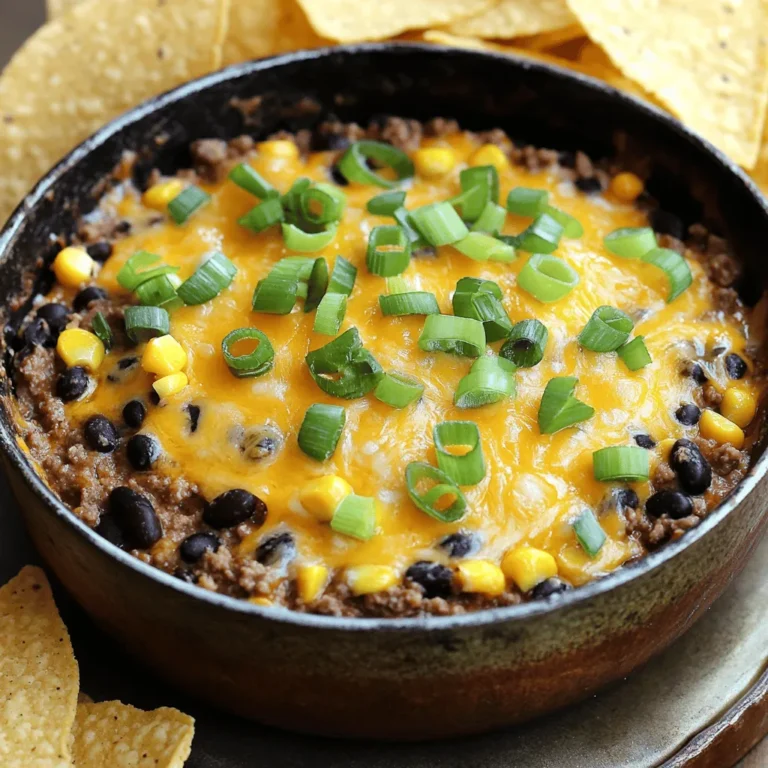
Meaty Texas Trash Dip Irresistible Flavor Experience
Get ready for a flavor blast with Meaty Texas Trash Dip! This creamy, hearty dip is a game-changer for your
Read more…browse recipes


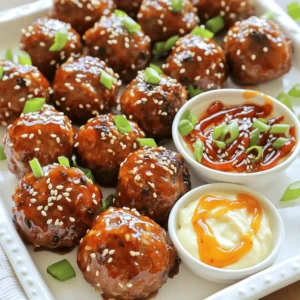
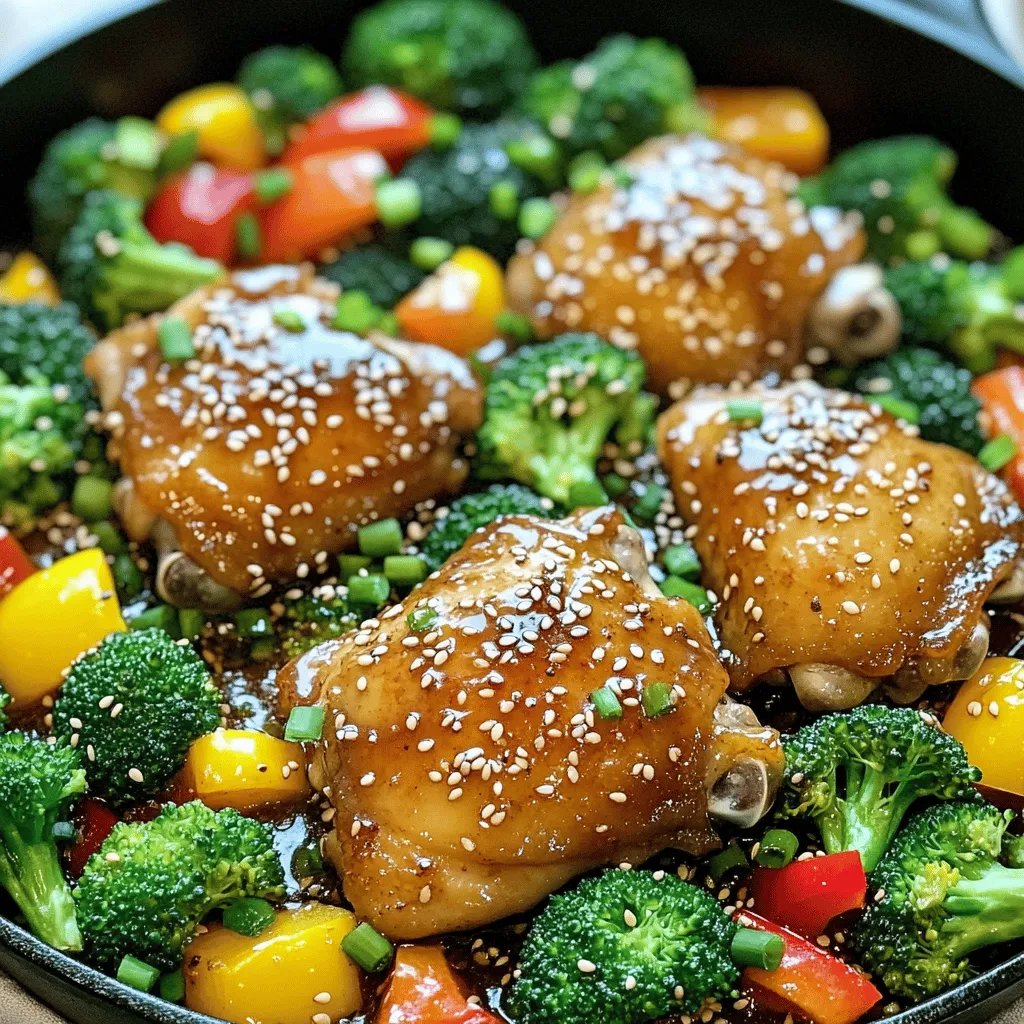
One Pan Honey Garlic Chicken Flavorful Weeknight Meal
Looking for a quick and tasty meal? One Pan Honey Garlic Chicken is your answer. This dish brings together tender chicken, vibrant veggies, and…
My Latest Desserts

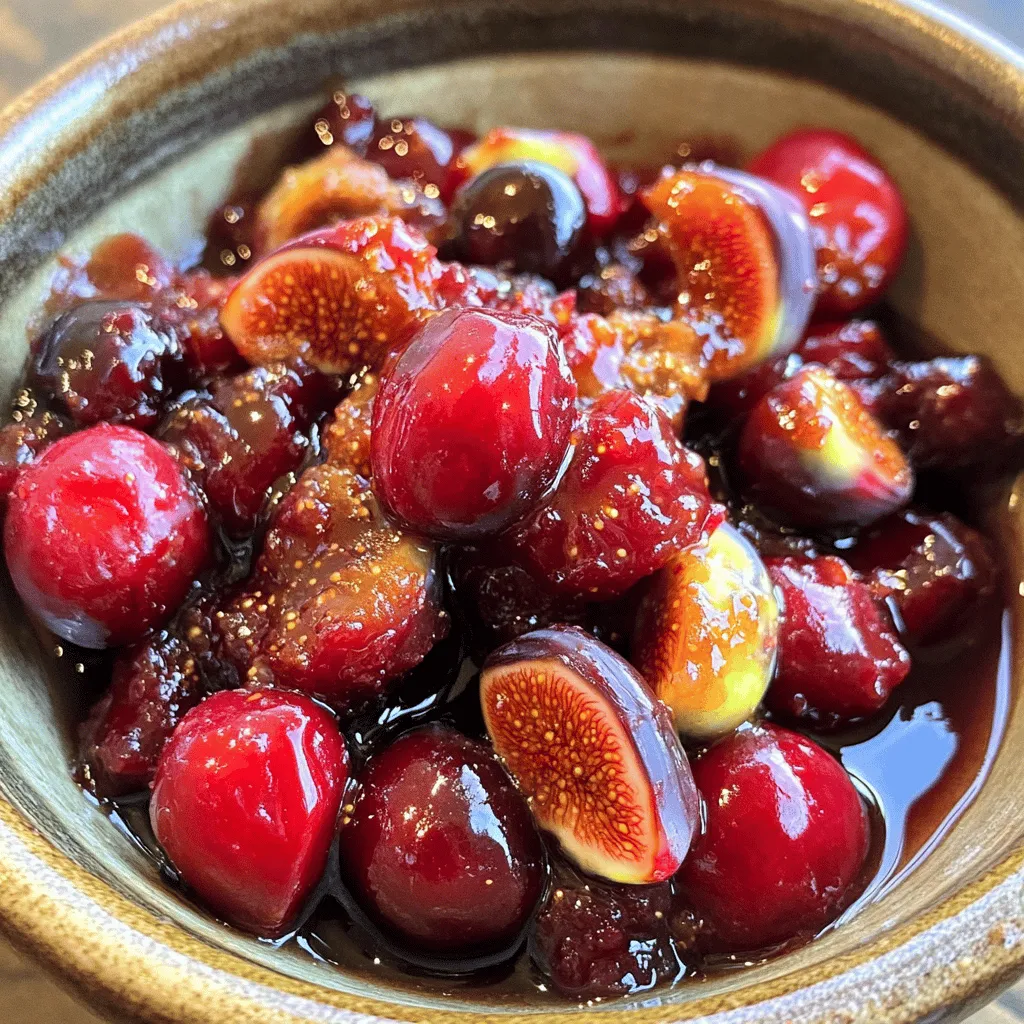
Ginger Fig Cherry Compote Flavorful and Easy Recipe
Are you ready to explore a dish that bursts with flavor? This Ginger Fig Cherry Compote is not only easy Read Full Recipe-
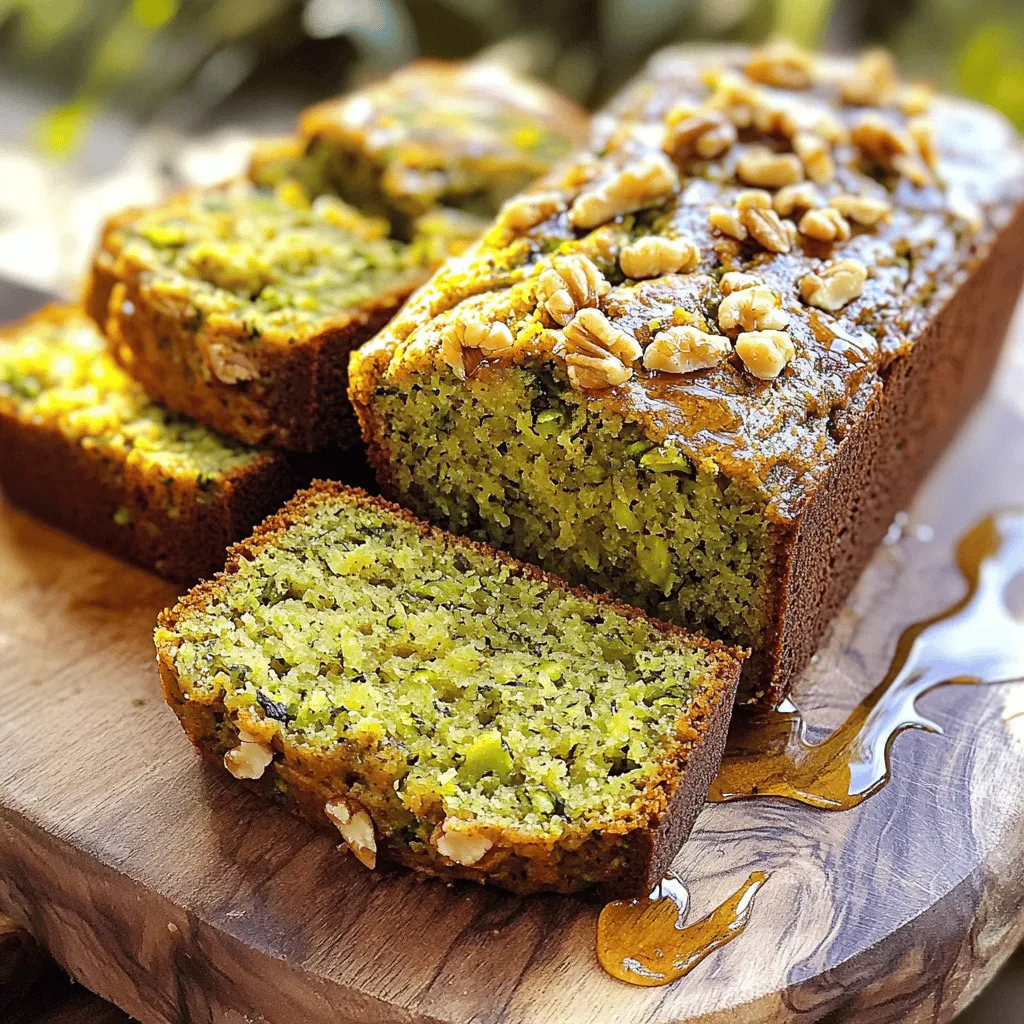
Zucchini Banana Bread Flavorful and Moist Recipe
Do you love warm, fresh bread that bursts with flavor? You’re in the right spot! This Zucchini Banana Bread recipe Read Full Recipe -
Fig Cake with Almond and Honey Delight Recipe
Are you ready to indulge in a delightful treat? My Fig Cake with Almond and Honey recipe combines rich flavors Read Full Recipe -
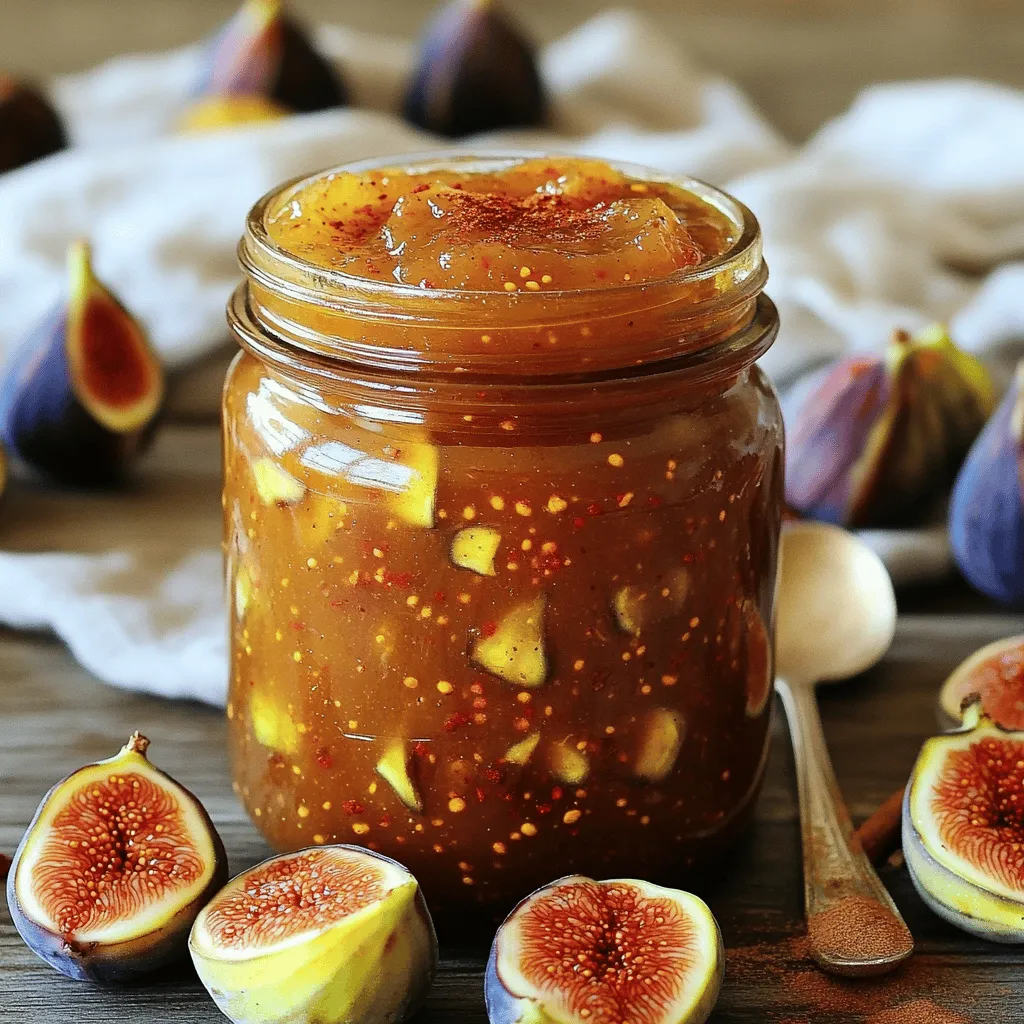
Simple Fig Jam Easy Recipe to Savor and Enjoy
Are you ready to make a burst of flavor with your next kitchen project? This Simple Fig Jam recipe is Read Full Recipe -
Mini Vanilla Cream Tarts with Raspberries Delight
Welcome to the sweet world of Mini Vanilla Cream Tarts with Raspberries! Today, I’ll show you how to make these Read Full Recipe -
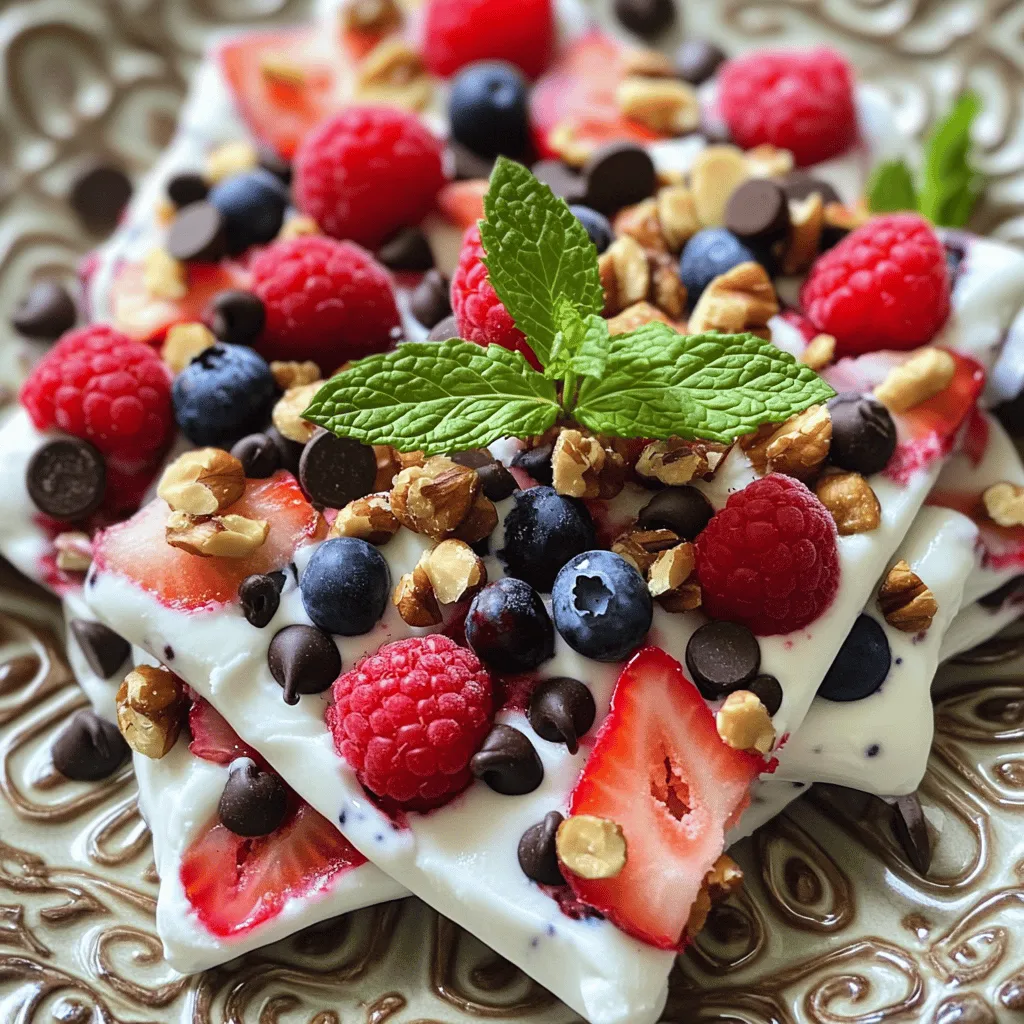
Frozen Yogurt Bark Delightful and Simple Treat
If you’re looking for a quick, tasty treat, frozen yogurt bark is a winner. It’s easy to make and fun Read Full Recipe -
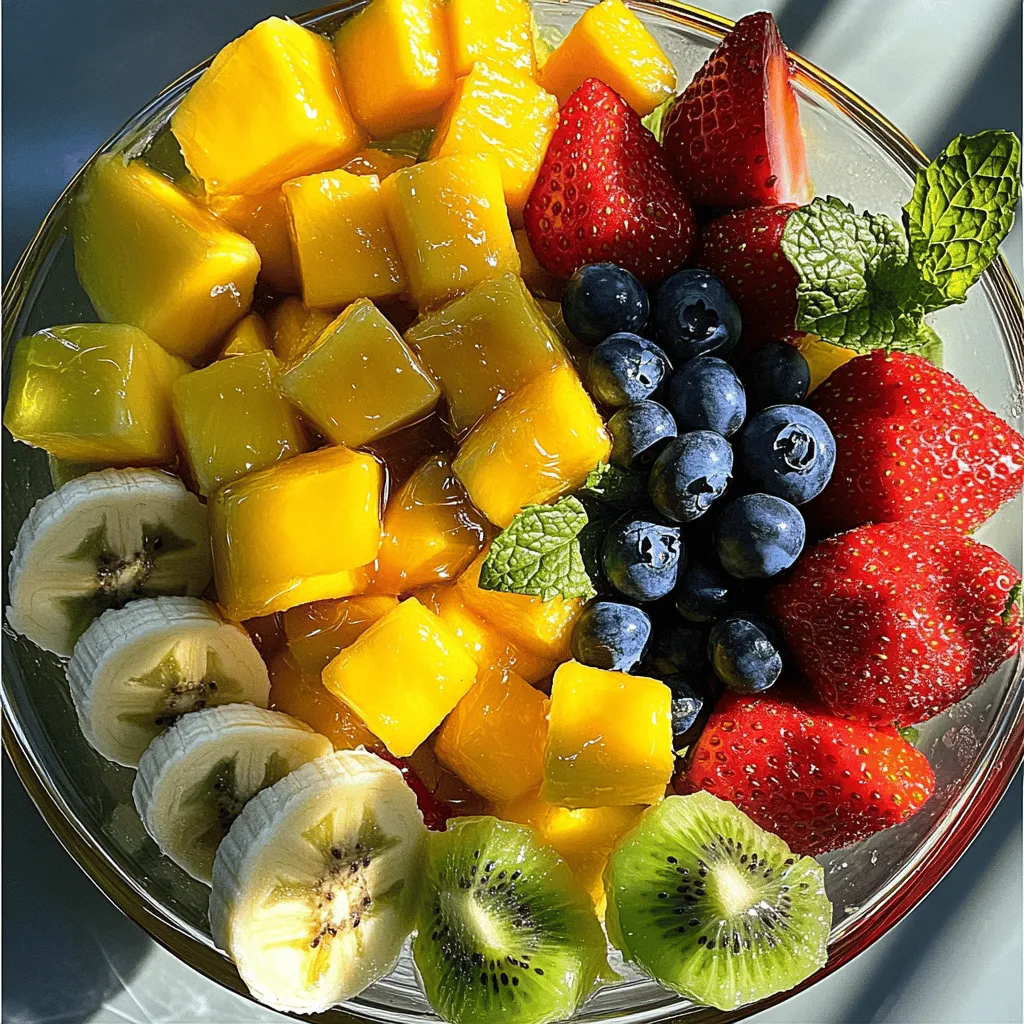
Fruit Salad with Honey Lime Dressing Easy Recipe
Looking for a fresh and easy treat? This Fruit Salad with Honey Lime Dressing is the perfect choice. Bursting with Read Full Recipe -
Blueberry Cheesecake Bars Simple and Delicious Treat
Looking for a dessert that’s easy to make and bursting with flavor? You’ve found it! These Blueberry Cheesecake Bars are Read Full Recipe -
Lemon Cheesecake Crumb Bars Delightful and Fresh Treat
Are you ready to brighten your day with a sweet treat? These Lemon Cheesecake Crumb Bars combine creamy cheesecake with Read Full Recipe -
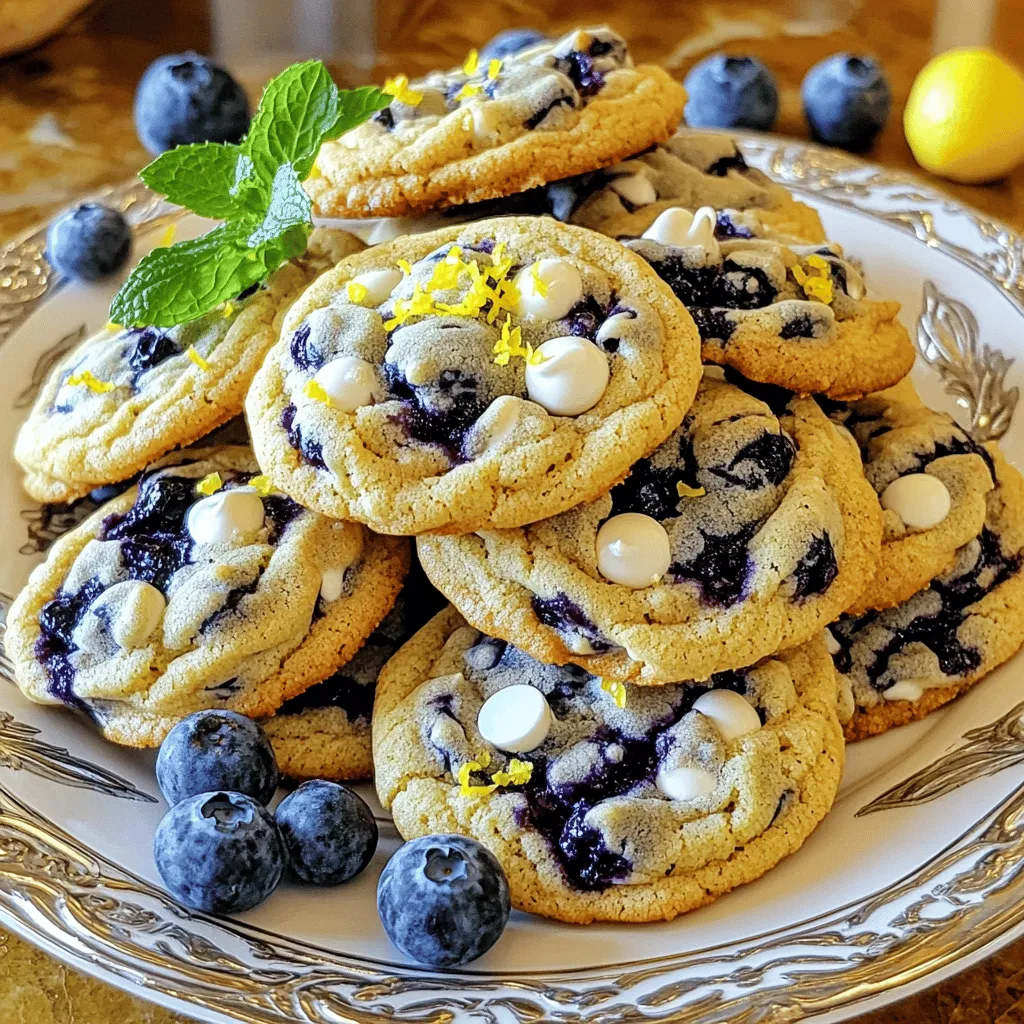
Blueberry Heaven Cookies Irresistible Sweet Treat
Welcome to your new favorite cookie recipe! Blueberry Heaven Cookies are the perfect blend of sweet and tart, making them Read Full Recipe


hey,
i’m !
I’m so happy you’re here!
I pour heart and skill into every recipe I create. I know you’ll taste the difference now let’s enjoy this flavorful adventure together.
![To make chickpea flour pancakes, you need a few key items. Here’s what you’ll need: - 1 cup chickpea flour (besan) - 1 cup water - 1 teaspoon turmeric powder - 1 teaspoon cumin powder - 1/2 teaspoon baking soda - 1/2 teaspoon salt - 1 small onion, finely chopped - 1 green chili, finely chopped (optional) - 1/4 cup fresh cilantro, chopped - Olive oil or ghee for cooking Chickpea flour is the star here. It gives the pancakes a nutty taste and a nice texture. Turmeric and cumin add warmth and flavor, while the onion and cilantro bring freshness. You can mix in more flavors if you like. Here are some suggestions: - Finely chopped bell peppers - Spinach or kale - Garlic powder - Black pepper - Other herbs like parsley or dill Feel free to get creative! These add-ins can change the taste and make your pancakes unique. When it comes to serving, toppings can elevate your dish. Here are some ideas: - Plain yogurt or Greek yogurt - Chutney like mint or tamarind - Avocado slices - Sliced tomatoes - Fresh herbs for garnish These toppings add creaminess and brightness. They also make your pancakes more filling and tasty. Enjoy your meal with these simple yet delicious choices! For the complete cooking steps, check out the Full Recipe. To start, gather your ingredients. You will need chickpea flour, turmeric, cumin, baking soda, salt, water, onion, green chili, and cilantro. In a mixing bowl, combine the chickpea flour, turmeric, cumin, baking soda, and salt. Mix these dry ingredients well. This helps them blend evenly. Next, slowly add the water to the dry mix. Whisk it continuously. This step is key to avoiding lumps. You want your batter smooth and thick, like pancake batter. After that, stir in the chopped onion, green chili, and cilantro. Make sure they mix well into the batter. Now, heat a non-stick skillet over medium heat. Add a small amount of olive oil or ghee to the pan. Once hot, pour a ladleful of batter onto the skillet. Spread it gently to form a round shape, about 1/4 inch thick. Cook each pancake for about 2-3 minutes. You will see the edges lift and turn golden brown. Carefully flip the pancake using a spatula. Cook for another 2-3 minutes until both sides are golden. Transfer the pancake to a plate. Repeat with the rest of the batter, adding oil as needed. For the best texture, make sure your batter is not too thick or too thin. It should flow easily but hold its shape. If it seems too thick, add a little more water. Also, keeping the heat at medium helps to cook the pancakes evenly. If they cook too fast, they may burn on the outside and stay raw inside. When serving, try pairing your pancakes with yogurt or chutney. These toppings add flavor and texture. For more tips, check out the [Full Recipe]. You can add many flavors to your chickpea flour pancakes. Try mixing in spices, such as garlic powder or paprika. Fresh herbs like parsley or dill can add a nice touch. If you enjoy a kick, toss in some red pepper flakes or extra green chili. You can also add veggies, like grated carrots or chopped spinach, for more nutrients. These add-ins make each pancake unique and tasty. Many people make a few common mistakes. First, ensure your batter is not too thick. If it is, add a bit more water to reach the right consistency. Second, don’t skip the resting time after mixing. Letting the batter sit for a few minutes helps it thicken and improves texture. Lastly, don’t rush cooking. Cooking on medium heat allows the pancakes to cook evenly without burning. Use a non-stick skillet for the best cooking experience. Heat it well before adding oil or ghee. This step ensures a golden crust. Pour the batter into the center and spread it gently. Keep the pancakes about ¼ inch thick for even cooking. Flip them only when the edges lift easily. This method gives you fluffy pancakes with a crispy edge. For full details, check the Full Recipe section. {{image_2}} Chickpea flour is naturally gluten-free. This makes these pancakes a great choice for anyone with gluten issues. You don’t need to change much in the recipe. Just use chickpea flour as your base. You can always add other gluten-free flours if you like. Almond flour or rice flour can add more texture. These pancakes are already vegan-friendly! The chickpea flour and water mix well. If you want a richer flavor, try adding mashed banana or flaxseed meal. This gives the pancakes a nice taste without adding eggs or dairy. You can also substitute cooking oil with coconut oil for a different flavor twist. You can change spices to explore different tastes. For an Indian flair, add garam masala or coriander. If you want a spicy kick, include red chili powder or smoked paprika. For a Mediterranean touch, try oregano or thyme. Each spice adds its unique flavor, making the pancakes fun and exciting. For the full recipe, check out the detailed instructions above. After making your chickpea flour pancakes, let them cool. Place them in an airtight container. You can stack them with parchment paper in between to keep them from sticking. Store them in the fridge for up to three days. To reheat your pancakes, use a skillet. Heat it over low to medium heat. Add a little olive oil or ghee for flavor. Place the pancake in the skillet. Cook for about one minute on each side. This keeps the pancakes soft and tasty. For long-term storage, freeze the pancakes. Cool them completely first. Then, place them in a single layer on a baking sheet. Freeze for about two hours. Once frozen, transfer them to a freezer bag. They can stay fresh for up to three months. When ready to eat, thaw overnight in the fridge and reheat as mentioned above. Chickpea flour, also known as besan, comes from ground chickpeas. It is high in protein and fiber. This flour is popular in many cuisines. You can use it for pancakes, fritters, or even sauces. I love how it adds a nutty taste to dishes. It is gluten-free, making it a great choice for many diets. Yes, you can make these pancakes ahead of time. Cook them as directed and let them cool. Store them in an airtight container in the fridge. They stay fresh for about 3 days. When you're ready to eat, just reheat them in a skillet or microwave. This makes breakfast quick and easy! Chickpea flour pancakes are indeed healthy. They are rich in protein, fiber, and essential vitamins. This flour helps keep you full for longer. The added spices like turmeric and cumin boost flavor and health benefits. Overall, these pancakes are a wholesome meal choice. To serve more people, simply double or triple the recipe. Use 2 cups of chickpea flour and 2 cups of water for a double batch. Make sure to adjust all the other ingredients as well. This way, everyone can enjoy a tasty meal without fuss. You can find the Full Recipe for more detailed steps. Chickpea flour pancakes are a fun and healthy meal. They are easy to make and packed with flavor. Here’s how to whip them up. Ingredients: - 1 cup chickpea flour (besan) - 1 cup water - 1 teaspoon turmeric powder - 1 teaspoon cumin powder - 1/2 teaspoon baking soda - 1/2 teaspoon salt - 1 small onion, finely chopped - 1 green chili, finely chopped (optional) - 1/4 cup fresh cilantro, chopped - Olive oil or ghee for cooking Instructions: 1. In a bowl, mix chickpea flour, turmeric, cumin, baking soda, and salt. 2. Slowly add water while whisking. The batter should be thick and smooth. 3. Add chopped onion, green chili, and cilantro to the batter. Stir well. 4. Heat a non-stick skillet on medium. Add a bit of olive oil or ghee. 5. Pour a ladle of batter onto the skillet. Spread it gently into a circle. 6. Cook for 2-3 minutes until the edges lift and the bottom turns golden. 7. Flip the pancake with a spatula and cook for another 2-3 minutes. 8. Move the pancake to a plate. Repeat with remaining batter, adding oil as needed. 9. Serve warm with yogurt or your favorite chutney. Prep Time: 10 min | Total Time: 20 min | Servings: 4 This simple recipe makes a delightful dish. You can enjoy it any time of day. Try it with different toppings to make it your own! Chickpea flour pancakes are simple to make and full of flavor. We covered essential ingredients, cooking steps, and tips for perfect texture. You can customize your pancakes with spices, toppings, and even go gluten-free or vegan. Store leftovers properly for a tasty meal later. Remember, these pancakes are not just healthy; they are easy to modify for your taste. Embrace your creativity in the kitchen and enjoy delicious chickpea flour pancakes today!](https://foodishtalk.com/wp-content/uploads/2025/05/3cbbd0aa-715e-4f0d-9a72-a5d06e0c22b0-300x300.webp)
![- Key ingredient: Quinoa - Fresh vegetables: onion, bell pepper, zucchini - Protein addition: eggs - Flavor enhancers: garlic, cumin, smoked paprika - Toppings: avocado, cilantro, hot sauce Quinoa serves as the base for this bowl. It's rich in protein and fiber. You will need one cup, rinsed well. The fresh vegetables add color and nutrition. I like to use one small onion, one bell pepper, and one medium zucchini. This mix makes the dish vibrant and tasty. For protein, I add four large eggs. They add a creamy texture and keep you full. You can fry or poach them based on your taste. The flavor enhancers are key. I use two cloves of minced garlic, one teaspoon of ground cumin, and one teaspoon of smoked paprika. These spices bring warmth and depth to the dish. Finally, finish your bowl with toppings. Sliced avocado adds creaminess. Chopped cilantro gives a fresh touch. If you like heat, drizzle on some hot sauce. This combination makes for a filling, healthy breakfast. For the full recipe, check the section above. First, rinse the quinoa under cold water. This step removes any bitterness. Next, combine the rinsed quinoa and vegetable broth in a medium saucepan. Bring it to a boil over high heat. Once it boils, reduce the heat to low and cover the pot. Let it simmer for 15-20 minutes. The quinoa is done when it is fluffy and the liquid is absorbed. While the quinoa cooks, heat olive oil in a large skillet over medium heat. Add the diced onion and cook for about 3-4 minutes until it softens. Then, add the diced bell pepper and zucchini. Sauté these vegetables for 5-7 minutes until they become tender. Stir in the minced garlic, ground cumin, and smoked paprika next. Season with salt and pepper. Cook for one more minute until the garlic smells fragrant. For the eggs, you can choose to fry or poach them. Frying gives a crispy edge, while poaching keeps them soft. Cook until the whites set but the yolks are still runny. This texture adds creaminess to your bowl. Once the quinoa is ready, fluff it with a fork. Mix it with the sautéed vegetables in the skillet. Stir everything together well, and adjust the seasoning if needed. To serve, spoon the quinoa mixture into bowls. Top each bowl with a cooked egg, avocado slices, and fresh cilantro. If you like heat, add hot sauce for a spicy kick. For the full recipe, check out the details above. To cook quinoa perfectly, rinse it well. This removes the bitter coating called saponin. Use two cups of vegetable broth for every cup of quinoa. Bring it to a boil, then lower the heat and cover. Let it simmer for 15-20 minutes until fluffy. Fluff with a fork for the best texture. For sautéing vegetables, heat olive oil in a skillet over medium heat. Start with onions, as they take longer to soften. Cook until they are translucent, about 3-4 minutes. Then, add bell peppers and zucchini. Sauté them until tender, which takes about 5-7 minutes. Finally, stir in garlic and spices for extra flavor. Serving your breakfast quinoa bowl can be fun! Use colorful bowls to make it pop. Place the quinoa and veggies on one side of the bowl. Then, add the fried or poached egg on top. Artfully arrange slices of avocado next to the egg. Finish with a sprinkle of fresh cilantro for a vibrant look. To adjust seasoning, taste your dish as you cook. Add more salt or pepper to enhance flavors. If you want a spicy kick, consider adding hot sauce. You can also experiment with herbs and spices. Try adding fresh basil, parsley, or even a pinch of chili powder. Each adds a unique twist to your savory bowl. For the full recipe, check out the Savory Breakfast Quinoa Bowl! {{image_2}} You can change up the protein in your quinoa bowl to fit your taste. Adding chicken gives it a hearty feel. Simply grill or sauté it in your favorite spices. Tofu is another great option. It soaks up flavors well. Firm tofu works best. Don’t forget about vegetarian choices like chickpeas! They add protein and a nice texture. Feel free to switch the vegetables based on what you have. Spinach, kale, or broccoli can add a fresh touch. Carrots or sweet potatoes can add sweetness. Think about seasonal veggies too! In summer, try fresh tomatoes and peppers. In the fall, use squash or Brussels sprouts for a cozy flavor. You can easily make this bowl vegan. Just skip the eggs and use avocado for creaminess. You can also add nutritional yeast for a cheesy taste. If you need it gluten-free, you’re in luck! Quinoa is naturally gluten-free. Just double-check that your broth is also gluten-free. For the full recipe, check out the [Full Recipe]. To keep your savory breakfast quinoa bowl fresh, follow these tips: - Place leftovers in an airtight container. - Store in the fridge within two hours of cooking. - Use glass or BPA-free plastic containers for best results. This dish lasts about 3 to 5 days in the fridge. After that, the quality may drop. If you notice any odd smells or changes, it's best to toss it. Reheating your quinoa bowl correctly ensures it stays tasty. Here are some methods: - Microwave: Place in a bowl, cover with a damp paper towel, and heat for 1-2 minutes. Stir halfway to ensure even heating. - Stovetop: Heat in a skillet over medium heat, stirring occasionally. Add a splash of broth or water to keep it moist. When reheating, make sure the quinoa is hot throughout. This keeps all flavors intact and makes for a delicious meal. Quinoa is a superfood packed with nutrients. It is high in protein, fiber, and vitamins. One cup of cooked quinoa has about 8 grams of protein. This is more than most grains. Quinoa is also gluten-free, making it great for those with gluten issues. Compared to rice or pasta, quinoa has more vitamins and minerals. It helps keep you full longer, which can help with weight control. Plus, it is rich in antioxidants. These help fight free radicals in your body. Yes, you can prepare this recipe ahead of time. Cook the quinoa and veggies and store them in the fridge. Seal them in an airtight container for up to four days. For the eggs, I recommend cooking them fresh. You can reheat the quinoa mixture in the microwave. Just add a splash of water to keep it moist. This makes meal prep easy and quick for busy mornings. You can get creative with toppings! Try adding cheese like feta or goat cheese for a tangy flavor. Fresh herbs like parsley or dill can brighten the bowl. You might also enjoy a dollop of Greek yogurt for creaminess. For an extra kick, drizzle with spicy sauce or salsa. Each topping can change the flavor and keep your breakfast exciting! This article showed you how to create a delicious quinoa bowl. You learned about key ingredients, step-by-step cooking, and helpful tips. We explored tasty variations and proper storage. Quinoa is a great choice for a healthy meal. It’s packed with nutrients and can please many diets. Keep experimenting with your toppings and flavors to make it your own. Enjoy your cooking journey and create meals that excite you!](https://foodishtalk.com/wp-content/uploads/2025/05/bcd4a6cd-c3f6-4c69-8da0-65df9a4ebdc4-300x300.webp)


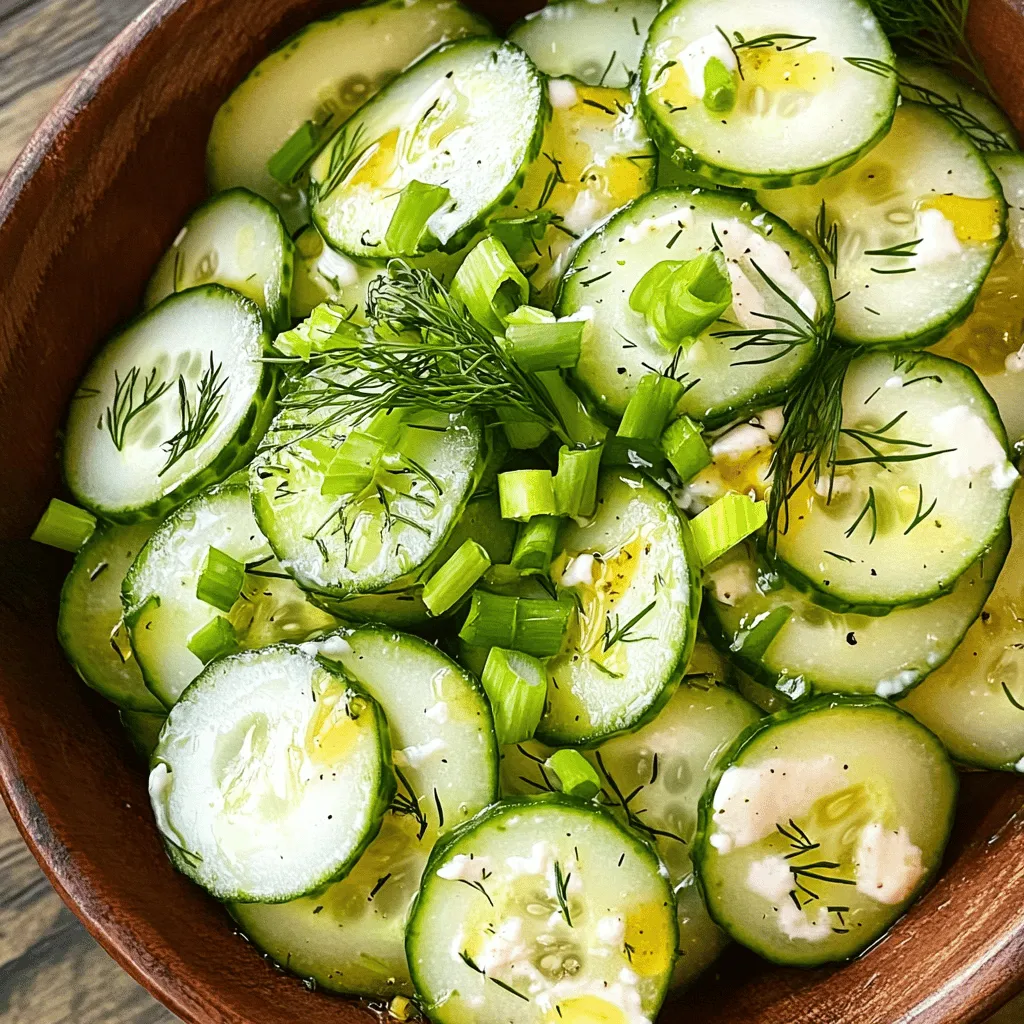
Polish Creamy Cucumber Salad Refreshing and Light Dish
Are you ready to discover a dish that perfectly balances freshness and creaminess? In this article, I’ll show you how to make a Polish…