
Latest & Greatest
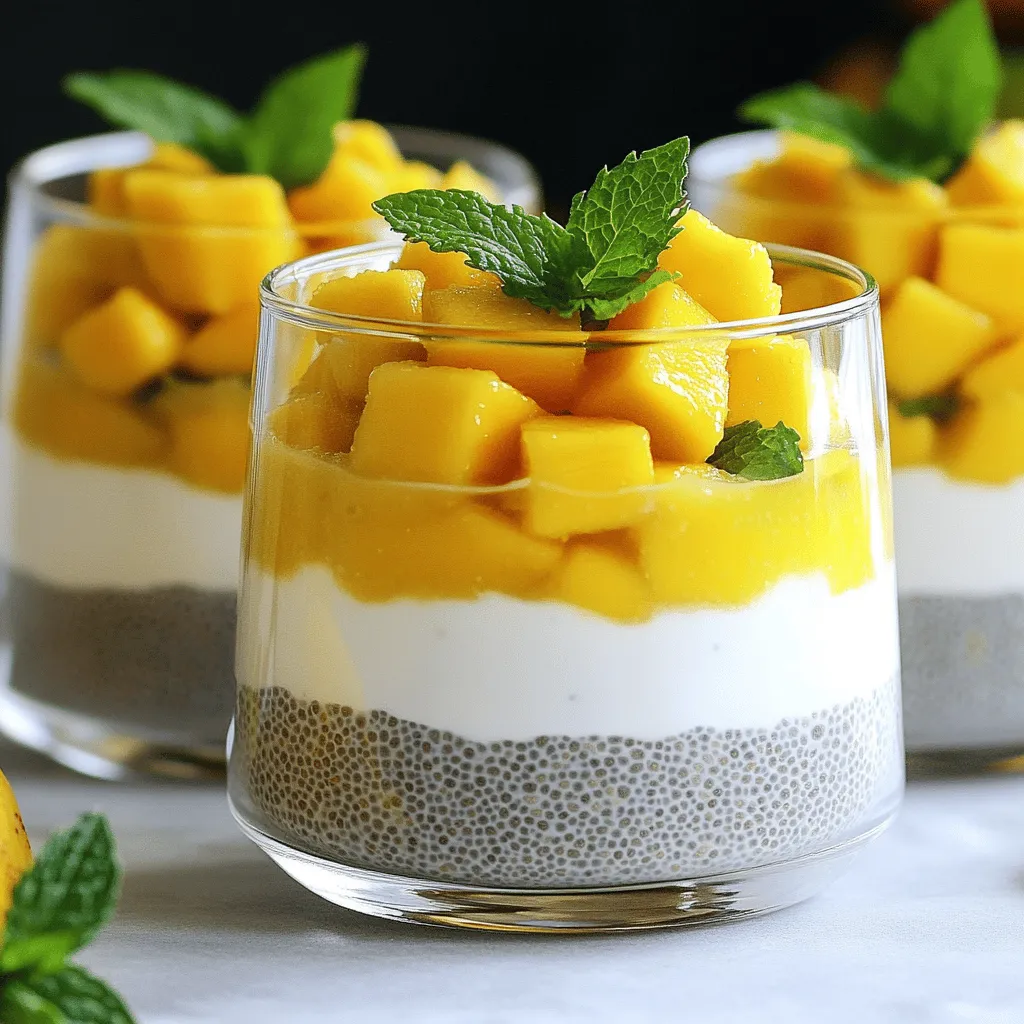
Mango Coconut Chia Pudding Revitalizing Dessert Recipe
Ready to revitalize your dessert game? This Mango Coconut Chia Pudding recipe is a delicious fusion of tropical flavors and
Read more…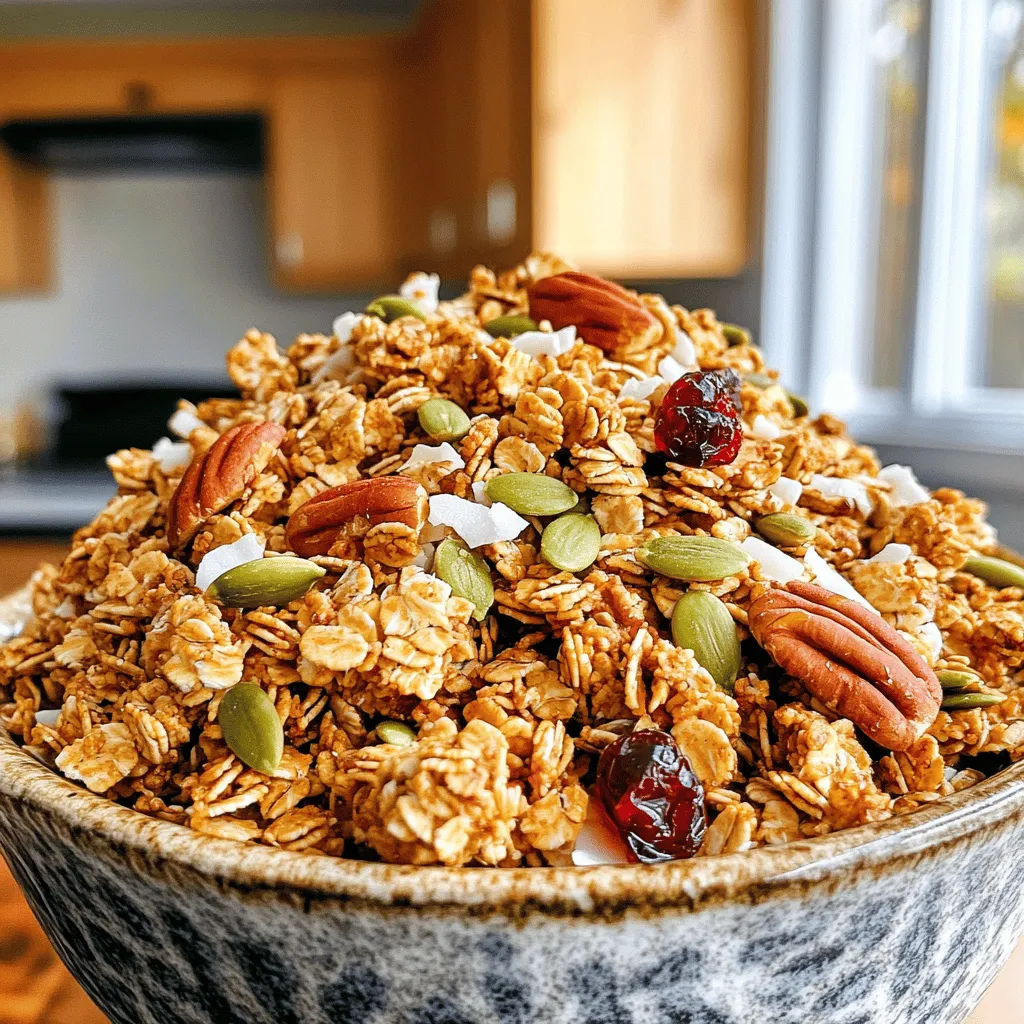
Maple Pecan Granola Flavorful and Nutritious Snack
Looking for a tasty and healthy snack? Look no further! This Maple Pecan Granola packs a delicious crunch while giving
Read more…
Caramel Apple Cheesecake Bars Irresistible Dessert Treat
If you’re craving a dessert that blends sweet and tangy flavors, look no further! My Caramel Apple Cheesecake Bars are
Read more…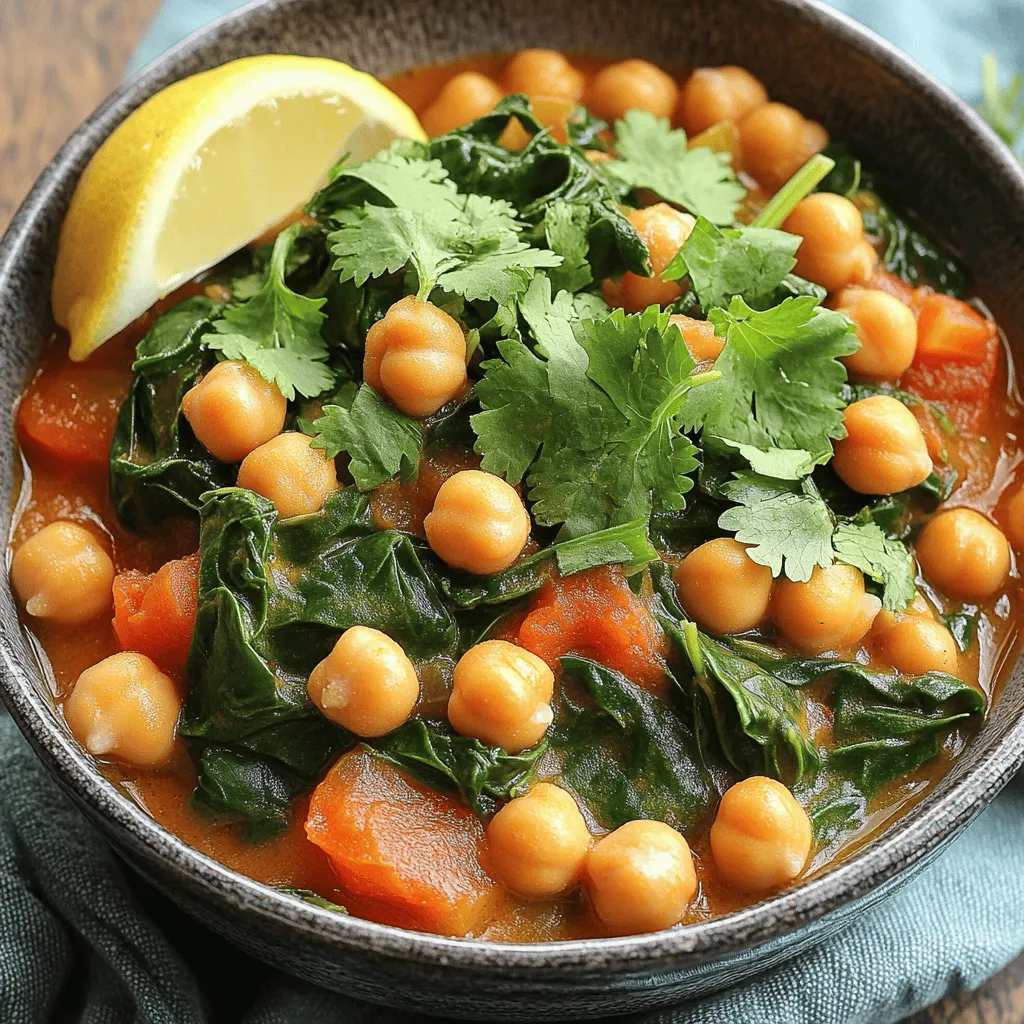
Chickpea and Spinach Stew Hearty Comfort Food Delight
Looking for a dish that warms your soul? My Chickpea and Spinach Stew is just the thing. It’s hearty, filling,
Read more…
Pumpkin Spice Latte Cupcakes Perfect for Fall Treats
Fall is here, and that means it’s time for cozy flavors! I’m excited to share my recipe for Pumpkin Spice
Read more…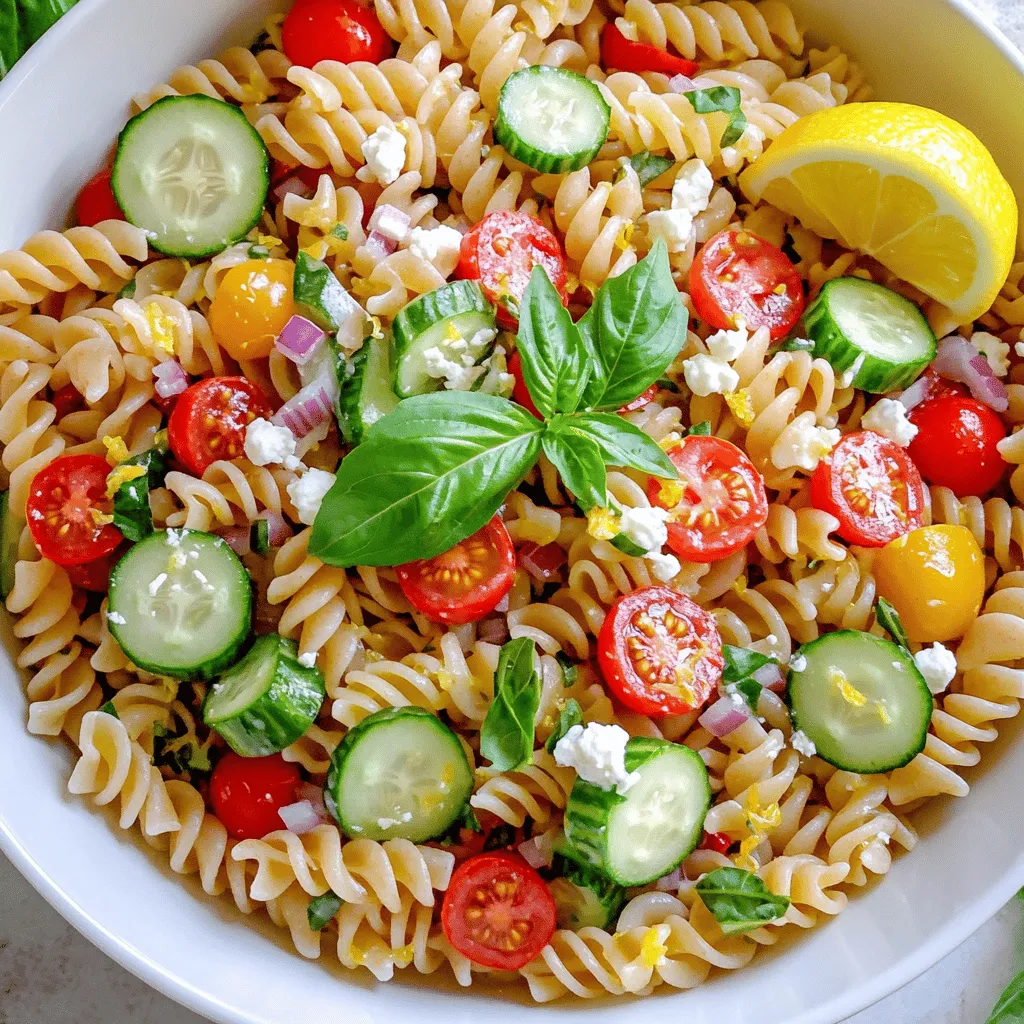
Lemon Basil Pasta Salad: Fresh and Vibrant Dish
Welcome to a bright and tasty dish: Lemon Basil Pasta Salad! This fresh salad mixes whole wheat fusilli, juicy tomatoes,
Read more…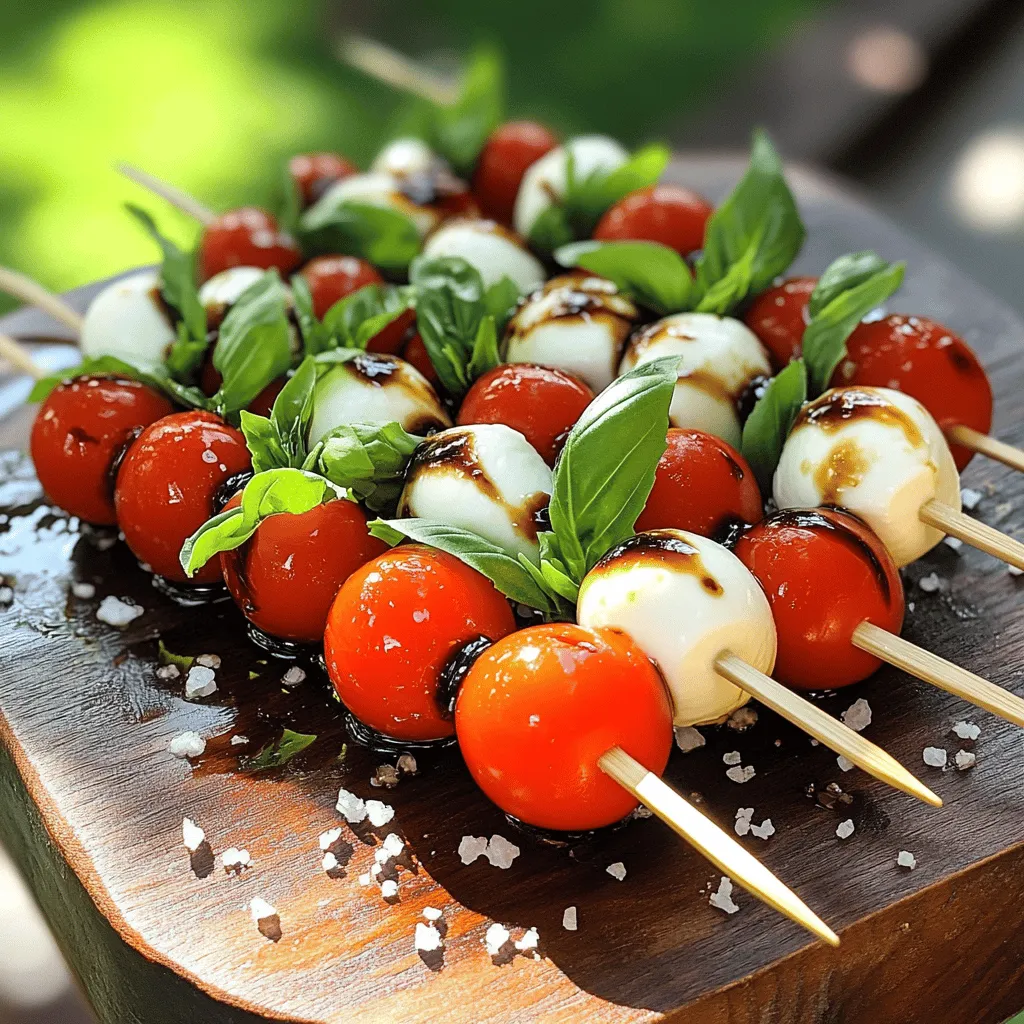
Mini Caprese Skewers Easy Appetizer for Any Gathering
Looking for a fun and tasty appetizer? Mini Caprese skewers are your answer! They’re simple to make and bursting with
Read more…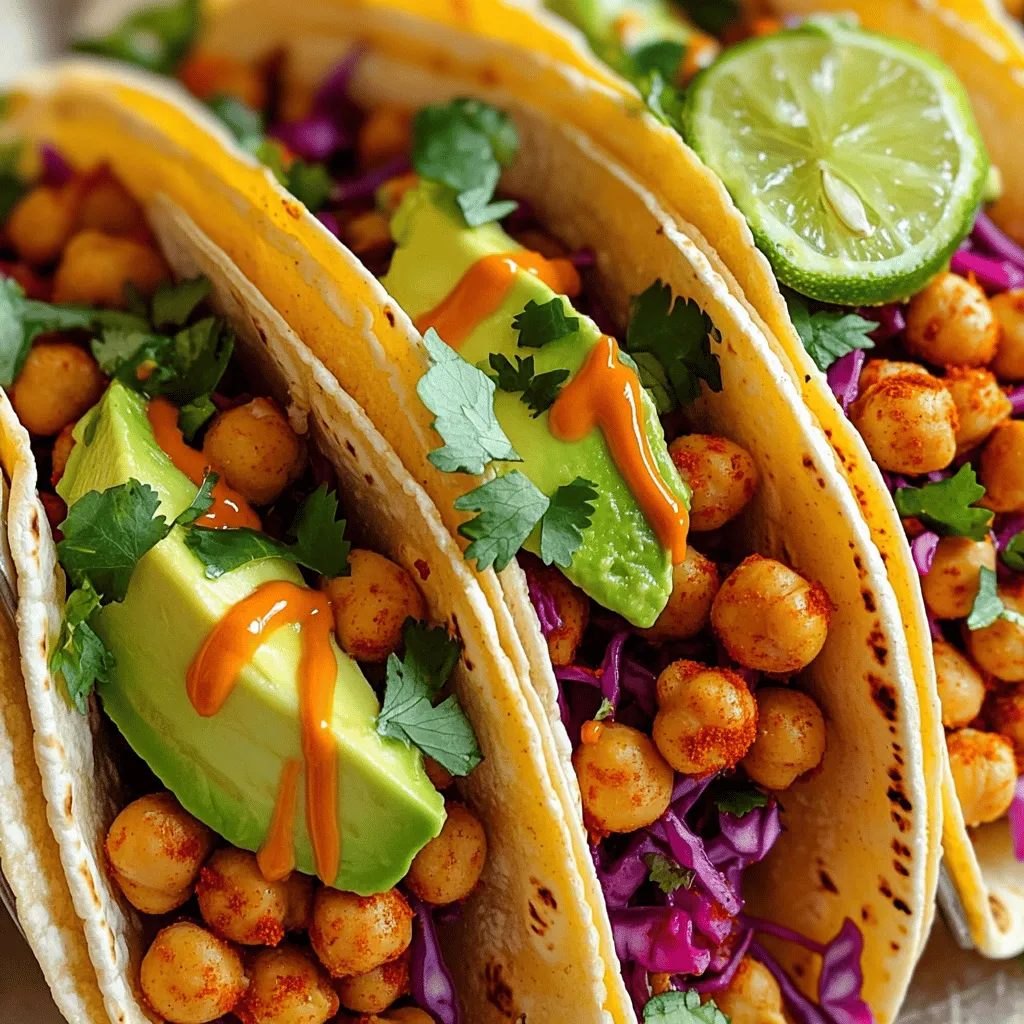
Spicy Chickpea Tacos Quick Dinner Delight
Tired of the same old dinner? Let me introduce you to Spicy Chickpea Tacos! They are quick, tasty, and packed
Read more…browse recipes


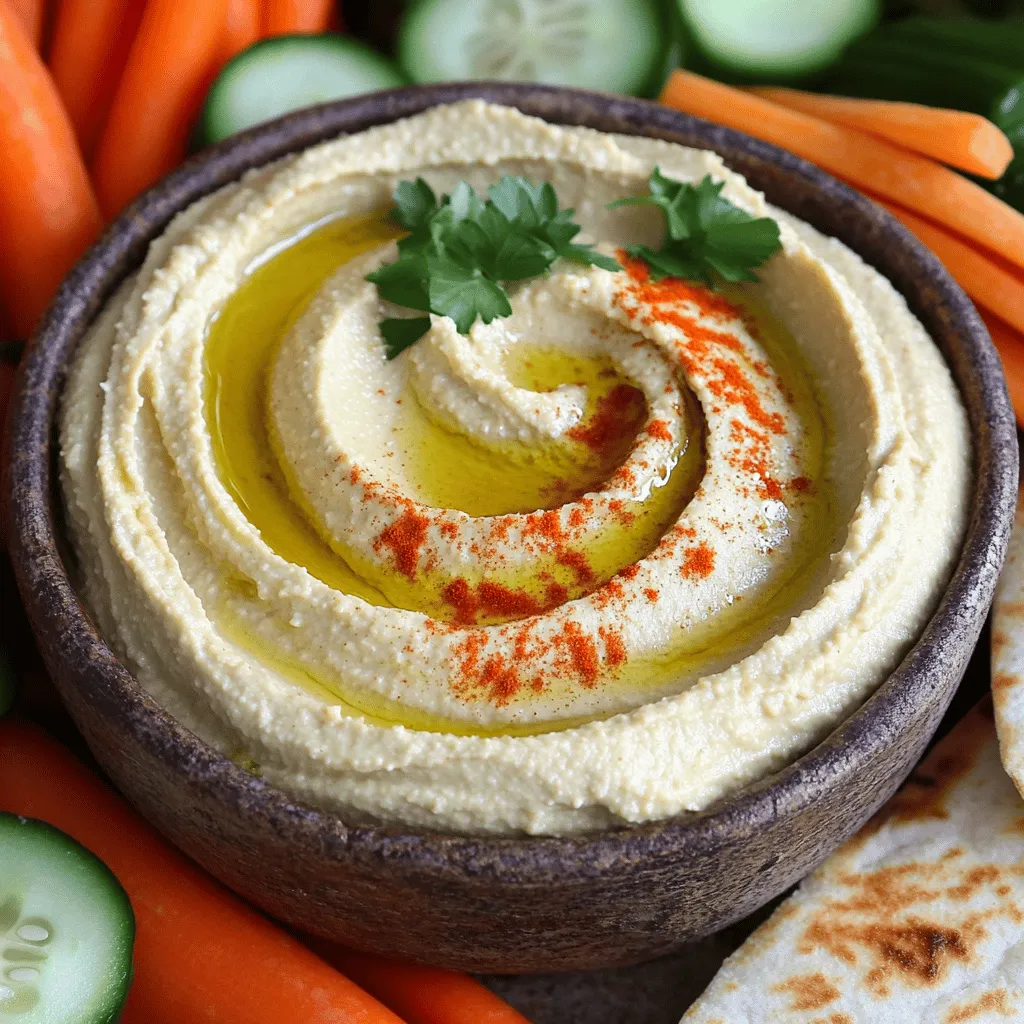
![To make roasted red pepper hummus, gather these simple ingredients: - 1 can (15 oz) chickpeas, drained and rinsed - 1 large roasted red pepper (jarred or homemade) - 2 tablespoons tahini - 2 tablespoons olive oil - 1 clove garlic, minced - 1 tablespoon lemon juice - 1/2 teaspoon ground cumin - 1/2 teaspoon smoked paprika - Salt to taste - Water as needed for consistency - Fresh parsley, for garnish - Pita chips or vegetable sticks, for serving You can use fresh or jarred roasted red peppers. Fresh peppers offer a bright flavor. Roast them yourself for a smoky taste. This takes time, but it’s worth it. Jarred peppers are easy and quick. They are already cooked and ready to use. Look for jars packed in water or oil. Avoid those with added preservatives. Chickpeas are the star of this hummus. When choosing canned chickpeas, check the label. Go for those with no added salt or preservatives. For a fresher option, try dried chickpeas. Soak them overnight and cook them until soft. This gives you a great texture and flavor in your hummus. Remember to rinse the chickpeas well. This helps remove extra salt and improves taste. You can find the full recipe for more details on making this delicious hummus. Making roasted red pepper hummus is fun and easy. You will blend simple ingredients in a food processor. In just ten minutes, you will have a tasty dip ready to serve. 1. Combine Ingredients: Start by adding the drained chickpeas to your food processor. Next, add the roasted red pepper, tahini, olive oil, minced garlic, lemon juice, ground cumin, smoked paprika, and salt. 2. Blend Until Smooth: Turn on the food processor. Blend the mixture until it is creamy and smooth. If it feels too thick, don’t worry. You can add water one tablespoon at a time. 3. Taste and Adjust: Once blended, taste your hummus. If it needs more flavor, add extra salt or lemon juice. Blend again to mix well. 4. Serve: Transfer the hummus to a bowl. Drizzle a little olive oil on top, and sprinkle fresh parsley as a garnish. 5. Enjoy with Dippers: Serve your delicious hummus with pita chips or fresh vegetable sticks. To get the right texture, always start with less water. You can add more as needed. If your hummus is too thin, blend in more chickpeas or tahini. For an extra smooth finish, blend longer to break down any lumps. For the full recipe, check out the details provided above. Enjoy creating your hummus! To make your roasted red pepper hummus even better, try adding spices. Ground coriander adds a nice zest. You can also mix in a pinch of cayenne pepper for heat. If you love herbs, fresh basil or cilantro can brighten the taste. Experiment with these spices to find your favorite blend. To keep your hummus fresh, store it in an airtight container. This helps prevent it from drying out. You can also drizzle a little olive oil on top before sealing. This keeps the top moist and adds flavor. Fill the container as much as possible to limit air exposure. Making hummus ahead of time is easy. You can prepare it a day before your event. Just keep it in the fridge in an airtight container. When you are ready to serve, give it a quick stir. If the texture seems thick, add a bit of water to loosen it up. This method saves time and ensures your dish is ready to impress. For the full recipe, check the details above. {{image_2}} Herbs can make your hummus shine. Fresh herbs add taste and color. You can try parsley, basil, or cilantro. Just chop them finely and mix them in. I love adding a handful of fresh parsley. It brightens the dish and adds a nice crunch. If you like heat, this is for you! To make your hummus spicy, add jalapeños or red pepper flakes. Start with a small amount and taste as you go. This way, you control the heat. I often add one chopped jalapeño to the mix. It brings a lively kick that wakes up the flavors. You can adapt this recipe to fit your needs. If you want a nut-free version, skip the tahini. Instead, use sunflower seed butter for creaminess. For a low-sodium option, rinse the chickpeas well. You can also use low-sodium broth instead of water. This way, you keep the flavor while lowering salt. For a vegan option, this recipe is already perfect! You can serve it with veggies or whole grain crackers. Explore these variations to make the hummus your own. For the full recipe, check out the details above. To keep your roasted red pepper hummus fresh, store it in an airtight container. This helps prevent air from drying it out. Make sure to use a clean spoon every time you scoop out some hummus. That way, you avoid introducing bacteria. Always refrigerate your hummus right after serving to keep it cool. When stored properly in the fridge, roasted red pepper hummus lasts about 4 to 7 days. If you notice any off smells or changes in texture, it's best to throw it away. Always check for signs of spoilage before enjoying. Yes, you can freeze roasted red pepper hummus! Place it in a freezer-safe container, leaving some space at the top. Hummus expands when it freezes. It stays good for about 3 months. When ready to eat, thaw it in the fridge overnight. Stir well before serving. You might need to add a touch of olive oil or water for creaminess. For the full recipe and more tips, check out the [Full Recipe]. Hummus is not just tasty; it is also healthy. It is high in protein, which helps build muscles. Chickpeas, the main ingredient, are rich in fiber. Fiber aids digestion and keeps you full longer. Hummus also contains healthy fats from olive oil and tahini. These fats support heart health. Plus, hummus is low in calories, making it a smart snack choice. Eating hummus can help you control your weight. You can dip veggies or whole-grain pita chips for extra nutrition. Yes, you can use dried chickpeas instead of canned ones. However, you need to soak and cook them first. Soaking helps soften the chickpeas and reduce cooking time. After soaking overnight, boil them until tender. This may take 1 to 2 hours. Once cooked, drain and rinse them. Then, you can use them just like canned chickpeas in the recipe. Using dried chickpeas may give a fresher taste. It also allows you to control the salt content. You can buy quality roasted red pepper hummus at many grocery stores. Look for it in the deli or refrigerated section. Some stores have fresh-made options that are very good. You can also find it at health food stores or specialty markets. Many brands sell hummus online as well. Always check the ingredients. Choose brands with natural ingredients and no preservatives. Making your own is also easy and fun. You can find the full recipe above! Roasted red pepper hummus is easy to make with fresh or jarred peppers and quality chickpeas. We discussed the step-by-step method and tips for the right texture. Adding spices boosts flavor, and storing it well keeps it fresh. Explore variations, like spicy options or using different ingredients for diets. Hummus is healthy and simple, making it a delightful snack or meal. With these tips, you can confidently create delicious hummus at home. Enjoy your cooking journey!](https://foodishtalk.com/wp-content/uploads/2025/05/155c7ff6-b813-4ca0-85a8-4a5b85024fe2.webp)
Roasted Red Pepper Hummus Flavorful and Simple Recipe
Looking for a dip that’s both tasty and easy to make? Look no further! This Roasted Red Pepper Hummus recipe offers bold flavors and…
My Latest Desserts

Healthy Banana Oat Muffins Nutrient-Packed Recipe
Looking for a tasty snack that’s packed with nutrients? You’re in the right place! My Healthy Banana Oat Muffins recipe Read Full Recipe-
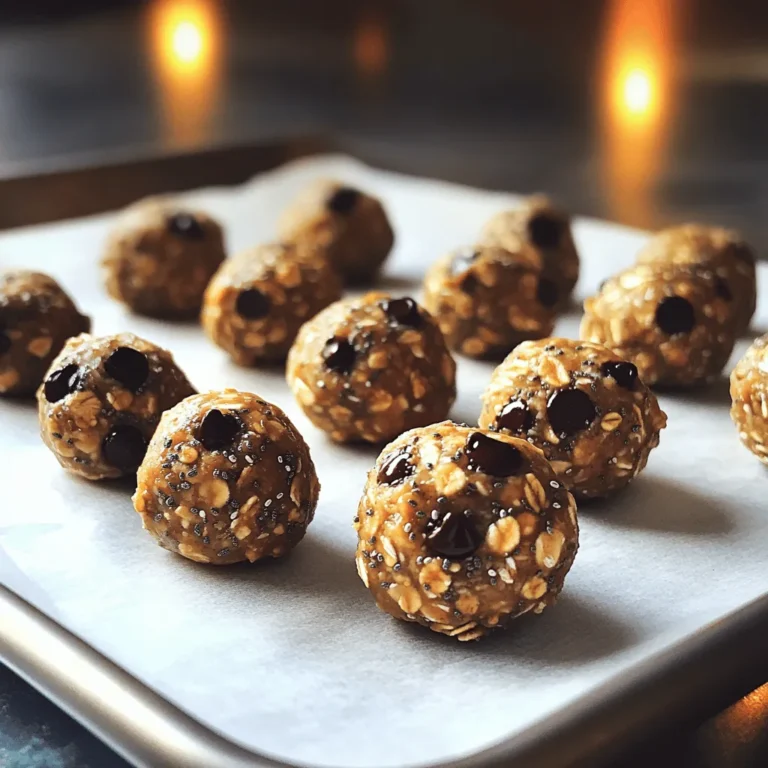
No-Bake Chocolate Oat Bars Simple and Tasty Treat
Looking for a quick, tasty treat? You’re in the right place! My No-Bake Chocolate Oat Bars are simple to make Read Full Recipe -
No-Bake Chocolate Oatmeal Bars Simple and Tasty Treat
Looking for a simple and tasty treat that’s also healthy? You’ve found it! My No-Bake Chocolate Oatmeal Bars are a Read Full Recipe -
Peach Pie Cruffins Delightful and Simple Recipe
Are you ready to dive into a sweet and flaky treat? Peach Pie Cruffins are a delightful twist on classic Read Full Recipe -
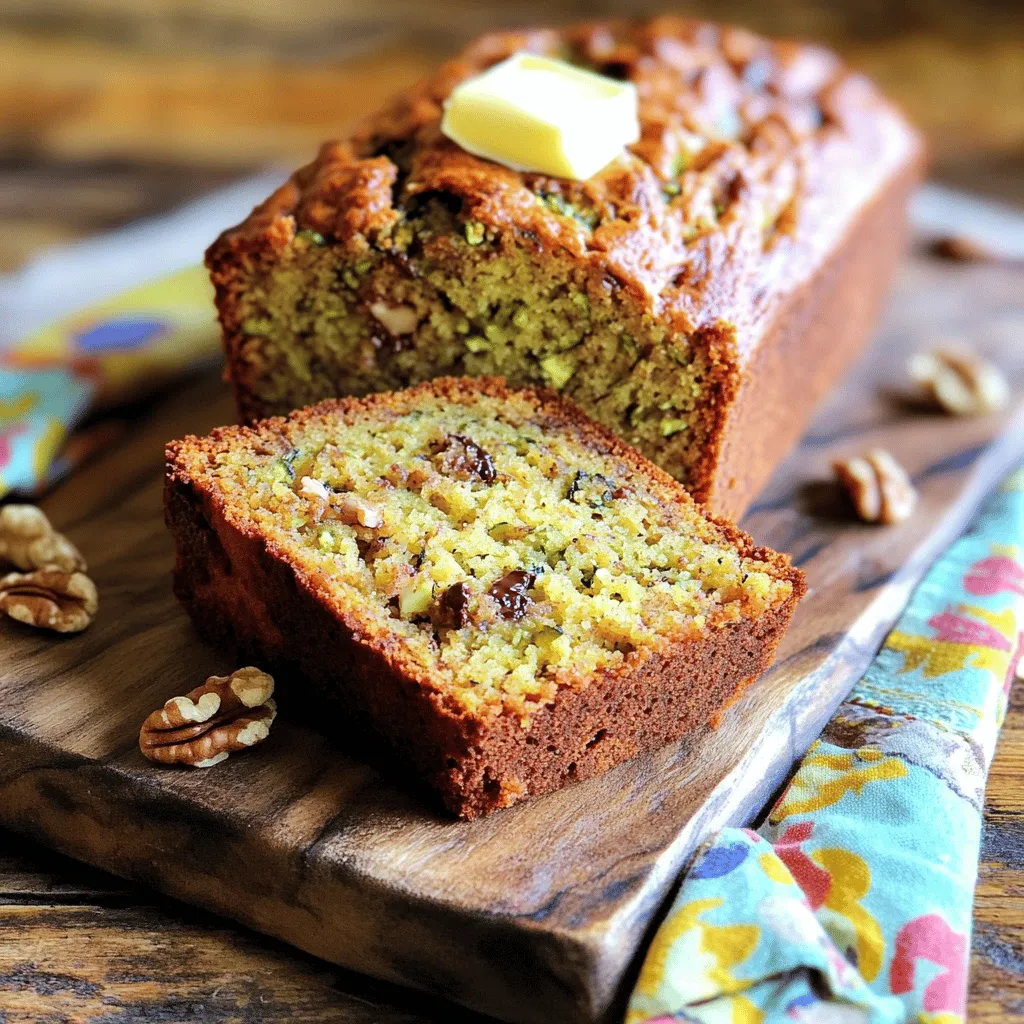
Retro Zucchini Bread Healthy and Flavorful Delight
Are you ready to bake a delicious, healthy treat? Retro Zucchini Bread is packed with flavor and goodness. This simple Read Full Recipe -
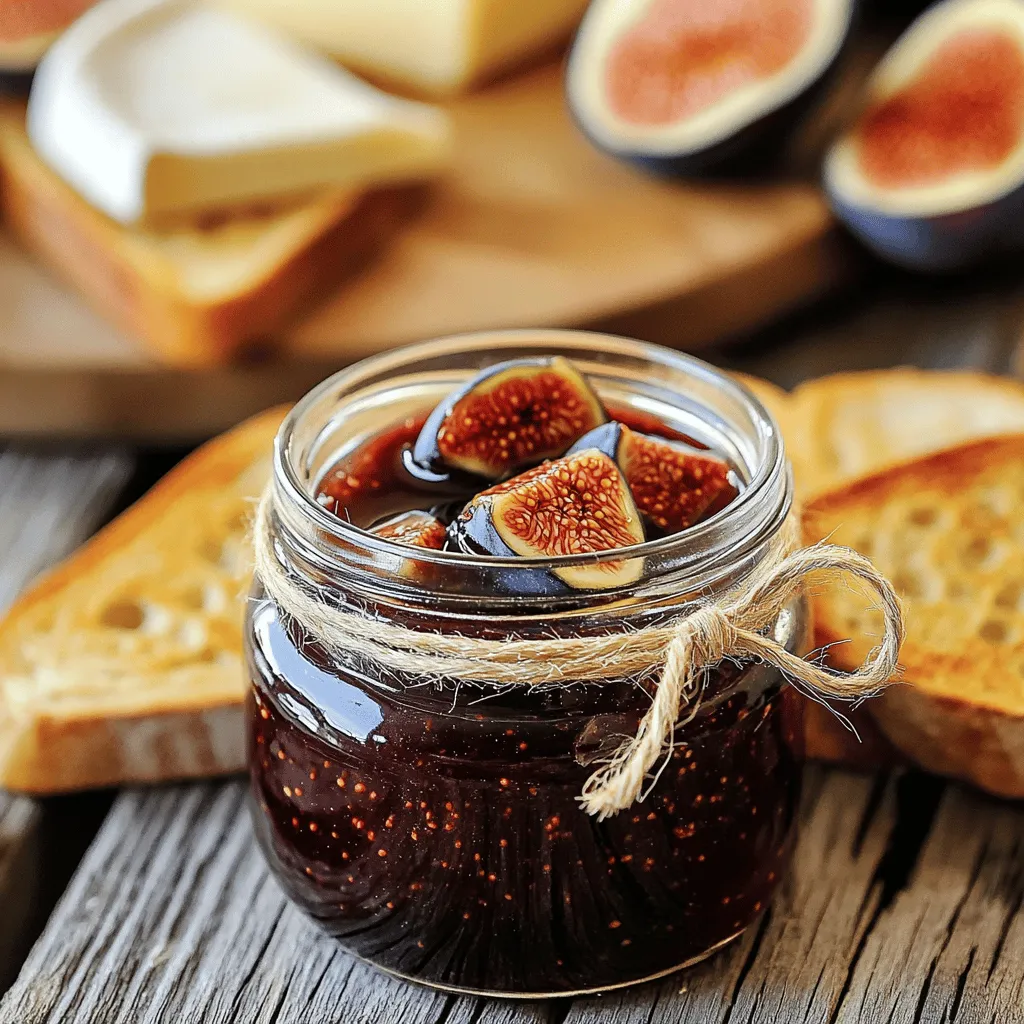
Classic Fig Jam Simple and Delicious Recipe
Are you ready to savor the sweet taste of summer year-round? Making classic fig jam is simple and rewarding. With Read Full Recipe -
Fresh Peach Cobbler Flavorful and Easy Recipe Guide
Craving a sweet treat that showcases the juicy goodness of fresh peaches? You’re in the right place! In this guide, Read Full Recipe -
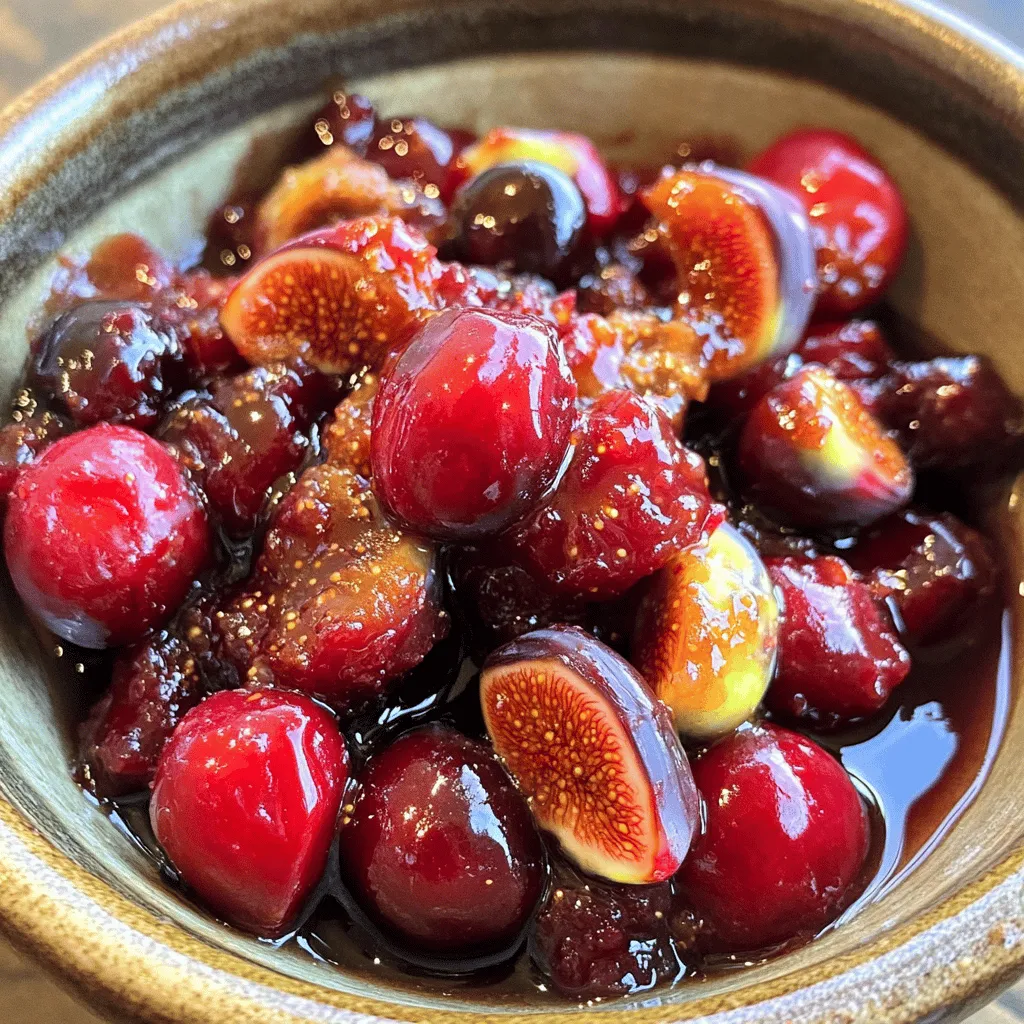
Ginger Fig Cherry Compote Flavorful and Easy Recipe
Are you ready to explore a dish that bursts with flavor? This Ginger Fig Cherry Compote is not only easy Read Full Recipe -
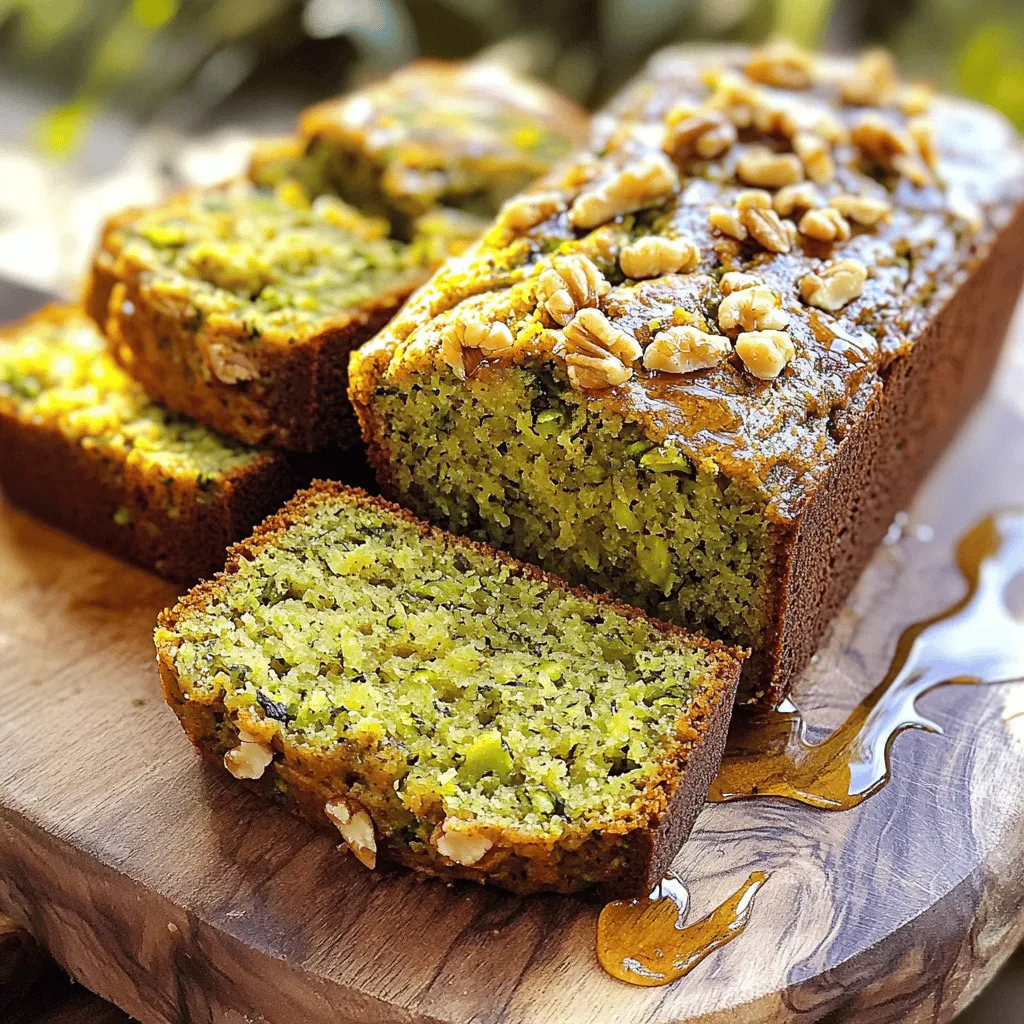
Zucchini Banana Bread Flavorful and Moist Recipe
Do you love warm, fresh bread that bursts with flavor? You’re in the right spot! This Zucchini Banana Bread recipe Read Full Recipe -
Fig Cake with Almond and Honey Delight Recipe
Are you ready to indulge in a delightful treat? My Fig Cake with Almond and Honey recipe combines rich flavors Read Full Recipe


hey,
i’m !
I’m so happy you’re here!
I pour heart and skill into every recipe I create. I know you’ll taste the difference now let’s enjoy this flavorful adventure together.


Easy Hummus Recipe Creamy and Flavorful Spread
Are you ready to elevate your snack game with the easiest hummus recipe? This creamy and flavorful spread requires just a handful of simple…