
Latest & Greatest

Cheesy Garlic Monkey Bread Irresistible and Easy Recipe
Are you ready to make a dreamy dish that’s gooey, savory, and oh-so-easy? This Cheesy Garlic Monkey Bread recipe combines
Read more…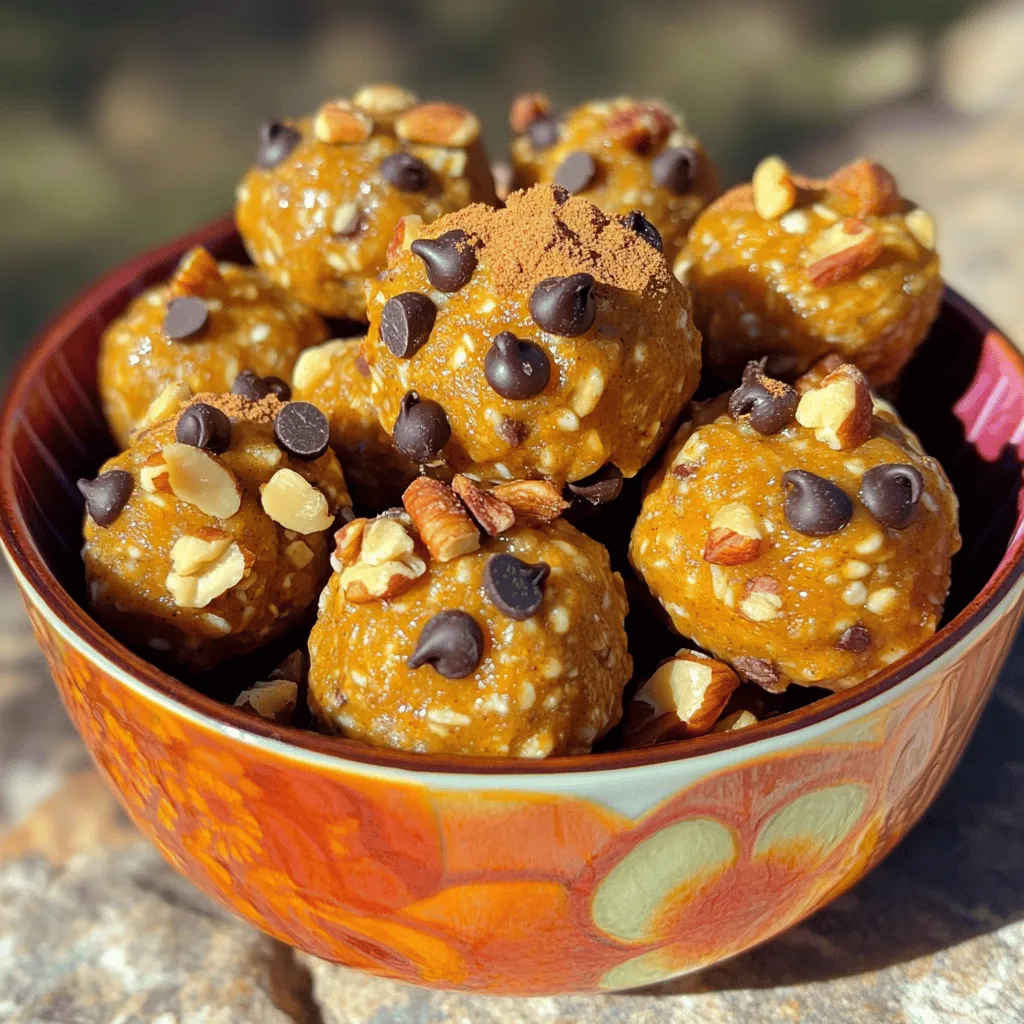
Pumpkin Spice Energy Bites Simple and Tasty Treat
Are you ready to enjoy a sweet and healthy snack? These Pumpkin Spice Energy Bites are simple to make and
Read more…
Spaghetti Squash Primavera Flavorful Healthy Dish
Are you ready to enjoy a dish that’s both delicious and healthy? Spaghetti Squash Primavera is a perfect choice. With
Read more…
Fried Green Tomatoes Crispy and Flavorful Delight
Are you ready to dive into the crispy, tangy delight of Fried Green Tomatoes? This classic dish combines the perfect
Read more…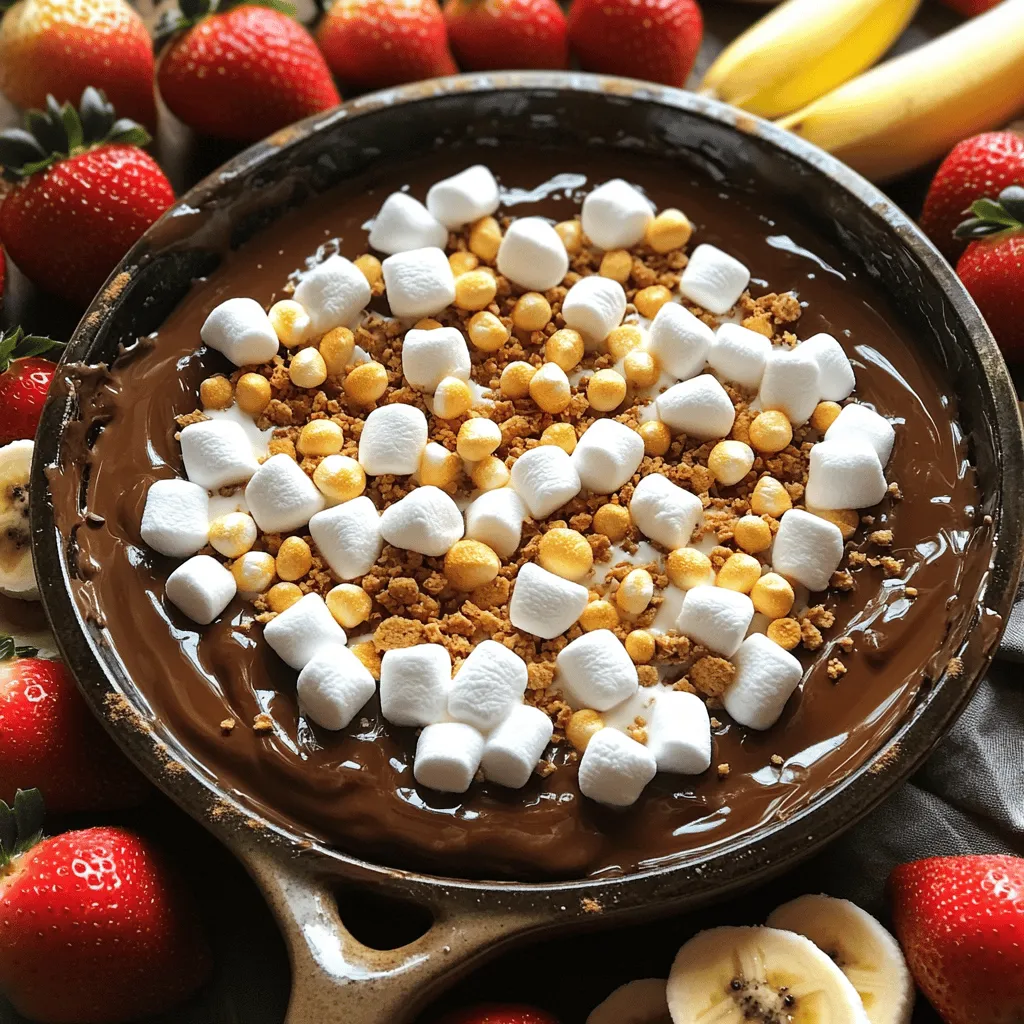
S’mores Dip Irresistible Chocolatey Treat to Share
Are you ready to dive into a gooey, chocolatey delight? This S’mores Dip is the perfect treat to share with
Read more…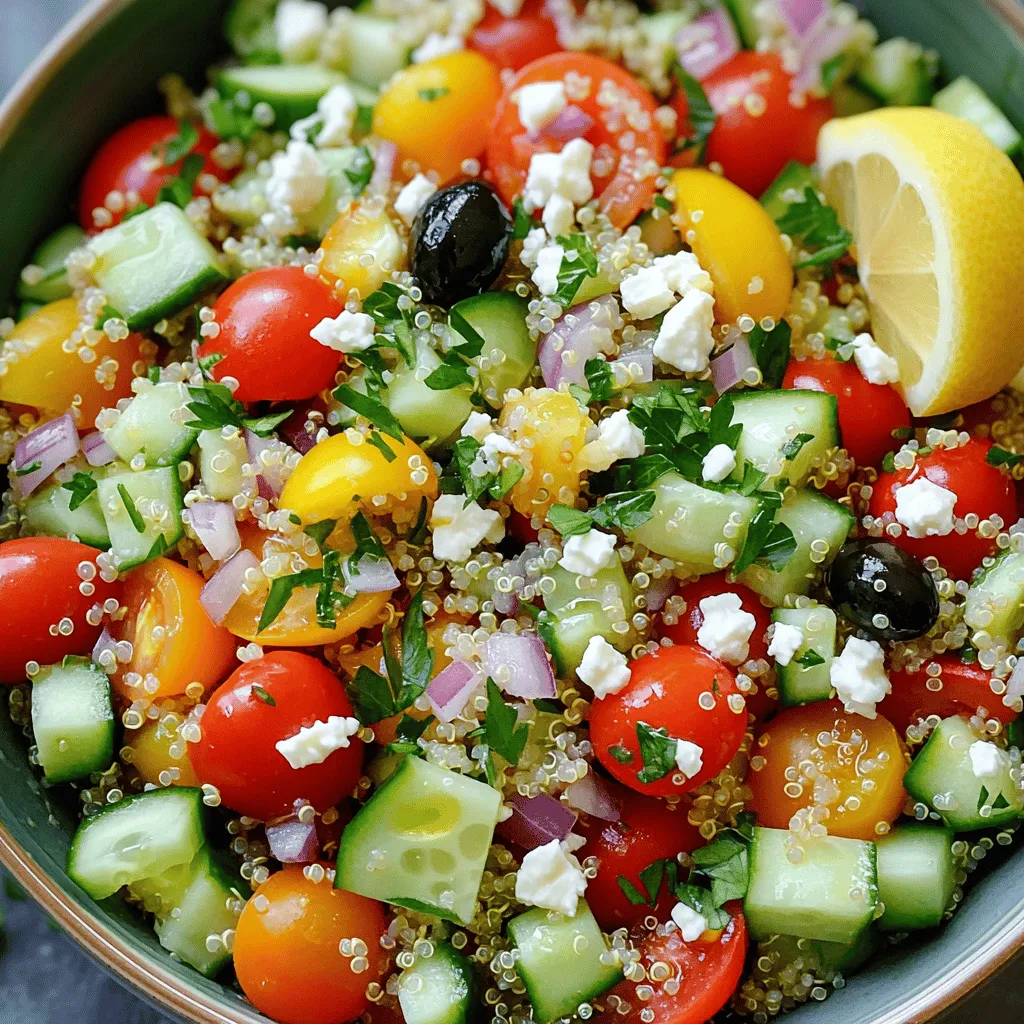
Mediterranean Quinoa Salad Simple and Nutritious Meal
If you’re looking for a fresh, tasty meal, try my Mediterranean Quinoa Salad. This dish is simple, healthy, and full
Read more…
Chickpea Flour Pancakes Easy and Wholesome Meal
Looking for a quick and healthy meal? Chickpea flour pancakes are your answer! These simple pancakes are packed with nutrition
Read more…
Coconut Curry Lentils Flavorful and Easy Recipe
Let’s dive into a deliciously simple dish: Coconut Curry Lentils! This recipe is packed with flavor and is perfect for
Read more…browse recipes


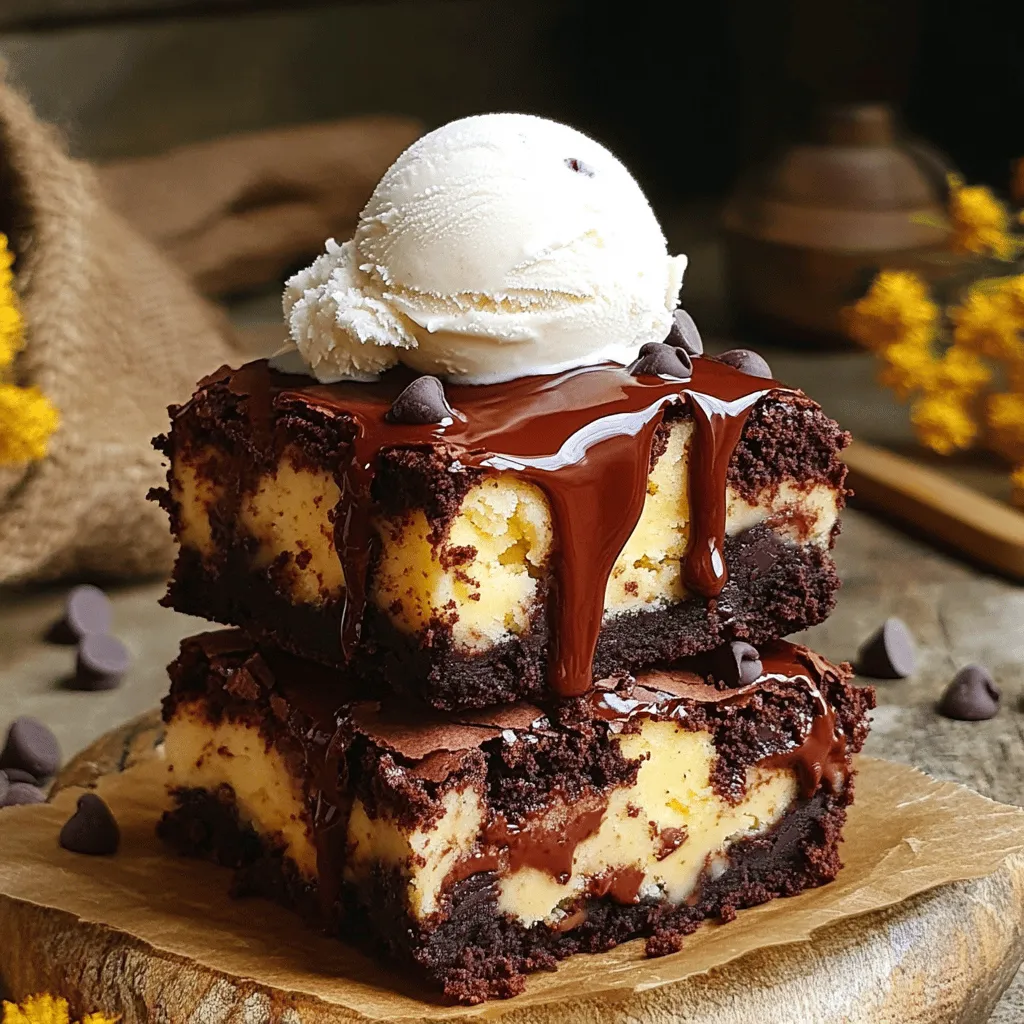
Fudgy Chewy Brookies Delightful Dessert Recipe
If you love brownies and cookies, prepare for a sweet surprise! Fudgy Chewy Brookies blend both treats into one delightful dessert. With layers of…
My Latest Desserts

Healthy Banana Oat Muffins Nutrient-Packed Recipe
Looking for a tasty snack that’s packed with nutrients? You’re in the right place! My Healthy Banana Oat Muffins recipe Read Full Recipe-
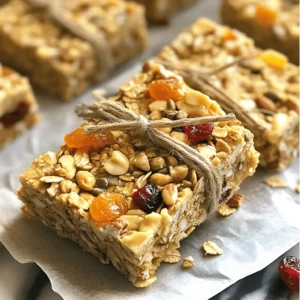
No-Bake Chocolate Oat Bars Simple and Tasty Treat
Looking for a quick, tasty treat? You’re in the right place! My No-Bake Chocolate Oat Bars are simple to make Read Full Recipe -
No-Bake Chocolate Oatmeal Bars Simple and Tasty Treat
Looking for a simple and tasty treat that’s also healthy? You’ve found it! My No-Bake Chocolate Oatmeal Bars are a Read Full Recipe -
Peach Pie Cruffins Delightful and Simple Recipe
Are you ready to dive into a sweet and flaky treat? Peach Pie Cruffins are a delightful twist on classic Read Full Recipe -
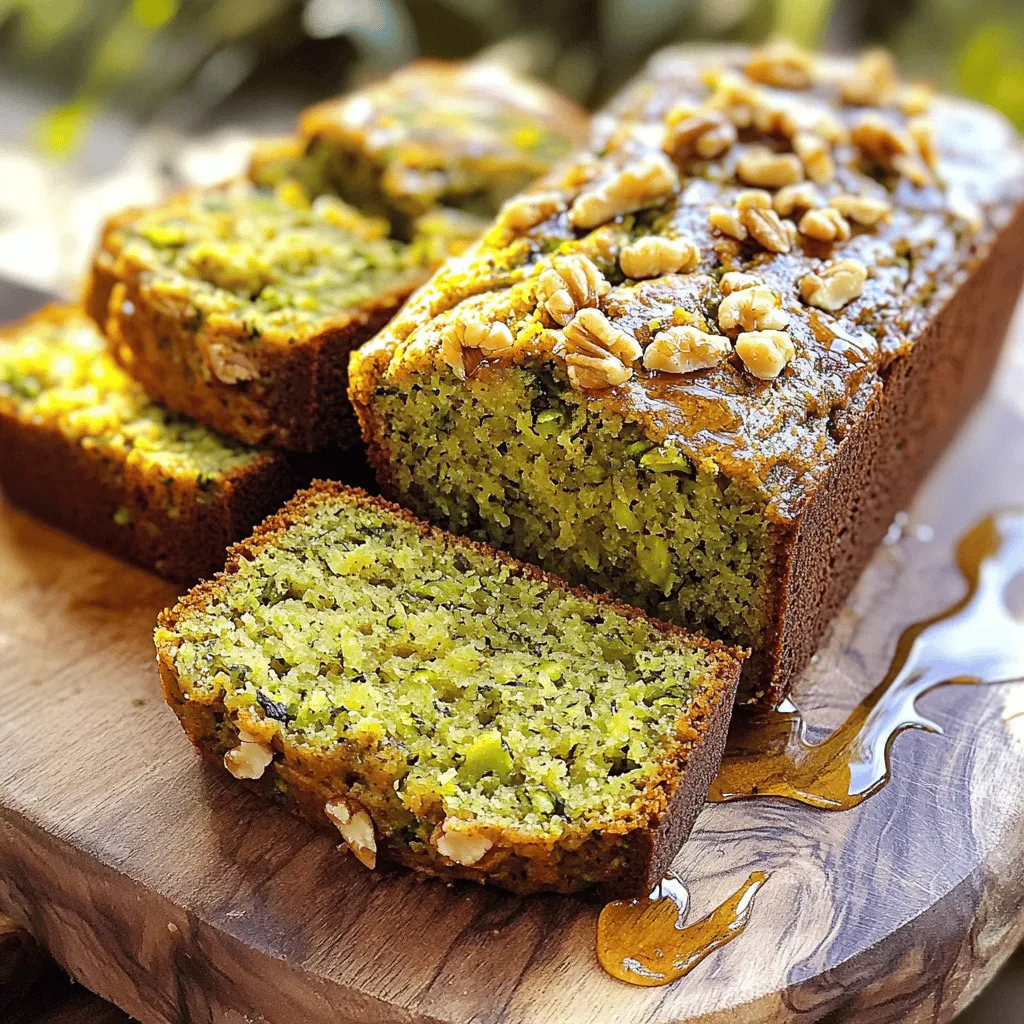
Retro Zucchini Bread Healthy and Flavorful Delight
Are you ready to bake a delicious, healthy treat? Retro Zucchini Bread is packed with flavor and goodness. This simple Read Full Recipe -
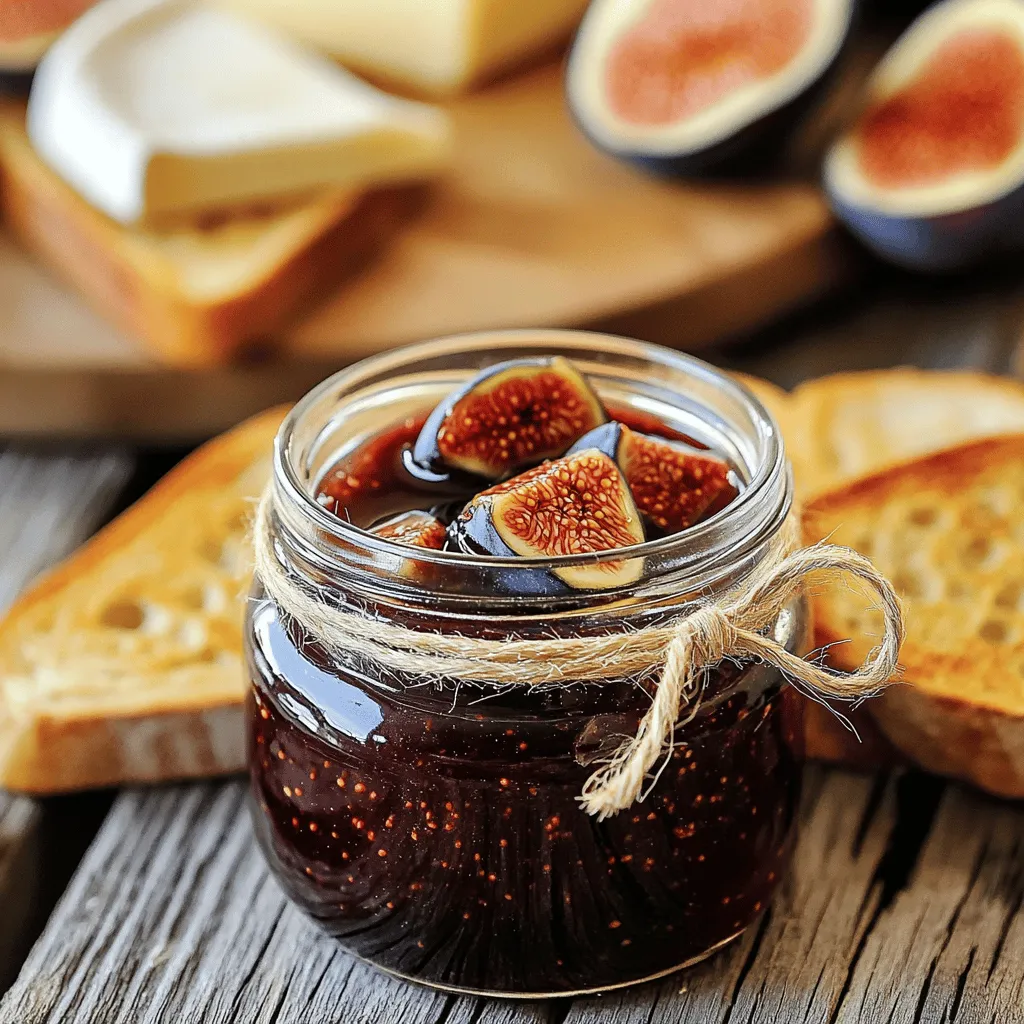
Classic Fig Jam Simple and Delicious Recipe
Are you ready to savor the sweet taste of summer year-round? Making classic fig jam is simple and rewarding. With Read Full Recipe -
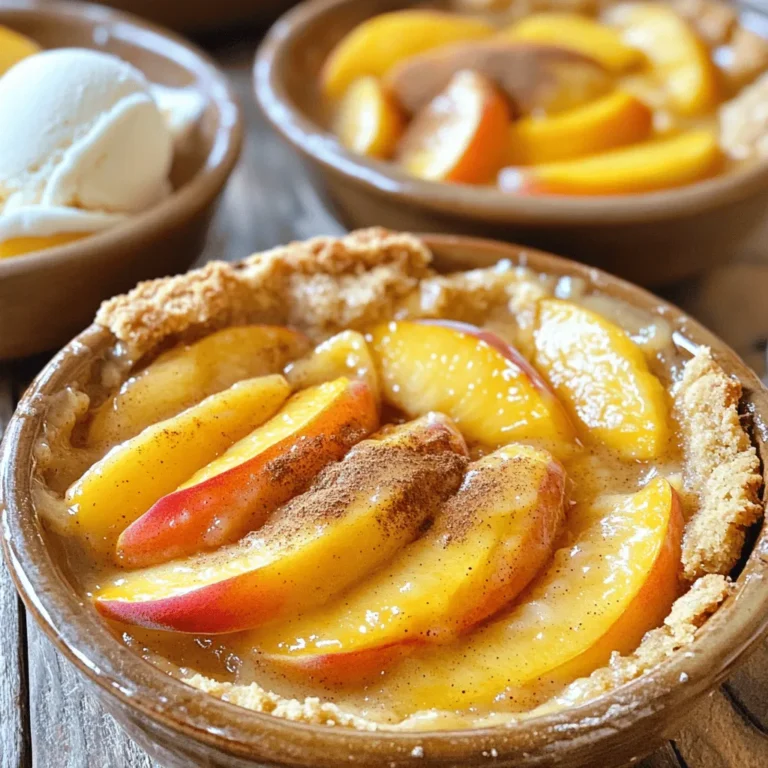
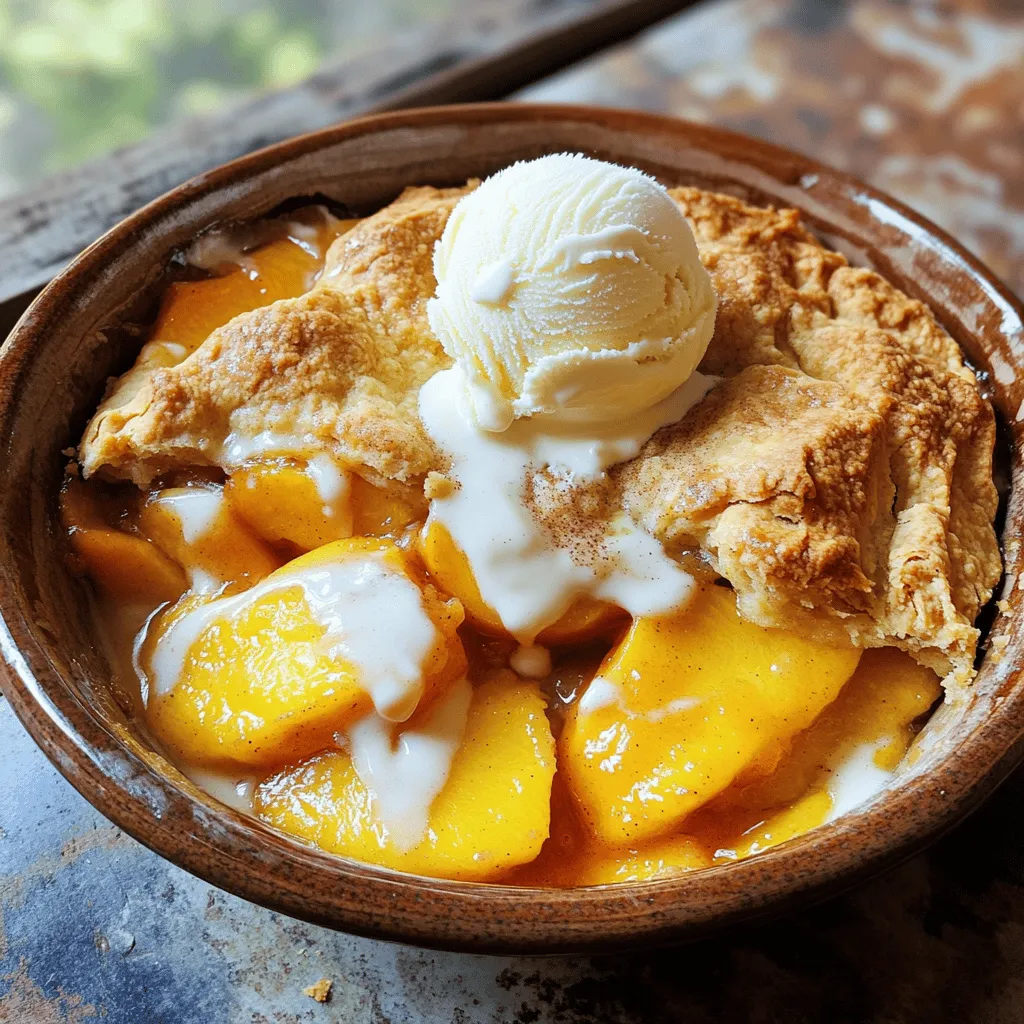
Fresh Peach Cobbler Flavorful and Easy Recipe Guide
Craving a sweet treat that showcases the juicy goodness of fresh peaches? You’re in the right place! In this guide, Read Full Recipe -
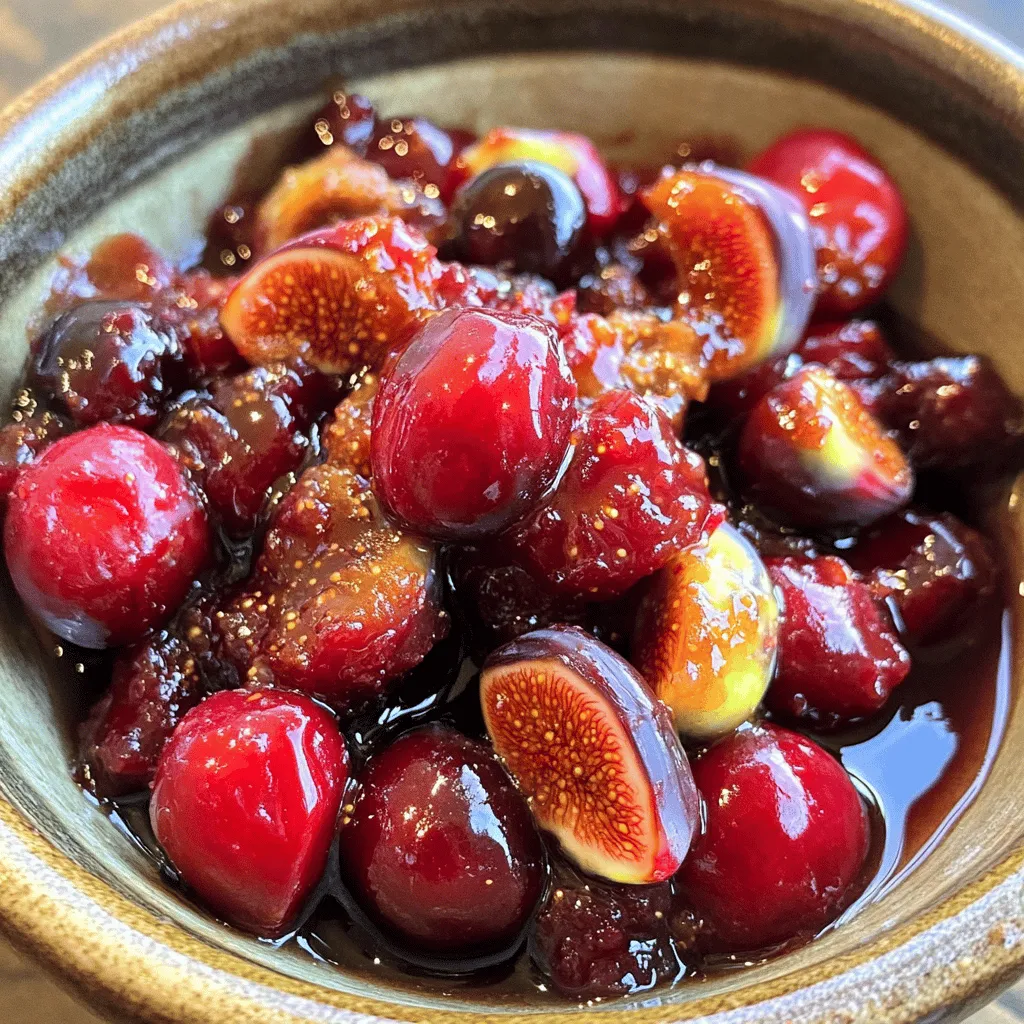
Ginger Fig Cherry Compote Flavorful and Easy Recipe
Are you ready to explore a dish that bursts with flavor? This Ginger Fig Cherry Compote is not only easy Read Full Recipe -
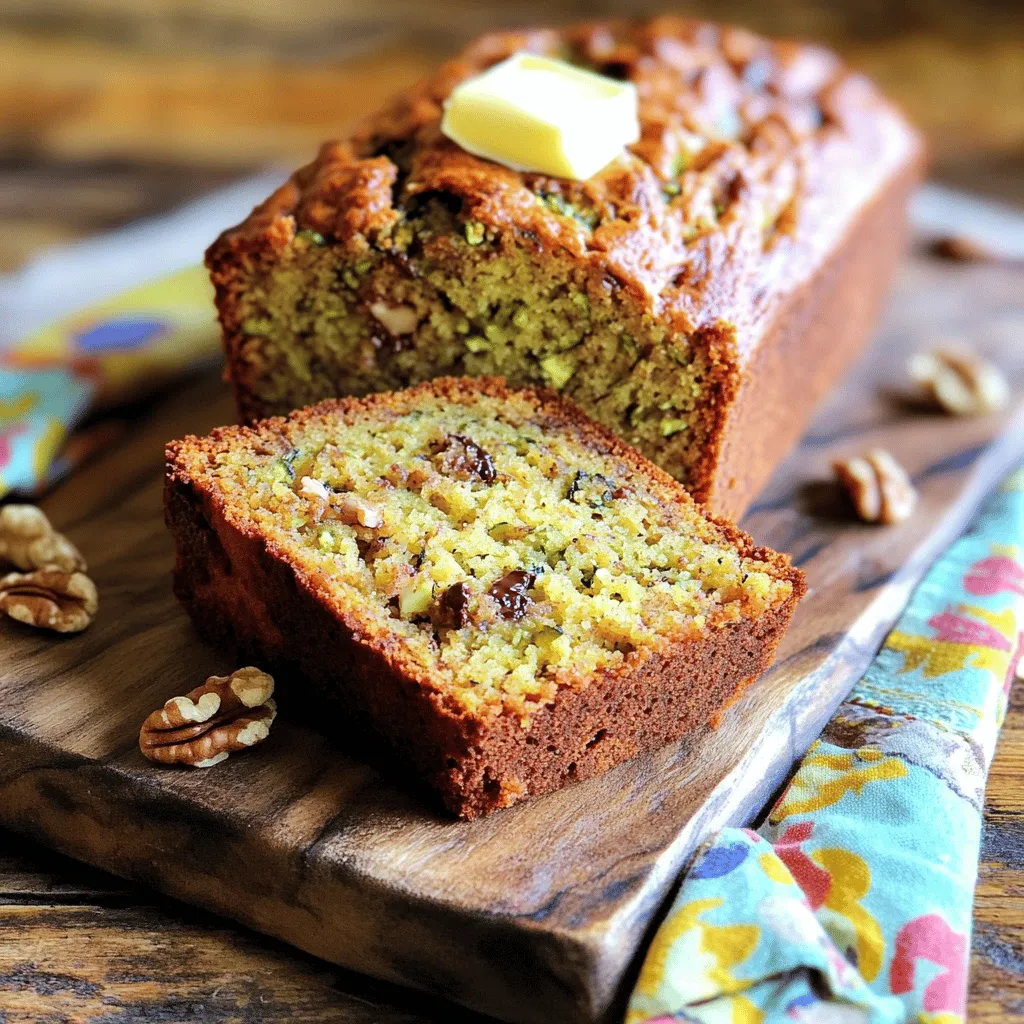
Zucchini Banana Bread Flavorful and Moist Recipe
Do you love warm, fresh bread that bursts with flavor? You’re in the right spot! This Zucchini Banana Bread recipe Read Full Recipe -
Fig Cake with Almond and Honey Delight Recipe
Are you ready to indulge in a delightful treat? My Fig Cake with Almond and Honey recipe combines rich flavors Read Full Recipe


hey,
i’m !
I’m so happy you’re here!
I pour heart and skill into every recipe I create. I know you’ll taste the difference now let’s enjoy this flavorful adventure together.


Crispy Tomato Pie Flavorful Comfort Food Recipe
If you’re craving a dish that blends rich flavors with crispy goodness, you’ve found it! My Crispy Tomato Pie is a delightful comfort food…

