


Latest & Greatest

Mango Bango Smoothie Refreshing and Simple Recipe
Are you ready to sip on something delicious? The Mango Bango Smoothie is both refreshing and easy to make. With
Read more…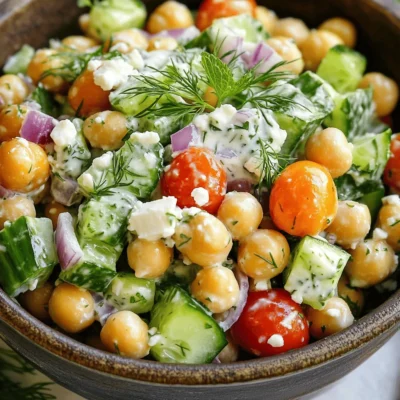
Tzatziki Chickpea Salad Fresh and Flavorful Delight
Looking for a fresh and tasty dish that’s easy to make? My Tzatziki Chickpea Salad checks all the boxes! Packed
Read more…
Lemony Grilled Zucchini with Crispy Chickpeas Delight
Are you ready to elevate your summer grilling game? In this article, I’ll show you how to make Lemony Grilled
Read more…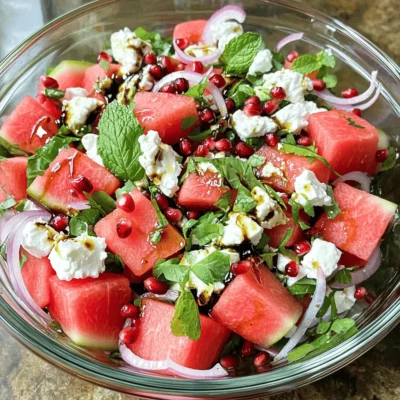
Watermelon Feta Salad Refreshing and Easy Recipe
Looking for a cool and tasty dish? My Watermelon Feta Salad is your answer! This easy recipe combines juicy watermelon,
Read more…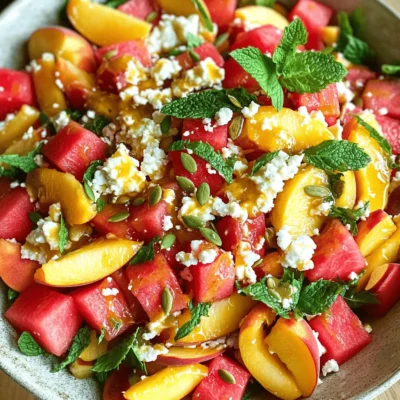
Peach Watermelon Salad Refreshing Summer Delight
Looking for the perfect summer dish? Peach Watermelon Salad is both refreshing and easy to make. With ripe peaches and
Read more…
Chicken Spring Rolls Crispy and Flavorful Snack Delight
If you’re craving a crispy and flavorful snack, chicken spring rolls are the perfect choice! In this post, I’ll guide
Read more…
Strawberry Kiwi Pavlova Fresh and Fruity Delight
If you crave a sweet treat that’s fresh and fruity, try my Strawberry Kiwi Pavlova! This dessert dazzles with its
Read more…
Mango Popsicles Refreshing Summer Treat for Everyone
Craving a cool and tasty treat this summer? Mango popsicles are the answer! These vibrant snacks are easy to make
Read more…browse recipes


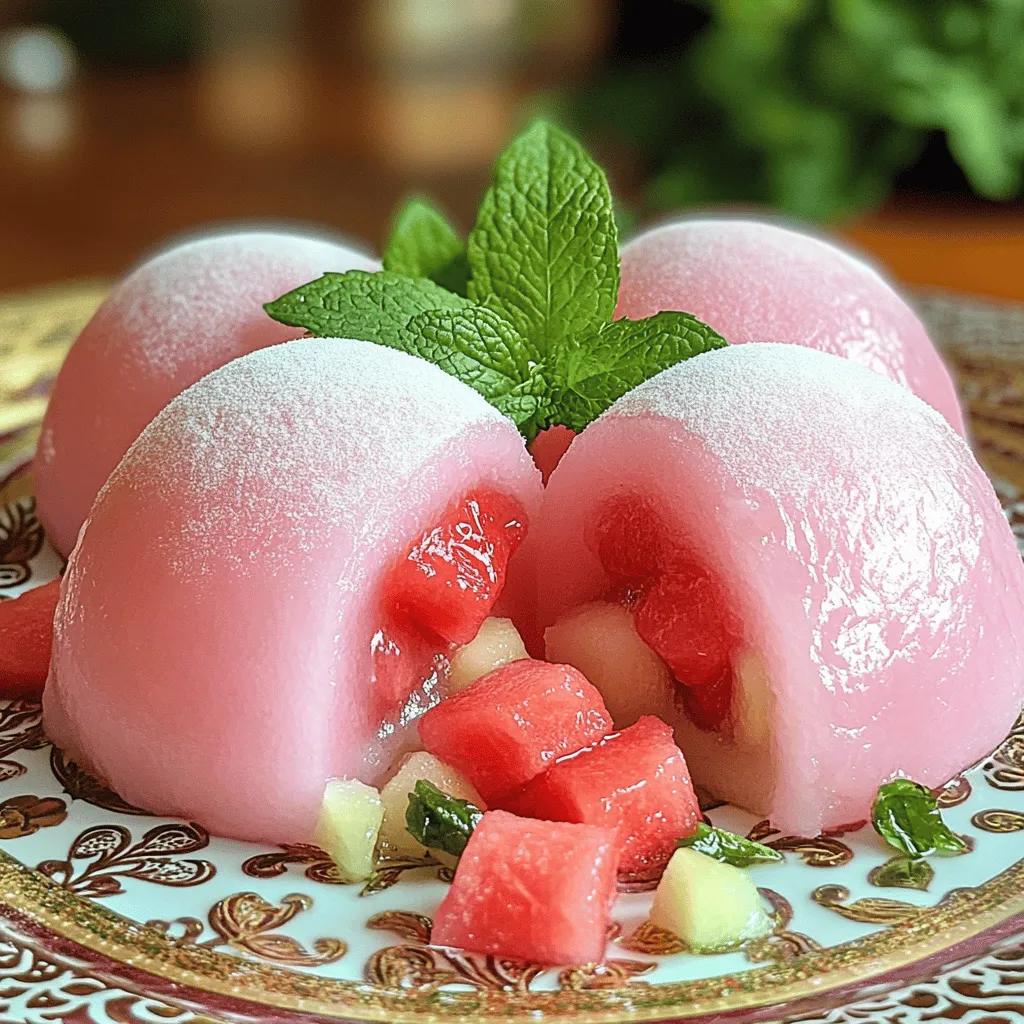
Watermelon Mochi Delightful and Easy Summer Treat
Watermelon mochi is a delightful treat that screams summer fun. This easy recipe combines the sweetness of ripe watermelon with the chewy goodness of…
My Latest Desserts

Mini Vanilla Cream Tarts with Raspberries Delight
Welcome to the sweet world of Mini Vanilla Cream Tarts with Raspberries! Today, I’ll show you how to make these Read Full Recipe-
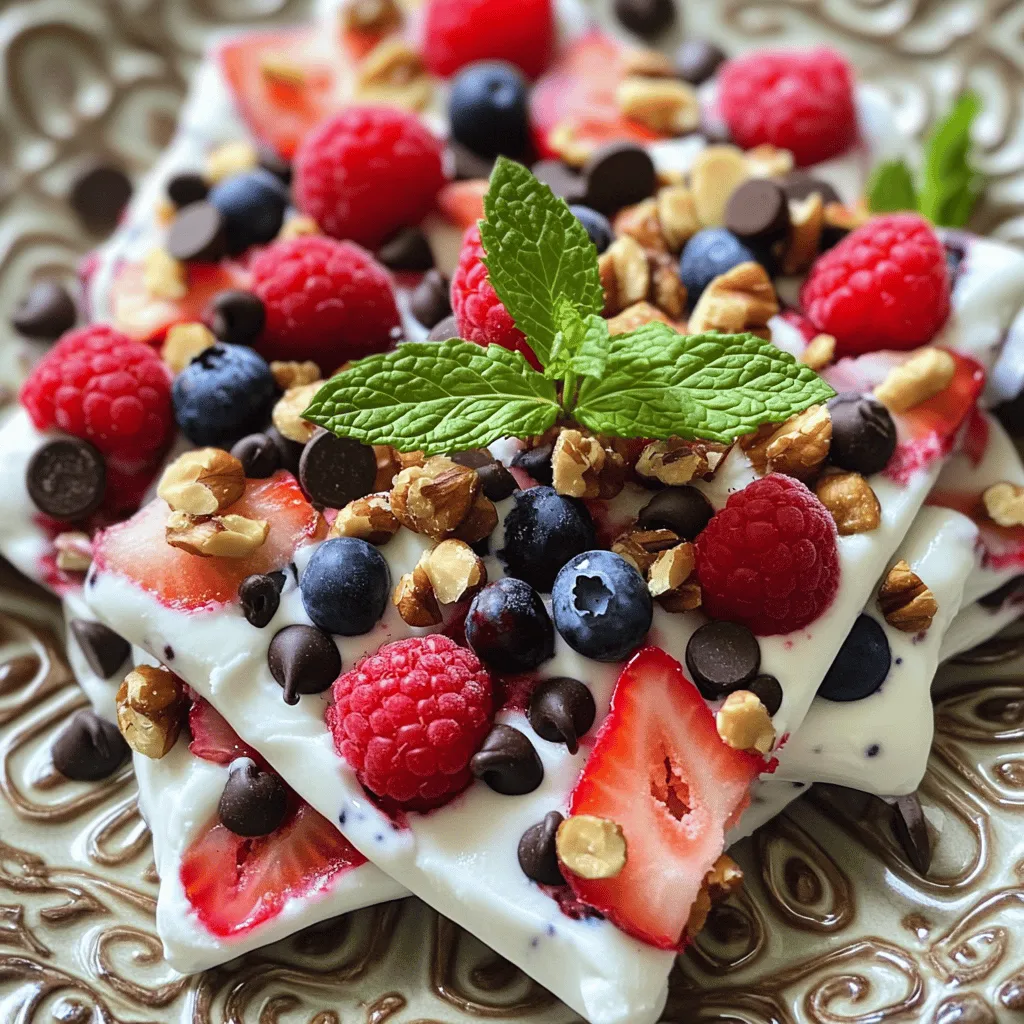
Frozen Yogurt Bark Delightful and Simple Treat
If you’re looking for a quick, tasty treat, frozen yogurt bark is a winner. It’s easy to make and fun Read Full Recipe -
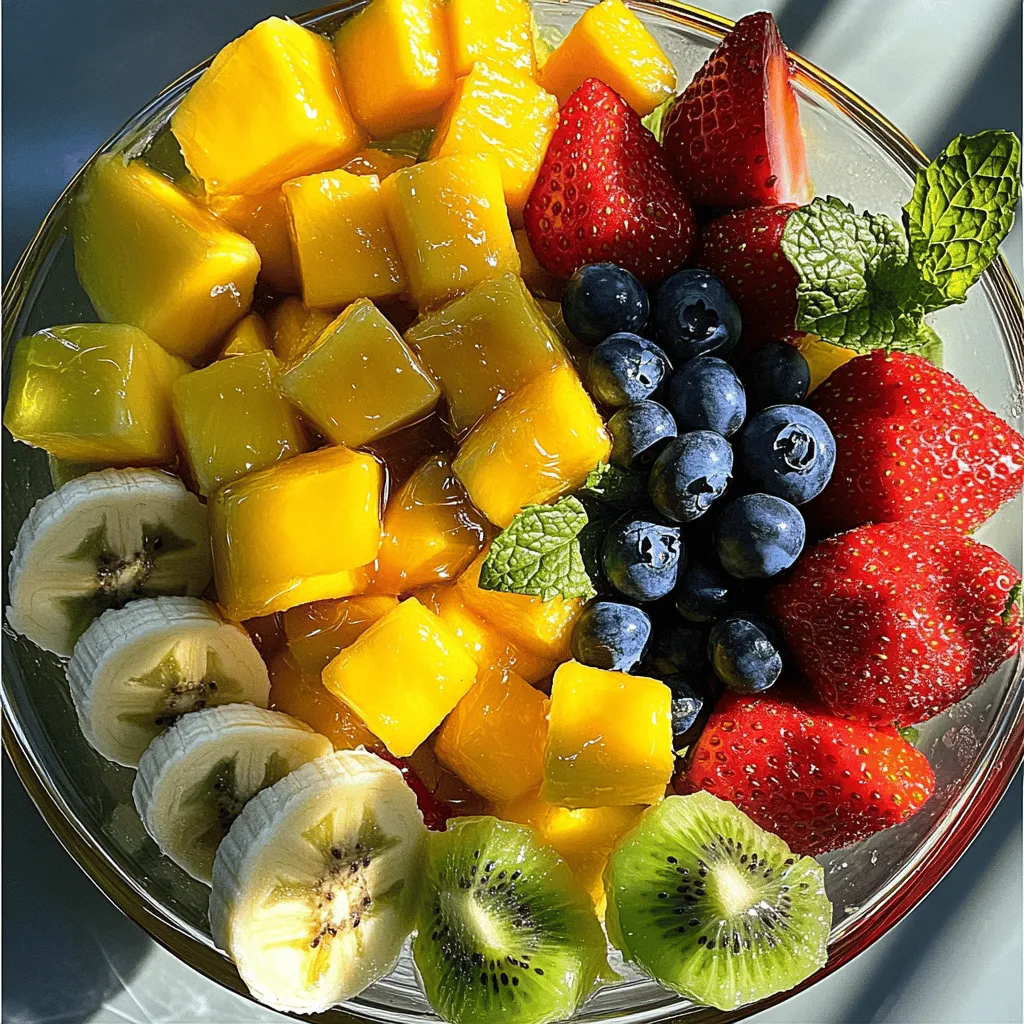
Fruit Salad with Honey Lime Dressing Easy Recipe
Looking for a fresh and easy treat? This Fruit Salad with Honey Lime Dressing is the perfect choice. Bursting with Read Full Recipe -
Blueberry Cheesecake Bars Simple and Delicious Treat
Looking for a dessert that’s easy to make and bursting with flavor? You’ve found it! These Blueberry Cheesecake Bars are Read Full Recipe -
Lemon Cheesecake Crumb Bars Delightful and Fresh Treat
Are you ready to brighten your day with a sweet treat? These Lemon Cheesecake Crumb Bars combine creamy cheesecake with Read Full Recipe -
Blueberry Heaven Cookies Irresistible Sweet Treat
Welcome to your new favorite cookie recipe! Blueberry Heaven Cookies are the perfect blend of sweet and tart, making them Read Full Recipe -
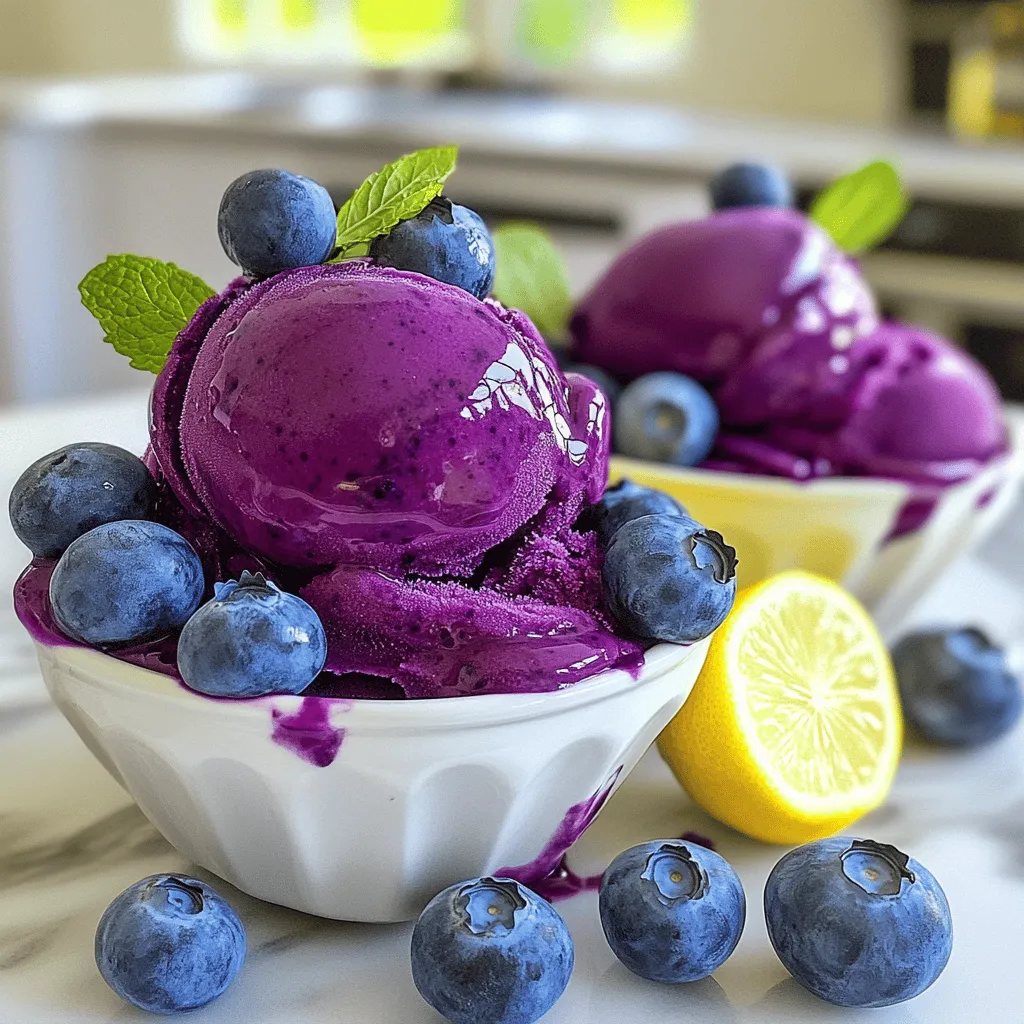
Lemon Blueberry Sorbet Fresh and Refreshing Delight
Cool off with a bowl of Lemon Blueberry Sorbet! This sweet, tangy treat is perfect for hot days. You only Read Full Recipe -
Lemon Blueberry Cupcakes Delightful and Light Treat
Are you ready to indulge in a sweet treat that brightens your day? These Lemon Blueberry Cupcakes are just what Read Full Recipe -
Blueberry Cheesecake Cookies Delightful and Easy Recipe
If you love the sweet and tangy combo of blueberry cheesecake, you’re in for a treat! I’ll show you how Read Full Recipe -
Greek Yogurt Ice Cream Creamy and Simple Delight
Looking for a cool treat that’s both delicious and easy to make? Greek yogurt ice cream is your answer! This Read Full Recipe


hey,
i’m !
I’m so happy you’re here!
I pour heart and skill into every recipe I create. I know you’ll taste the difference now let’s enjoy this flavorful adventure together.
![- 4 boneless, skinless chicken breasts - 1 cup homemade or store-bought pesto - 1 cup heavy cream - 1 cup cherry tomatoes, halved - 2 tablespoons olive oil - 1 teaspoon garlic powder - Salt and pepper to taste - ½ cup grated Parmesan cheese - Fresh basil leaves for garnish In Creamy Pesto Chicken with Roasted Tomatoes, the ingredients are key to flavor. The chicken breasts serve as a tender base. Pesto adds a rich, herby taste. Heavy cream brings a smooth texture to the dish. The cherry tomatoes, when roasted, become sweet and juicy. They balance the creamy sauce with their brightness. Olive oil and garlic powder help enhance the natural flavors of the tomatoes. Using salt and pepper to season the chicken brings out its taste. The grated Parmesan cheese melts into the sauce, adding depth. Fresh basil leaves add a pop of color and freshness. This easy recipe is a delight for any meal. You can find the full recipe in the next section. Enjoy! 1. Preheat your oven to 400°F (200°C). This step is key for roasting tomatoes well. 2. In a large bowl, mix 1 cup of halved cherry tomatoes with 2 tablespoons of olive oil, 1 teaspoon of garlic powder, salt, and pepper. Stir until all tomatoes are coated. 3. Spread the seasoned tomatoes on a parchment-lined baking sheet. Roast in the oven for 15-20 minutes until they are soft and a bit caramelized. 1. While the tomatoes roast, season 4 boneless, skinless chicken breasts with salt and pepper. This adds flavor to the meat. 2. Heat a large skillet over medium-high heat. Add a splash of olive oil. 3. When the oil is hot, add the chicken breasts. Sear each side for 5-7 minutes until golden brown. The chicken doesn’t need to be cooked all the way at this point. 1. Lower the heat to medium-low. Pour in 1 cup of heavy cream and 1 cup of pesto over the chicken. Stir gently to mix it well. 2. Sprinkle ½ cup of grated Parmesan cheese on top of the chicken. Cover the skillet and let it simmer for 10-12 minutes. Make sure the chicken reaches 165°F (75°C) inside. 3. Once cooked, remove from heat. Serve the chicken with the creamy sauce drizzled on top and add the roasted tomatoes around it. For the complete recipe, check out the [Full Recipe]. To ensure perfect chicken doneness, use a meat thermometer. The chicken should reach 165°F (75°C). This keeps it juicy and safe to eat. If you don’t have a thermometer, cut into the thickest part. The meat should be white, with no pink. Adjusting the pesto flavor intensity is easy. Start with a small amount, then taste. If you want it stronger, add more. The balance is key. The cream will mellow the pesto, so keep that in mind. You want a nice, rich flavor without it being too overpowering. For elegant plating, use a large white plate. Place the chicken in the center. Drizzle extra creamy pesto sauce over the top. Arrange the roasted tomatoes around the chicken. Garnish with fresh basil leaves for a bright touch. Suggested side dishes include crusty bread or pasta. Both options pair well with the creamy sauce. You can also serve it with a simple green salad. This adds freshness and color to your meal. {{image_2}} If you want to switch things up, there are easy swaps you can make. - Alternatives for heavy cream: You can use half-and-half for a lighter option. For a dairy-free choice, try coconut cream or cashew cream. Both will keep the dish creamy and flavorful. - Using different types of chicken: You can use thighs instead of breasts. Thighs have more fat, giving you a richer taste. Bone-in chicken also works well. Just adjust cooking time to ensure they cook through. Adding new flavors can make this dish your own. - Adding extra vegetables or spices: Toss in spinach or zucchini for added nutrition. You can also add red pepper flakes for heat or lemon zest for brightness. These additions will complement the pesto nicely. - Using different pesto flavors: Try sun-dried tomato pesto or spinach pesto for a unique twist. Each type will bring its own taste and pair well with the creamy sauce. Experiment and find your favorite! For the full recipe, check out Creamy Pesto Chicken with Roasted Tomatoes. Enjoy your cooking adventure! To store leftovers, let the chicken cool down. Place it in an airtight container. You can keep it in the fridge for up to three days. To keep chicken fresh, separate it from sauces and veggies. This helps prevent sogginess. You can reheat the dish in several ways. The best method is using a skillet. Heat it over low heat with a splash of water. This keeps the chicken moist. You can also use the microwave. Cover the dish with a damp paper towel to help retain moisture. For more details on how to make this dish, check out the Full Recipe. Can I make this dish ahead of time? Yes, you can prepare the chicken and sauce ahead of time. Cook the chicken and let it cool. Store it in the fridge. When you’re ready to eat, reheat it on the stove. This way, the flavors stay fresh. How can I make it dairy-free? You can swap the heavy cream for coconut cream or a dairy-free cream. Use dairy-free cheese for a similar taste. This keeps the creaminess while making it dairy-free. What sides go well with Creamy Pesto Chicken? You can serve this dish with many sides. Here are some great options: - Garlic bread - Steamed vegetables - Pasta tossed in olive oil - A fresh green salad These sides will balance the creamy sauce and make a complete meal. How long does this dish keep in the fridge? Creamy Pesto Chicken lasts about 3-4 days in the fridge. Store it in an airtight container. Make sure to cool it completely before putting it away. What can I use instead of pesto? If you don’t have pesto, try using sun-dried tomato paste or a fresh herb mix. You can also blend basil, garlic, nuts, and olive oil to make a quick sauce. Can I use another kind of cheese? Yes, you can use different cheeses. Mozzarella or goat cheese works well. You can even try feta for a tangy kick. Just remember to adjust the amount based on your taste. For the full recipe, check out Creamy Pesto Chicken with Roasted Tomatoes. This blog post covers the tasty recipe for Creamy Pesto Chicken. You learned about the main ingredients, like chicken, pesto, and heavy cream. I shared step-by-step instructions for roasting, searing, and serving. You also found helpful tips for perfecting the dish and ideas for variations. Keeping leftovers fresh is easy with the right storage. Lastly, I answered common questions about the recipe. Overall, this dish is simple to make and full of flavor. Enjoy trying it out!](https://foodishtalk.com/wp-content/uploads/2025/04/63eba379-5d7f-4e65-a995-6a8108ed5b97-300x300.webp)


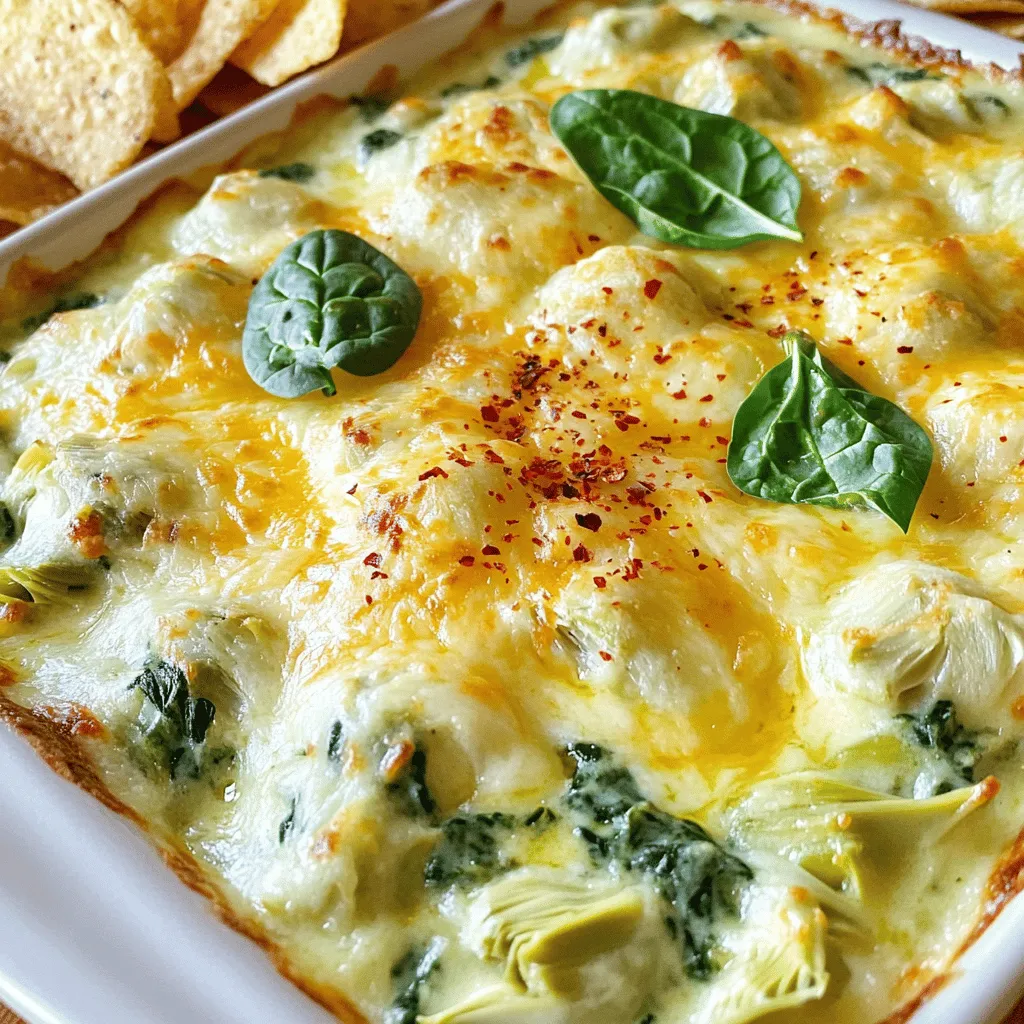
Savory Spinach Artichoke Dip Recipe to Impress Guests
Are you ready to wow your guests with a creamy, dreamy Spinach Artichoke Dip? This savory recipe combines fresh spinach, rich artichoke hearts, and…