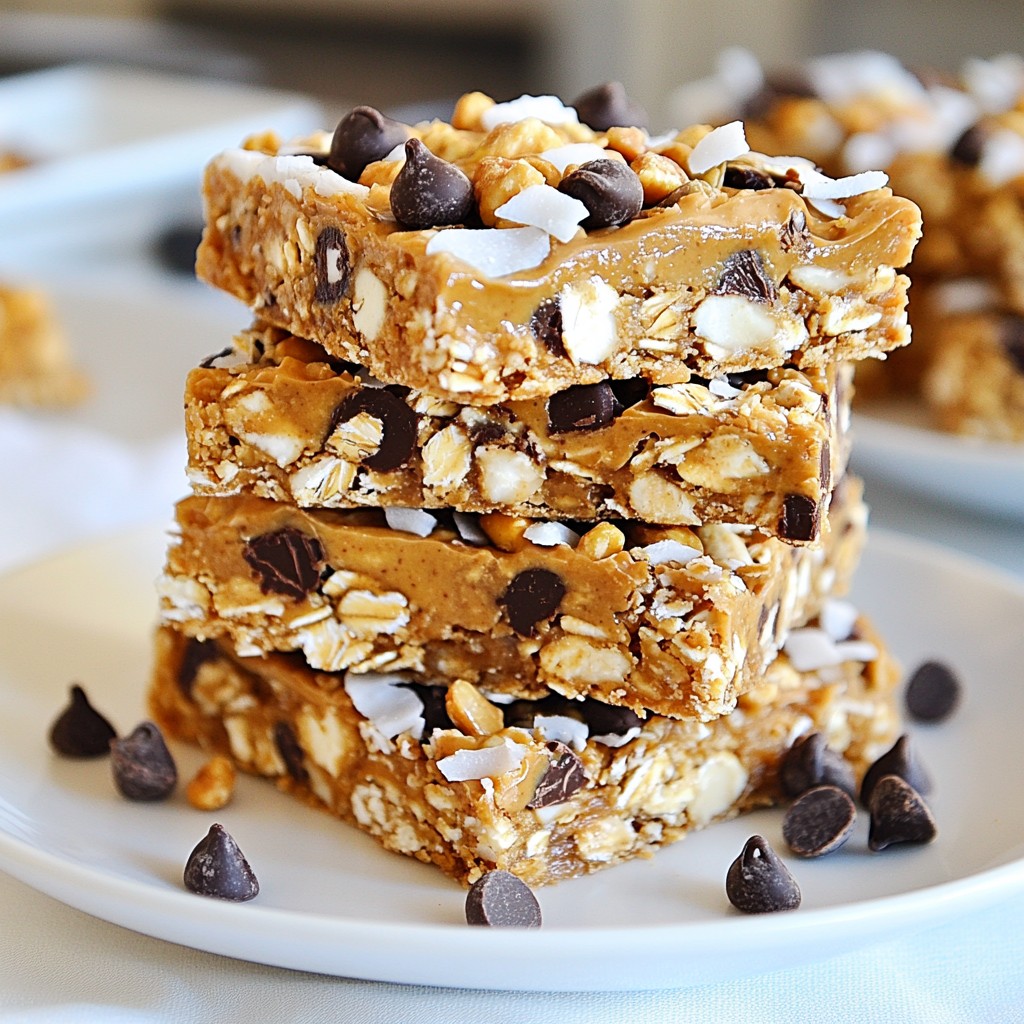
Are you looking for a quick and tasty snack? These No-Bake Peanut Butter Oat Bars are just what you need! With simple ingredients and easy steps, you can whip up a delicious treat in no time. Perfect for busy days, school lunches, or a satisfying pick-me-up. Let’s dive in and turn your kitchen into a hub of flavor and fun with this easy recipe!
Why I Love This Recipe
- Quick and Easy: This recipe requires no baking, making it a fast and simple treat to whip up anytime.
- Healthy Indulgence: With wholesome ingredients like oats and nuts, these bars offer a nutritious option for snacking.
- Customizable: You can easily tailor the recipe by swapping in your favorite nuts or adding dried fruits.
- Perfect for Meal Prep: These bars store well in the fridge, making them a great option for grab-and-go breakfasts or snacks.
Ingredients
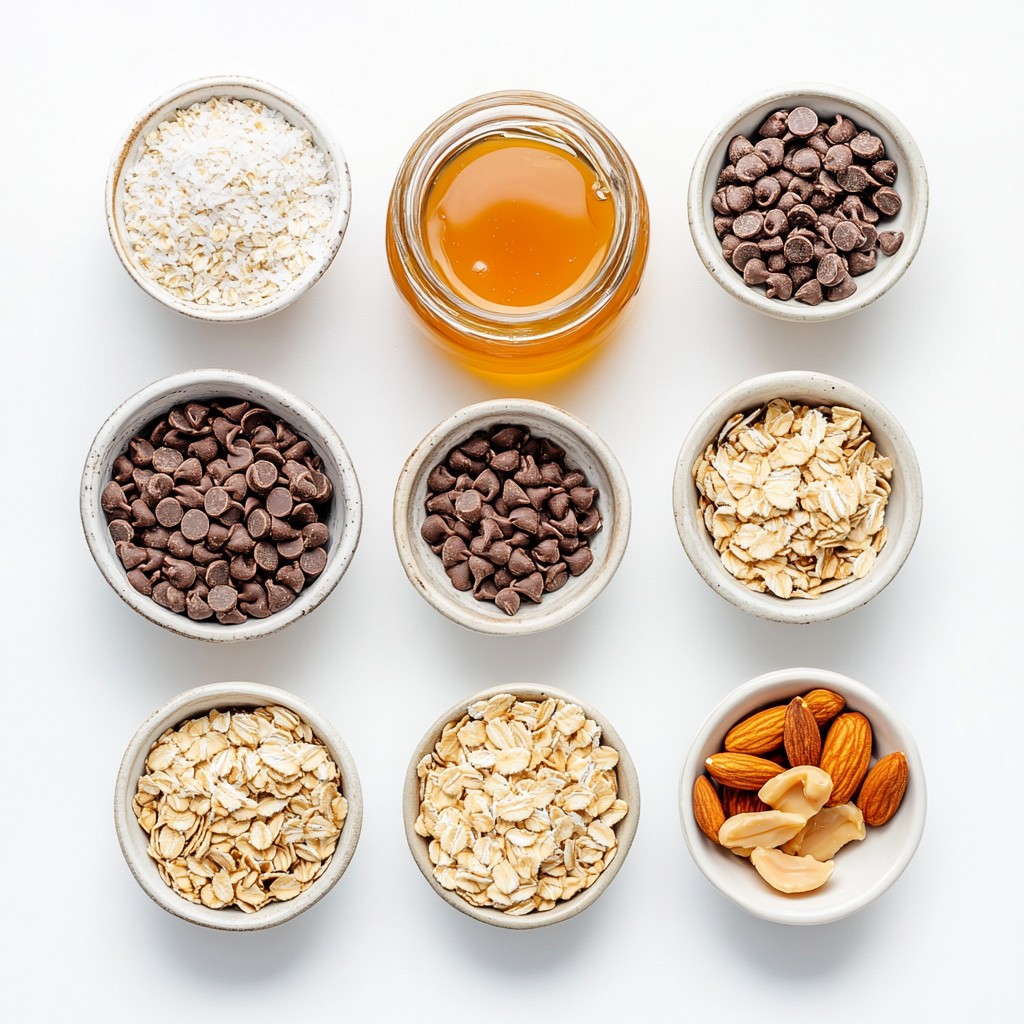
List of Ingredients Required
- 1 cup rolled oats
- 1 cup creamy peanut butter
- 1/2 cup honey or maple syrup
- 1/2 cup mixed nuts (chopped)
- 1/4 cup dark chocolate chips
- 1/4 cup shredded coconut (unsweetened)
- 1 teaspoon vanilla extract
- A pinch of salt
Gather these ingredients before you start. Using rolled oats gives a great base. Creamy peanut butter adds richness and flavor. Honey or maple syrup adds sweetness, while mixed nuts give crunch. Dark chocolate chips enhance the taste with a touch of sweetness. Shredded coconut adds texture and a hint of tropical flavor. Vanilla extract rounds out the taste, and a pinch of salt balances all the flavors.
These ingredients work well together. You can mix and match some of them based on your taste. For example, feel free to swap the mixed nuts with your favorites. You can also change the sweetener, using agave or brown rice syrup. The choice is yours!
Step-by-Step Instructions
Combine the Dry Ingredients
In a medium bowl, mix together these dry ingredients:
- 1 cup rolled oats
- 1/2 cup chopped mixed nuts
- 1/4 cup dark chocolate chips
- 1/4 cup unsweetened shredded coconut
- A pinch of salt
Make sure to blend them well. This mix gives your bars flavor and crunch.
Prepare the Peanut Butter Mixture
In another bowl, gently heat these items together:
- 1 cup creamy peanut butter
- 1/2 cup honey (or maple syrup)
You can do this in the microwave for about 20-30 seconds. If you use the stovetop, heat on low. Once blended, stir in 1 teaspoon of vanilla extract. This mix will add sweetness and a rich taste.
Combine Wet and Dry Mixtures
Now, pour the warm peanut butter mixture over the dry ingredients. Use a spatula or a spoon to mix everything together. Ensure the dry ingredients are fully coated. The mixture should feel sticky and hold nicely together.
Prepare the Baking Dish
Take an 8x8 inch baking dish and line it with parchment paper. Make sure some paper hangs over the edges. This will help you lift the bars out later without a mess.
Press and Set
Transfer your mixture into the prepared dish. Use your hands or a spatula to press it down firmly and evenly. You can add some extra chocolate chips or nuts on top and press them in if you like.
Place the dish in the fridge and chill for at least 2 hours. This step helps the bars set completely, making them easier to cut and enjoy later.
Tips & Tricks
Perfecting Texture
To get the right texture for these bars, focus on the mixture. You want it sticky but firm. If it feels too dry, add a little more peanut butter or honey. If it’s too wet, mix in extra oats. Press the mixture firmly into the baking dish. This helps the bars hold together better once they set.
Quick Serving Suggestions
These bars are great on their own, but you can make them even better. Try adding sliced bananas or berries on top. You can also sprinkle more nuts or chocolate chips for added crunch. A drizzle of honey or nut butter can enhance the flavor too.
Essential Tools Needed
Having the right tools makes a big difference. Use a medium mixing bowl for combining ingredients. A spatula helps you mix and press the bars easily. You will also need an 8x8 inch baking dish lined with parchment paper. This makes removal simple after chilling. If you have a microwave, it speeds up heating the peanut butter and honey.
Pro Tips
- Storage Tip: Keep the bars in an airtight container in the refrigerator for up to a week for maximum freshness.
- Nut Variation: Feel free to use any combination of nuts you like, such as almonds, walnuts, or pecans, to customize the flavor and texture.
- Sweetness Adjustment: Adjust the amount of honey or maple syrup to suit your taste; add more for sweeter bars or less for a more subdued flavor.
- Chocolate Choices: Experiment with different types of chocolate chips, such as milk, semi-sweet, or even white chocolate, for unique variations.
Variations
Different Nut Options
You can change the nuts in your bars to fit your taste. Almonds, walnuts, or pecans work well. If you want a crunch, try using sunflower seeds or pumpkin seeds. They add a nice twist and boost nutrition too. You can adjust the amount as needed. Just keep the total nut weight close to half a cup.
Flavor Additions
Want to spice things up? You can add cinnamon or nutmeg for warmth. These spices enhance the flavor without much effort. If you like protein, mix in a scoop of your favorite protein powder. This change makes the bars more filling and nutritious. Just remember, too much spice can overpower the peanut butter flavor.
Sweetener Substitutes
If you want a different sweetness, use agave or maple syrup. They give a unique taste and work well with peanut butter. You can also try sugar alternatives like stevia or monk fruit. These options can lower the sugar content. Always check the amount needed, as they can be sweeter than honey.
Storage Info
Best Storage Practices
To keep your no-bake peanut butter oat bars fresh, wrap them well. I usually use plastic wrap or place them in an airtight container. If you use parchment paper, it helps to keep them from sticking together. Store the bars in the fridge. This keeps them firm and tasty. The cool air helps prevent spoilage.
Freezing Tips
If you want to save some for later, freezing is a great option! Cut the bars into pieces first. Then, wrap each piece in plastic wrap. Place the wrapped bars in a freezer-safe bag. You can store them in the freezer for up to three months. When you want a snack, just pull one out and let it thaw at room temperature.
Shelf Life
These no-bake bars have a good shelf life. When stored in the fridge, they can last for about one week. If you freeze them, they can stay fresh for three months. Keep an eye on them. If they start to look or smell off, it’s best to toss them. Enjoy them fresh for the best taste!
FAQs
Can I use natural peanut butter?
Yes, you can use natural peanut butter. It adds great flavor and health benefits. Natural peanut butter has no added sugars or oils. Just make sure to stir it well before using. You might need to add a little more honey or maple syrup. This helps keep the bars sticky and together.
How long do these oat bars last?
These oat bars can last up to one week when stored properly. Keep them in an airtight container in the fridge. This helps them stay fresh and tasty. If you want to enjoy them longer, you can freeze them. They freeze well for up to three months. Just cut them into bars before freezing.
Can I make these bars vegan?
Yes, you can make these bars vegan easily. Swap honey for maple syrup or agave nectar. You can also choose dark chocolate chips that are dairy-free. This way, you keep the same yummy taste while making them vegan-friendly. Enjoy your tasty snack without any animal products!
You can create tasty oat bars using simple ingredients and easy steps. Just mix oats, nuts, and chocolate, then blend with peanut butter and honey. Remember to chill the mixture to set it right. Experiment with flavors and toppings to make it your own. Store them well for fresh snacks later. These bars are a fun and healthy treat for anyone! Now, grab your tools and get started on your next batch. Enjoy making these bars as much as you will love eating them!


