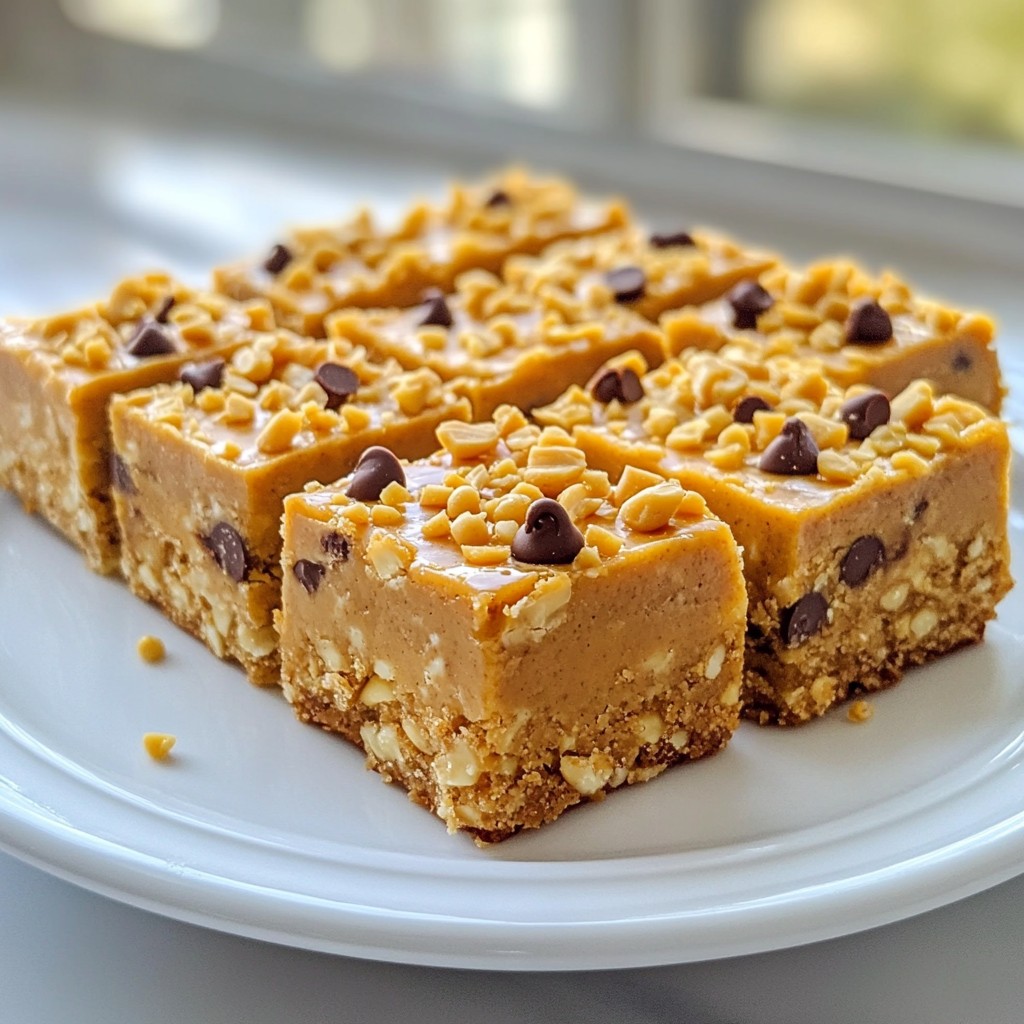
Looking for a simple, tasty treat? You’re in the right place! No-bake peanut butter bars are quick, easy, and packed with flavor. Perfect for satisfying your sweet tooth, they also make a great snack. In this article, I’ll show you how to whip up these delicious bars using just a few ingredients. Let’s get started on creating a delightful dessert that everyone will love!
Why I Love This Recipe
- Quick and Easy: This recipe requires no baking, making it a perfect quick treat to whip up in just 15 minutes!
- Nutritious Ingredients: Packed with oats, peanut butter, and optional protein powder, these bars are a healthy snack option.
- Customizable: You can easily customize the recipe by adding your favorite mix-ins like nuts or dried fruits.
- Delicious Flavor: The combination of peanut butter and chocolate creates a mouthwatering treat that everyone will love!
Ingredients
Main Ingredients for No-Bake Peanut Butter Bars
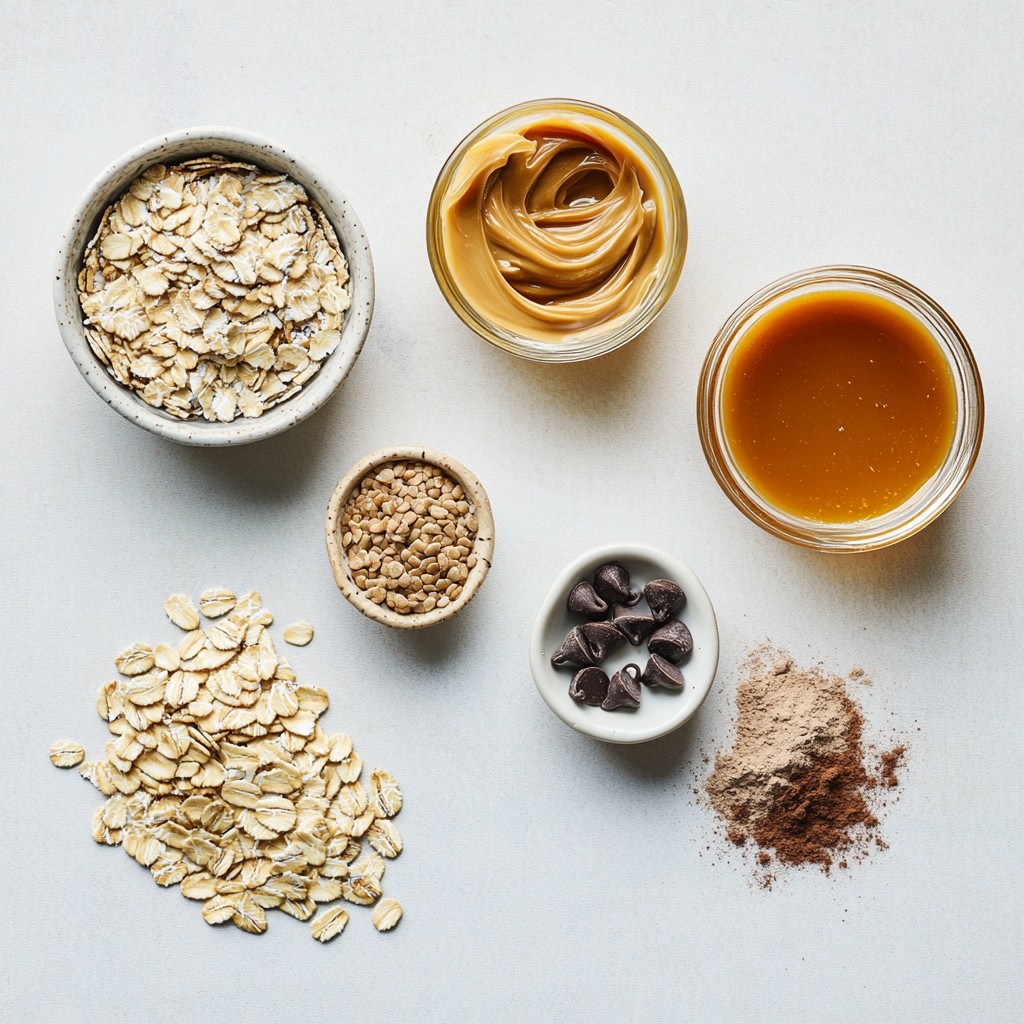
To make these tasty treats, you need just a few key ingredients. Here’s what you will use:
- 1 cup natural peanut butter (creamy or crunchy)
- 1/2 cup honey or maple syrup
- 1 1/2 cups rolled oats
- 1/2 cup protein powder (optional, any flavor)
- 1/4 cup mini chocolate chips (dairy-free if you want)
- 1/4 cup flaxseed meal (optional for nutrition)
- A pinch of salt
These ingredients create a rich and chewy bar that is full of flavor. The peanut butter gives a creamy base, while the oats add a nice texture.
Optional Ingredients for Enhanced Flavor and Nutrition
You can change the taste and health benefits by adding some optional ingredients. Here are a few ideas:
- Protein powder can boost nutrition and make the bars more filling.
- Flaxseed meal adds omega-3 fatty acids and fiber.
- Mini chocolate chips bring sweetness and a fun treat.
Feel free to add other mix-ins like nuts, seeds, or dried fruit for extra flavor and crunch.
Notes on Ingredient Substitutions
If you don’t have certain ingredients, don’t worry! Here are some easy swaps:
- Use almond butter or cashew butter instead of peanut butter for a different taste.
- Maple syrup can replace honey for a vegan option.
- Instead of rolled oats, quick oats can work, but the texture may change slightly.
These substitutions can help you customize the bars to fit your taste and dietary needs.
Step-by-Step Instructions
Preparing the Peanut Butter Mixture
To start, grab a medium saucepan. Over low heat, combine 1 cup of natural peanut butter and 1/2 cup of honey or maple syrup. Stir it gently until the mix is smooth. This usually takes a couple of minutes. Once it’s well-blended, remove the saucepan from the heat. This warm mix will help the oats stick later.
Combining Dry Ingredients
Next, take a large mixing bowl. Add 1 1/2 cups of rolled oats, 1/2 cup of protein powder, and 1/4 cup of flaxseed meal if you want. Then, sprinkle in a pinch of salt. Mix these dry ingredients well. Make sure they are evenly combined, so every bite is tasty.
Final Assembly and Setting Process
Now, pour the warm peanut butter mixture into the bowl with the dry ingredients. Mix it thoroughly until all the oats are coated. When it looks uniform, gently fold in 1/4 cup of mini chocolate chips.
Prepare an 8x8 inch baking dish by lining it with parchment paper. Leave some paper hanging over the edges. This makes it easy to lift out later. Transfer the mixture into the dish. Press it down firmly using your hands or a spatula. Make sure it’s packed tightly and even on top.
Place the dish in the fridge for at least 1-2 hours. This waiting time helps the bars set. Once set, lift the bars out using the parchment paper. Cut them into squares or rectangles. Enjoy your sweet treat!
Tips & Tricks
How to Achieve the Perfect Consistency
To get the right texture for your bars, warmth is key. Always warm the peanut butter and honey together. This helps them blend well. If you use cold peanut butter, it can be hard to mix. After mixing, the oats should stick together but still feel soft. If it feels too dry, add a splash of honey.
Best Practices for Pressing Mixture Evenly
When you press the mixture into your dish, use your hands or a spatula. Start from the center and work your way to the edges. Press firmly to avoid air pockets. A flat, even top will help cut the bars easily later. Make sure to pack it tight for better firmness. This helps the bars hold shape when cut.
Serving Suggestions for Presentation
For a fun look, arrange the bars on a pretty platter. Sprinkle mini chocolate chips or crushed peanuts on top. This adds color and texture. You can also serve with fresh fruit like bananas or berries. Serve chilled for a refreshing treat. Remember, these bars store well in the fridge for a week.
Pro Tips
- Choose the Right Peanut Butter: For a creamier texture, opt for creamy peanut butter; if you prefer a bit of crunch, go for crunchy. Natural peanut butter with minimal additives is best for flavor and health.
- Sweetness Adjustments: Depending on your preference, you can adjust the amount of honey or maple syrup. Adding a bit more can enhance sweetness, while reducing it can make the bars less sugary.
- Protein Boost: If you're looking to increase the protein content, adding a flavored protein powder can not only enhance the nutritional value but also add a fun twist to the flavor.
- Storage Tips: Keep the bars in an airtight container. They can last up to a week in the refrigerator, but you can also freeze them for longer storage—just make sure to wrap them tightly!
Variations
Adding Different Mix-Ins (e.g., nuts, seeds)
You can make your no-bake peanut butter bars more fun by adding mix-ins. Nuts like chopped almonds or walnuts give a nice crunch. Seeds like sunflower or pumpkin seeds add great texture and nutrition. Just mix in about 1/2 cup of your choice into the oats before you add the peanut butter mixture.
Flavor Twist Ideas (e.g., cocoa powder, vanilla)
Want a new taste? You can add cocoa powder for a chocolatey kick. Just mix in 1/4 cup of unsweetened cocoa powder with the dry ingredients. You can also add a splash of vanilla extract to the peanut butter mix for a warm flavor. This small change can make a big difference in taste!
Dietary Adjustments (e.g., vegan, gluten-free)
If you follow a vegan diet, swap honey for maple syrup. This keeps the bars sweet and creamy. For a gluten-free version, use certified gluten-free oats. Also, check your protein powder to ensure it’s gluten-free. These simple swaps let everyone enjoy your tasty bars!
Storage Info
Proper Storage Techniques for Freshness
To keep your no-bake peanut butter bars fresh, store them in an airtight container. This helps prevent air from making them dry. Always let the bars cool completely before putting them away. If you have leftovers, place a sheet of parchment paper between layers for easy access.
How Long No-Bake Peanut Butter Bars Last
When stored correctly, no-bake peanut butter bars last up to one week in the fridge. You can enjoy them as a quick snack or a sweet treat. Make sure to check for any signs of spoilage before eating. If they look or smell off, it’s best to toss them.
Freezing Instructions for Longer Storage
For longer storage, you can freeze your peanut butter bars. First, cut them into squares or rectangles. Then, wrap each piece in plastic wrap. Place the wrapped bars in a freezer-safe bag or container. They can last up to three months in the freezer. When you’re ready to eat, let them thaw in the fridge for a few hours. Enjoy the taste of fresh bars anytime!
FAQs
Can I use crunchy peanut butter instead of creamy?
Yes, you can use crunchy peanut butter. It will add a nice texture. The bars will still hold together well. Just make sure to stir it well with the honey or syrup. You may notice a few extra bites of crunch in every bite!
How can I make my bars firmer?
To make your bars firmer, you can add more oats. Increasing the rolled oats by half a cup helps. You can also chill them longer in the fridge. Freezing the bars for about 30 minutes is another great option. This extra time helps them set up nice and solid.
What's the best way to cut no-bake bars?
The best way to cut no-bake bars is to use a sharp knife. First, lift the bars out of the dish using the parchment paper. Then, place the bars on a cutting board. Cut them into squares or rectangles. Wipe the knife with a damp cloth after a few cuts. This keeps the edges neat and tidy.
You learned how to make no-bake peanut butter bars with easy steps. We reviewed main and optional ingredients that boost flavor and nutrition. I shared tips for the perfect mix and great serving ideas. You also saw how to store these bars for freshness and how to adapt for different diets.
Now you can create delicious no-bake bars that suit your taste. Enjoy experimenting with flavors and sharing your treats with others!


