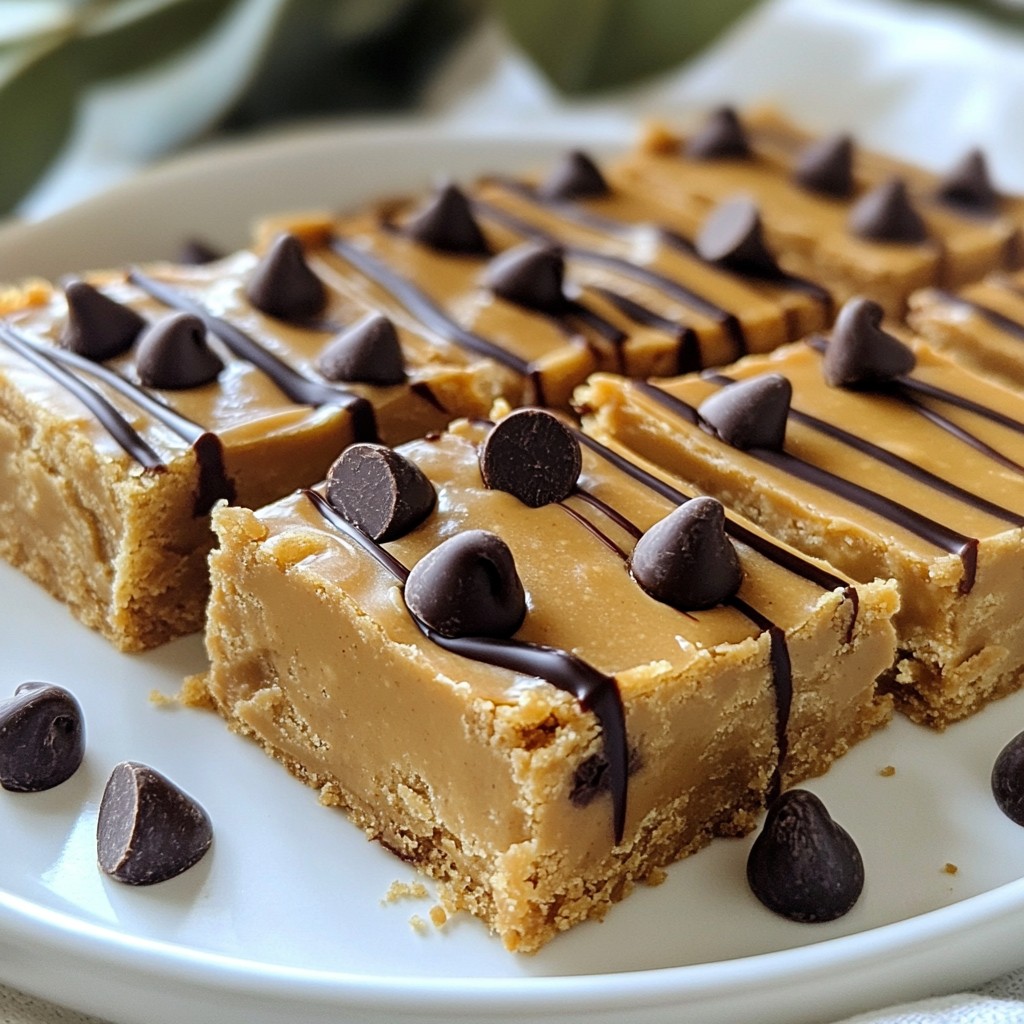
Are you craving a quick and easy treat that packs a punch? Look no further! These No-Bake Peanut Butter Bars are not just simple to make; they’re packed with flavor and nutritious ingredients. With just a handful of items like natural peanut butter, oats, and honey, you can whip up this delicious dessert in no time. Let’s dive into this fun recipe that will satisfy your sweet tooth and keep you happy!
Why I Love This Recipe
- Quick and Easy: This recipe comes together in just 10 minutes, making it perfect for a last-minute treat.
- Healthy Ingredients: Made with natural peanut butter, rolled oats, and almond flour, these bars are nutritious and satisfying.
- Customizable: You can easily swap ingredients like honey for maple syrup or add nuts for an extra crunch.
- Perfect for Meal Prep: These bars store well in the fridge, making them a great grab-and-go snack for busy days.
Ingredients
List of Ingredients
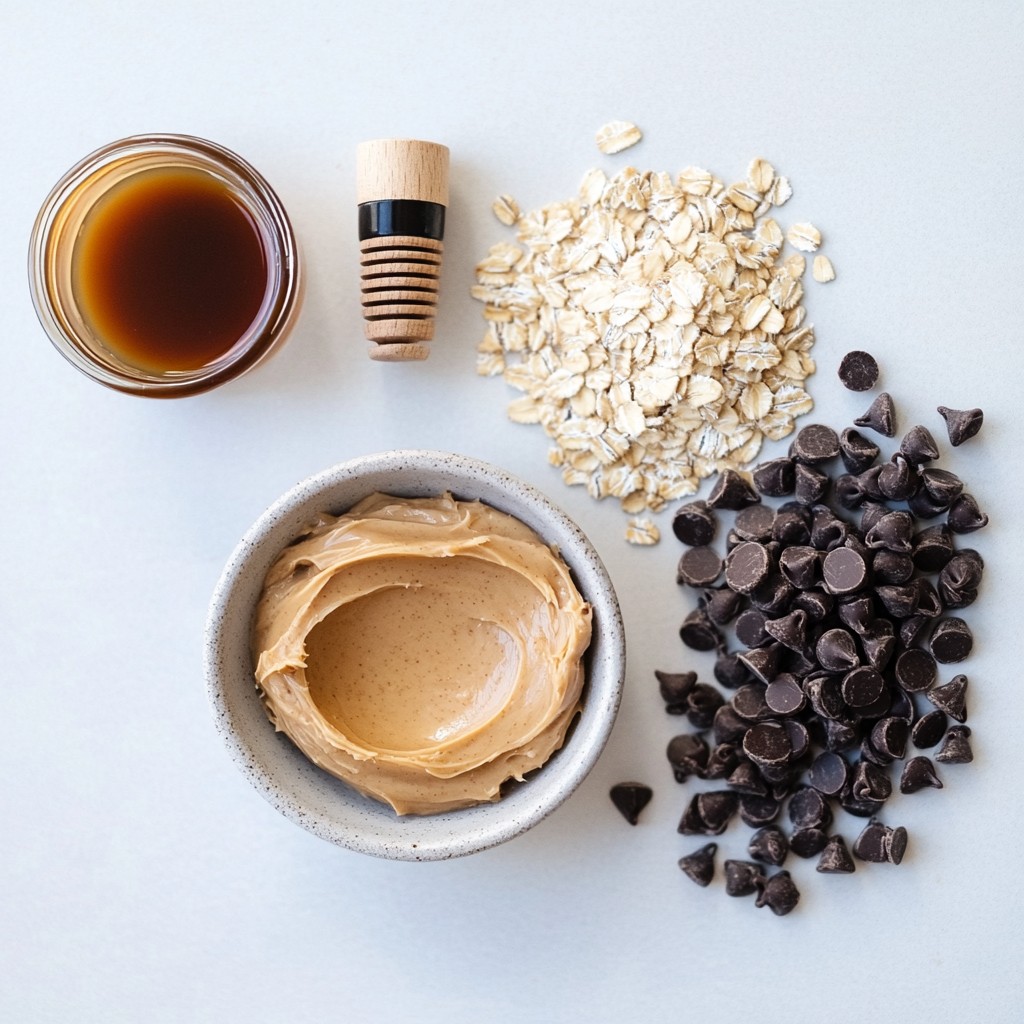
- 1 cup natural peanut butter
- 1 cup rolled oats
- 1/2 cup honey or maple syrup
- 1/2 cup almond flour
- 1/4 cup chocolate chips (dark or semi-sweet)
- 1/4 teaspoon salt
- 1/2 teaspoon vanilla extract
Quality Ingredient Tips
Choosing the right peanut butter I recommend using natural peanut butter. Look for brands with just peanuts and salt. Avoid added sugars or oils. The taste is rich and pure. It really makes a difference in your bars.
Best oats for texture Opt for rolled oats. They give a nice chewy texture. Quick oats can work, but they may make the bars too soft. Rolled oats hold their shape better when mixed.
Using natural sweeteners Honey or maple syrup is best for these bars. They add sweetness without being too heavy. If you prefer a vegan option, choose maple syrup. Both options blend well with peanut butter.
Step-by-Step Instructions
Preparation Steps
1. Start by mixing the peanut butter and sweetener. In a big bowl, add 1 cup of natural peanut butter and 1/2 cup of honey or maple syrup. Stir until the mix is smooth and creamy.
2. Next, combine the dry ingredients. Add 1 cup of rolled oats, 1/2 cup of almond flour, 1/4 teaspoon of salt, and 1/2 teaspoon of vanilla extract. Mix these well until they are all blended.
3. Now, fold in the chocolate chips. Gently add 1/4 cup of chocolate chips to the mix. Make sure they are evenly spread throughout the mixture.
Setting Bars
1. Line your baking dish with parchment paper. Use an 8x8 inch dish, leaving some paper hanging over the sides. This makes it easy to lift the bars out later.
2. Pour the mixture into the lined dish. Use a spatula to press it down firmly. Make sure it fills every corner evenly.
3. Refrigerate to set. Let the bars chill in the fridge for at least 2 hours. If you’re in a hurry, 30 minutes in the freezer works well too!
Cutting and Serving
1. To cut the bars, lift them out using the parchment paper. Place them on a cutting board. Use a sharp knife to cut them into squares or rectangles.
2. For presentation, serve the bars on a nice plate. You can drizzle some melted dark chocolate over the top for a special touch.
3. For serving ideas, enjoy them as a snack, or pair with a glass of milk. They also make a great lunchbox treat!
Tips & Tricks
Common Mistakes to Avoid
- Overmixing the ingredients: Mix just until combined. Too much mixing can make bars tough.
- Not refrigerating long enough: Let the bars chill for at least 2 hours. This helps them set properly.
Customization Suggestions
- Adding nuts or seeds: Try adding chopped nuts or seeds for a crunch. Walnuts or chia seeds work well.
- Using different types of chocolate: Dark, semi-sweet, or even white chocolate can change the flavor. Experiment to find your favorite.
Serving Suggestions
- Pairing with desserts: These bars go great with ice cream or fresh fruit. They add a nice balance.
- Storage-friendly options: Keep them in an airtight container. They last well in the fridge or freezer.
Pro Tips
- Chill for Firmness: For the best texture, let the bars chill for the full 2 hours in the refrigerator. This allows them to set properly, making them easier to cut and enjoy.
- Nut Butter Variations: Feel free to swap out peanut butter for other nut butters like almond or cashew for a different flavor profile. Just be sure to use natural varieties without added sugars.
- Sweetness Level: Adjust the sweetness by varying the amount of honey or maple syrup. You can start with less and taste the mixture before adding more if needed.
- Storage Tips: Store the bars in an airtight container in the fridge for up to one week, or freeze them for longer storage. Just make sure to separate layers with parchment paper to prevent sticking.
Variations
Different Flavor Additions
You can change up the flavor of these bars easily. A chocolate peanut butter combo is a favorite. Just add more chocolate chips or drizzle melted chocolate on top. For nut butter alternatives, try almond or cashew butter. These options give a new twist to the bars while keeping them tasty.
Dietary Modifications
If you need gluten-free options, swap regular oats for certified gluten-free oats. This keeps the bars safe for those with gluten sensitivities. For vegan adaptations, use maple syrup instead of honey. Also, choose dairy-free chocolate chips. These simple swaps help everyone enjoy the bars.
Size and Shape Variations
You can make mini bars for a fun snack. Just use smaller molds or cut the bars into smaller squares. This makes them easy to grab and share. If you want to use different molds, try silicone molds shaped like hearts or stars. This adds a fun touch to your treats.
Storage Info
Best Storage Practices
- Storing in the refrigerator: Keep your peanut butter bars in an airtight container. They stay fresh longer in the fridge. Just make sure they are well-wrapped to avoid drying out. They can last up to a week this way.
- Storing in the freezer: For longer storage, place the bars in the freezer. Use freezer-safe bags or containers. They can last for about three months. When you want one, just take it out and let it thaw for a bit.
Shelf Life Information
- How long do they last?: In the fridge, bars last about seven days. In the freezer, they last up to three months.
- Signs of spoilage: If you see any mold or a change in smell, it’s time to throw them away. If they seem dry or crumbly, they may not taste as good.
Reheating Instructions
- Best way to enjoy leftover bars: You don’t need to reheat these bars! They taste great cold. You can also let them sit at room temperature for a few minutes if you prefer them soft.
- Do they freeze well?: Yes, they freeze very well! Just remember to wrap them tightly. This helps keep their flavor and texture.
FAQs
Can I use a substitute for peanut butter?
Yes, you can use almond butter or sunflower seed butter. Both provide a similar creamy texture. They also pair well with the other ingredients. Just keep in mind that the flavor will change slightly.
How do I make these bars vegan?
To make these bars vegan, use maple syrup instead of honey. Most nut butters are already vegan. Check the labels to be sure. You can also use dark chocolate chips that are dairy-free.
What if I don’t have almond flour?
If you lack almond flour, you can use oat flour instead. Simply blend rolled oats in a blender until fine. This also keeps the bars gluten-free if you use certified oats.
Can I add protein powder to the recipe?
Yes, you can add protein powder! Just reduce the almond flour by 1/4 cup. This change helps keep the texture right. It boosts protein without changing the flavor much.
How many calories are in one bar?
Each bar contains about 150 calories. This number can change based on ingredients used. Always check labels for the most accurate info.
This article showed you how to make tasty, healthy bars using natural ingredients. We discussed quality options, preparation steps, and storage tips to keep your bars fresh. Remember to avoid overmixing and refrigerate long enough for the best results. Feel free to customize your bars with nuts or different flavors. Making these easy treats can fit anyone’s diet, with simple swaps for gluten-free or vegan needs. Enjoy your homemade bars as snacks or desserts, and get creative with your perfect recipe!


