Ready to dive into a delightfully simple dessert? These No Bake Oreo Cheesecake Bars are a tasty treat that anyone can make! With just a few easy steps and common ingredients, you’ll whip up a creamy, chocolatey dessert that impresses. I’ll guide you through each step, from creating a perfect crust to tips for serving. Get ready to satisfy your sweet tooth without the oven!
Why I Love This Recipe
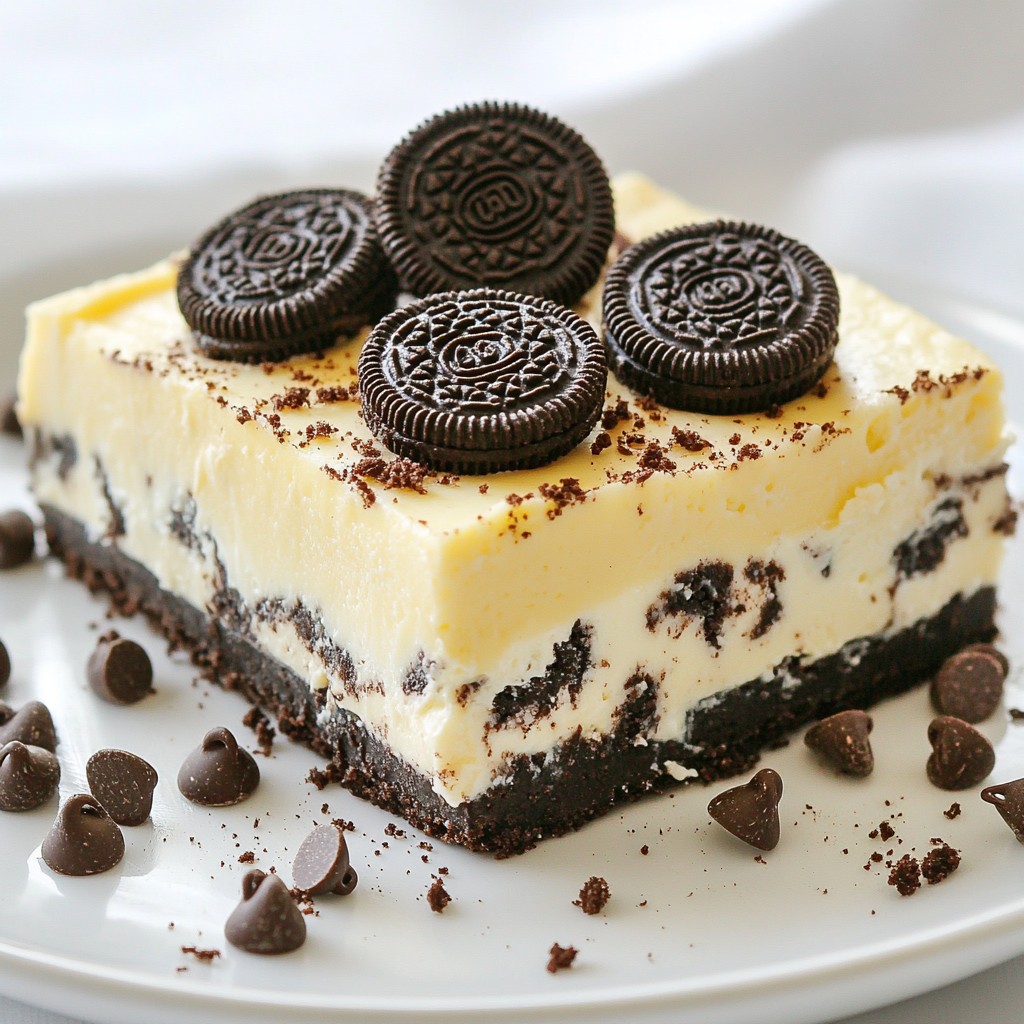
- Decadent Flavor: This no-bake Oreo cheesecake bars are the perfect blend of rich cream cheese and crunchy Oreo cookies, making every bite a delightful experience.
- Easy Preparation: No baking is required! Just a few simple steps and chilling time, you'll have a delicious dessert without the oven hassle.
- Versatile Treat: These bars are great for any occasion, whether it’s a family gathering, a party, or just a sweet treat for yourself.
- Make Ahead: Perfect for meal prep or entertaining, you can make these bars in advance and store them in the fridge, ensuring they’re ready whenever you need a sweet fix.
Ingredients
List of Ingredients
- 24 Oreo cookies, crushed
- 1/4 cup unsalted butter, melted
- 8 oz cream cheese, softened
- 1/2 cup powdered sugar
- 1 tsp vanilla extract
- 1 cup heavy whipping cream
- 1/4 cup chocolate chips (for garnish)
- Extra crushed Oreo cookies (for garnish)
To make No Bake Oreo Cheesecake Bars, gather these ingredients. You need 24 Oreo cookies for the crust and some extra for the filling. The melted butter helps bind the crumbs. Cream cheese gives the bars their rich taste. Powdered sugar adds sweetness. Vanilla extract enhances the flavor.
You will also need heavy whipping cream. This is key for a light and fluffy texture. Finally, chocolate chips and extra crushed Oreos are for garnishing. They add a nice touch and extra crunch. These ingredients work together to create a tasty treat that anyone can enjoy.

Step-by-Step Instructions
Preparing the Crust
- First, take 24 crushed Oreo cookies and place them in a medium bowl.
- Add 1/4 cup of melted unsalted butter to the cookie crumbs.
- Mix the crumbs and butter until the crumbs look wet and well-coated.
- Next, press this mixture firmly into the bottom of a 9x9 inch baking dish.
- Use the back of a measuring cup to smooth it out evenly.
Making the Cheesecake Filling
- In a large mixing bowl, beat 8 oz of softened cream cheese with an electric mixer.
- Mix until the cream cheese is smooth and creamy.
- Gradually add in 1/2 cup of powdered sugar and 1 tsp of vanilla extract.
- Keep mixing until everything is combined and looks nice and smooth.
- In another bowl, whip 1 cup of heavy whipping cream until stiff peaks form.
- Gently fold the whipped cream into the cream cheese mixture until it’s all mixed together.
- For added texture, fold in 1/2 cup of crushed Oreo cookies at this stage.
Combining and Chilling
- Pour the cheesecake filling over the prepared crust in the baking dish.
- Use a spatula to smooth the filling out evenly on top.
- Cover the dish with plastic wrap and place it in the fridge.
- Chill for at least 4 hours or until the cheesecake is firm and set.
- Before serving, sprinkle chocolate chips and extra crushed Oreos on top for a fun garnish.
- Finally, cut into bars and enjoy your tasty creation!
Tips & Tricks
Best Practices for Success
- Soften cream cheese properly: Before you start, make sure your cream cheese is at room temperature. This makes it easy to beat until smooth. If it’s too cold, you will end up with lumps in your filling.
- Achieve perfect whipped cream consistency: When you whip the heavy cream, watch closely. Stop when stiff peaks form. This means the cream holds its shape and makes the cheesecake light and fluffy.
Common Mistakes to Avoid
- Overmixing the filling: When you mix the filling, do it gently. If you mix too much, the whipped cream can deflate. This will make your cheesecake dense instead of light.
- Not chilling long enough: After you pour the filling over the crust, chill it for at least four hours. If you skip this step, the bars may not set properly.
Presentation Tips
- Creative serving ideas: You can serve these bars in fun ways. Try cutting them into shapes or serving them with fresh fruit. This adds color and flavor.
- Garnishing suggestions: Top your cheesecake bars with chocolate chips and extra crushed Oreo cookies. This adds a nice crunch and makes them look fancy. You can also drizzle some chocolate sauce on top.
Pro Tips
- Chill Your Bowl: For a fluffier whipped cream, chill your mixing bowl and beaters in the freezer for about 10-15 minutes before whipping the cream.
- Use Room Temperature Cream Cheese: Ensure your cream cheese is at room temperature for a smoother filling. This helps avoid lumps in your cheesecake mixture.
- Crush Oreos Efficiently: To crush Oreos quickly, place them in a zip-top bag and use a rolling pin to crush them into fine crumbs.
- Let It Set: For the best texture, allow the cheesecake bars to chill overnight. This will enhance the flavors and make slicing easier.
Variations
Flavor Enhancements
You can easily change the flavor of your No Bake Oreo Cheesecake Bars. Try using different cookies for the crust. Chocolate sandwich cookies work great if you want a richer taste. You can also add fruit or flavored extracts. For example, a splash of raspberry extract adds a nice twist. Fresh berries make a tasty topping too.
Dietary Adjustments
If you're looking for gluten-free options, use gluten-free Oreo cookies. They taste just as good! For dairy-free alternatives, swap cream cheese with a dairy-free version. Look for coconut cream or cashew-based cheeses. These choices keep the dessert creamy without dairy.
Serving Suggestions
Serving ideas can make your cheesecake bars even better. Pair them with chocolate or caramel sauce for added sweetness. Drizzle the sauce on top just before serving. You can also get creative with toppings. Sprinkle nuts or extra chocolate chips on top for crunch. Fresh fruit or whipped cream adds a lovely touch too.
Storage Info
How to Store
To keep your No Bake Oreo Cheesecake Bars fresh, place them in an airtight container. This will help prevent any odors from the fridge from affecting the taste. If you do not have an airtight container, cover the dish tightly with plastic wrap. Always store the bars in the fridge, where they will stay cool and delicious.
Freezing Options
If you want to freeze these bars, first let them chill in the fridge. After they are set, cut them into bars. Wrap each bar in plastic wrap, then place them in a freezer bag. Make sure to remove as much air as possible from the bag. You can freeze these bars for up to three months. When you are ready to eat them, simply take out the bars and let them thaw in the fridge overnight.
Shelf Life
These cheesecake bars will last about five days in the fridge. Keep an eye out for any signs of spoilage. If you see any mold or the bars smell off, it’s best to throw them away. Enjoy your delicious treats while they are fresh!
FAQs
Can I make this recipe ahead of time?
Yes, you can make these cheesecake bars ahead of time. I suggest preparing them a day before you want to serve. This gives the bars enough time to chill and set well. After making the cheesecake, wrap the dish tightly with plastic wrap. Store it in the fridge until you are ready to serve. This helps the flavors develop nicely and makes serving easy.
Can I substitute ingredients?
You can easily substitute some ingredients in this recipe. If you need a gluten-free option, use gluten-free Oreo cookies. For a dairy-free version, try vegan cream cheese and coconut cream. If you don’t have powdered sugar, you can blend regular sugar until fine. You can also swap vanilla extract with almond or mint extract for a fun twist. Just remember that these changes might affect the taste and texture.
What to do if my cheesecake doesn't set?
If your cheesecake bars do not set, check a few things. First, ensure that you whipped the heavy cream to stiff peaks. This adds air and helps the filling set. Also, make sure you chilled the bars long enough. If they are still soft after chilling, place them in the freezer for about an hour. Once they are firm, you can slice and serve them. If you face issues, don’t worry; they will still taste great!
This blog post guided you through making a delicious cheesecake. We covered the ingredients, from Oreos to cream cheese. Step-by-step, I shared how to create the crust and filling. I also provided tips for a perfect finish, ensuring your cheesecake looks and tastes great.
In the end, you can customize your cheesecake in many ways. With the right storage, it can last while keeping its great taste. Enjoy making this treat and impressing your friends and family with your skills!


