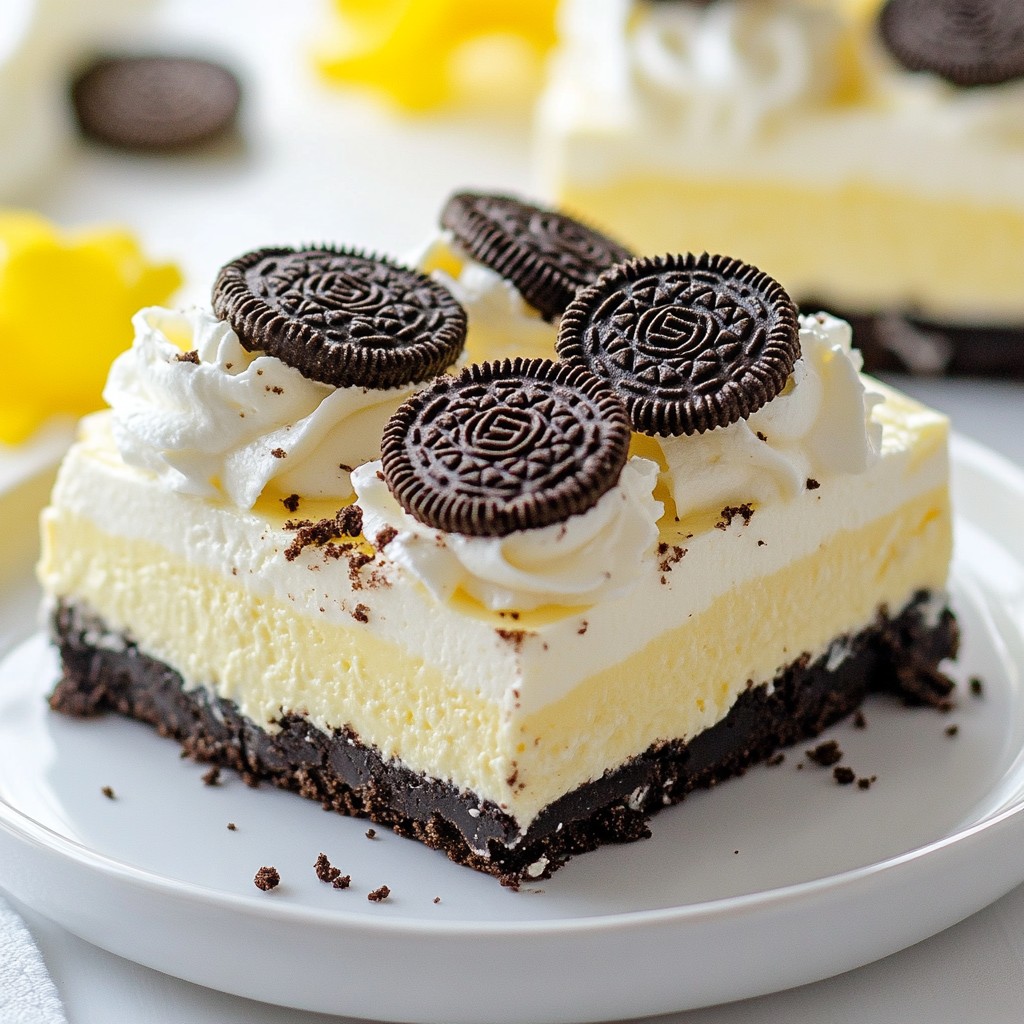
Are you craving a sweet treat that's easy to make and hard to resist? Let me share my No Bake Oreo Cheesecake Bars with you. These creamy and delightful bars blend rich cheesecake with crunchy Oreo crust in just a few steps. Whether you're feeding a crowd or indulging yourself, these bars are the perfect dessert. Ready to dive into this simple recipe? Let's get started!
Why I Love This Recipe
- Decadent Flavor: This cheesecake bars offer a perfect balance of rich creaminess and the iconic chocolatey crunch of Oreo cookies.
- Easy to Make: With simple steps and no baking required, these bars are perfect for both novice and experienced bakers alike.
- Perfect for Any Occasion: Whether it's a family gathering or a party, these cheesecake bars are sure to impress your guests.
- Make Ahead Treat: These bars can be made in advance and stored in the fridge, making them a convenient dessert option.
Ingredients
Complete List of Ingredients
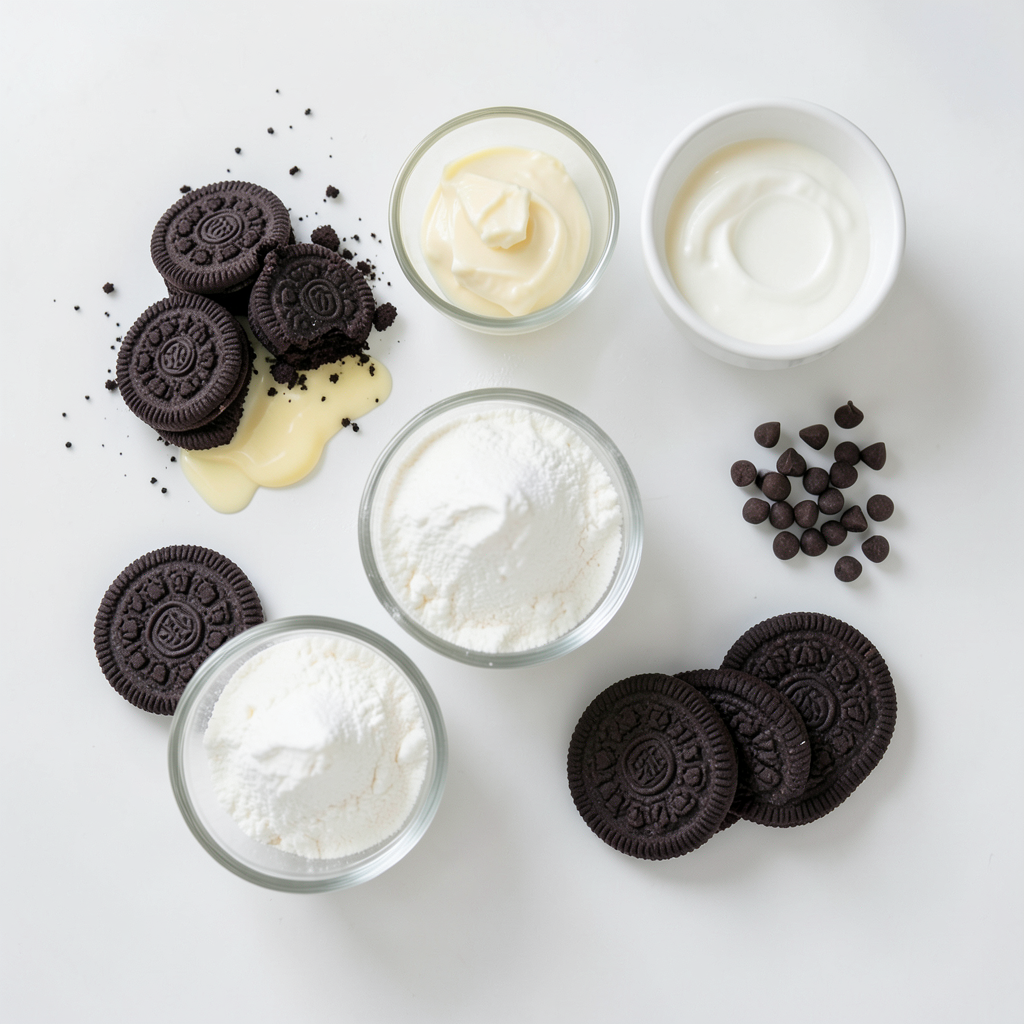
To make these no-bake Oreo cheesecake bars, you will need:
- 24 Oreo cookies, crushed
- 1/4 cup unsalted butter, melted
- 16 oz cream cheese, softened
- 1/2 cup powdered sugar
- 1 cup heavy whipping cream
- 1 teaspoon vanilla extract
- 1/2 cup mini chocolate chips (optional)
- 6 whole Oreo cookies, for garnish
Ingredient Substitutions
You can swap some ingredients if needed. For the Oreo cookies, use any chocolate sandwich cookies. Instead of unsalted butter, you can use salted butter; just skip adding salt. If you want a lighter option, try using low-fat cream cheese. For the heavy whipping cream, you can use a dairy-free option like coconut cream.
Optional Add-ins
Add some fun to your cheesecake! Mini chocolate chips give a nice crunch. You can also mix in crushed Oreos for extra flavor. If you love fruit, consider adding fresh berries on top before serving.
Step-by-Step Instructions
Preparation of the Oreo Crust
To start, grab your mixing bowl. Add 24 crushed Oreo cookies and 1/4 cup of melted butter. Mix them well until the crumbs look wet. Take a 9x9 inch baking pan and press the Oreo mixture into the bottom. Use the back of a measuring cup for an even layer. This crust forms a strong base for the creamy filling.
Making the Cheesecake Filling
Next, take a separate bowl. Beat 16 ounces of softened cream cheese and 1/2 cup powdered sugar together. Keep mixing until it is smooth and creamy. In another bowl, whip 1 cup of heavy cream. You want it to form stiff peaks. Gently fold the whipped cream into the cream cheese mixture. Be careful to keep the air in the whipped cream. This step makes your filling light and fluffy. Now, add 1 teaspoon of vanilla extract and 1/2 cup of mini chocolate chips if you want extra flavor.
Assembling and Chilling the Bars
Pour the cheesecake filling over the Oreo crust. Use a spatula to smooth the top. Crumble 6 whole Oreo cookies on top for a nice touch. Cover the pan with plastic wrap and refrigerate it. Let it chill for at least 4 hours. This waiting time helps the cheesecake to set perfectly. Once it is firm, cut your bars and serve them cold. Enjoy your creamy and delightful creation!
Tips & Tricks
How to Achieve the Perfect Whipped Cream
To make perfect whipped cream, start with cold heavy cream. Use a clean bowl and beaters. Start on low speed, then increase to high. Whip until stiff peaks form. Be careful not to over-whip, or it will turn to butter.
Common Mistakes to Avoid
One common mistake is not chilling the cream enough. If the cream is warm, it won’t whip well. Another mistake is mixing too fast. This can deflate your whipped cream. Always fold the whipped cream gently into the cheese mix. This keeps it light and airy.
Presentation Tips for Serving
To serve your cheesecake bars nicely, use a clean knife. Dip the knife in hot water before cutting. This helps create clean edges. You can place a whole Oreo on top of each bar for a fun touch. A sprinkle of chocolate chips adds a nice look too.
Pro Tips
- Chill the Cream Cheese: For a smoother filling, make sure your cream cheese is softened at room temperature before mixing. This prevents lumps and ensures a creamy texture.
- Use a Measuring Cup: When pressing the Oreo crust into the pan, use the back of a measuring cup to create an even layer. This helps to ensure a consistent thickness.
- Don’t Deflate the Whipped Cream: When folding the whipped cream into the cream cheese mixture, use a gentle folding motion to maintain the light and airy texture.
- Let it Set: Refrigerate the cheesecake bars for at least 4 hours to allow them to set properly. For best results, let them chill overnight before serving.
Variations
Different Flavor Options
You can change the taste of these cheesecake bars easily. Try using different cookies for the crust. Chocolate sandwich cookies or graham crackers work great. You can also mix in flavors like peanut butter or mint. For a fruity twist, add lemon or raspberry puree to the filling. You can even fold in crushed candy bars for extra fun. Each change can make your dessert unique and exciting.
Dietary Adaptations (e.g., gluten-free)
To make these bars gluten-free, use gluten-free Oreo cookies. Check the labels to ensure they fit your diet. You can also use a gluten-free cookie for the crust. If you want a dairy-free option, try using vegan cream cheese and coconut cream instead of heavy cream. This way, you can enjoy the bars while sticking to your dietary needs.
Creative Toppings and Garnishes
Toppings can make your cheesecake bars even more special. You can add fresh fruit like strawberries or blueberries for a colorful look. Drizzle chocolate or caramel sauce on top for added sweetness. Sprinkling crushed nuts or toffee bits gives a nice crunch. You can also use whipped cream or chocolate shavings for a fancy touch. Each topping adds its own flair and taste to your treat.
Storage Info
Best Practices for Storing Leftovers
To keep your no bake Oreo cheesecake bars fresh, store them in the fridge. Use an airtight container to avoid moisture and odors. If you want to keep them in the baking pan, cover it tightly with plastic wrap. This keeps the bars safe and tasty for later enjoyment.
How Long Do They Last?
These cheesecake bars stay fresh in the fridge for about 5 days. After that, the texture may change, and they won't taste as good. Always check for any signs of spoilage before serving. If they look or smell off, it's best to toss them.
Freezing Instructions
You can freeze these bars for up to 3 months. To freeze, cut the bars into pieces and wrap each piece in plastic wrap. Place the wrapped bars in a freezer-safe container. When you're ready to enjoy, let them thaw in the fridge overnight. This keeps the creamy texture intact.
FAQs
Can I use a different type of cookie for the crust?
Yes, you can! Any cookie you like can work. Try graham crackers, chocolate cookies, or even shortbread. Just crush them up, mix with melted butter, and press into the pan. The key is to have a nice, firm base.
How can I make these bars vegan?
To make these bars vegan, swap out the cream cheese for a vegan cream cheese. Use coconut cream instead of heavy whipping cream and a plant-based butter for the crust. Be sure to check that your cookies are dairy-free. This way, you can enjoy a tasty treat that fits your diet.
What should I do if my cheesecake doesn’t set?
If your cheesecake doesn’t set, check a few things. First, make sure you whipped the cream to stiff peaks. This helps add air and structure. Next, ensure you chilled it long enough. It should sit in the fridge for at least 4 hours. If it still feels soft, leave it a bit longer.
In this blog post, we explored the key ingredients for your cheesecake bars. I shared tips for making a tasty Oreo crust and creating a creamy filling. You learned how to avoid common mistakes and present your bars beautifully. Variations and substitutions open doors to new flavors and dietary needs.
In the end, these cheesecake bars can be fun and easy. Enjoy trying them out and making them your own!


