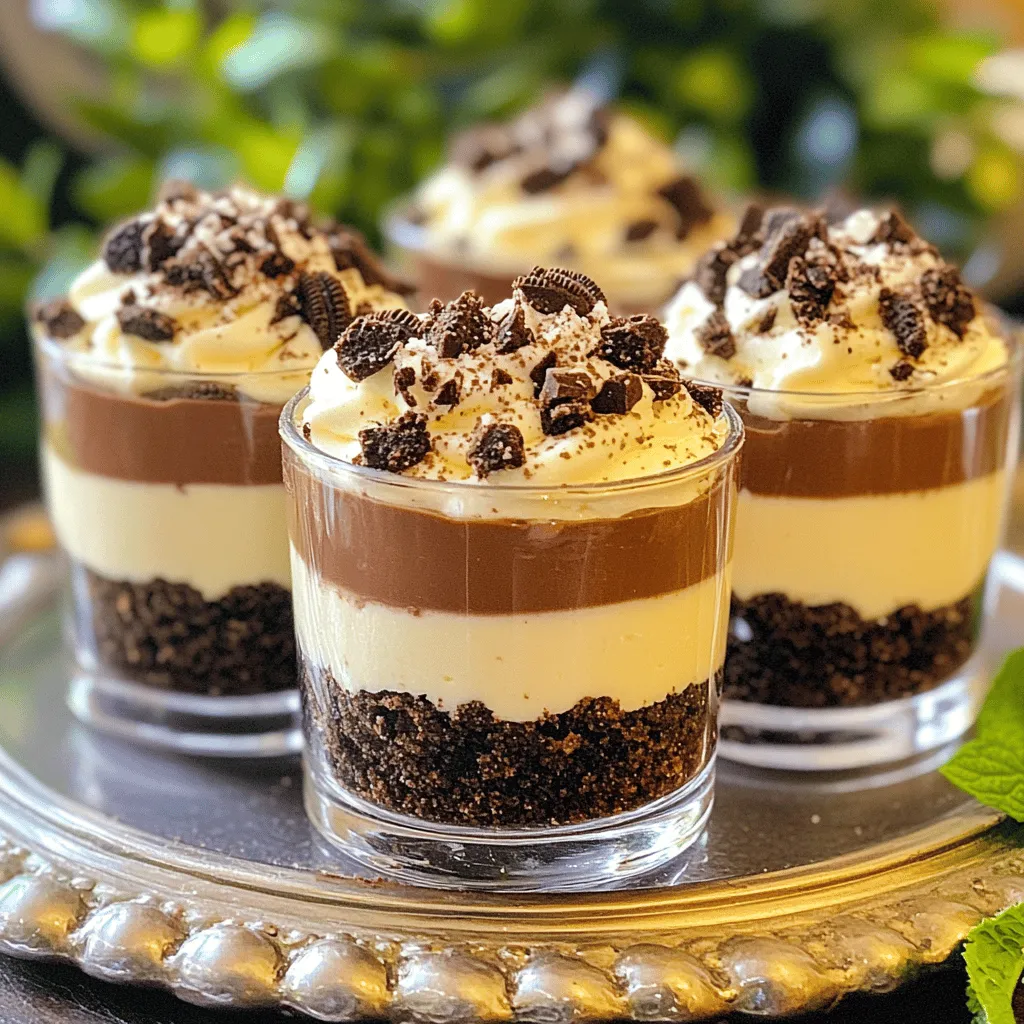
Craving a sweet treat that’s easy to make? Try my No Bake Nutella Oreo Cheesecake Cups! With just a few simple ingredients, you can whip up a delicious dessert that everyone will love. Imagine rich Nutella mixed with creamy cheesecake, all nestled in a crunchy Oreo crust. It’s perfect for parties or a quick indulgence at home. Ready to dive into this sweet adventure? Let’s get started!
Ingredients
Main Ingredients
– 1 cup Oreo cookie crumbs
– 2 tablespoons unsalted butter, melted
– 8 oz cream cheese, softened
– 1/2 cup Nutella
– 1/2 cup powdered sugar
– 1 teaspoon vanilla extract
– 1 cup heavy cream
Optional Toppings
– Additional Oreo cookies
– Shaved chocolate
The ingredients are simple and can be found easily. First, you need Oreo cookie crumbs for the crust. You can crush whole cookies in a food processor or put them in a bag and smash them with a rolling pin. Mix these crumbs with melted butter to make a tasty base.
Next, the filling needs cream cheese, which should be softened. This helps it blend smoothly with other ingredients. You will also need Nutella, which gives the cheesecake its rich, chocolatey flavor. Don’t forget the powdered sugar for sweetness and vanilla extract for a hint of flavor.
Finally, whip the heavy cream to add lightness to the filling. This creates a fluffy texture that balances the richness of the cream cheese and Nutella.
For optional toppings, you can use more crushed Oreo cookies or shaved chocolate. These make the dessert look pretty and add extra flavor. Enjoying these cheesecake cups is an easy delight!
Step-by-Step Instructions
Preparing the Oreo Crust
– In a bowl, combine 1 cup of Oreo cookie crumbs and 2 tablespoons of melted butter.
– Mix until the crumbs are well-coated.
– Divide this mixture into serving cups.
– Press the mixture down firmly to form a crust at the bottom.
Making the Nutella Cheesecake Filling
– In another bowl, beat 8 oz of softened cream cheese, 1/2 cup of Nutella, 1/2 cup of powdered sugar, and 1 teaspoon of vanilla extract.
– Mix until the filling is smooth and creamy.
– In a third bowl, whip 1 cup of heavy cream until stiff peaks form.
Assembling the Cheesecake Cups
– Gently fold the whipped cream into the Nutella mixture.
– Be careful not to deflate the whipped cream.
– Spoon or pipe this mixture over the Oreo crust in the cups.
– Fill them almost to the top.
– Crumble additional Oreo cookies and sprinkle them on top.
Chilling and Serving
– Chill the cheesecake cups in the refrigerator for at least 4 hours.
– For best results, chill overnight.
– Before serving, you can garnish with shaved chocolate if you like.
Tips & Tricks
Achieving the Perfect Texture
To get the best texture, start with softened cream cheese. This helps it blend smoothly with Nutella. If it’s too cold, lumps form and ruin the mix. Leave cream cheese out for about 30 minutes before using it.
When you whip the heavy cream, aim for stiff peaks. This means it holds its shape well. After whipping, gently fold the cream into the Nutella mix. Use a spatula and lift the cream from the bottom. This keeps the air in and makes your cheesecake light and fluffy.
Presentation Tips
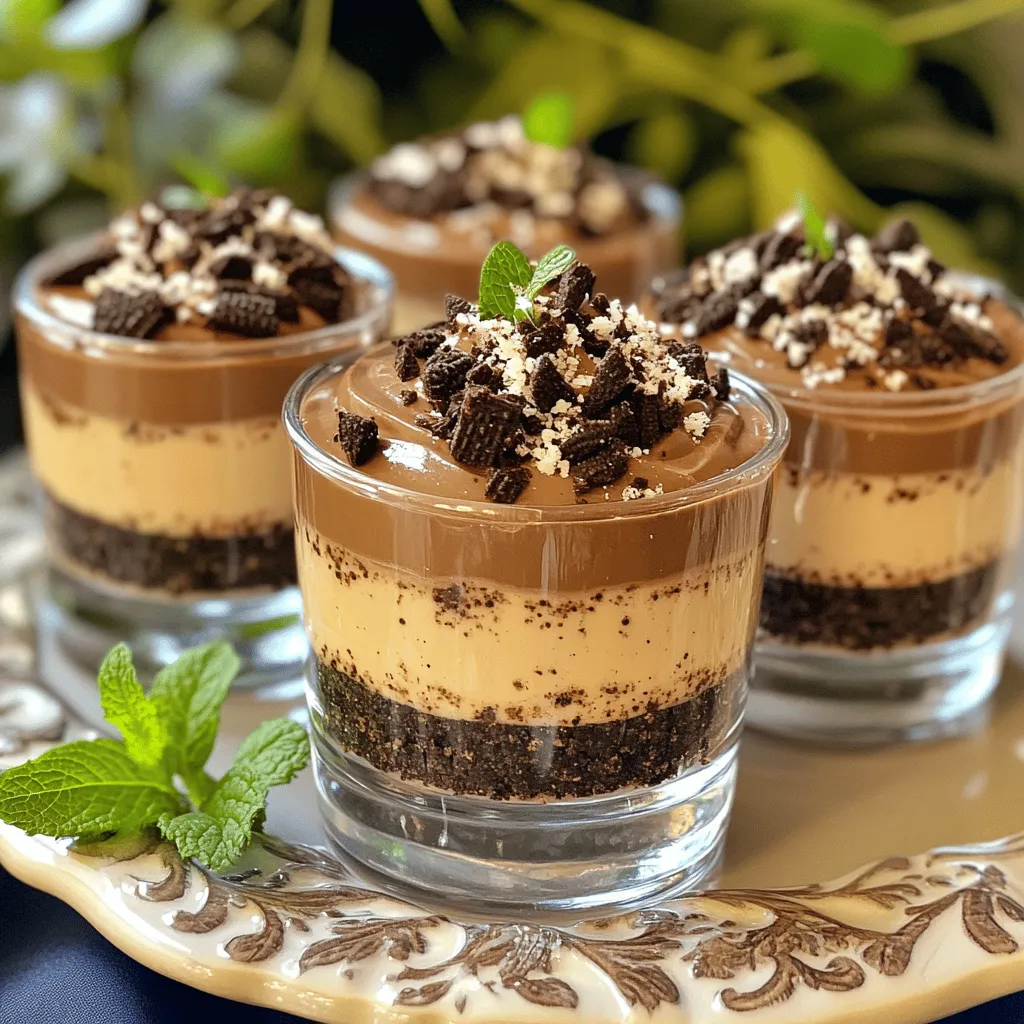
To make your cheesecake cups look great, use clear cups. This shows off the pretty layers of cookies and cheesecake. Serve them on a colorful platter to catch the eye. For a pop of color, add a mint sprig on top. You can also sprinkle some extra Oreo crumbs for a fun touch.
Timing Tips
Chilling is key for great flavor and texture. I suggest chilling the cheesecake cups for at least 4 hours. For best results, chill them overnight. This lets the flavors mix well. Plus, it firms up the cheesecake, making it easier to eat.
Variations
Flavor Modifications
You can change the flavor of these cheesecake cups easily. Swap Nutella for other spreads, like peanut butter or almond butter. This swap gives each cup a new twist. You can also add different extracts. For example, almond extract adds a nice nutty flavor. Coconut extract gives a tropical vibe. These small changes can make a big difference in taste.
Alternative Crust Ideas
If you want to try something new, switch up the crust. Instead of Oreo cookie crumbs, you can use graham crackers or shortbread cookies. Both options work well and taste great. For those who need gluten-free options, use gluten-free cookies. This keeps the cheesecake cups friendly for everyone.
Dietary Considerations
You can make these cheesecake cups fit different diets. For dairy-free options, use vegan cream cheese and coconut cream instead of heavy cream. This way, everyone can enjoy the treat. If you want a vegan version, replace all dairy with plant-based alternatives. It’s fun to adapt recipes to fit your needs while still keeping them tasty.
Storage Info
How to Store Cheesecake Cups
To keep your cheesecake cups fresh, store them in the fridge. Use an airtight container. This helps prevent them from drying out or absorbing other smells. If you have leftovers, cover each cup with plastic wrap. This keeps them safe and tasty.
If you want to freeze these cups, it’s a bit tricky. The cream can change texture when thawed. However, if you must freeze them, make sure they are well-wrapped. Use freezer-safe containers or bags. Just remember to eat them within a month for the best taste.
Shelf Life
These cheesecake cups will last in the fridge for about 3 to 5 days. Keep an eye on them! If they start to look or smell off, it’s best to toss them. Signs of spoilage include a sour smell or a change in texture. Always trust your senses to keep things safe. Enjoy your sweet treat while it’s fresh!
FAQs
Can I use other types of cream cheese?
Yes, you can use different types of cream cheese. Try flavored cream cheese for a twist. Brands like whipped or light cream cheese work well too. They may change the texture slightly. However, the taste will still be yummy. Just make sure it’s softened for easy mixing.
How do I make these cheesecake cups ahead of time?
Making these cheesecake cups ahead is simple. Prepare the crust and filling as usual. After filling the cups, cover them tightly with plastic wrap. Store in the fridge. They can sit for one to two days before serving. This makes them perfect for parties or gatherings.
Is it necessary to chill the cheesecake cups?
Chilling is crucial for these cups. It helps the filling set properly. Chilling also improves the flavors. The cheesecake will taste richer and creamier after chilling. Aim for at least four hours in the fridge. Overnight chilling is even better for the best texture.
These Nutella cheesecake cups are quick and easy to make. Start with an Oreo crust and blend cream cheese with Nutella. Fold in whipped cream for lightness, then chill before serving. You can add toppings like extra Oreo crumbles or shaved chocolate.
Keep these variations in mind for fun twists. Remember to store the leftovers properly for the best taste. Enjoy these delicious treats fresh or share them at your next gathering. They’re sure to impress!


