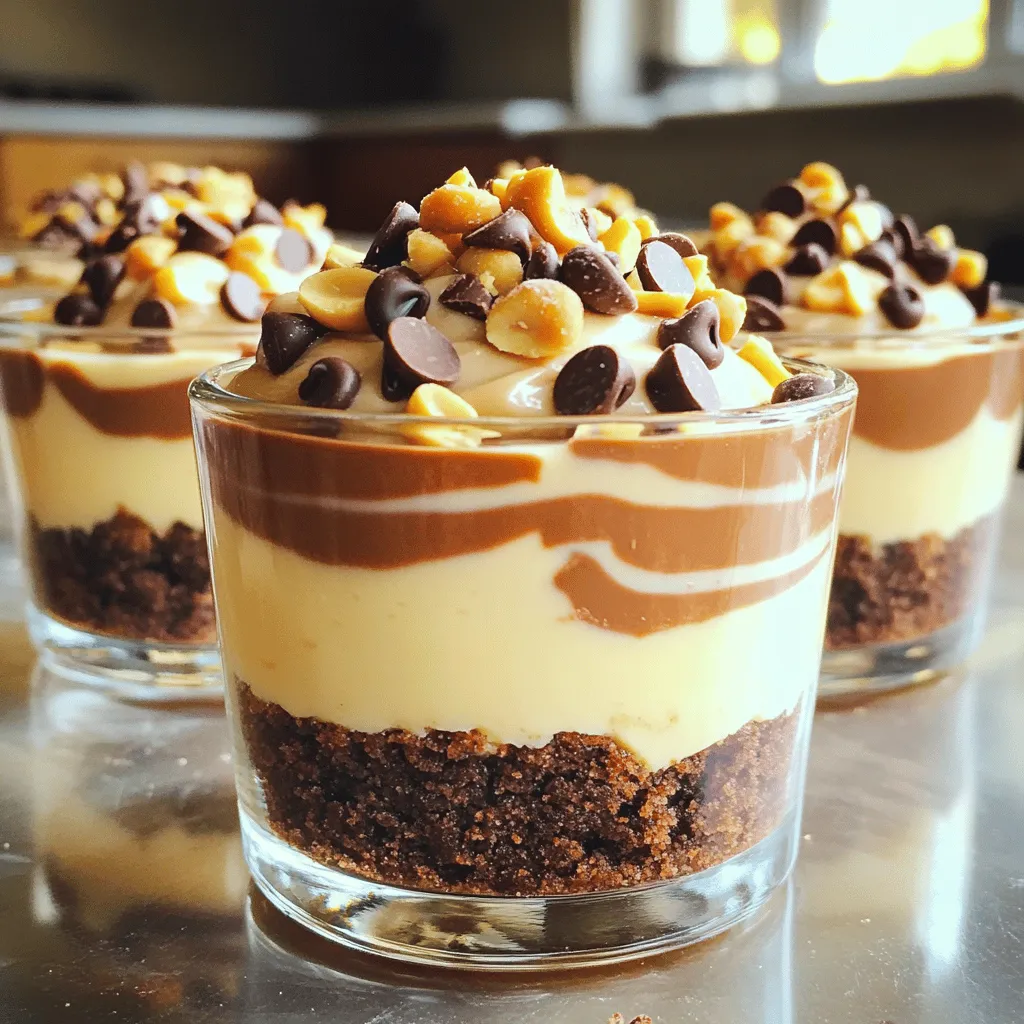
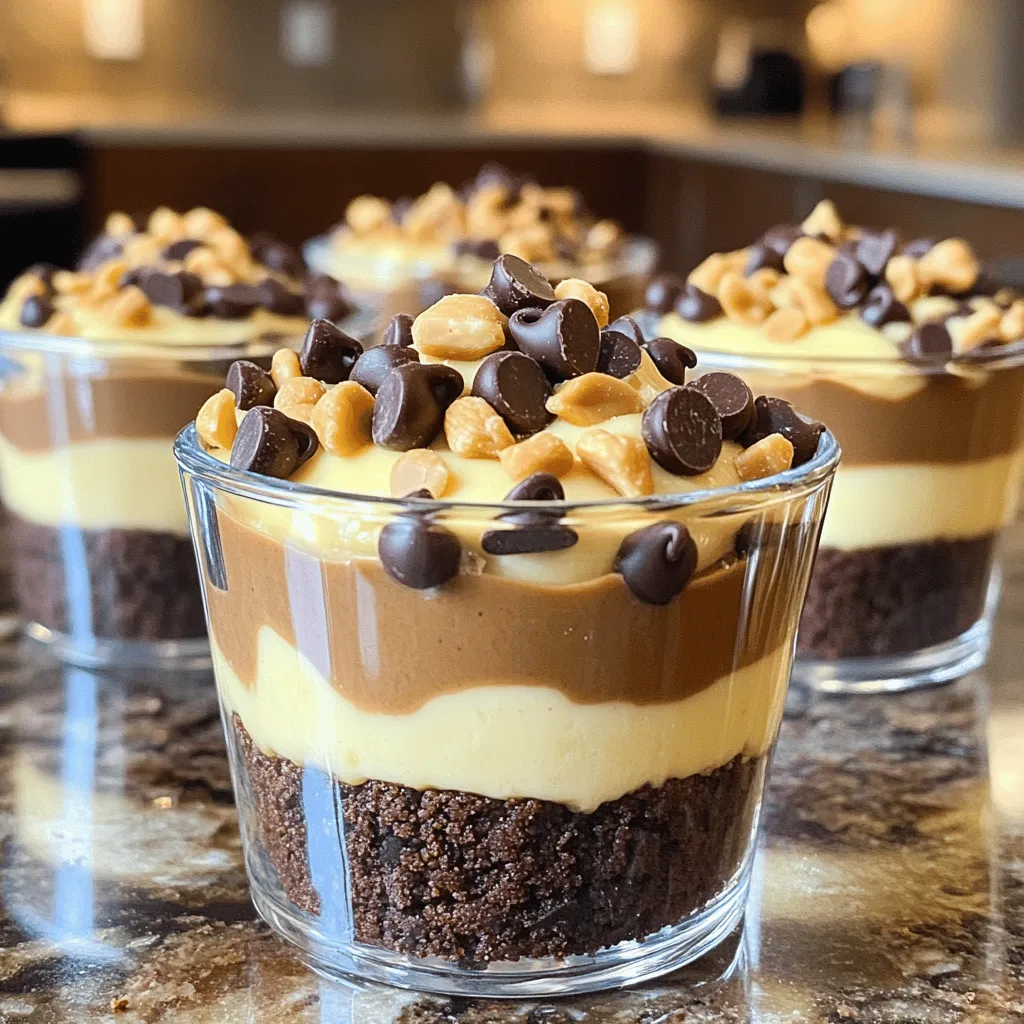
Get ready to indulge in a sweet treat that’s quick and easy! Today, I’m sharing my No-Bake Chocolate Peanut Butter Cheesecake Cups. These delightful cups combine rich chocolate, creamy peanut butter, and a smooth cheesecake filling—all without turning on your oven. Perfect for any occasion, they’re sure to impress your friends and family. Let’s dive into this simple recipe that will satisfy your sweet tooth!
Ingredients
Required Ingredients for Cheesecake Cups
For these delightful cheesecake cups, you need:
– 1 cup chocolate cookie crumbs
– 4 tablespoons unsalted butter, melted
– 8 oz cream cheese, softened
– ½ cup creamy peanut butter
– ½ cup powdered sugar
– 1 teaspoon vanilla extract
– 1 cup whipped cream (store-bought or homemade)
Each ingredient plays a key role in creating rich flavors and a smooth texture. The chocolate cookie crumbs form a perfect crust. The cream cheese and peanut butter give the cups their creamy filling.
Optional Garnishes
You can add fun toppings to make your cheesecake cups even better:
– ¼ cup chocolate chips
– ¼ cup crushed peanuts
These garnishes add crunch and extra sweetness. You can mix and match toppings based on your taste.
Ingredient Substitutions
If you need to change an ingredient, here are some ideas:
– Use graham cracker crumbs for a different crust.
– Swap cream cheese for vegan cream cheese if needed.
– Use almond butter or cashew butter instead of peanut butter for different flavors.
These swaps let you customize the recipe to fit your needs.
Step-by-Step Instructions
Preparing the Crust
To start, grab a medium bowl. You need to mix chocolate cookie crumbs and melted butter. Use 1 cup of cookie crumbs and 4 tablespoons of unsalted butter. Stir until all the crumbs get wet. This takes a minute or two. Next, take your serving cups. You can use 6 to 8 cups. Divide the crumb mix evenly among them. Press down firmly to make a solid crust. This step is key for the right texture. Set these cups aside as you move to the next step.
Making the Cheesecake Filling
Now, let’s make the filling! In a large mixing bowl, add 8 oz of softened cream cheese and ½ cup of creamy peanut butter. Beat them together until they blend well. This should be smooth and creamy. Once mixed, add in ½ cup of powdered sugar and 1 teaspoon of vanilla extract. Mix until everything is combined and sweet. The filling should feel light and fluffy. To achieve this, gently fold in 1 cup of whipped cream. This makes your filling airy and delicious.
Assembling and Chilling the Cups
Now, it’s time to fill the cups! Take a spoon and scoop the cheesecake filling. Spoon it over the chocolate crust in each cup. Fill them all the way to the top. Once filled, place the cups in the fridge. Chill them for at least 2 hours. This helps the cheesecake set perfectly. When you’re ready to serve, sprinkle chocolate chips and crushed peanuts on top. This adds a nice crunch and looks great! Enjoy your tasty no-bake treats!
Tips & Tricks
Best Practices for Creamy Cheesecake Filling
To make your cheesecake filling creamy, start with softened cream cheese. Cold cream cheese will stay lumpy. Use a hand mixer or stand mixer to beat it well. Mix the peanut butter in next. This adds flavor and creaminess. When you add powdered sugar and vanilla, do it slowly. This helps keep the mixture smooth. Finally, gently fold in whipped cream. This keeps the filling light and fluffy.
How to Achieve the Perfect Crust
A good crust starts with the right cookie crumbs. I use chocolate cookies for a rich flavor. Mix the crumbs with melted butter until they are fully moistened. When you press the mixture into the cups, use your fingers or the back of a spoon. Make it firm, but not too hard. This gives you a strong base that holds up well.
Troubleshooting Common Issues
If your filling is too thick, try adding a bit more whipped cream. This will lighten it up. If the crust falls apart, it may need more butter. Just mix in a bit more until it holds together. Sometimes, the filling may not set well. If this happens, chill the cups longer. They need at least two hours to firm up. Always keep an eye on the texture while mixing and assembling.
Variations
Alternative Crust Options
You can switch up the crust for your cheesecake cups. Instead of chocolate cookie crumbs, try graham cracker crumbs. They give a nice flavor and crunch. You can also use crushed pretzels for a salty twist. This adds a fun contrast to the sweet filling. Just mix them with melted butter the same way.
Flavor Variations for Filling
Feel free to play with the filling flavors. You can swap creamy peanut butter for almond butter. This will give a new taste while keeping it nutty. You can also add a bit of melted chocolate for a richer chocolate flavor. If you want a fruity taste, try adding some mashed bananas or pureed strawberries. Just mix them in with the cream cheese for a fun twist.
Health-conscious Adaptations
Want a lighter version? You can use low-fat cream cheese instead of regular. This keeps the taste while cutting some calories. For the crust, opt for sugar-free cookies or use whole grain options. You can also replace powdered sugar with a sugar substitute. This way, you can enjoy these treats without the guilt.
Storage Info
How to Store Leftovers
To store your leftover cheesecake cups, cover them well. Use plastic wrap or place them in an airtight container. Keep them in the fridge. This helps maintain their creamy texture and flavor. They will stay fresh for a few days.
Freezing Instructions
You can freeze these cheesecake cups if you want to keep them longer. First, let them chill in the fridge for at least two hours. Then, remove the toppings like chocolate chips and peanuts. Place the cups in a freezer-safe container. They can last up to three months in the freezer. When ready to eat, move them to the fridge to thaw overnight.
Shelf Life and Best Practices
The cheesecake cups taste best when fresh, but they last well in the fridge. If stored properly, they can last up to five days. Always check for any signs of spoilage before eating. For the best taste and texture, enjoy them within three days.
FAQs
Can I make these cheesecake cups ahead of time?
Yes, you can make these cheesecake cups ahead of time. I often prepare them a day before. This way, they have time to chill and set properly. Just store them in the fridge, covered with plastic wrap. They stay fresh for up to three days. This makes them perfect for parties or gatherings!
What are some serving suggestions?
Serving these cheesecake cups is fun! You can keep it simple or get creative. Here are some ideas:
– Top with extra chocolate chips for a sweet touch.
– Drizzle with chocolate or caramel sauce for more flavor.
– Add fresh fruit like strawberries or bananas for a fresh twist.
– Serve alongside a scoop of vanilla ice cream for extra creaminess.
Each option adds a new layer to the dessert experience.
Is it possible to use non-dairy alternatives?
Absolutely! You can use non-dairy options for this recipe. For the cream cheese, look for a plant-based version. There are many good brands available now. Use coconut cream or a non-dairy whipped topping instead of regular whipped cream. These swaps keep the dessert tasty while meeting dietary needs.
You learned how to make cheesecake cups with easy steps, tips, and variations. Using the right ingredients, you can create a tasty treat. Remember to chill them well and store leftovers properly. Feel free to try different flavors and crusts. With practice, you’ll make perfect cheesecake cups every time. These are quick and fun to share. Enjoy your delicious creation!


