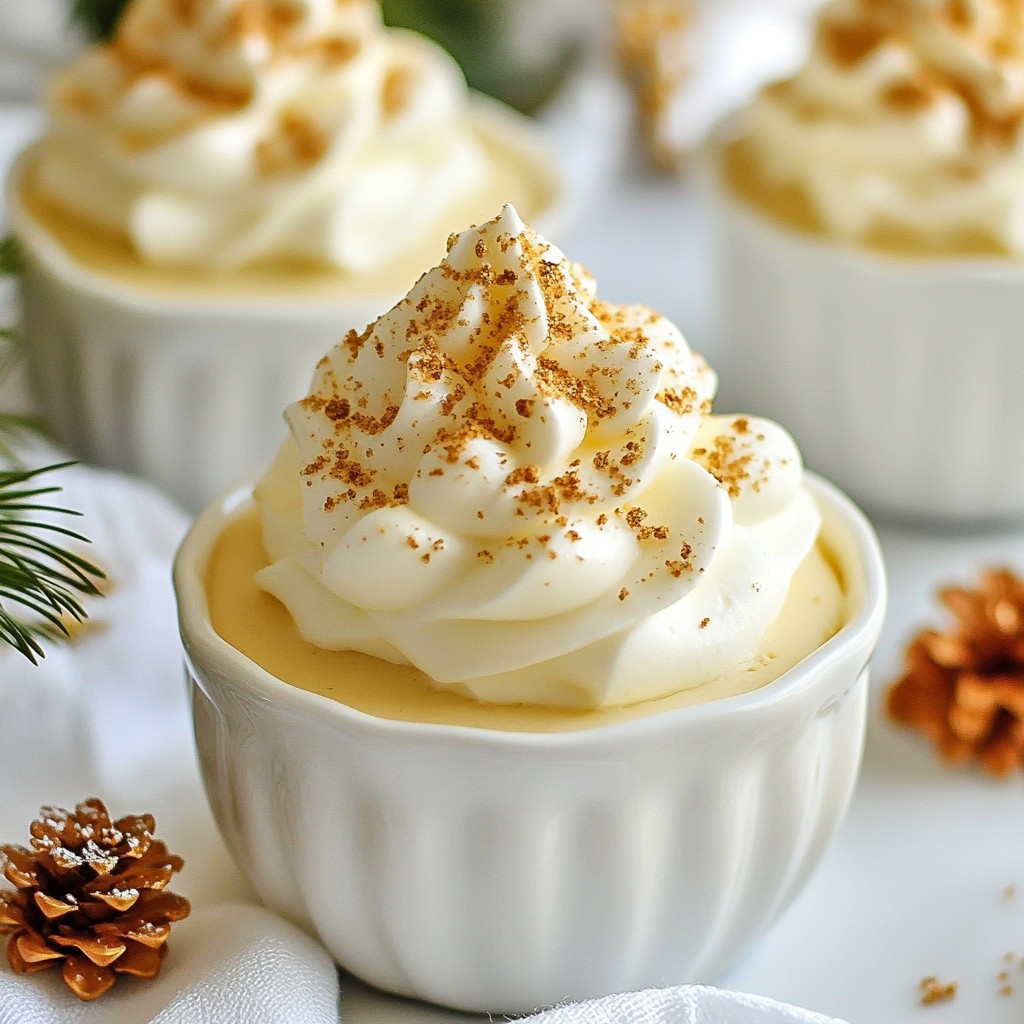
Looking for a sweet holiday treat that dazzles without the fuss? These Eggnog Mousse Cups are your answer! Light, creamy, and full of festive flavor, this simple dessert will impress your guests and satisfy your holiday cravings. You’ll love how easy they are to make, and I’ll guide you through every step. Let’s dive in and whip up a batch of these delicious cups together!
Why I Love This Recipe
- Decadent Flavor: This eggnog mousse captures the rich, creamy essence of traditional eggnog in a light and fluffy dessert.
- Easy to Make: With simple ingredients and straightforward steps, this recipe is perfect for both novice and seasoned bakers.
- Festive Presentation: These individual mousse cups look stunning and are perfect for holiday gatherings, adding a touch of elegance to your table.
- Customizable Toppings: You can easily personalize these cups with your choice of toppings, making them even more delightful.
Ingredients
List of Required Ingredients
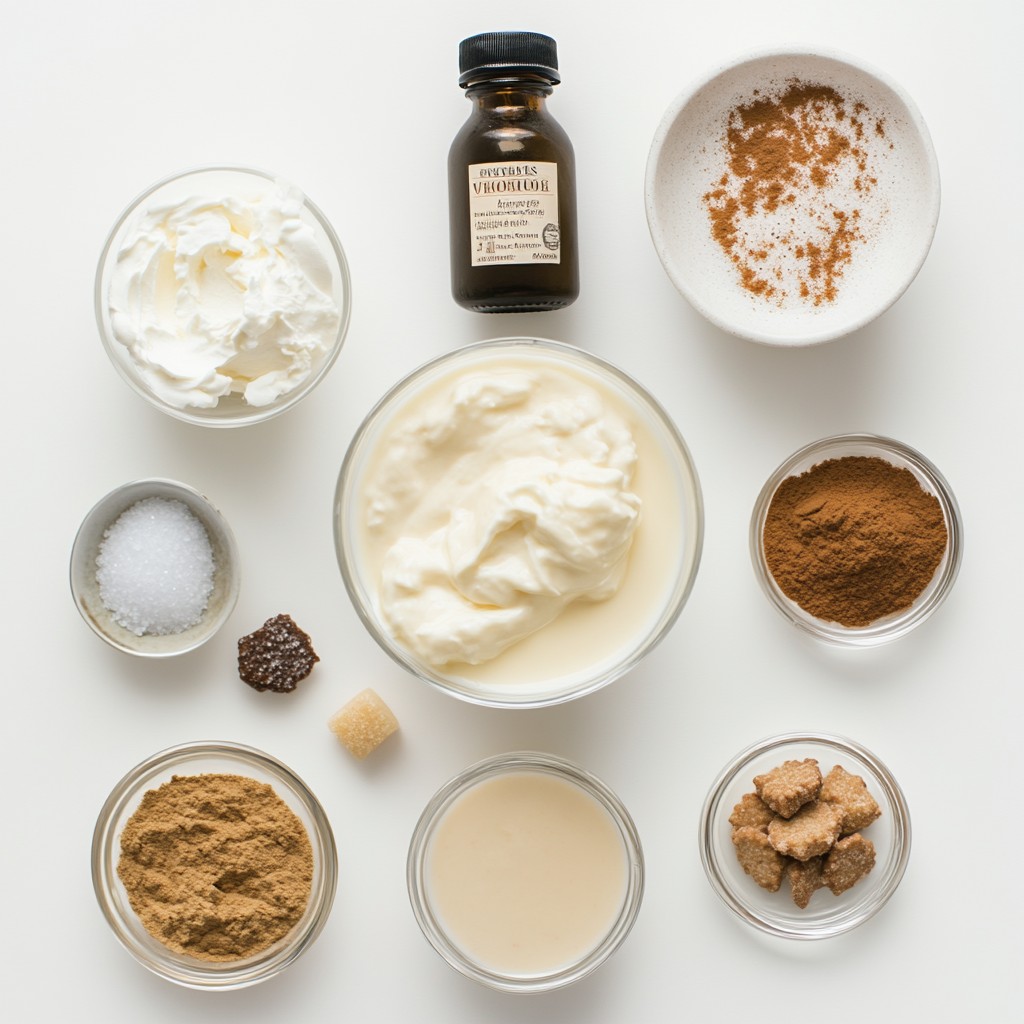
To make eggnog mousse cups, you need:
- 1 cup heavy whipping cream
- 1/2 cup eggnog (store-bought or homemade)
- 1/2 cup mascarpone cheese
- 2 tablespoons granulated sugar
- 1 teaspoon vanilla extract
- 1/2 teaspoon ground nutmeg
- Pinch of salt
These ingredients combine to create a rich, creamy dessert. The heavy cream gives it a light texture, while the mascarpone adds depth. Eggnog brings the holiday cheer, and the spices make it festive.
Optional Garnishes and Toppings
For extra flair, you can use:
- Whipped cream, for topping
- Ground cinnamon or nutmeg, for garnish
- Crushed gingersnap cookies, for crunch (optional)
These toppings add fun flavors and a beautiful look. A dollop of whipped cream makes every cup special. A sprinkle of gingersnap cookies adds a delightful crunch.
Substitutions and Alternatives
If you need to change any ingredients, here are some ideas:
- Use Greek yogurt instead of mascarpone cheese for a tangy twist.
- Swap heavy whipping cream for coconut cream for a dairy-free option.
- Use maple syrup instead of granulated sugar for a unique sweetness.
These substitutions keep the spirit of the recipe while allowing for personal taste. Enjoy experimenting!
Step-by-Step Instructions
Chilling Preparation
Start by chilling a medium mixing bowl and the beaters of your mixer. Place them in the fridge for about 10 minutes. This step helps the cream whip up fluffy. Cold tools make a big difference in texture.
Whipping the Cream
Once the bowl is cold, pour in the heavy whipping cream. Use your electric mixer on medium speed. Whip until the cream thickens. Gradually add the sugar, vanilla extract, and a pinch of salt. Keep mixing until soft peaks form. Be careful not to overwhip. You want a light and airy cream.
Combining Mascarpone and Eggnog
In a separate bowl, mix the mascarpone cheese and eggnog together. Add ground nutmeg and stir until smooth. Now, gently fold in one-third of the whipped cream. This lightens the mascarpone mix. Next, fold in the rest of the whipped cream. Do this carefully to keep it fluffy.
Now, you can spoon the mousse into individual cups. Fill them about three-quarters full. Refrigerate the cups for at least 1 hour. This helps the mousse set up perfectly. Enjoy your festive treat!
Tips & Tricks
Ensuring Fluffy Texture
To get a light and fluffy texture, start with cold tools. Chill your mixing bowl and beaters for about 10 minutes. This helps the cream whip better. When you whip the cream, do it on medium speed. Add sugar, vanilla, and salt slowly as it thickens. Stop when you see soft peaks. Overwhipping can make it grainy, so keep an eye on it!
Serving Suggestions
Serve the mousse in cute cups or glasses. Fill them about three-quarters full for the best look. Top each cup with a dollop of whipped cream and a sprinkle of ground cinnamon or nutmeg. If you want a bit of crunch, add crushed gingersnap cookies on top. For a festive touch, serve them on a bright platter with edible sprinkles or a mint sprig.
Best Practices for Refrigeration
Chill your mousse cups for at least one hour. This helps the flavors meld and sets the texture. They can stay in the fridge for up to two days. Just cover them well to keep them fresh. If you want to make them ahead, this is a great option.
Pro Tips
- Chill Your Tools: Chilling your mixing bowl and beaters helps the cream whip up to a fluffier consistency, making for a lighter mousse.
- Watch the Whipping: Stop whipping the cream as soon as soft peaks form. Overwhipping can lead to a grainy texture.
- Gentle Folding: When combining the whipped cream with the mascarpone mixture, fold gently to maintain the airy texture of the mousse.
- Decorative Garnishes: For a festive touch, consider garnishing with edible gold or silver sprinkles, or a sprig of mint or holly.
Variations
Dairy-Free Version
You can easily make a dairy-free eggnog mousse. Replace heavy cream with coconut cream. Use dairy-free eggnog, often made from almond or oat milk. For the mascarpone, try cashew cream or a dairy-free cream cheese. Blend the cashews until smooth for a creamy texture. This way, everyone can enjoy a tasty treat.
Flavor Additions
Add fun flavors to your mousse! Want chocolate? Melt dark chocolate and fold it into the mascarpone mix. For a minty twist, mix in peppermint extract. Use a teaspoon for a light flavor, or more for a stronger taste. You can also add spices like ginger or cinnamon for a warm kick. Try different combinations to find your favorite!
Different Types of Toppings
Toppings can make your mousse cups shine! Use traditional whipped cream for a classic look. Dust with nutmeg or cinnamon for a festive touch. Want a crunch? Add crushed gingersnap cookies or toasted nuts on top. For a fresh twist, sprinkle on some pomegranate seeds or berries. These toppings not only taste great but also look beautiful!
Storage Info
How to Store Leftovers
To keep your eggnog mousse cups fresh, cover them tightly with plastic wrap or a lid. Store them in the fridge for up to three days. This helps maintain their creamy texture and flavor.
Freezing Tips
You can freeze the mousse, but it may lose some texture. Spoon the mousse into airtight containers, leaving some space at the top. You can freeze them for about one month. Thaw them in the fridge overnight before serving.
Shelf Life
When stored properly, the mousse cups last up to three days in the fridge. If you freeze them, use within one month for the best taste. Always check for any signs of spoilage before enjoying your treats.
FAQs
Can I make eggnog mousse cups in advance?
Yes, you can make eggnog mousse cups ahead of time. They taste better when chilled for a few hours. I suggest preparing them a day before your event. Just cover them tightly with plastic wrap in the fridge. This keeps them fresh and tasty.
What can I use instead of mascarpone cheese?
If you don’t have mascarpone cheese, cream cheese works well. You can also mix cream cheese with a bit of heavy cream. This gives you a similar smooth texture. Another option is ricotta cheese, but it might change the taste a bit.
How do I make eggnog from scratch?
To make eggnog from scratch, you need eggs, sugar, milk, cream, and spices. Start by beating egg yolks with sugar until thick. Then, add milk and cream. Stir in nutmeg and vanilla. Finally, chill it before using. For a spiced version, add a splash of rum or brandy.
Can I substitute whipped cream with something else?
You can use whipped topping if you want a dairy-free option. Coconut whipped cream is a good choice, too. Just make sure to whip it well for a fluffy texture. Greek yogurt can also work, but it will change the flavor slightly.
What is the best way to serve eggnog mousse cups?
Serve your eggnog mousse cups on a festive platter. Dollop with whipped cream and sprinkle with cinnamon or nutmeg for a beautiful look. If you want extra crunch, add crushed gingersnap cookies on top. For a special touch, use edible sprinkles or a mint sprig for garnish.
You now know how to make delicious eggnog mousse cups. We covered all the essential ingredients, steps, and tips. I shared variations to suit different tastes and dietary needs. Proper storage info helps keep your treats fresh. Answering common questions also aids your preparation. Enjoy making this treat, and don’t hesitate to get creative. Happy cooking!


