Looking for a tasty snack that packs a protein punch? Try my Crispy High-Protein Chickpea and Herb Snack Bites! These bites are easy to make and full of flavor, perfect for any time of day. Whether you're hosting a party or just in need of a quick snack, I’ll guide you step-by-step. Plus, I’ll share tips to get the perfect crunch and flavor every time. Let’s dive in!
Why I Love This Recipe
- Healthy and Nutritious: Packed with protein and fiber from chickpeas and oats, making it a guilt-free snack.
- Easy to Make: With just a few simple ingredients, these bites come together quickly and are perfect for meal prep.
- Customizable Flavor: Feel free to add your favorite herbs and spices to suit your taste preferences.
- Perfect for Any Occasion: Whether as a healthy appetizer or a snack on-the-go, they fit perfectly into any meal plan.
Ingredients
List of Ingredients
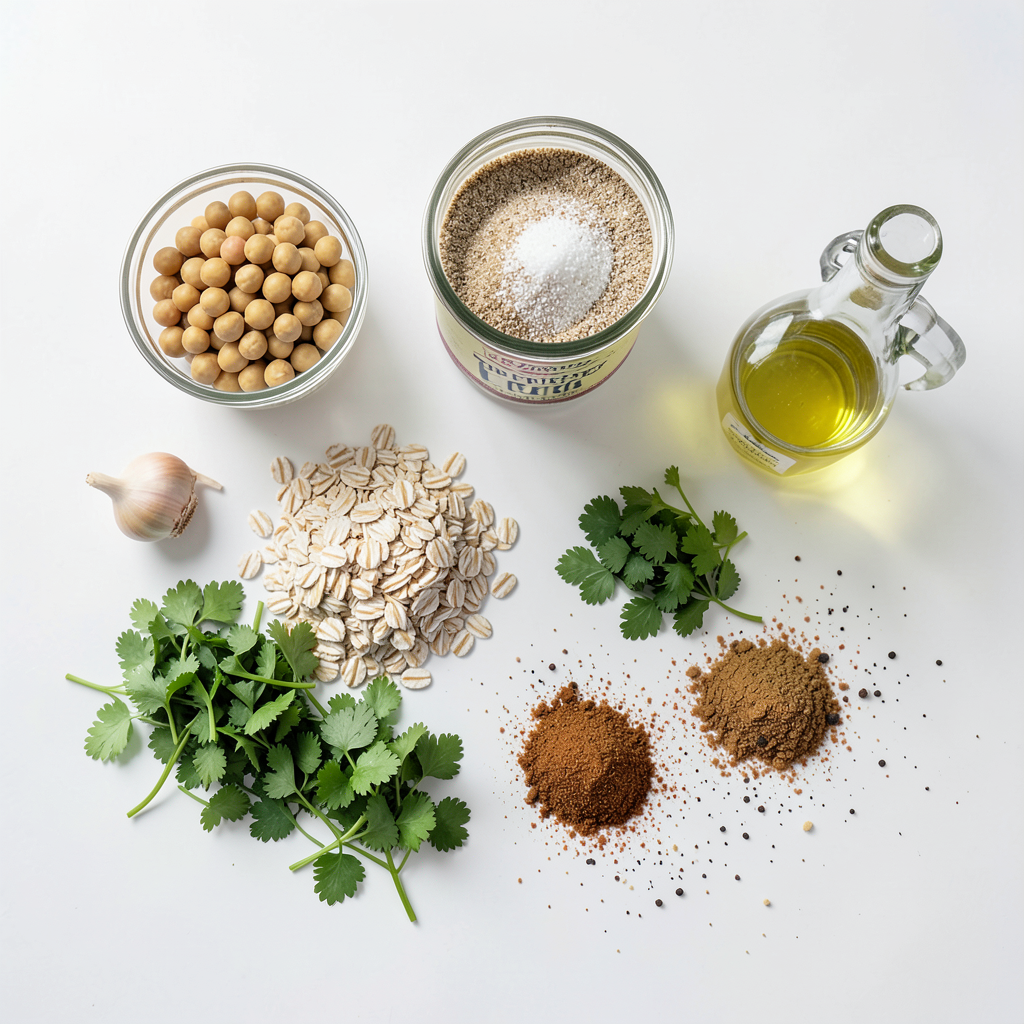
To make crispy high-protein chickpea and herb snack bites, gather these ingredients:
- 1 can (15 oz) chickpeas, rinsed and drained
- 1/2 cup rolled oats
- 1/4 cup nutritional yeast
- 1/4 cup fresh parsley, chopped
- 1/4 cup fresh cilantro, chopped
- 2 cloves garlic, minced
- 1 tablespoon olive oil
- 1 teaspoon ground cumin
- 1 teaspoon smoked paprika
- Salt and pepper to taste
- Cooking spray or extra olive oil for baking
Nutritional Components
These snack bites are full of good stuff. Chickpeas give protein and fiber. Oats add energy and help keep you full. Nutritional yeast brings a cheesy flavor and B vitamins. Fresh herbs like parsley and cilantro add vitamins and taste. Garlic has health benefits and great flavor. Each bite offers a mix of protein, healthy fats, and carbs.
Possible Substitutions
If you need to change things, here are some ideas:
- Use quinoa instead of oats for a gluten-free option.
- Try sunflower seeds in place of nutritional yeast for a nut-free snack.
- Swap in different herbs like basil or dill for unique flavors.
- Use onion powder if you do not have fresh garlic.
- Replace olive oil with avocado oil for a different taste.
These swaps help you create your own version of this tasty snack!
Step-by-Step Instructions
Preparation Steps
To start, preheat your oven to 400°F (200°C). This heat makes the bites crispy. While the oven warms, grab a large mixing bowl. Open a can of chickpeas, rinse them well, and drain. Use a fork or potato masher to mash the chickpeas. Aim for a mostly smooth mix, but leave some chunks for texture.
Next, add the rolled oats to the bowl. Then, sprinkle in the nutritional yeast, chopped parsley, chopped cilantro, and minced garlic. Drizzle in the olive oil. Finally, add ground cumin, smoked paprika, salt, and pepper. Mix all the ingredients well. If your mix feels too wet, toss in a bit more oats until it holds together.
Baking Instructions
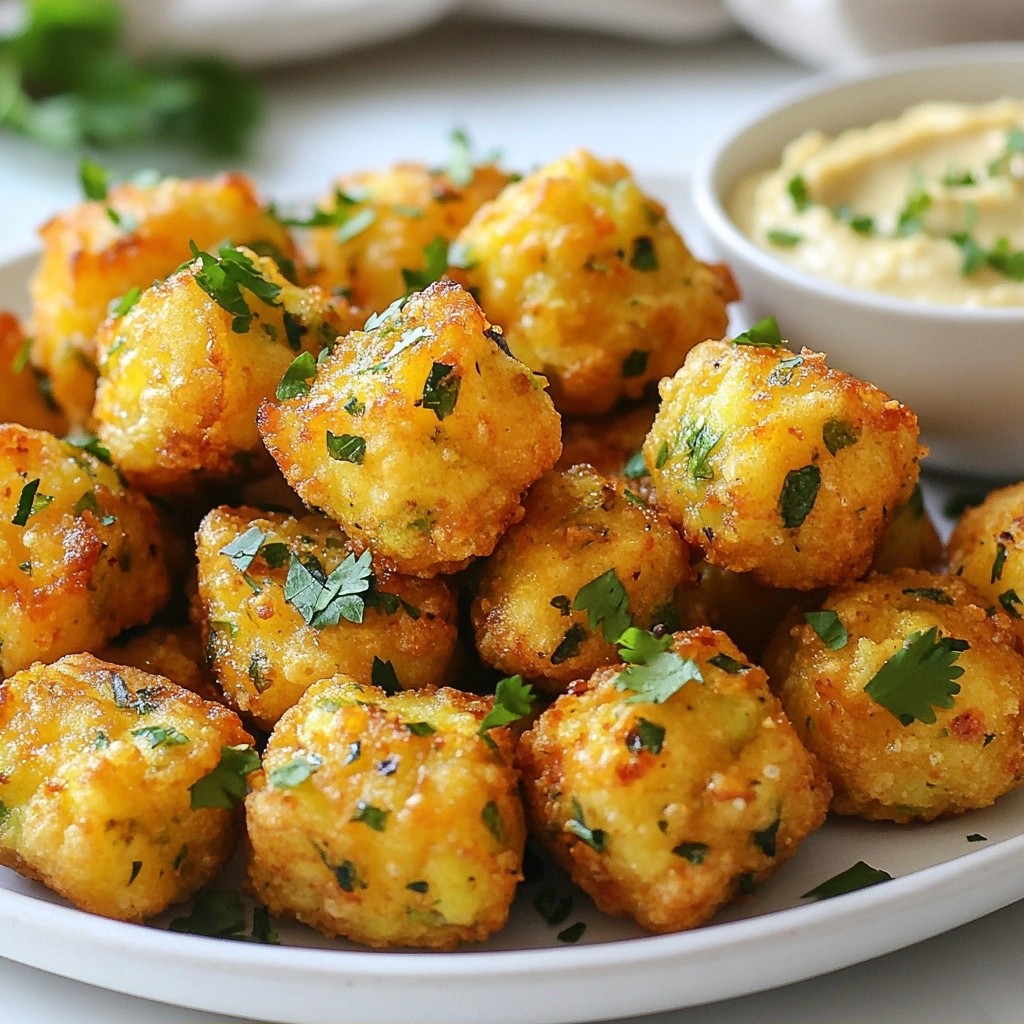
Now, shape the mixture into small balls or patties. Each should be about the size of a tablespoon. Place them on a baking sheet lined with parchment paper. It helps with easy cleanup. To get that desired crunch, lightly spray the tops with cooking spray or brush them with olive oil.
Put the baking sheet in your preheated oven. Bake the snack bites for 20-25 minutes. Don't forget to flip them halfway through. You want them golden brown and crunchy on the outside. When they are done, take them out and let them cool for a few minutes before serving.
Tips for Texture and Flavor
For the best texture, make sure you mash the chickpeas well but keep some chunks. This gives a nice bite. Adjust your spices to suit your taste. Add more cumin or paprika if you like it smoky.
For extra flavor, you can mix in some chopped onions or bell peppers. If you want more herbs, try adding dill or basil. These snack bites pair well with hummus or tzatziki for dipping. Enjoy your crispy bites as a tasty snack or appetizer!
Tips & Tricks
Achieving the Perfect Crispiness
To get that perfect crunch, start with dry chickpeas. Rinse and drain well before mashing. Use a light spray of cooking oil on top before baking. This helps create a golden crust. Bake at 400°F (200°C) for the best results. Flip the bites halfway through to ensure even cooking.
Common Mistakes to Avoid
Avoid over-mixing the ingredients. This can lead to tough bites. Don't skip the step of adding more oats if your mixture feels too wet. This will help the bites hold their shape. Also, make sure to preheat your oven fully. A hot oven helps with crispiness.
Enhancing Flavor Profiles
To boost the flavor, think about adding spices. Some chili powder can add heat. A bit of lemon zest brightens the taste. Fresh herbs like dill or mint can also work well. Feel free to experiment with your favorite flavors. Each change can turn these snack bites into something new and exciting.
Pro Tips
- Use Fresh Herbs: Fresh parsley and cilantro enhance the flavor significantly. Make sure to chop them finely for even distribution in the mixture.
- Adjust Seasoning: Before shaping the bites, taste the mixture and adjust the salt, pepper, or spices as desired to ensure the perfect flavor.
- Experiment with Texture: If you prefer a crunchier texture, consider using panko breadcrumbs instead of rolled oats, or add some chopped nuts for an extra crunch.
- Storage Tips: Store any leftovers in an airtight container in the fridge for up to 3 days. Reheat in the oven to restore their crispiness before serving.
Variations
Alternative Ingredient Options
You can switch up some ingredients in these snack bites. Instead of chickpeas, try black beans or lentils. Rolled oats can be replaced with quinoa or almond flour for a gluten-free option. If you don’t have nutritional yeast, try grated cheese or omit it altogether. Fresh herbs like basil or dill can also work well instead of parsley and cilantro.
Flavor Add-Ins
Want to add more flavor? Try adding a teaspoon of lemon zest for a fresh taste. You can also mix in spices like cayenne pepper for heat or turmeric for color. For a savory kick, add a tablespoon of soy sauce or tamari. Chopped sun-dried tomatoes or olives can also add depth to the flavor.
Serving Suggestions
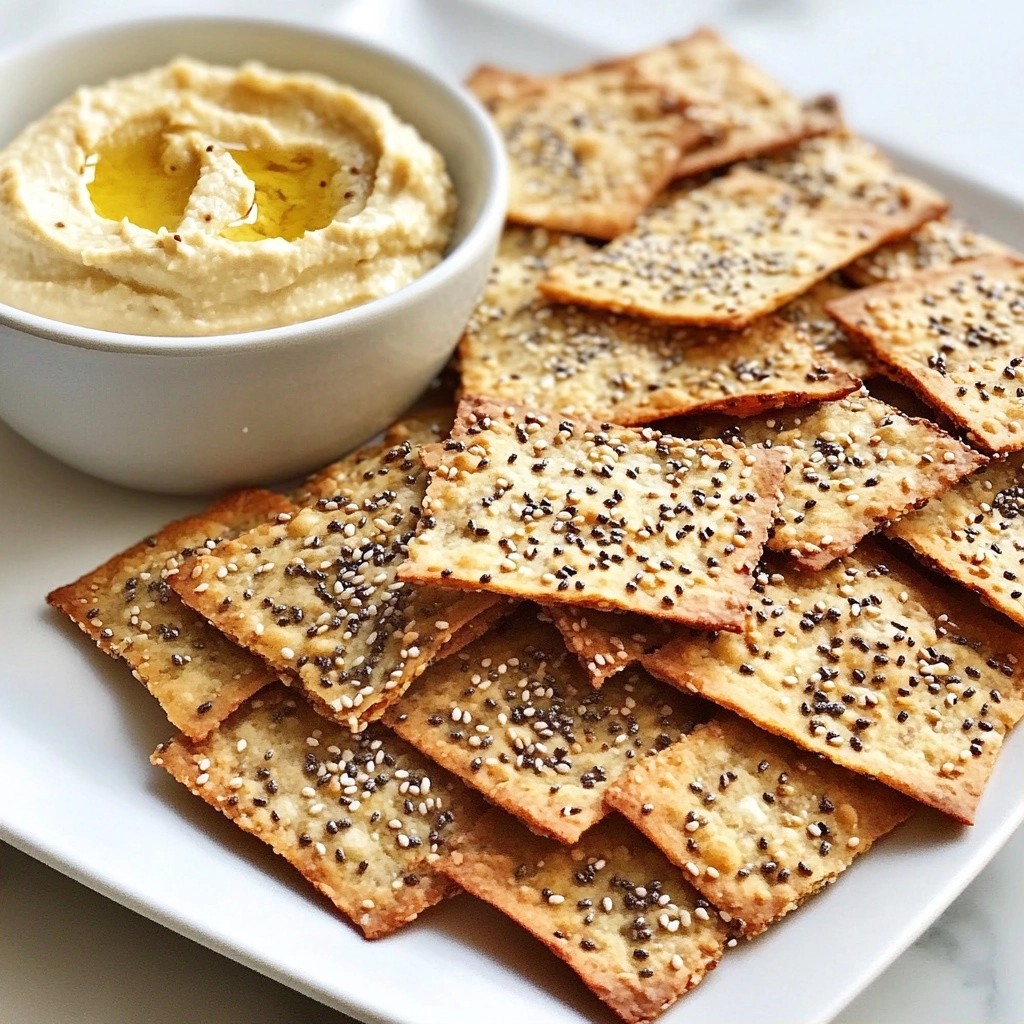
These snack bites are great on their own, but you can pair them with dips. Serve them warm with hummus or tzatziki for a tasty treat. They also work well as a topping on salads or grain bowls. For a fun twist, place them in a wrap with fresh veggies and sauce. Enjoy these bites as a protein-packed snack anytime!
Storage Info
How to Store Leftovers
After you bake your crispy chickpea snack bites, let them cool. Place them in an airtight container. They will stay fresh for up to three days in the fridge. If you want them to last longer, consider freezing them.
Reheating Instructions
When you’re ready to enjoy your leftovers, preheat your oven to 350°F (175°C). Place the snack bites on a baking sheet. Heat them for about 10 minutes or until warm. This keeps them crispy. You can also use a microwave, but they might lose some crunch.
Freezing Tips
To freeze, arrange the snack bites in a single layer on a baking sheet. Freeze them for an hour. Once frozen, transfer them to a freezer bag. They will keep well for up to three months. When you want to eat them, bake from frozen. Increase the baking time by a few minutes for best results.
FAQs
How do I make these vegan?
This recipe is already vegan! It uses chickpeas, oats, and herbs. None of the ingredients come from animals. You can enjoy these healthy snack bites guilt-free.
Can I use dried chickpeas?
Yes, you can use dried chickpeas. Just soak them overnight and cook until soft. You will need about 1 cup of dried chickpeas for this recipe. Make sure to drain and rinse them after cooking.
What's the best way to serve chickpea snack bites?
Serve these bites warm for the best taste. They pair well with hummus or tzatziki. You can also serve them as a snack or appetizer. For a fun twist, add fresh veggies on the side.
This blog post covered key aspects of making delicious chickpea snack bites. We discussed essential ingredients, their nutrition, and substitutions. I shared step-by-step instructions, tips for perfect texture, and common mistakes to avoid. You learned about variations, storage info, and even FAQs.
Remember, using the right ingredients and techniques will boost your results. Enjoy experimenting with flavors and serving options. Happy cooking!