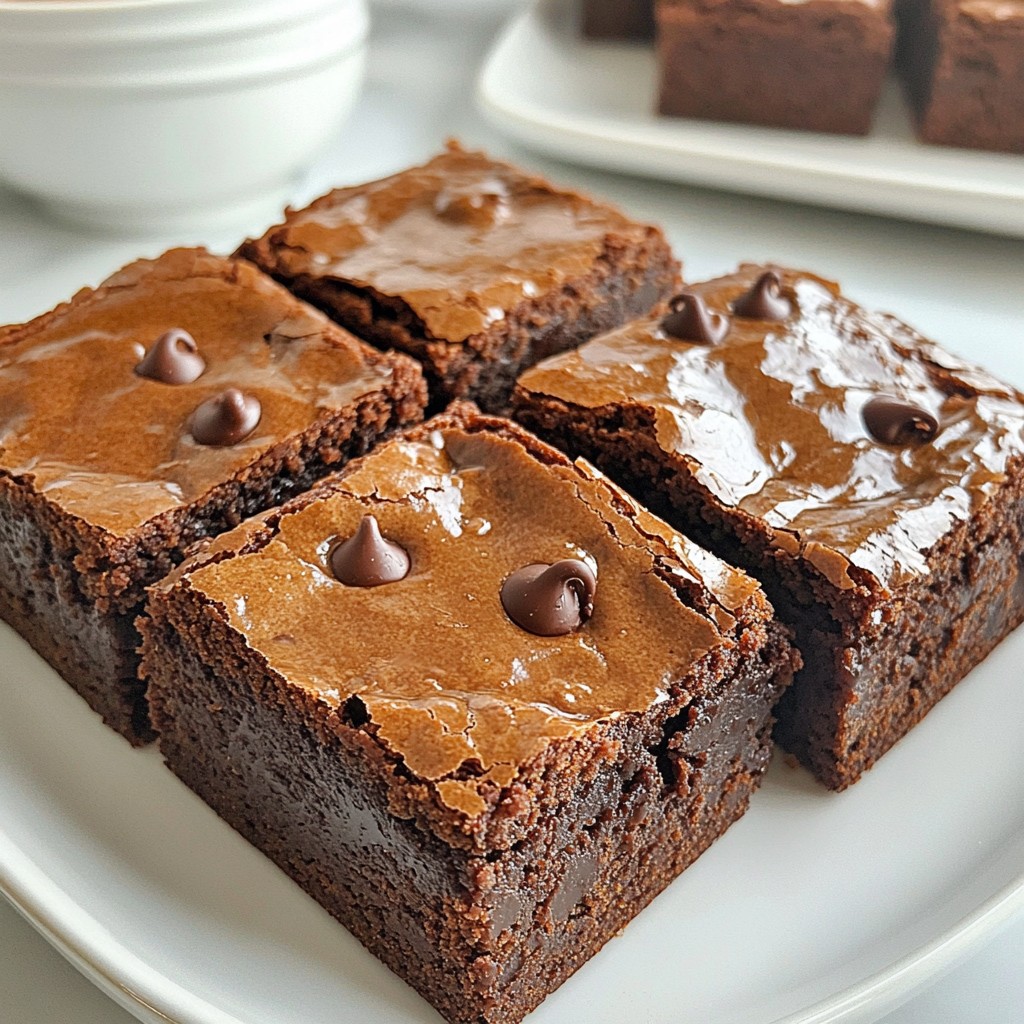
If you love brownies, get ready for a game-changer! These Crackly Top Sourdough Brownies bring rich chocolate flavor and a unique twist. With a delightful crackly top and moist, fudgy texture, they are a must-try for any dessert lover. I’ll guide you through easy steps and tips to make these decadent treats perfectly every time. Let’s dive in and bake some happiness together!
Why I Love This Recipe
- Unique Flavor: The sourdough starter adds a delightful tanginess that complements the rich chocolate flavor perfectly.
- Easy to Make: This recipe requires minimal effort and uses straightforward ingredients, making it accessible for bakers of all levels.
- Perfect Texture: The crackly top and fudgy interior create a satisfying contrast that keeps everyone coming back for more.
- Versatile Add-Ins: Feel free to customize the brownies by adding nuts, different types of chocolate, or even a sprinkle of sea salt on top.
Ingredients
List of Ingredients
- 1 cup unsweetened cocoa powder
- 1 cup all-purpose flour
- 1/2 teaspoon baking powder
- 1/4 teaspoon salt
- 1 cup granulated sugar
- 1/2 cup packed brown sugar
- 1/2 cup unsalted butter, melted
- 1 cup sourdough starter (active and bubbly)
- 3 large eggs
- 1 teaspoon vanilla extract
- 1 cup chocolate chips or chunks (dark or semi-sweet)
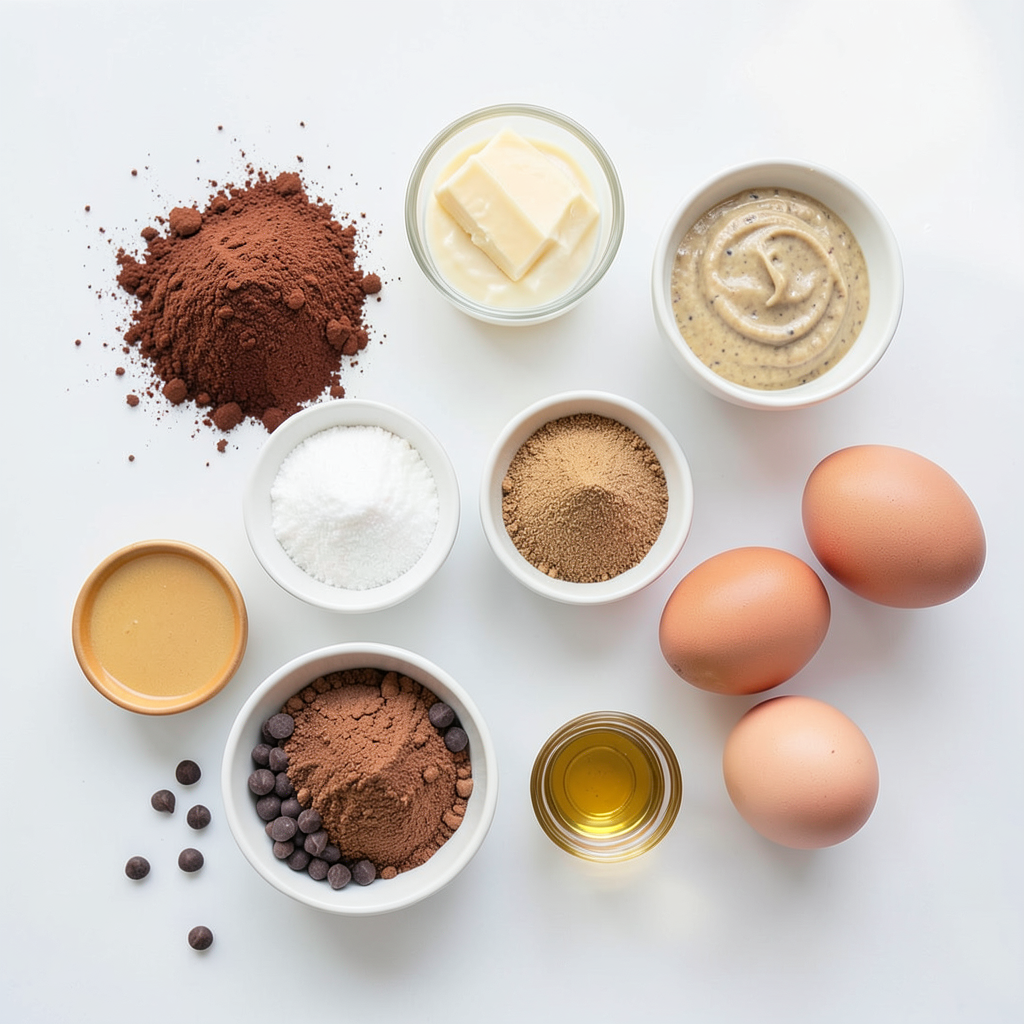
For these crackly top sourdough brownies, gather fresh ingredients. You need rich cocoa powder for that deep chocolate flavor. The all-purpose flour keeps the texture light. Baking powder gives the brownies a little lift. Salt balances the sweetness, making every bite rich.
I like to mix two sugars: granulated and brown. The brown sugar adds moisture and a hint of caramel. Melted unsalted butter blends well, giving a nice richness to the batter. Using an active sourdough starter is key. It adds a unique flavor and depth.
Eggs bring everything together and help the brownies set. Don’t skip the vanilla extract; it adds warmth and flavor. Finally, use dark or semi-sweet chocolate chips for extra chocolate goodness. These ingredients create a perfect mix for brownies that are rich, fudgy, and delightful.
Step-by-Step Instructions
Preparing the Baking Pan
Preheating the Oven First, set your oven to 350°F (175°C). This helps the brownies bake evenly and get that perfect texture.
Greasing and Lining the Pan Take a 9x13-inch baking pan. Grease it with butter or spray. Then, line the bottom with parchment paper. This makes it easy to lift the brownies out later.
Mixing Dry Ingredients
Combining Cocoa Powder, Flour, Baking Powder, and Salt In a medium bowl, whisk together one cup of cocoa powder, one cup of flour, half a teaspoon of baking powder, and a quarter teaspoon of salt. Make sure everything mixes well. This blend gives the brownies a rich taste.
Creating the Brownie Batter
Mixing Sugars and Butter In a large bowl, combine one cup of granulated sugar, half a cup of brown sugar, and half a cup of melted unsalted butter. Stir until the mix is smooth. This step adds sweetness and moisture to the brownies.
Incorporating Sourdough Starter, Eggs, and Vanilla Add one cup of active sourdough starter, three large eggs, and one teaspoon of vanilla extract. Whisk these ingredients together until the batter is shiny and well blended.
Finalizing the Brownie Mixture
Combining Wet and Dry Ingredients Gradually add the dry mix to the wet mix. Stir gently until you don’t see any flour streaks. Be careful not to overmix; this keeps the brownies soft.
Adding Chocolate Chips or Chunks Fold in one cup of chocolate chips or chunks. Dark or semi-sweet works well here. This adds extra chocolatey goodness to each bite.
Baking the Brownies
Pouring Batter and Smoothing Top Pour the brownie batter into the prepared pan. Use a spatula to smooth the top. Make it nice and even for a great bake.
Baking Time and Testing for Doneness Put the pan in the oven and bake for 25 to 30 minutes. Check if a toothpick inserted in the center comes out with a few moist crumbs. This means they are done! Let them cool before cutting. Enjoy the crackly top and fudgy inside!
Tips & Tricks
Achieving the Perfect Crackly Top
To get that famous crackly top, mixing is key. You want to beat your sugar and butter well. This helps to trap air, which makes the top shiny when baked. Mix until smooth, but don’t overdo it. Add your sourdough starter, eggs, and vanilla next. Whisk until everything is glossy.
Oven temperature is vital too. Preheat your oven to 350°F (175°C). If your oven runs hot, check with an oven thermometer. A steady heat helps form that crackly top while keeping the inside fudgy.
Ingredient Substitutions
You can switch up the flour if needed. Whole wheat flour gives a nutty taste. Almond flour adds a rich flavor, but adjust the amount. For sugars, maple syrup or honey can work too. They may change the texture slightly, but the taste will still be great.
If you don’t have butter, coconut oil is a tasty substitute. It adds a hint of coconut flavor and keeps it moist.
Enhancing Flavor and Texture
Want to jazz up your brownies? Add nuts, like walnuts or pecans, for crunch. Swirling in peanut butter or Nutella creates a tasty surprise. You can also top the brownies with sea salt to enhance their sweetness.
For serving, try warm brownies with ice cream on top. A drizzle of chocolate sauce or caramel makes them even better. Serve with fresh berries for a nice contrast.
Pro Tips
- Use Active Sourdough Starter: Ensure your sourdough starter is active and bubbly for the best results. This will help create the right texture and rise in your brownies.
- Don't Overmix: Mix the dry ingredients into the wet ingredients just until combined. Overmixing can lead to denser brownies instead of the desired fudgy texture.
- Check for Doneness: Insert a toothpick into the center of the brownies; it should come out with a few moist crumbs. If it comes out clean, they may be overbaked.
- Cool Before Cutting: Allow the brownies to cool completely on a wire rack before cutting them into squares. This helps them set and makes for cleaner cuts.
Variations
Gluten-Free Version
To make gluten-free brownies, you can swap regular flour for gluten-free flour. Here are some good options:
- Almond flour: Adds a nice nutty flavor.
- Coconut flour: Light and absorbs moisture well.
- Oat flour: Mild taste and great texture.
When using these flours, adjust the liquid in the recipe. Gluten-free flours can absorb more liquid than all-purpose flour.
Vegan Adaptation
If you want to make these brownies vegan, you can replace eggs and butter easily. Here are some ideas:
- Egg replacement: Use 1/4 cup unsweetened applesauce for each egg.
- Butter substitute: Use coconut oil or vegan butter in equal amounts.
These swaps keep the brownies moist and rich without using animal products.
Flavor Infusions
You can add unique flavors to your brownies. Here are some ways to infuse taste:
- Extracts: Add 1 teaspoon of almond or hazelnut extract for a twist.
- Spices: A pinch of cinnamon or a dash of espresso powder can boost the chocolate flavor.
Experimenting with flavors makes each batch special.
Storage Info
Best Practices for Storing Brownies
To keep your brownies fresh, you have two main options: room temperature or refrigeration.
- Room Temperature: Store brownies in a cool, dry place. They stay best in an airtight container. This way, they keep their moist texture and rich flavor. Room temperature brownies last about 3 to 5 days.
- Refrigeration: If you want them to last longer, place them in the fridge. Wrap them tightly in plastic wrap or foil. Then, put them in an airtight container. This helps prevent drying. However, brownies may lose some of their fudgy texture in the fridge.
Freezing Brownies
Freezing brownies is a great way to enjoy them later. Here’s how to do it:
1. Cool: Let the brownies cool completely on a wire rack.
2. Cut: Once cool, cut them into squares. This makes it easy to grab just what you want later.
3. Wrap: Wrap each brownie square tightly in plastic wrap. You can also use aluminum foil for extra protection.
4. Bag: Place the wrapped brownies in a freezer-safe bag or container. Be sure to squeeze out any air before sealing.
5. Label: Write the date on the bag so you remember when you froze them.
To thaw, simply take a brownie out and let it sit at room temperature for about 20-30 minutes. You can also warm it in the microwave for a few seconds if you prefer it warm. Frozen brownies keep well for up to 3 months. Enjoy your sweet treat!
FAQs
What makes sourdough brownies different?
Sourdough brownies stand out due to their unique flavor and texture. The sourdough starter adds a slight tang, which balances the sweetness. This tang makes each bite rich and interesting. The brownies also have a lovely chewiness. This texture comes from the fermentation of the sourdough. You get a fudgy interior with a great crackly top. This contrast is what makes them a delight to eat.
How can I achieve a shinier top?
To get that glossy, shiny top, focus on mixing. Whip the sugar and butter well to incorporate air. This step is key. Also, don’t skip the eggs. Beat them in until they’re fully mixed. This helps create a light texture. Finally, bake at the right temperature. Opening the oven too soon can ruin the shine. Wait until the brownies are close to done before checking.
Can I use a different sourdough starter?
Yes, you can use other types of sourdough starters. Each one brings its own flavor. A whole wheat starter will add a nuttier taste. A rye starter gives a deeper flavor. Just make sure it’s active and bubbly. An inactive starter won't give you the best results. The key is to ensure your starter is well-fed before using it.
How long will these brownies last?
These brownies can last about 3 to 5 days at room temperature. Keep them in an airtight container. If you notice any mold or strange smells, throw them out. For longer storage, you can freeze them. Wrap each piece tightly in plastic wrap before freezing. This way, they stay fresh for up to 3 months. When you’re ready to enjoy, thaw them at room temperature.
These sourdough brownies combine rich flavors and a unique texture. We explored the key ingredients, step-by-step instructions, and helpful tips for success. Remember, you can easily adapt the recipe for various dietary needs. Whether you’re using gluten-free flour or making a vegan version, the results will be delicious. Store them properly for lasting freshness. Enjoy your baking adventure, and delight in these tasty treats that elevate your dessert game.


