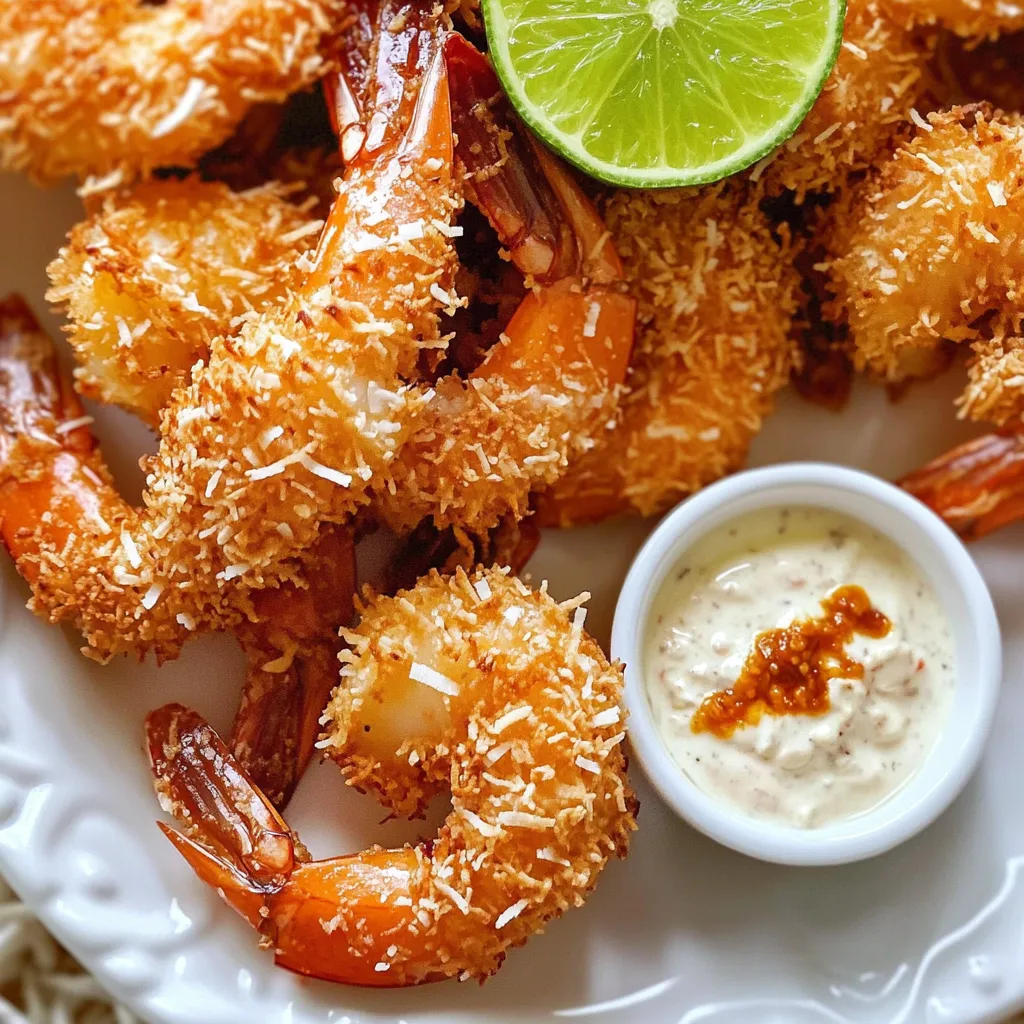
Air Fryer Coconut Shrimp with Chili Dip Delight
Dive into the crispy goodness of Air Fryer Coconut Shrimp with Chili Dip Delight! This tasty dish combines sweet coconut
Dive into the crispy goodness of Air Fryer Coconut Shrimp with Chili Dip Delight! This tasty dish combines sweet coconut

There’s nothing quite like the smell of warm cinnamon rolls wafting through your kitchen! When you add apple butter, it

If you’re craving a warm, hearty dish that’s simple to make, you’ve found it! My Slow Cooker Pumpkin Turkey Chili

Get ready for a tasty treat with my Sheet Pan Chipotle Chicken Nachos. This dish combines juicy chicken, melty cheese,

If you’re craving a warm, filling dish, you must try this Butternut Squash Sage Risotto. This savory and simple recipe
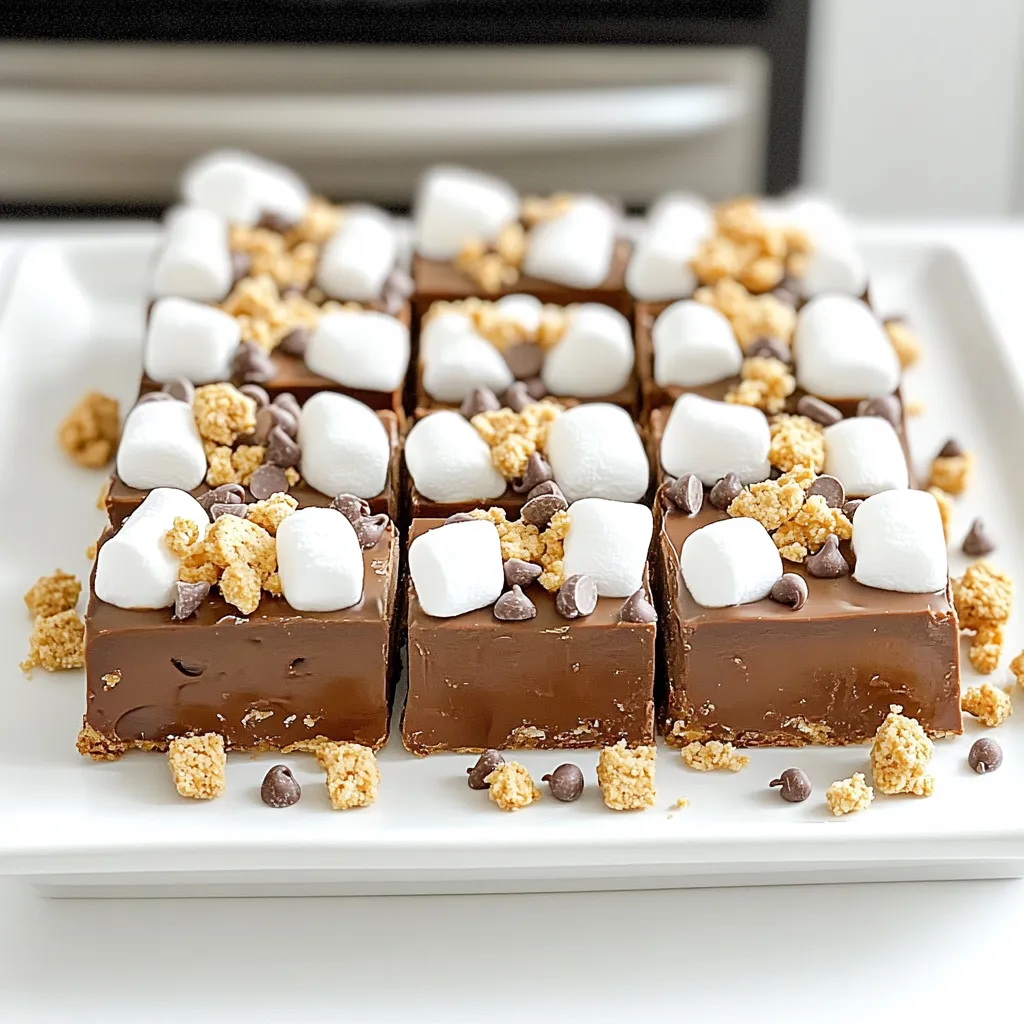
Are you ready to indulge in an easy treat that satisfies your chocolate cravings? These No Bake S’mores Fudge Bars
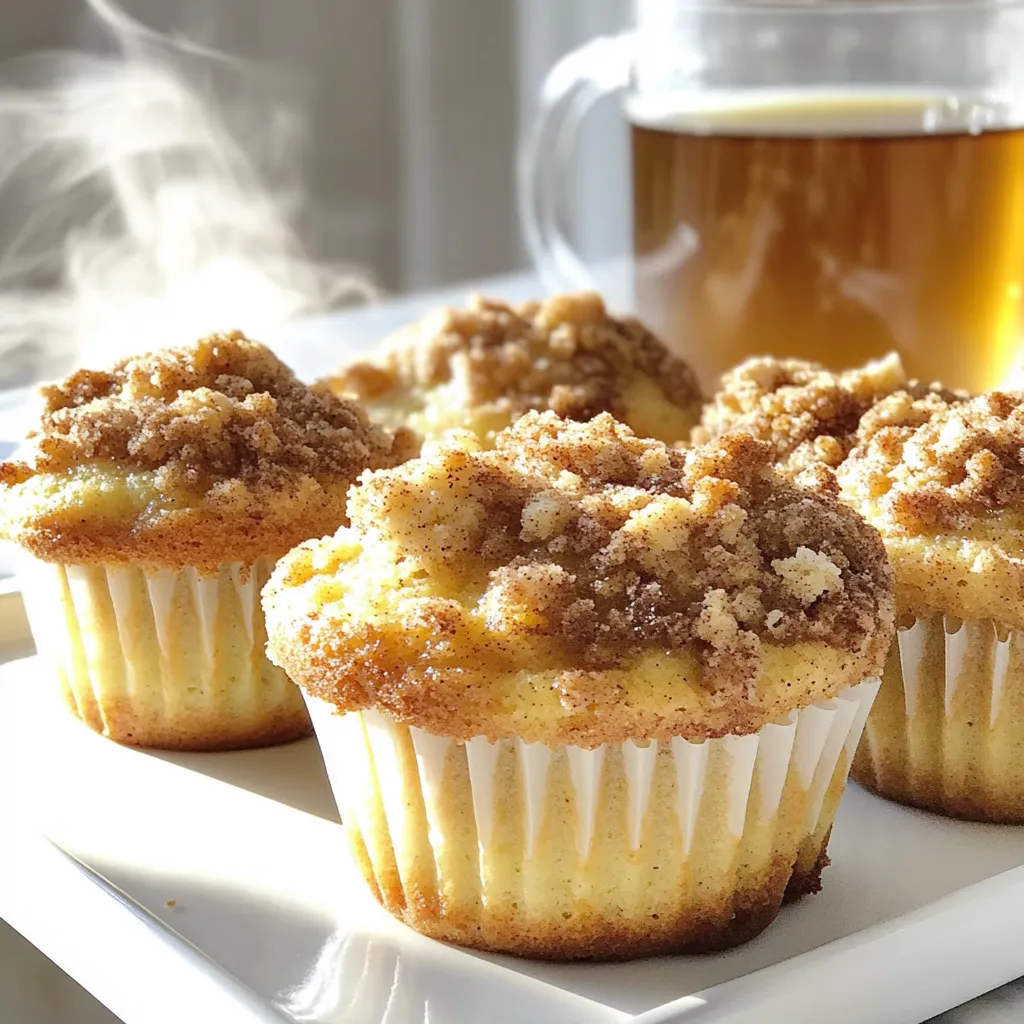
Start your day with a delightful twist on your morning routine! Imagine sinking your teeth into warm Chai Latte Coffee

Looking for a quick and tasty dinner? This Garlic Butter Naan Pizza recipe is your answer! In just 15 minutes,

Are you ready to spice up your dinner table? This Smoky Chipotle Turkey Chili is not just another bowl of
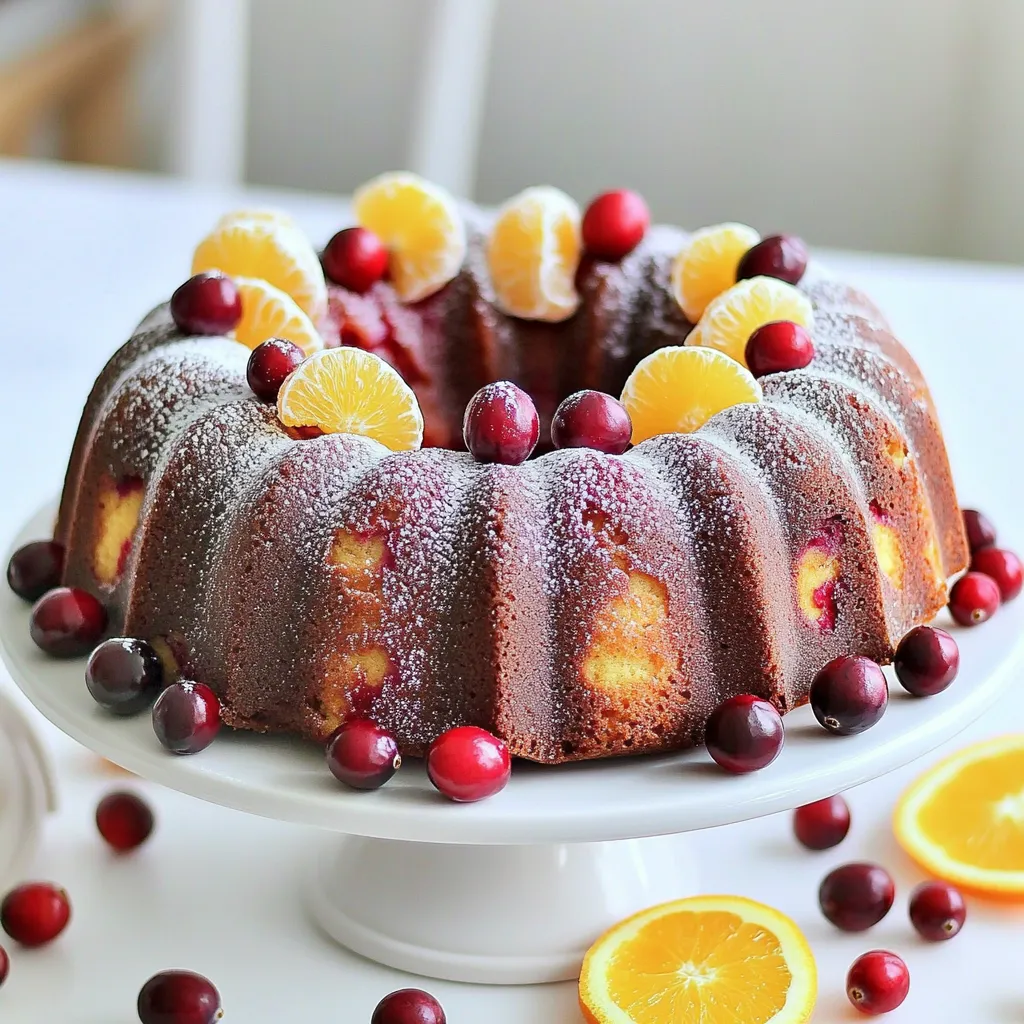
Who doesn’t love a sweet treat that’s both simple and delicious? This Cranberry Orange Bundt Cake combines the tartness of
