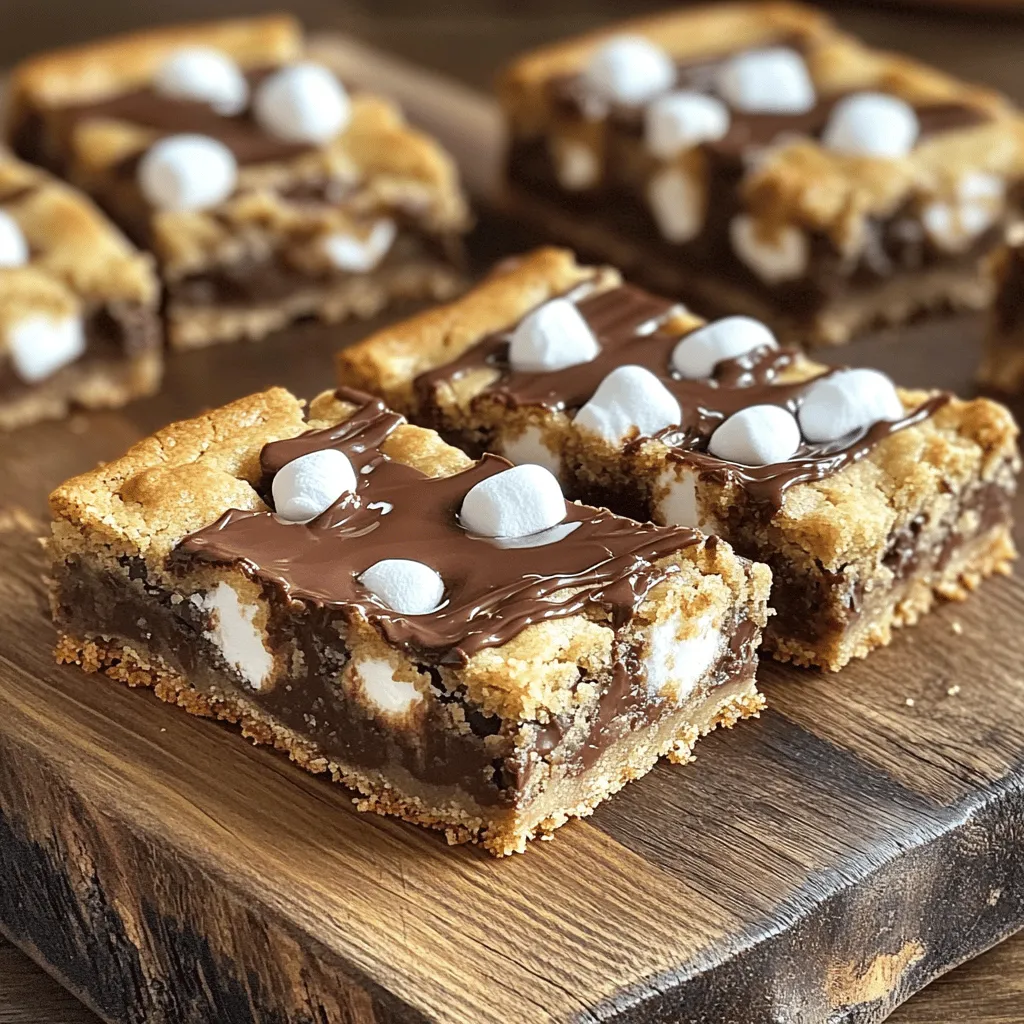
Are you craving a sweet treat that brings back childhood memories? Look no further! These S’mores Cookie Bars are the perfect mix of cookie and classic s’mores. With gooey chocolate, fluffy marshmallows, and crunchy graham cracker crumbs, they’re a delight in every bite. Plus, you’ll love how easy they are to make. Let’s dive into this simple recipe and create a dessert that everyone will adore!
Ingredients
Required Ingredients for S’mores Cookie Bars
– 1 cup unsalted butter, softened
– 1 cup brown sugar, packed
– 1/2 cup granulated sugar
– 2 large eggs
– 2 teaspoons vanilla extract
– 2 1/4 cups all-purpose flour
– 1 teaspoon baking soda
– 1/2 teaspoon salt
– 1 cup semi-sweet chocolate chips
– 1 cup mini marshmallows
– 1 cup graham cracker crumbs
To make S’mores Cookie Bars, you need simple ingredients. Each one plays an important part. The butter makes the bars soft. The brown sugar adds a rich flavor. Granulated sugar gives sweetness. Eggs hold everything together. Vanilla adds a warm taste.
Flour is the base of the dough. Baking soda helps it rise and get fluffy. Salt balances the sweetness. Chocolate chips bring that classic S’mores flavor. Mini marshmallows are the gooey stars of the show. Finally, graham cracker crumbs give that crunchy base.
Equipment Needed
– Mixing bowls
– Baking pan (9×13 inch)
– Parchment paper (optional)
– Measuring cups and spoons
– Spatula
You will also need some tools. Mixing bowls help combine the ingredients. A 9×13 inch baking pan is perfect for these bars. Parchment paper can help with easy cleanup. Measuring cups and spoons ensure you use the right amounts. A spatula is useful for spreading the dough evenly.
With these ingredients and tools, you are set to create a fun and tasty treat!
Step-by-Step Instructions
Prepping the Ingredients
– Preheat the oven to 350°F (175°C).
– Grease the baking pan or line it with parchment paper. This helps with easy removal.
Making the Cookie Dough
– In a large bowl, cream together the softened butter, brown sugar, and granulated sugar. Mix until light and fluffy.
– Beat in the eggs one at a time. Then stir in the vanilla extract for extra flavor.
– In a separate bowl, whisk together the flour, baking soda, and salt. Gradually add this dry mix to the wet ingredients. Stir until just combined.
Assembling the S’mores Cookie Bars
– Spread half of the cookie dough evenly across the bottom of the prepared baking pan.
– Sprinkle the mini marshmallows over this first layer. Make sure they are spread out evenly.
– Spoon the rest of the cookie dough on top of the marshmallows. Use your hands or a spatula to flatten it and cover the marshmallows.
Baking Instructions
– Bake in the preheated oven for 25-30 minutes. Look for golden brown edges and a set center.
– Allow to cool in the pan for about 10 minutes before slicing into squares. For a gooey treat, serve warm.
Tips & Tricks
Achieving the Perfect Texture
To get gooey centers in your S’mores Cookie Bars, follow these tips:
– Use room temperature butter. It mixes well and adds moisture.
– Don’t overbake! Check at 25 minutes. Remove when edges are golden.
– Let them cool slightly before cutting. This keeps them soft.
If you want a firmer texture, leave them in for a few extra minutes. Keep an eye on the edges. They should be firm, but the center can remain soft.
Serving Suggestions
Drizzling melted chocolate on top makes your cookie bars extra special.
– Melt semi-sweet chocolate in the microwave. Use short bursts to avoid burning.
– Pour the chocolate over the cooled bars for that gourmet look.
Add extra mini marshmallows on top for a fun touch. Just sprinkle them before serving. For a toasted flavor, you can briefly broil them for a minute.
Common Mistakes to Avoid
Avoid these common pitfalls to ensure success:
– Don’t overmix the dough. Mix until just combined for a tender texture.
– Make sure to grease your baking pan well. This helps prevent sticking.
If you forget to grease it, your bars may break apart when you try to remove them. A lined pan with parchment paper can also save you from a sticky situation.
Variations
Flavor Enhancements
You can easily make S’mores Cookie Bars more exciting. Try adding nuts, like walnuts or pecans. This adds a nice crunch. You can also mix in peanut butter for a rich flavor. The creamy texture pairs well with the chocolate and marshmallows.
Switching up the chocolate can change the game. Use dark chocolate for a richer taste. Milk chocolate gives a sweet, creamy vibe. You can even try white chocolate for a different twist. Each choice brings a unique flavor to your cookie bars.
Dietary Adjustments
If you need gluten-free options, use almond flour or coconut flour. Both work well in this recipe. Just remember to adjust the baking time. They may need a bit longer to set.
For vegan substitutes, replace the butter with coconut oil. You can use flax eggs instead of regular eggs. Mix one tablespoon of flaxseed meal with three tablespoons of water. Let it sit for five minutes to thicken. These swaps keep your cookie bars tasty and plant-based.
Seasonal Variations
Make your S’mores Cookie Bars festive! In the fall, add pumpkin spice to the dough. This gives a cozy flavor that pairs well with chocolate.
During the holidays, you can use peppermint extract. Just a few drops can create a fresh, minty taste. Top with crushed candy canes for a fun look. These seasonal changes keep the recipe exciting all year long.
Storage Info
How to Store S’mores Cookie Bars
To keep your S’mores Cookie Bars fresh, pack them in an airtight container. This will help maintain their soft texture and delicious flavor. You can also wrap them in plastic wrap for added protection. Store them at room temperature for up to five days. If you want to keep them longer, freezing is a great option.
Freezing Instructions
To freeze S’mores Cookie Bars, first, let them cool completely. Then, cut them into squares. Place the squares in a single layer on a baking sheet. Freeze for about one hour. Once frozen, transfer them to a freezer-safe bag or container. They can stay frozen for up to three months.
When you want to enjoy them, take out the desired number of bars. Let them thaw in the fridge or at room temperature. For the best texture, warm them slightly in the microwave. This will revive that gooey goodness!
FAQs
How long do S’mores Cookie Bars last?
S’mores cookie bars last about five days at room temperature. Store them in an airtight container. This keeps them soft and chewy. Check for any signs of spoilage, like a weird smell or dry texture. If they start to harden, warm them slightly in the microwave for a few seconds. They will regain some gooeyness!
Can I use mini chocolate chips instead of regular?
Yes, you can use mini chocolate chips! They melt quickly and spread evenly. This gives your bars a great chocolate flavor. Plus, they add a fun texture. You can even mix mini and regular chips for a nice contrast. Feel free to experiment with your favorite chocolate types!
What can I substitute for graham cracker crumbs?
If you don’t have graham cracker crumbs, use crushed cookies or cereal. Vanilla wafers or digestive biscuits work well too. For a gluten-free option, try almond flour or gluten-free cookies. Just crush them finely to mimic the texture of graham crackers. Each option brings a new twist to your bars!
Can I make these bars ahead of time?
Absolutely! You can make the dough a day in advance. Just chill it in the fridge. When you’re ready, bake them fresh. If you bake them ahead, let them cool completely. Then, store them in an airtight container. This keeps them fresh for several days. Enjoy the convenience of having a tasty treat ready to go!
You now have all the tools to make delicious S’mores Cookie Bars. We covered the key ingredients, steps, and helpful tips for baking these treats. Remember to prep well and avoid common mistakes. Feel free to experiment with flavors and enjoy your creations. Storing or freezing your bars is simple, so they’ll last longer. With practice, you’ll master these bars and impress everyone. Happy baking!


