

Latest & Greatest

Crispy Chicken Nuggets Easy and Tasty Recipe Guide
Are you ready to make the crispiest chicken nuggets that everyone will love? In my easy and tasty recipe guide,
Read more…
Homemade Biscuits Flaky and Delicious Recipe Guide
Looking to bake biscuits that are flaky and delicious? You’ve come to the right place! In this guide, I’ll share
Read more…
Mini Pineapple Upside-Down Cheesecakes Delightful Treat
Are you ready to treat yourself to a sweet delight? Mini Pineapple Upside-Down Cheesecakes are the answer! These individual desserts
Read more…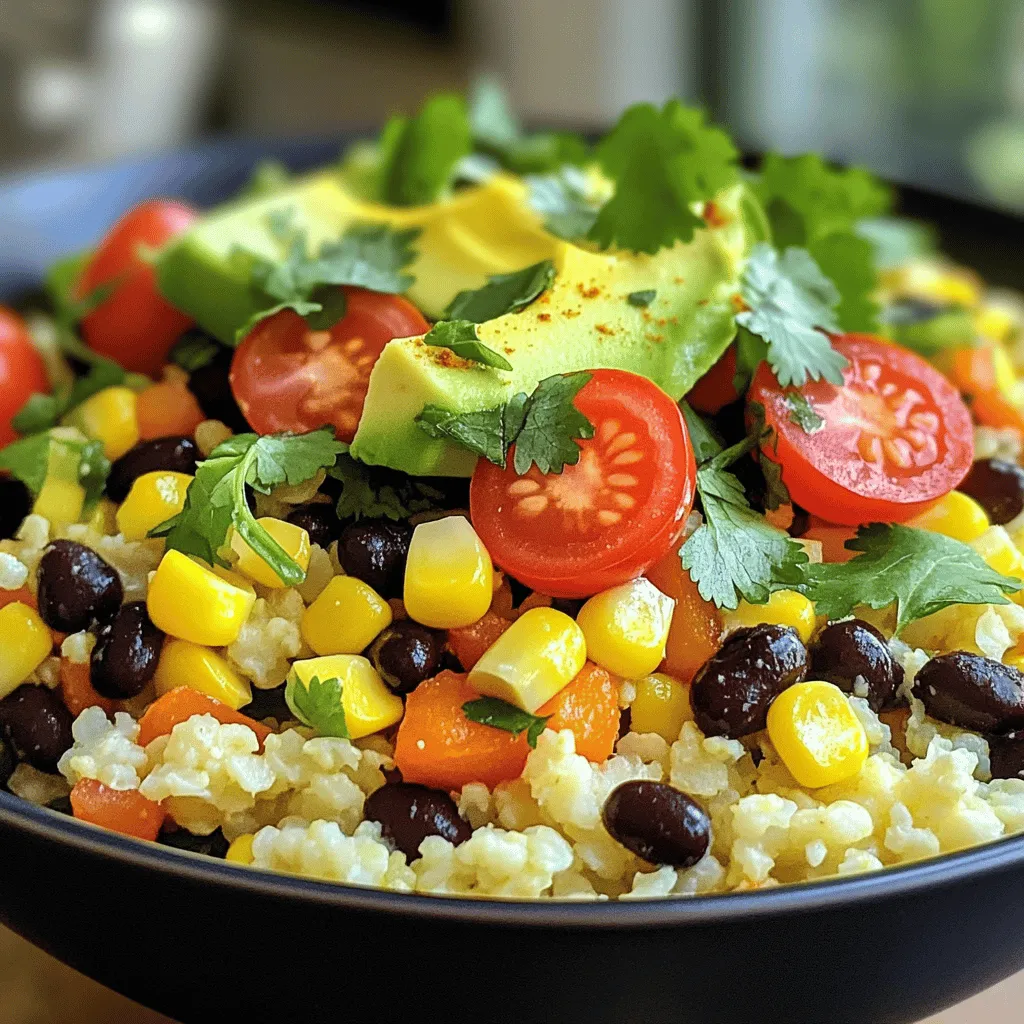
Cauliflower Rice Bowl Simple and Flavorful Recipe
Are you ready to dive into a simple and tasty way to enjoy cauliflower? My Cauliflower Rice Bowl recipe is
Read more…
Garlic Butter Chicken Delightful One-Pan Recipe
If you’re craving a dish that’s both simple and full of flavor, you’re in the right place! This Garlic Butter
Read more…
Creamy Smothered Chicken and Rice Dinner Delight
Craving a comforting meal that warms your soul? Look no further than Creamy Smothered Chicken and Rice. This dish combines
Read more…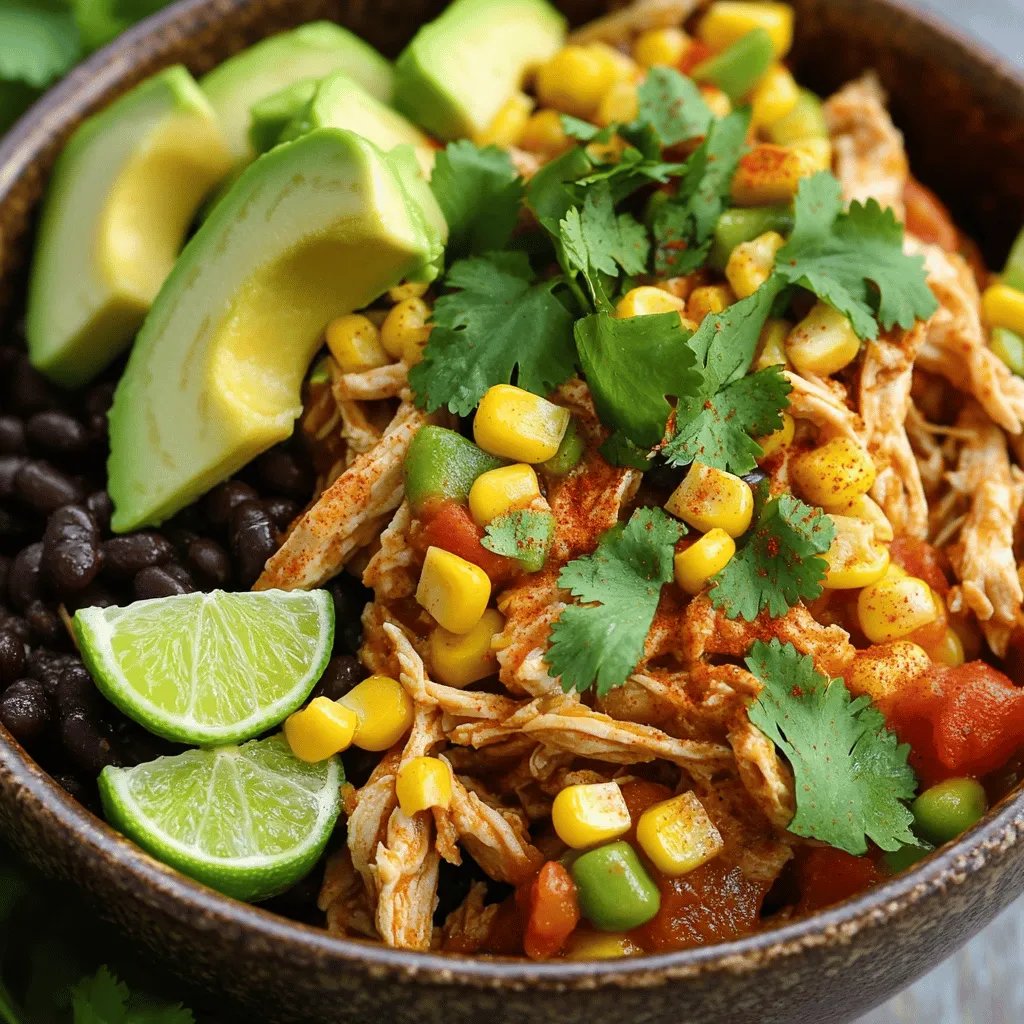
Crockpot Mexican Chicken Flavorful and Easy Recipe
Are you ready for a delicious and easy dinner? This Crockpot Mexican Chicken recipe is packed with flavor and perfect
Read more…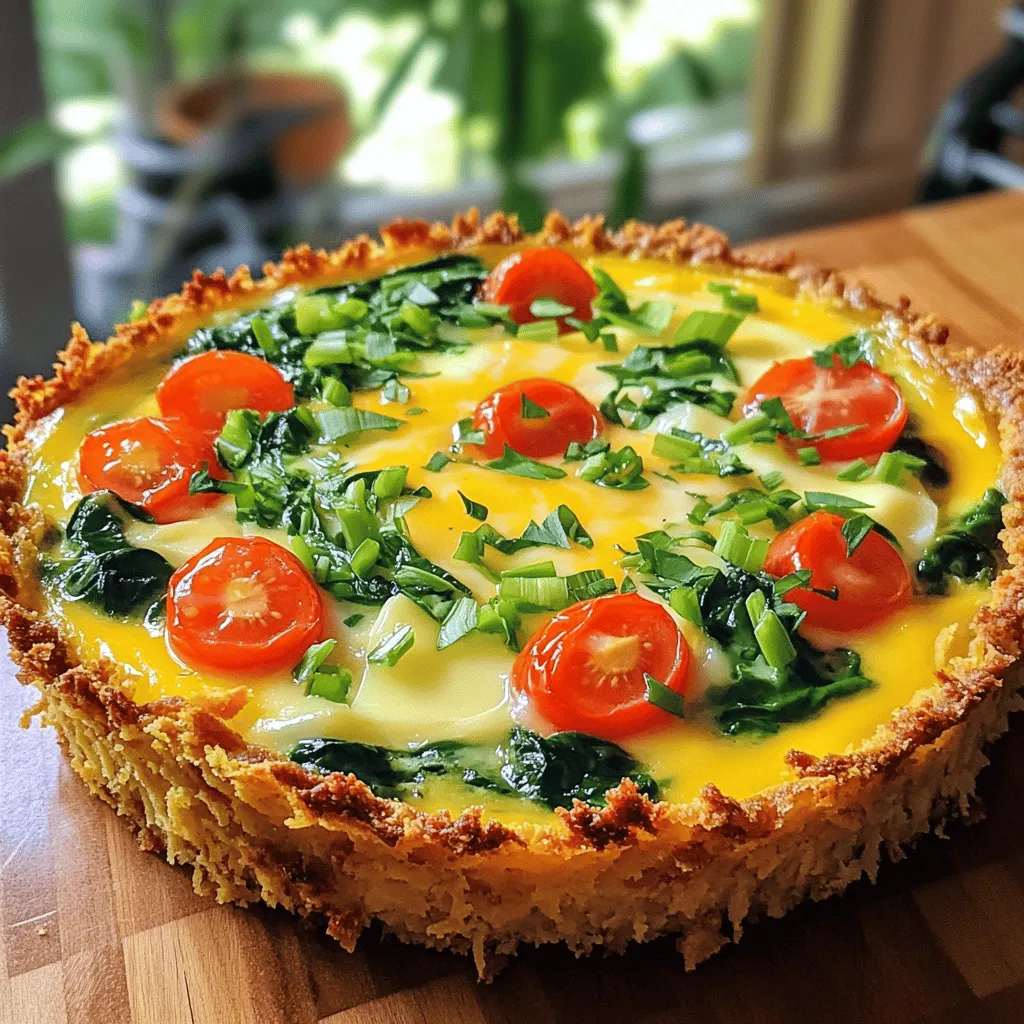
Spring Hash Brown Crust Quiche Flavorful and Easy Meal
Are you ready for a simple, tasty dish this spring? Try my Spring Hash Brown Crust Quiche! With a crispy
Read more…browse recipes


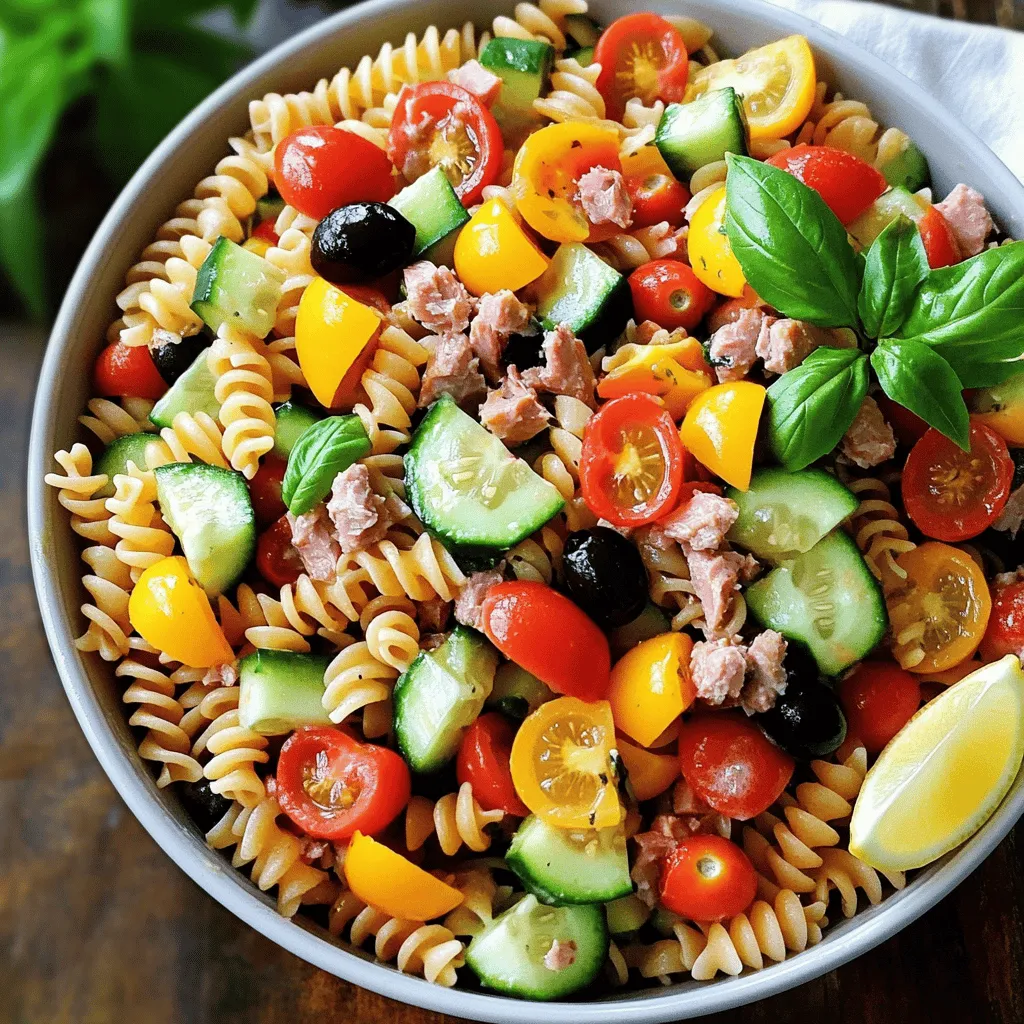
Tuna Pasta Salad Without Mayo Fresh and Easy Recipe
Looking for a fresh and easy meal that skips the mayo? You’re in the right place! This Tuna Pasta Salad Without Mayo packs flavor…
My Latest Desserts

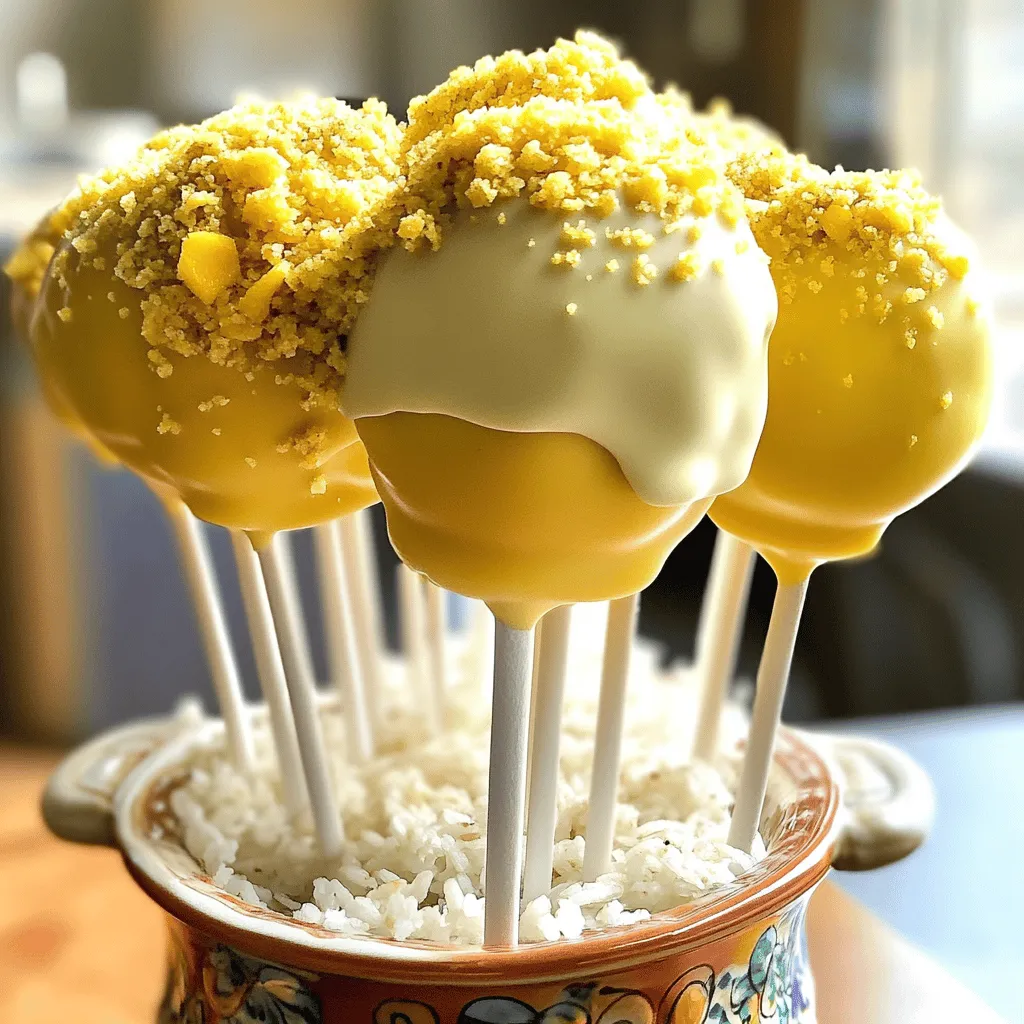
Mango Tajin Cake Pops Tasty and Fun Treats
Craving a unique treat? Try my Mango Tajin Cake Pops! These fun bites blend sweet mango with the zesty kick Read Full Recipe-
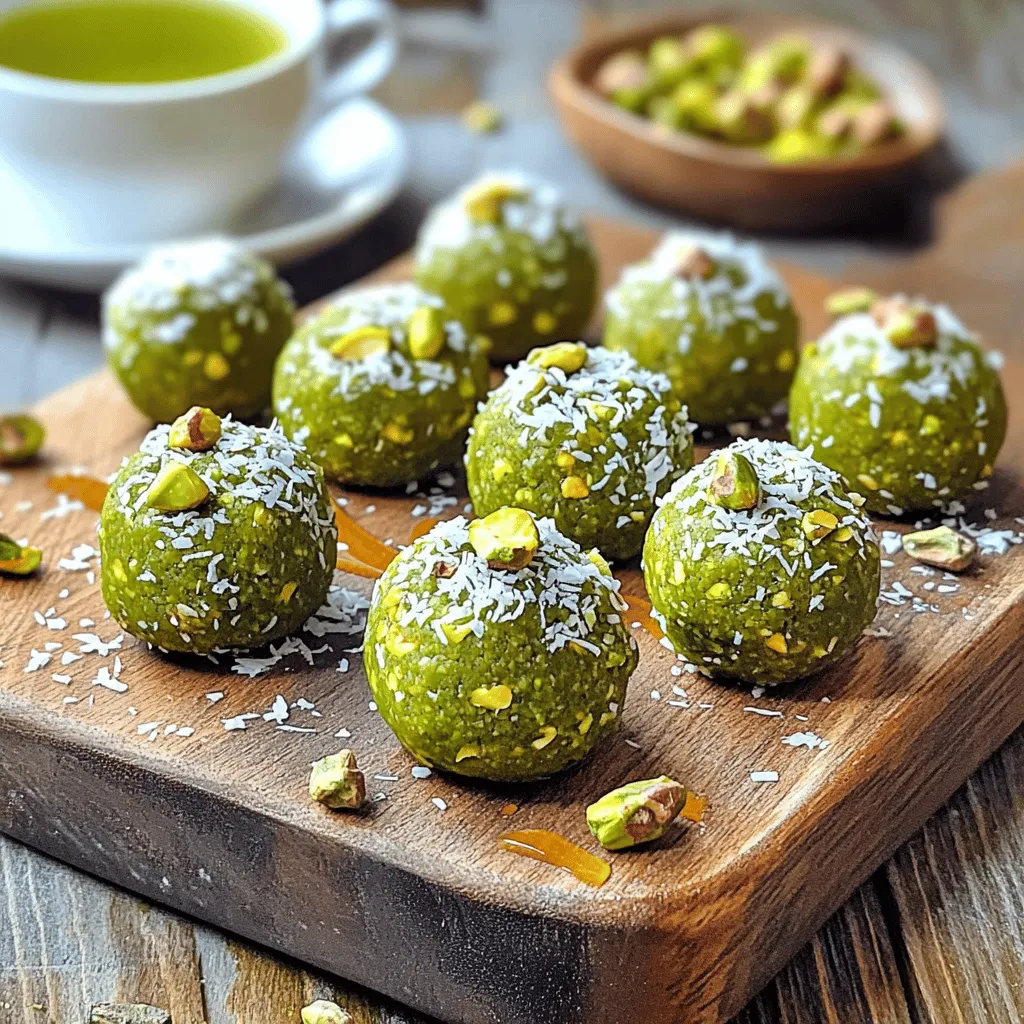
Matcha Pistachio Energy Bites Nourishing Snack Option
Looking for a tasty and healthy snack? Let me introduce you to Matcha Pistachio Energy Bites! Packed with oats, nuts, Read Full Recipe -
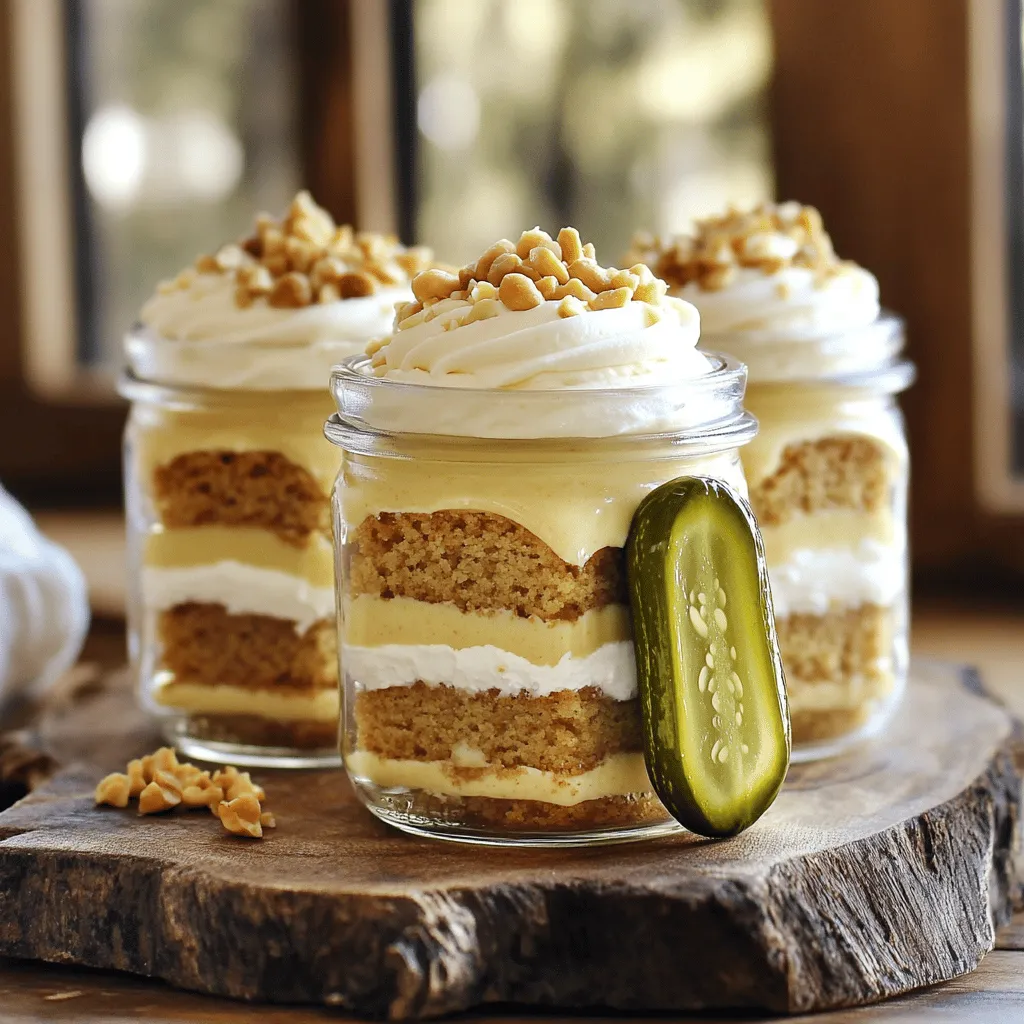
Peanut Butter Pickle Cake Jars Delightful and Unique Treat
Are you ready to try something truly different? Peanut Butter Pickle Cake Jars combine sweet and tangy flavors in a Read Full Recipe -
Healthy Banana Oat Muffins Nutrient-Packed Recipe
Looking for a tasty snack that’s packed with nutrients? You’re in the right place! My Healthy Banana Oat Muffins recipe Read Full Recipe -
No-Bake Chocolate Oat Bars Simple and Tasty Treat
Looking for a quick, tasty treat? You’re in the right place! My No-Bake Chocolate Oat Bars are simple to make Read Full Recipe -
No-Bake Chocolate Oatmeal Bars Simple and Tasty Treat
Looking for a simple and tasty treat that’s also healthy? You’ve found it! My No-Bake Chocolate Oatmeal Bars are a Read Full Recipe -
Peach Pie Cruffins Delightful and Simple Recipe
Are you ready to dive into a sweet and flaky treat? Peach Pie Cruffins are a delightful twist on classic Read Full Recipe -
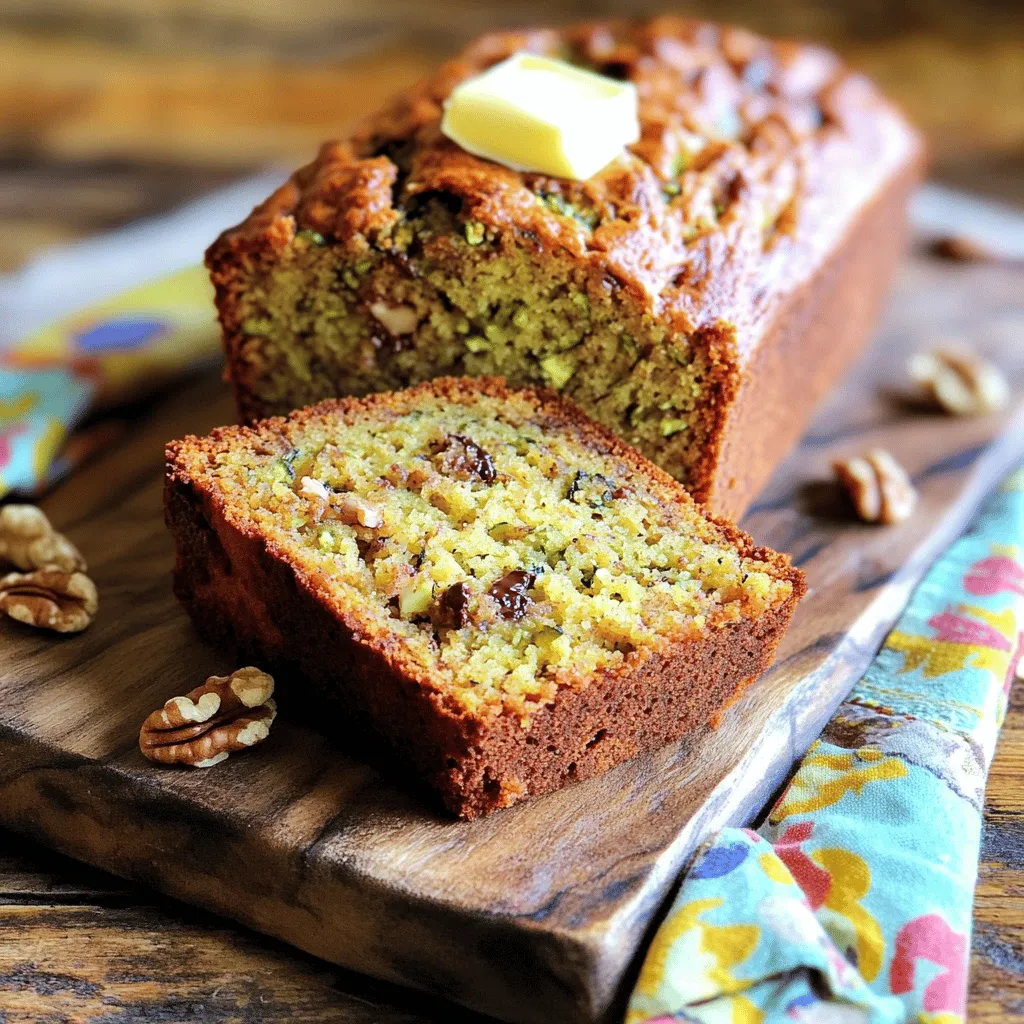
Retro Zucchini Bread Healthy and Flavorful Delight
Are you ready to bake a delicious, healthy treat? Retro Zucchini Bread is packed with flavor and goodness. This simple Read Full Recipe -
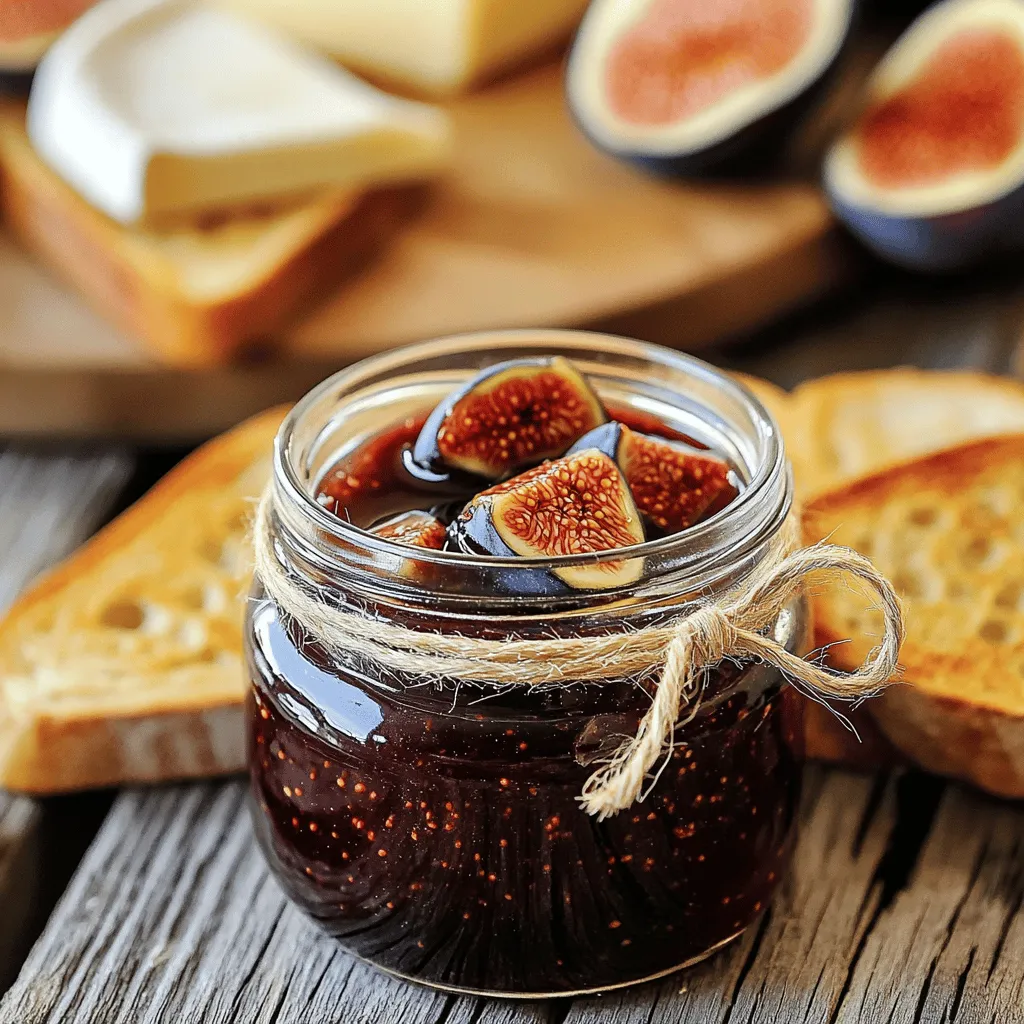
Classic Fig Jam Simple and Delicious Recipe
Are you ready to savor the sweet taste of summer year-round? Making classic fig jam is simple and rewarding. With Read Full Recipe -
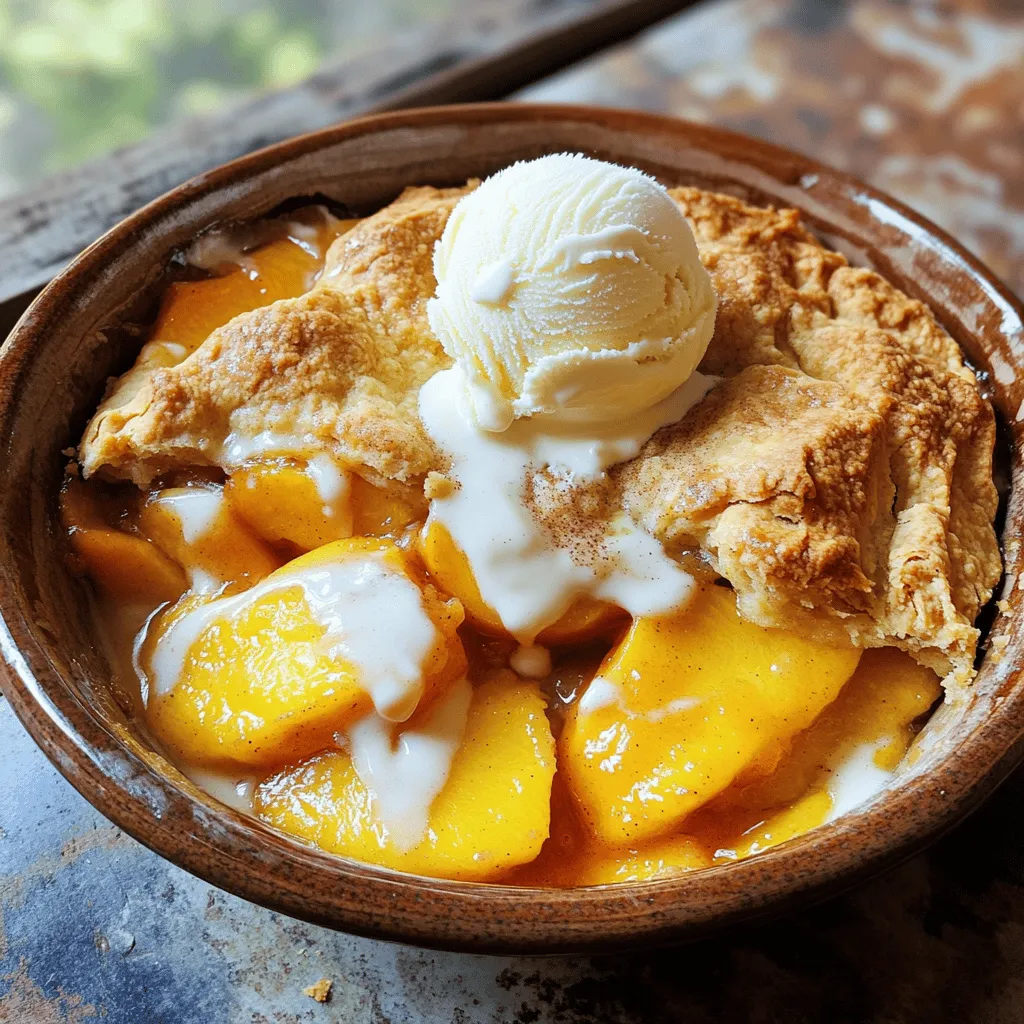
Fresh Peach Cobbler Flavorful and Easy Recipe Guide
Craving a sweet treat that showcases the juicy goodness of fresh peaches? You’re in the right place! In this guide, Read Full Recipe


hey,
i’m !
I’m so happy you’re here!
I pour heart and skill into every recipe I create. I know you’ll taste the difference now let’s enjoy this flavorful adventure together.


![To make tasty Mini Caprese Skewers, you need a few key items. Here’s what to gather: - 1 pint cherry tomatoes - 8 ounces fresh mozzarella balls (bocconcini) - Fresh basil leaves - 2 tablespoons balsamic glaze - 1 tablespoon extra virgin olive oil - Salt and pepper to taste - Skewers (4-6 inch long) These ingredients create a mix of fresh, bright flavors. The tomatoes add sweetness, while mozzarella gives a creamy texture. Basil brings a fragrant note that ties them all together. Feel free to add your personal touch with these optional items: - A sprinkle of red pepper flakes for heat - Prosciutto for a savory twist - Different types of cheese, like feta or goat cheese - Cherry peppers for extra flavor These ingredients can enhance the dish or change it up to suit your taste. Choosing the right ingredients is key for great skewers. Here’s how to select fresh produce: - Tomatoes: Look for firm, shiny cherry tomatoes without blemishes. - Mozzarella: Choose mozzarella balls that are plump and packed in water for freshness. - Basil: Pick bright green leaves with no brown spots. Fresh basil should smell strong and sweet. Fresh ingredients make all the difference. They bring vibrant flavors and textures to your skewers. For the complete preparation, check out the Full Recipe. First, rinse the cherry tomatoes under cold water. Pat them dry with a clean towel. Next, take the fresh mozzarella balls and drain any extra liquid from the packaging. This step helps keep the skewers from getting soggy. Grab your skewer and begin threading. Start with one cherry tomato. Then, add a fresh basil leaf. Follow it up with a mozzarella ball. Repeat this process for each skewer. Aim for about three to four sets of tomato, basil, and mozzarella. Leave some space at each end for easy handling. Once you finish, lay the skewers on a serving platter. Drizzle the extra virgin olive oil over the skewers. Next, sprinkle with salt and pepper to taste. Finally, add a generous drizzle of balsamic glaze. This step adds flavor and makes your dish look beautiful. You can serve them right away or chill in the fridge for up to an hour. This waiting time helps the flavors blend nicely. Enjoy your Mini Caprese Skewers as a fresh, tasty snack! For the full recipe, check out the provided link. To make the best Mini Caprese Skewers, follow these tips: - Use ripe cherry tomatoes. They add sweet flavor. - Choose fresh mozzarella balls for a creamy texture. - Select bright green basil leaves for a fragrant touch. - Soak wooden skewers in water. This keeps them from burning. - Space the items evenly for a nice look. Avoid these common errors when making skewers: - Don’t overcrowd the skewer. Leave space for easy eating. - Avoid using old or wilted ingredients. Freshness matters! - Don’t skip the seasoning. Salt and pepper enhance taste. - Keep the skewers chilled before serving. This keeps them fresh. To boost the flavor of your Mini Caprese Skewers, try these ideas: - Add a dash of lemon juice for brightness. - Mix herbs like oregano or thyme with the basil. - Experiment with flavored olive oil for a unique twist. - Serve with a side of pesto for dipping. - Consider adding a sprinkle of crushed red pepper for heat. For a complete guide, check out the Full Recipe. {{image_2}} You can switch up the ingredients for Mini Caprese Skewers. Here are some ideas: - Grape Tomatoes: If cherry tomatoes are not available, use grape tomatoes. They taste sweet and work well. - Mozzarella Alternatives: Try using burrata cheese for a creamier texture. Feta cheese also adds a nice tang. - Herb Variations: Use mint or parsley instead of basil for a different flavor. These herbs bring a fresh twist. Mixing flavors can make your skewers stand out. Here are some fun combinations to try: - Pesto Drizzle: Instead of balsamic glaze, drizzle pesto over your skewers. It adds richness and a burst of flavor. - Spicy Kick: Add a slice of jalapeño or a dash of red pepper flakes. This adds heat and excitement. - Sweet Touch: Include a slice of fresh peach or strawberry for a sweet contrast. It balances the saltiness of cheese. You can adapt Mini Caprese Skewers for various diets: - Vegan Version: Replace mozzarella with avocado slices or marinated tofu. Both options are creamy and delicious. - Gluten-Free: The recipe is already gluten-free! Just ensure your balsamic glaze has no added gluten. - Low-Carb: Skip the tomatoes and use only mozzarella and basil. This keeps it light and keto-friendly. For the full recipe, check out the [Full Recipe] section. Enjoy exploring these variations! To store Mini Caprese Skewers, place them in an airtight container. Cover the container tightly to keep air out. You can store them in the fridge for up to two days. This keeps the ingredients fresh and tasty. If you want to make them ahead, prep the ingredients separately and assemble close to serving. Keep cherry tomatoes and mozzarella balls in their original packaging until ready to use. Store fresh basil in a glass of water, like a flower bouquet. This helps keep the basil vibrant and green. When storing skewers, avoid stacking them. This prevents squishing and keeps them looking nice. Mini Caprese Skewers are best served cold. If you have leftovers, enjoy them straight from the fridge. If you prefer them warm, you can briefly heat them in the microwave. Just 10-15 seconds should be enough. Be careful not to overheat, or the mozzarella may become rubbery. For a warm twist, try grilling them for a few minutes to enhance the flavor. You can prepare Mini Caprese Skewers a few hours in advance. Simply follow the steps to assemble the skewers. After they are made, cover them with plastic wrap. Store them in the fridge until you are ready to serve. This helps keep them fresh. Just remember to drizzle the balsamic glaze right before serving. The glaze can make the skewers soggy if added too early. Enjoy the flavors that develop from resting! Yes, you can make Mini Caprese Skewers without mozzarella. If you want a dairy-free version, try using vegan cheese. Another option is to add avocado or even marinated artichokes. These will bring a creamy texture and unique flavor. You can still use cherry tomatoes and basil to keep the classic look. If you don’t have balsamic glaze, you can use balsamic vinegar instead. Just drizzle a little on the skewers for that tangy flavor. You can also make a quick glaze by simmering balsamic vinegar until it thickens. Honey, maple syrup, or even a splash of lemon juice can work too. Each option will give a different taste, so feel free to experiment! Creating Mini Caprese Skewers is simple and fun. We covered key ingredients and tips. You learned how to select fresh produce and assemble skewers with flavor. I shared mistakes to avoid and ways to adapt for diets. Remember, storing them correctly keeps them fresh. Try these ideas for your next gathering. With a little creativity, you can impress your guests. Enjoy making and sharing this tasty treat!](https://foodishtalk.com/wp-content/uploads/2025/06/d1f2594d-0152-4f5d-9d00-0af444c1b2dc-300x300.webp)
Big Mac Wraps with Special Sauce Easy and Tasty Meal
If you love Big Macs but want a fun twist, try Big Mac Wraps with Special Sauce! This easy recipe gives you all the…