
Latest & Greatest
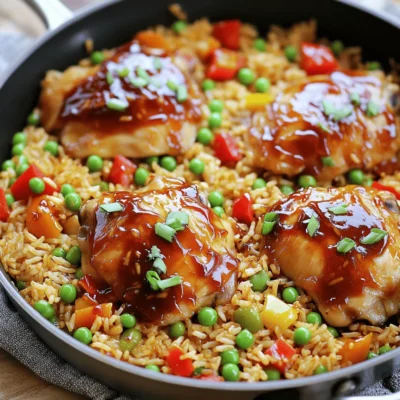
One-Pan Honey BBQ Chicken Rice Flavorful Meal Prep
Looking for a simple, tasty meal prep idea? You’re in the right place! This One-Pan Honey BBQ Chicken Rice recipe
Read more…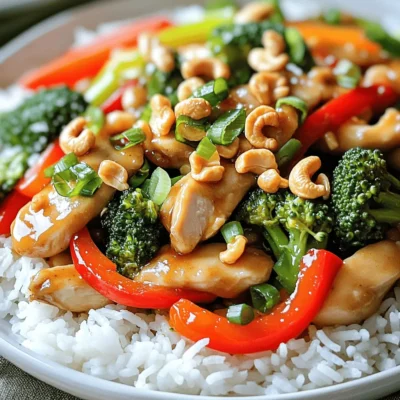
Thai Cashew Chicken Stir Fry Simple and Flavorful Meal
Looking for a quick, tasty meal? Thai Cashew Chicken Stir Fry is your answer! This dish combines tender chicken, crunchy
Read more…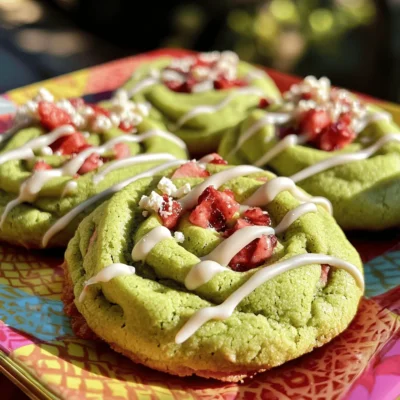
Swirled Strawberry Matcha Cookies Irresistible Delight
Ready to bake a treat that’s as beautiful as it is delicious? These Swirled Strawberry Matcha Cookies are a fun
Read more…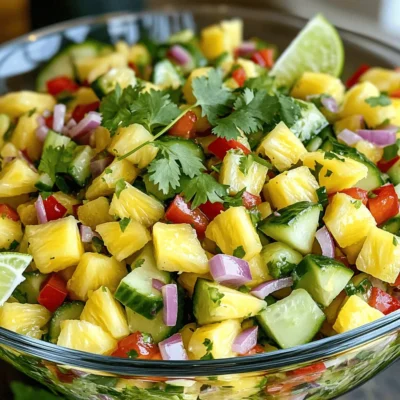
Pineapple Cucumber Salad Refreshing and Healthy Recipe
If you’re looking for a bright, tasty dish that boosts your health, try my Pineapple Cucumber Salad. This simple recipe
Read more…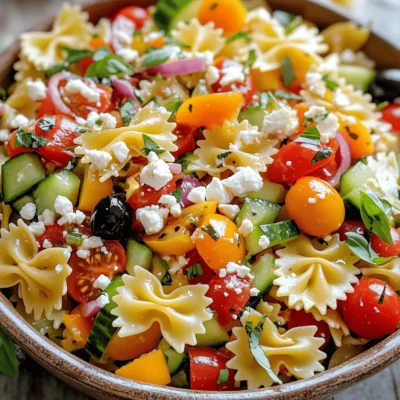
Bow Tie Pasta Salad Fresh and Flavorful Recipe
Looking to spice up your meal routine? This Bow Tie Pasta Salad is fresh, vibrant, and bursting with flavor! Packed
Read more…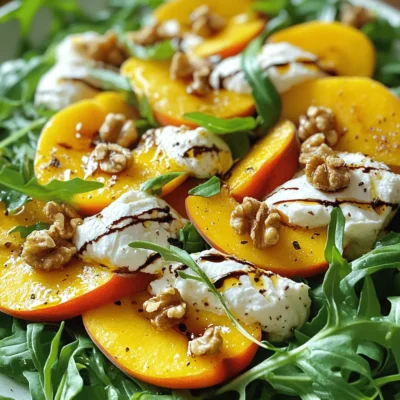
Peach Burrata Salad with Balsamic Drizzle Delight
Are you ready to savor a refreshing summer dish? My Peach Burrata Salad with Balsamic Drizzle brings together ripe peaches,
Read more…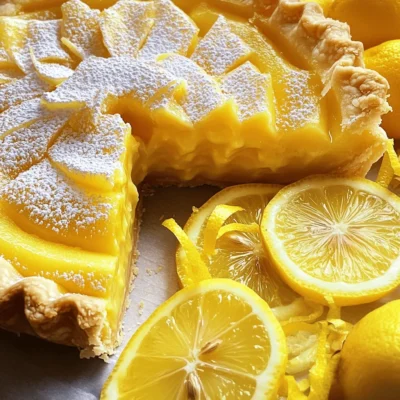
Lemon Impossible Pies Delightful Dessert Recipe
If you love lemon desserts, you’re in for a treat! This Lemon Impossible Pie is the perfect mix of sweet,
Read more…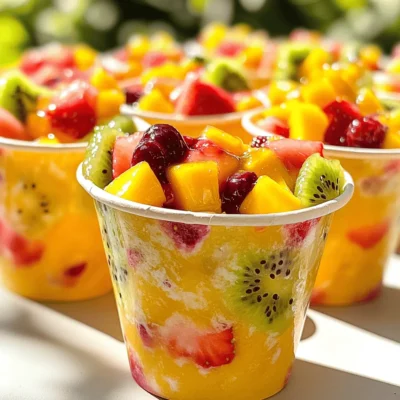
Homemade Otter Pops Fun and Refreshing Summer Treat
Summer is the perfect time for Otter Pops! These frozen treats are easy to make and super fun. In this
Read more…browse recipes


![To make the Blue Violet Gradient Drink, you will need: - 1 cup blue spirulina powder - 1 cup coconut water - 1 cup violet butterfly pea flower tea, cooled - 1 lime, juiced - Ice cubes If you like your drink sweeter, you can add: - 1 tablespoon honey or agave syrup For a touch of flair, consider these garnishes: - Fresh mint leaves for garnish These ingredients create a colorful and tasty drink. Each one plays a key role in the drink's look and flavor. The blue spirulina adds a vibrant hue and health benefits. Coconut water gives a tropical twist. The butterfly pea flower tea adds a lovely violet color. Lime juice gives it a refreshing zing. Feel free to adjust the sweetness. The optional honey or agave syrup can make a big difference. Finally, fresh mint leaves not only enhance the look but also add a fresh aroma. You can find the Full Recipe at the end of this section. To make butterfly pea flower tea, start with dried flowers. Use 1-2 teaspoons and add them to hot water. Let them steep for about 10 minutes. You want a deep blue color. After steeping, strain the tea to remove the flowers. Allow the tea to cool. This step is vital for a lovely gradient. Now it’s time to blend the base mixture. Grab a blender and add these ingredients: - 1 cup blue spirulina powder - 1 cup coconut water - 1 lime, juiced - 1 tablespoon honey or agave syrup (optional) Blend until the mix is smooth and frothy. The bright blue color will excite you. This mixture is the base for your drink. Get a tall glass and fill it with ice cubes. Pour the spirulina mixture over the ice, filling the glass halfway. Next, take your cooled butterfly pea flower tea. Pour it gently over the back of a spoon. This trick lets the tea float on top of the spirulina layer. You will see a stunning blue-violet gradient. It looks great and tastes even better! Enjoy your Blue Violet Gradient Drink! For the complete recipe, check the [Full Recipe]. To get that stunning blue-violet gradient, pour slowly. Start with the spirulina mix over ice. Then, use the back of a spoon to add the butterfly pea tea. This method helps it float. If you pour too fast, the colors will mix. You want the layers to stay separate. Feel free to tweak the taste! If you prefer a sweeter drink, add more honey or agave syrup. For more tartness, squeeze in extra lime juice. You can even try flavored coconut water for a twist. Each change will give you a unique drink. A good-looking drink makes it even better! Use clear glasses to show off the layers. Add fresh mint leaves on top for color and aroma. You can also use a slice of lime on the rim for a nice touch. This drink is all about beauty and taste, so make it shine! {{image_2}} You can choose many sweeteners for your Blue Violet Gradient Drink. Honey and agave syrup work well. If you want a healthy option, try stevia or monk fruit. They add sweetness without the extra sugar. Adjust the amount based on your taste. Just remember, less is often more! Want to mix it up? You can add different flavors to your drink. Try fresh fruit juices like pineapple or orange for a tropical twist. You can also add a splash of vanilla extract for a smooth taste. Experiment with different herbs, like basil or rosemary, for a unique touch. Each flavor brings a new vibe to your drink. Layering your drink is fun and easy! You can use other colorful drinks to create stunning layers. For example, try using pomegranate juice or raspberry puree. These add bright contrast and taste. Pour slowly over the back of a spoon to keep the layers separate. Mix and match colors for a beautiful effect. The more colors, the more fun! Storing leftover Blue Violet Gradient Drink is easy. Pour any extra drink into a clean, airtight container. You can keep it in the fridge for up to two days. Make sure to seal it well to prevent any flavors from mixing with other foods. To keep your drink fresh, store the spirulina mixture and butterfly pea tea separately. This helps maintain the drink's layers and flavors. When you're ready to serve, just mix the two again over ice. This way, you can enjoy that stunning gradient each time. This drink is best served cold. If you want to repurpose it, try using it as a smoothie base. Blend it with fruits like bananas or mangoes for a new treat. You can also freeze it into popsicles for a fun summer snack. The possibilities are endless! Blue spirulina is full of nutrients. It is high in protein, vitamins, and minerals. It boosts energy and supports your immune system. Spirulina also contains antioxidants, which help fight free radicals. These can cause cell damage. Adding blue spirulina to your diet may improve overall health and wellness. This makes it a great choice for a refreshing drink. Yes, you can use fresh butterfly pea flowers. Just steep them in hot water. This will create a lovely blue color. The flavor may differ slightly, but it will still taste great. Make sure to strain the flowers after steeping. This will give you a smooth drink. You can still make the drink without a blender. Mix the blue spirulina powder with coconut water using a whisk or fork. Stir until there are no lumps. Then, pour this mixture over ice in your glass. Slowly add the cooled butterfly pea flower tea over a spoon for the gradient effect. It may take a little more effort, but the drink will still look and taste amazing! This blog post covered all you need to create a stunning butterfly pea flower drink. We explored required and optional ingredients, along with step-by-step instructions for blending. I shared tips for the perfect gradient and variations to personalize your drink. Remember, presentation matters too. Store any leftovers properly to keep freshness. Try different flavors or sweeteners to find your favorite. Enjoy making this colorful drink, and impress your friends with your skills!](https://foodishtalk.com/wp-content/uploads/2025/07/e81d922f-f50f-490e-8796-dfe95e4c4116.webp)
Blue Violet Gradient Drink Refreshing and Colorful Treat
Are you ready to impress your friends with a stunning and tasty Blue Violet Gradient Drink? This drink is not just a treat for…
My Latest Desserts

Fig Cake with Almond and Honey Delight Recipe
Are you ready to indulge in a delightful treat? My Fig Cake with Almond and Honey recipe combines rich flavors Read Full Recipe-
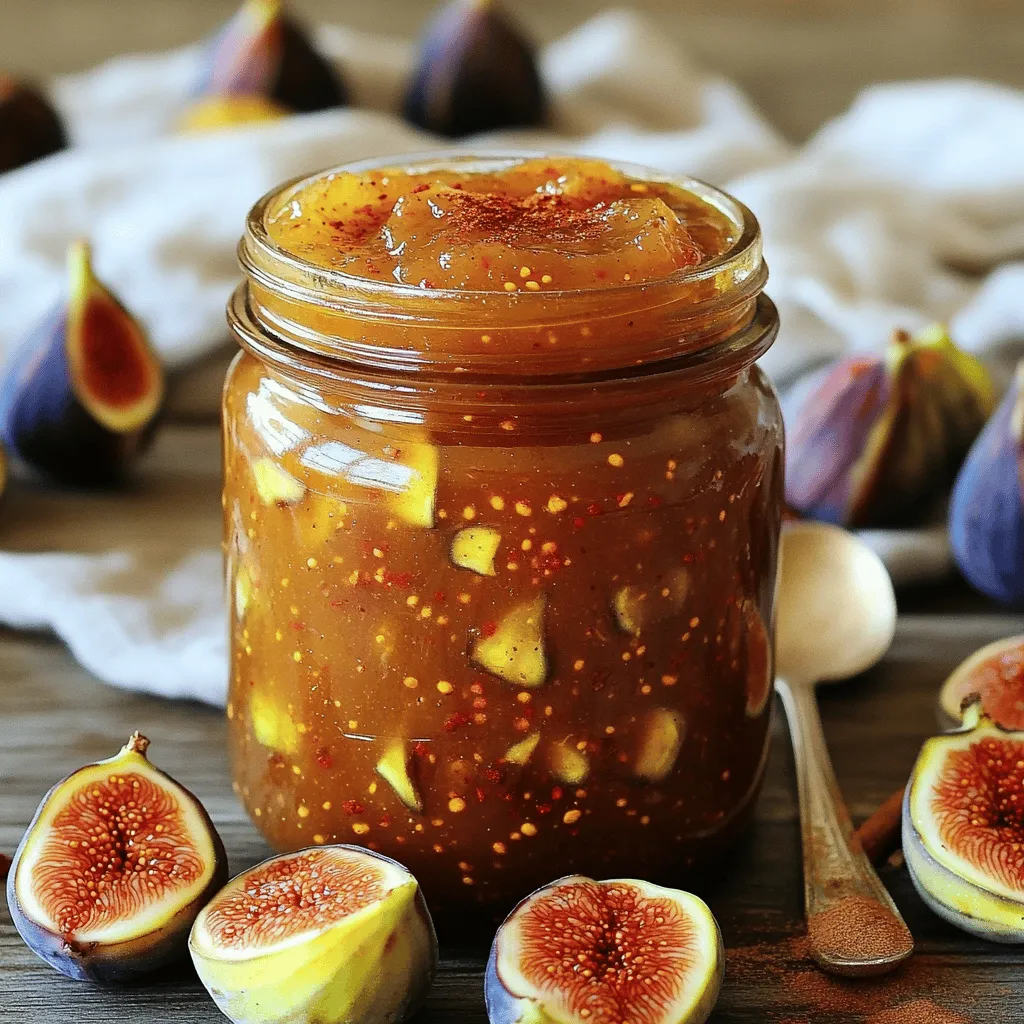
Simple Fig Jam Easy Recipe to Savor and Enjoy
Are you ready to make a burst of flavor with your next kitchen project? This Simple Fig Jam recipe is Read Full Recipe -
Mini Vanilla Cream Tarts with Raspberries Delight
Welcome to the sweet world of Mini Vanilla Cream Tarts with Raspberries! Today, I’ll show you how to make these Read Full Recipe -
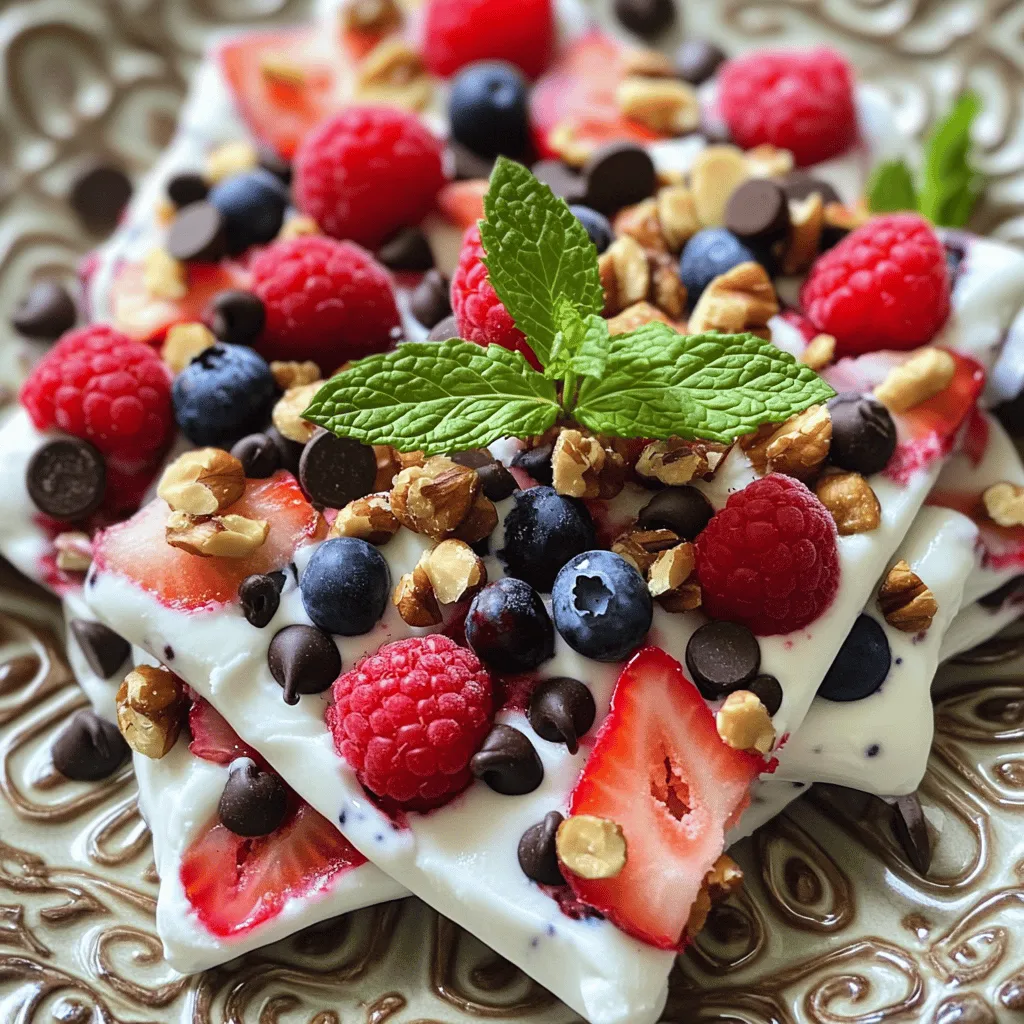
Frozen Yogurt Bark Delightful and Simple Treat
If you’re looking for a quick, tasty treat, frozen yogurt bark is a winner. It’s easy to make and fun Read Full Recipe -
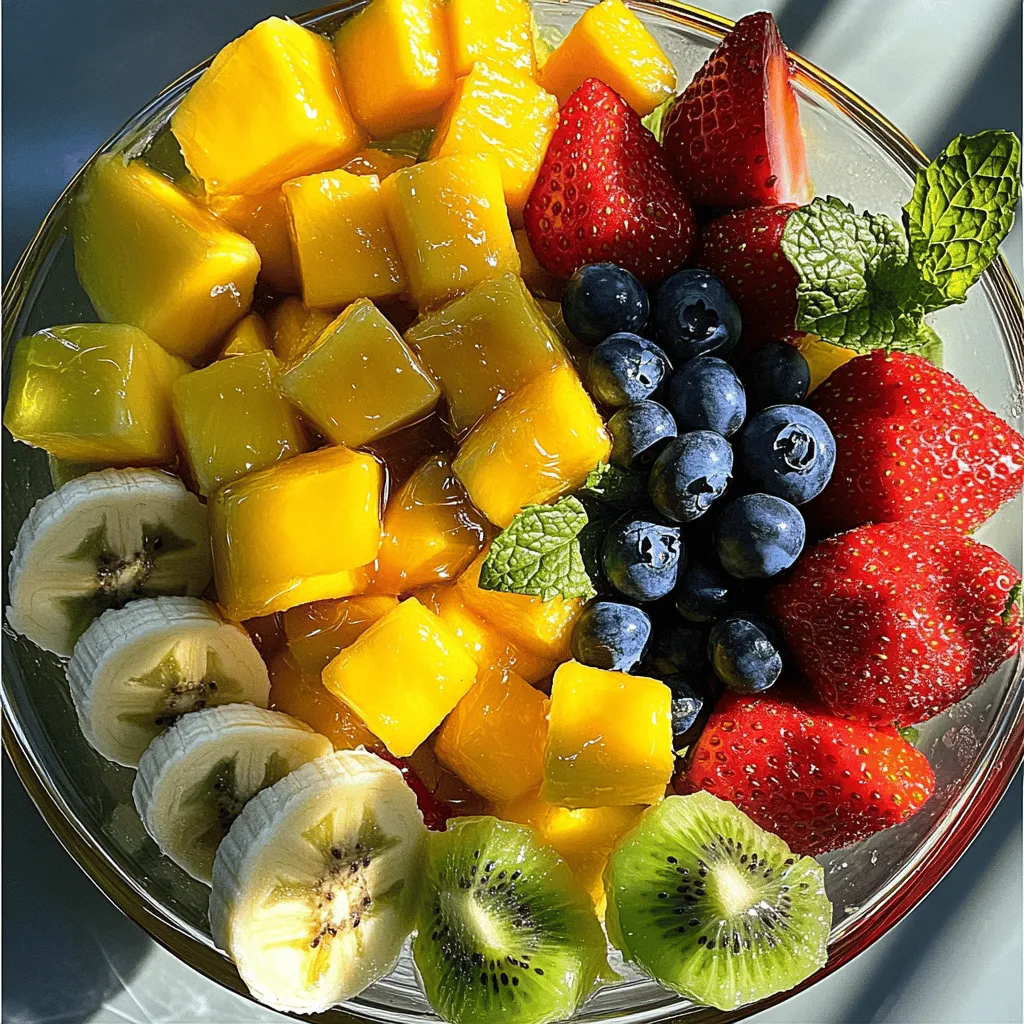
Fruit Salad with Honey Lime Dressing Easy Recipe
Looking for a fresh and easy treat? This Fruit Salad with Honey Lime Dressing is the perfect choice. Bursting with Read Full Recipe -
Blueberry Cheesecake Bars Simple and Delicious Treat
Looking for a dessert that’s easy to make and bursting with flavor? You’ve found it! These Blueberry Cheesecake Bars are Read Full Recipe -
Lemon Cheesecake Crumb Bars Delightful and Fresh Treat
Are you ready to brighten your day with a sweet treat? These Lemon Cheesecake Crumb Bars combine creamy cheesecake with Read Full Recipe -
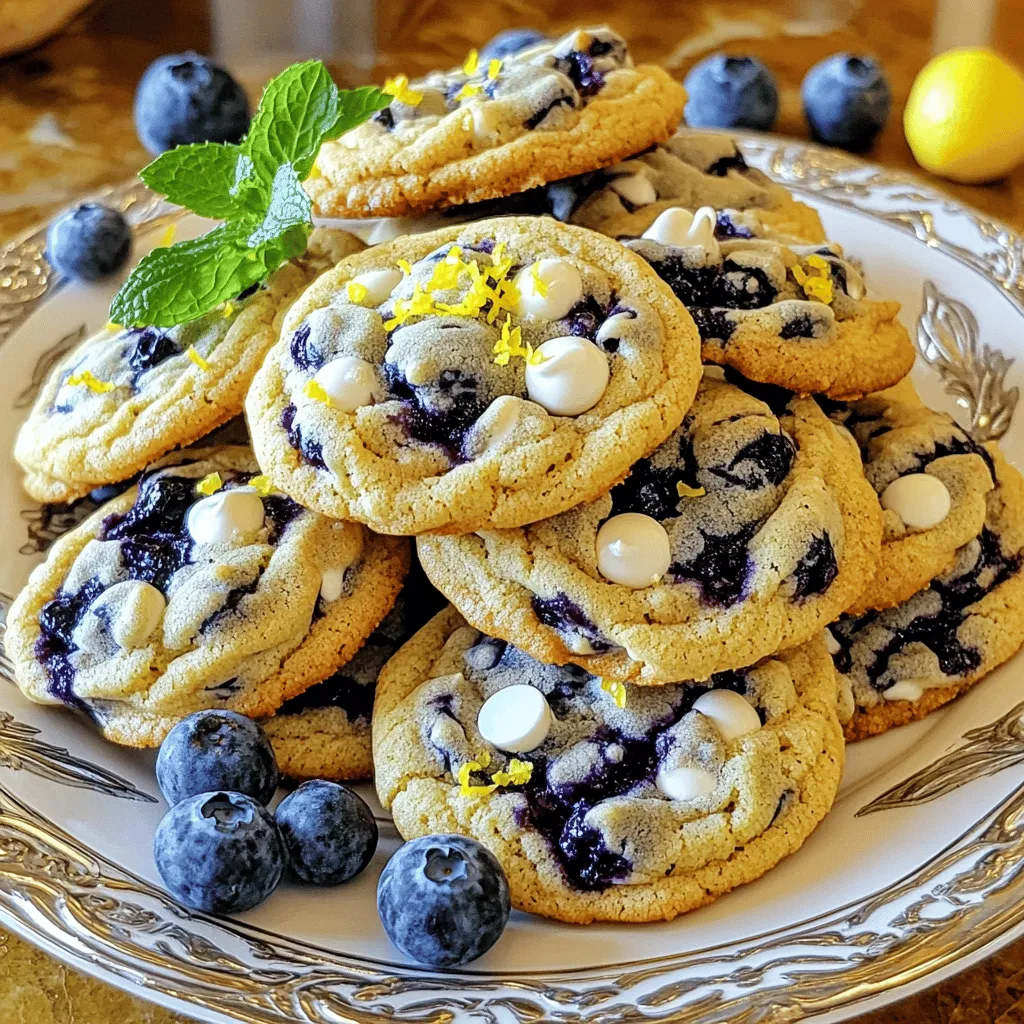
Blueberry Heaven Cookies Irresistible Sweet Treat
Welcome to your new favorite cookie recipe! Blueberry Heaven Cookies are the perfect blend of sweet and tart, making them Read Full Recipe -
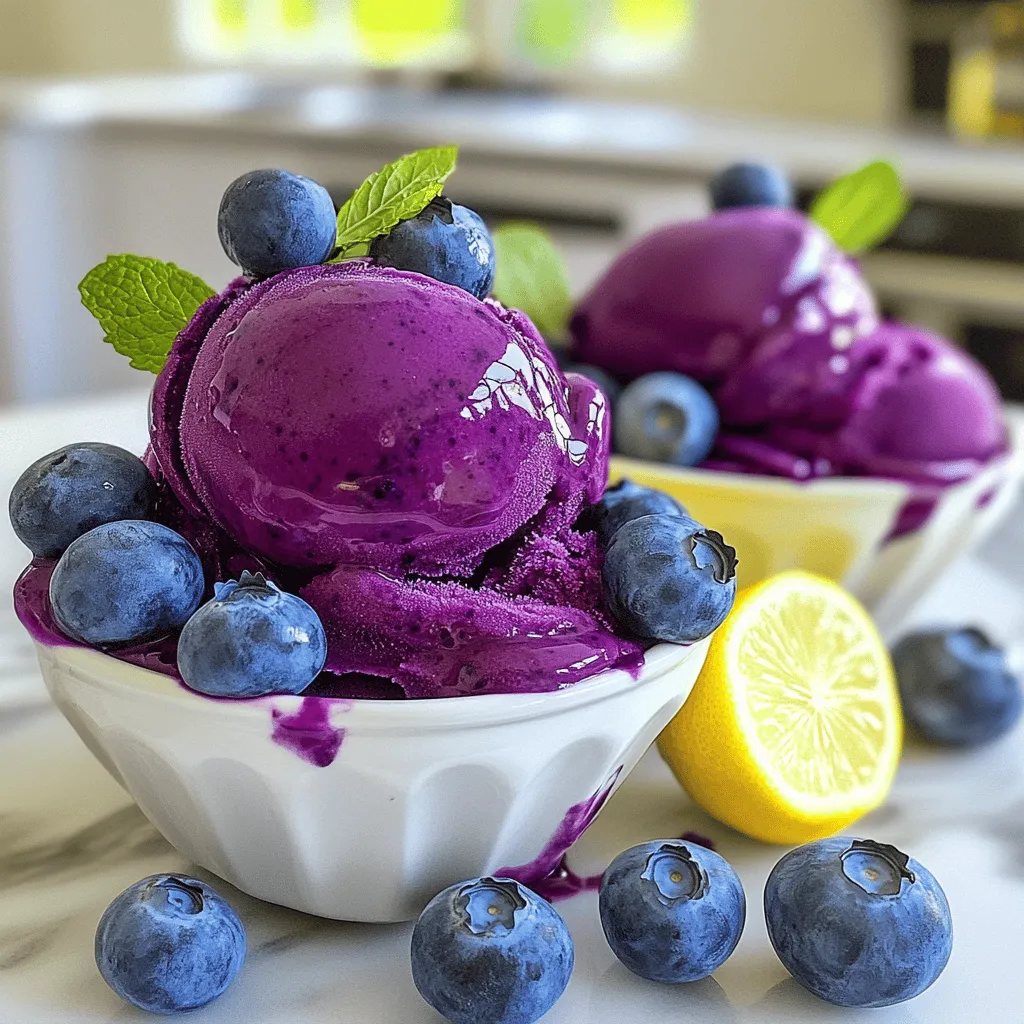
Lemon Blueberry Sorbet Fresh and Refreshing Delight
Cool off with a bowl of Lemon Blueberry Sorbet! This sweet, tangy treat is perfect for hot days. You only Read Full Recipe -
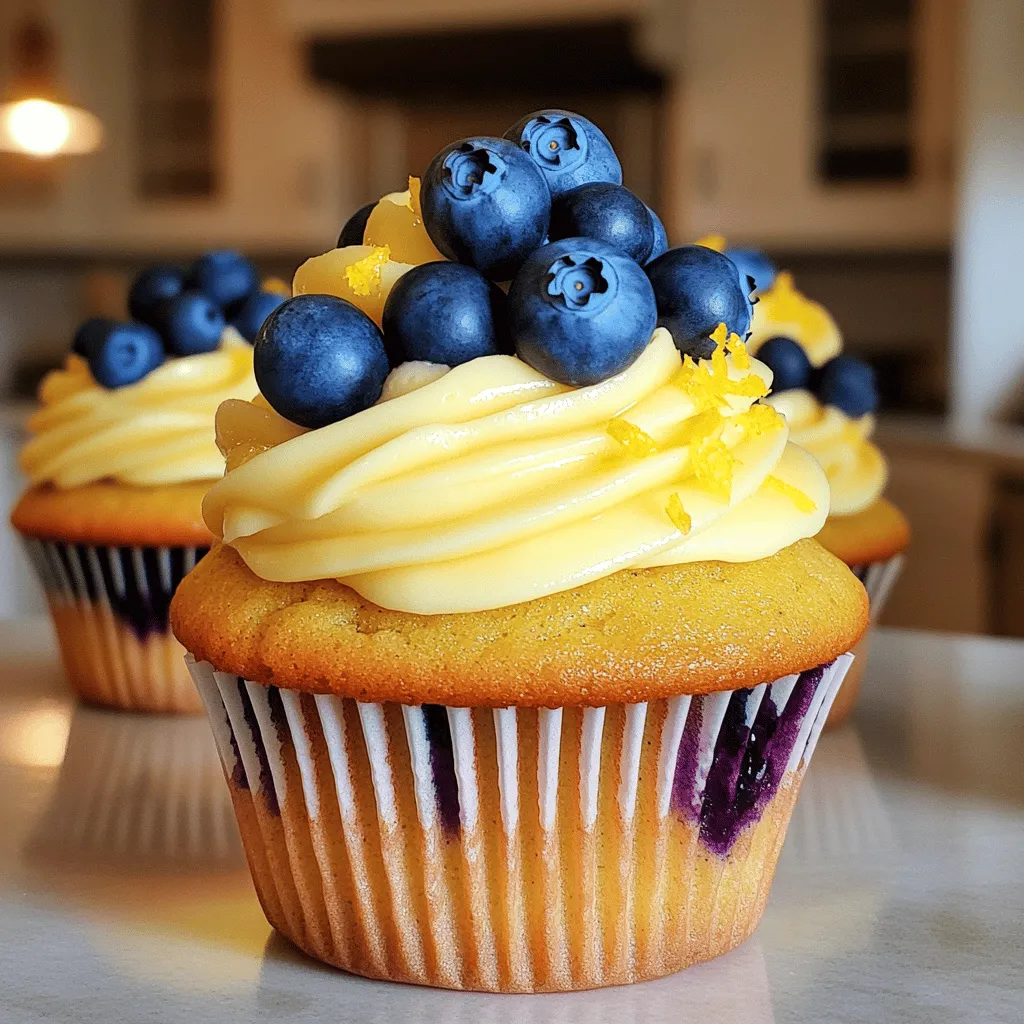
Lemon Blueberry Cupcakes Delightful and Light Treat
Are you ready to indulge in a sweet treat that brightens your day? These Lemon Blueberry Cupcakes are just what Read Full Recipe


hey,
i’m !
I’m so happy you’re here!
I pour heart and skill into every recipe I create. I know you’ll taste the difference now let’s enjoy this flavorful adventure together.


![To make this easy chicken Alfredo bake, you need: - 3 cups cooked pasta (penne or rotini) - 2 cups cooked chicken breast, shredded - 2 cups Alfredo sauce (store-bought or homemade) - 1 cup shredded mozzarella cheese - ½ cup grated Parmesan cheese - 1 cup broccoli florets (fresh or frozen) - 1 teaspoon garlic powder - 1 teaspoon Italian seasoning - Salt and pepper to taste - Fresh parsley, chopped (for garnish) You can easily switch out some ingredients for different diets. Here are a few ideas: - Pasta: Use gluten-free pasta if you need to avoid gluten. - Chicken: Swap chicken for tofu or chickpeas for a vegetarian option. - Alfredo Sauce: Use a dairy-free Alfredo sauce for lactose intolerance. - Cheese: Try vegan cheese instead of mozzarella and Parmesan. - Broccoli: You can replace broccoli with spinach or bell peppers. To make this dish, you'll need a few key tools: - Large mixing bowl: For combining all your ingredients. - Baking dish (9x13 inches): Perfect for baking your chicken Alfredo. - Aluminum foil: To cover your dish while baking. - Cooking spoon: For mixing and serving the bake. These tools will help you create a delicious and creamy chicken Alfredo bake with ease. For the full recipe, check the earlier section. Making this Easy Chicken Alfredo Bake is simple. You will need a few steps. First, gather your ingredients and tools. This dish takes about 15 minutes to prep. The total time, including baking, is about 50 minutes. You can serve 6 to 8 people with this recipe. 1. Preheat Your Oven: Set your oven to 350°F (175°C). This warms it up for baking. 2. Mix Ingredients: In a big bowl, add the cooked pasta, shredded chicken, Alfredo sauce, broccoli, garlic powder, Italian seasoning, salt, and pepper. Stir well. Make sure everything gets coated with sauce. 3. Transfer to Baking Dish: Pour the mixture into a large baking dish, about 9x13 inches. 4. Add Cheese Topping: Spread the shredded mozzarella and grated Parmesan cheese evenly over the top. This will create a tasty, golden crust. 5. Cover and Bake: Use aluminum foil to cover the dish. Bake for 20 minutes. 6. Uncover and Finish Baking: After 20 minutes, take off the foil. Bake for another 10 to 15 minutes. You want the cheese to be bubbly and golden brown. 7. Cool Before Serving: Once it’s done, take it out of the oven. Let it sit for 5 minutes to cool. 8. Garnish: Before serving, sprinkle chopped fresh parsley on top. This adds color and freshness. - Use Fresh Ingredients: Fresh chicken and broccoli make a big difference. They add more flavor and nutrition. - Season Well: Don't be shy with salt and pepper. A well-seasoned dish is always better. - Try Different Cheeses: If you want a twist, mix in different cheeses. Cheddar or gouda can add unique tastes. - Add Extra Veggies: Feel free to toss in other vegetables. Spinach or bell peppers work well. - Make Ahead: You can prep this dish earlier in the day. Just keep it covered in the fridge. Bake it when you’re ready. For the full recipe, you can follow the steps above. Enjoy your cooking! To make a creamy Alfredo sauce, use quality ingredients. Choose a rich store-bought sauce or make your own. If you make your sauce, melt butter in a pan, then add heavy cream. Stir it gently and let it simmer. Add grated Parmesan cheese and mix until smooth. A pinch of salt and pepper will enhance the flavor. Cook your chicken breast until it reaches 165°F (74°C). You can boil, bake, or pan-fry it. I prefer baking because it keeps the chicken juicy. Season the chicken with salt, pepper, and a bit of garlic powder for extra taste. Once cooked, shred the chicken into bite-sized pieces for easy mixing. One common mistake is not covering the dish with foil. Covering helps the dish cook evenly and keeps it moist. Also, avoid overcooking the bake. Keep an eye on the cheese. You want it bubbling and golden but not burnt. Let the dish rest after baking. This helps the flavors settle and makes serving easier. For the full recipe, check out the complete instructions included. {{image_2}} You can make a tasty vegetarian version of Easy Chicken Alfredo Bake. Instead of chicken, use cooked mushrooms or chickpeas. These options give you a good protein boost. You can also add spinach or bell peppers for extra flavor. The creamy Alfredo sauce still shines through, creating a comforting dish. To make your Easy Chicken Alfredo Bake even better, add more veggies. Try zucchini, carrots, or peas. These colorful additions not only boost nutrition but also make the dish look bright and fun. Mix them in with the pasta for a lovely texture. They cook well in the oven and soak up the sauce. Cheese can change the taste of your Easy Chicken Alfredo Bake. While mozzarella and Parmesan are classic, you can try others. Gouda or cheddar can add a rich, sharp flavor. For a twist, use feta or goat cheese for a tangy touch. Mixing different cheeses can make your dish special and unique. For the full recipe, click [Full Recipe]. After you enjoy your Easy Chicken Alfredo Bake, store leftovers right. Place the dish in an airtight container. Make sure the lid fits snugly. You can also cover the dish tightly with plastic wrap. This keeps air out and helps the dish stay fresh. Store it in the fridge for up to three days. If you're planning to eat it later, consider freezing it. When you're ready to eat the leftovers, reheat them carefully. The best method is to use the oven. Preheat the oven to 350°F (175°C). Place the leftovers in an oven-safe dish. Cover it with foil to keep moisture in. Heat for about 20 minutes or until warm all the way through. If you're in a hurry, you can use the microwave. Heat in short intervals, stirring often to avoid hot spots. Freezing your Easy Chicken Alfredo Bake is a smart choice for meals later. First, let the dish cool completely. Then, cut it into individual portions for easy thawing. Wrap each portion tightly in plastic wrap, then place them in freezer bags. Label the bags with the date and contents. When stored this way, the dish can last up to three months. To enjoy it, thaw overnight in the fridge before reheating. For the full recipe, check out the earlier section. You can make this recipe ahead easily. First, prepare the dish as usual. After mixing all the ingredients, stop before baking. Cover the dish with foil and store it in the fridge. You can keep it there for up to two days. When you're ready, preheat your oven and bake it right from the fridge. Just add a few extra minutes to the baking time. This way, you enjoy a warm, creamy meal with little effort. Yes, you can use different types of pasta. While penne and rotini work great, other shapes also fit well. Bowtie, elbow, or even spaghetti can add a fun twist. Just make sure the pasta is cooked until al dente. This ensures it doesn’t get too soft when baking. Choose a pasta shape you love to make the dish more enjoyable for you. If you need a substitute for Alfredo sauce, you have options. You can use a cheese sauce or a white sauce made with butter and flour. For a lighter choice, try Greek yogurt mixed with herbs. You can also blend cream cheese with milk for a creamy base. Each option will change the flavor a bit, but they will still taste good. Just be creative and choose what fits your taste! This Easy Chicken Alfredo Bake combines simple ingredients and step-by-step instructions. You learned how to create a creamy Alfredo sauce and make perfect chicken. I also shared tips for customization and proper storage. With these insights, you can make a delicious meal that fits your tastes and needs. Experiment with flavors and enjoy your cooking journey. Trust your skills; each bake will get better!](https://foodishtalk.com/wp-content/uploads/2025/05/5db2c1df-25eb-4a2a-bcc3-727e513d3d97-300x300.webp)
Buffalo Chicken Tortilla Roll-Ups Flavorful and Simple
Are you ready to spice up your next snack? Buffalo Chicken Tortilla Roll-Ups are both flavorful and simple to make. With shredded chicken, creamy…