
Latest & Greatest
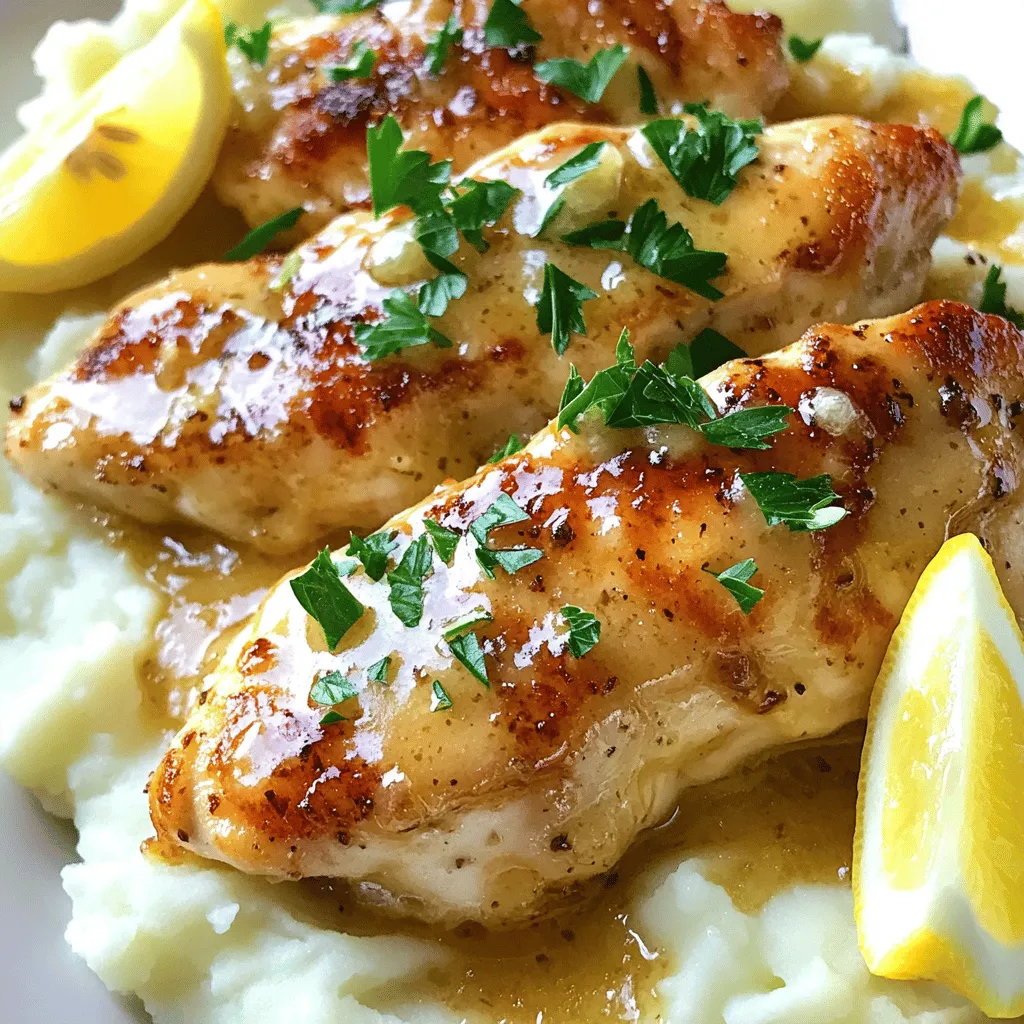
Garlic Butter Chicken Delightful One-Pan Recipe
If you’re craving a dish that’s both simple and full of flavor, you’re in the right place! This Garlic Butter
Read more…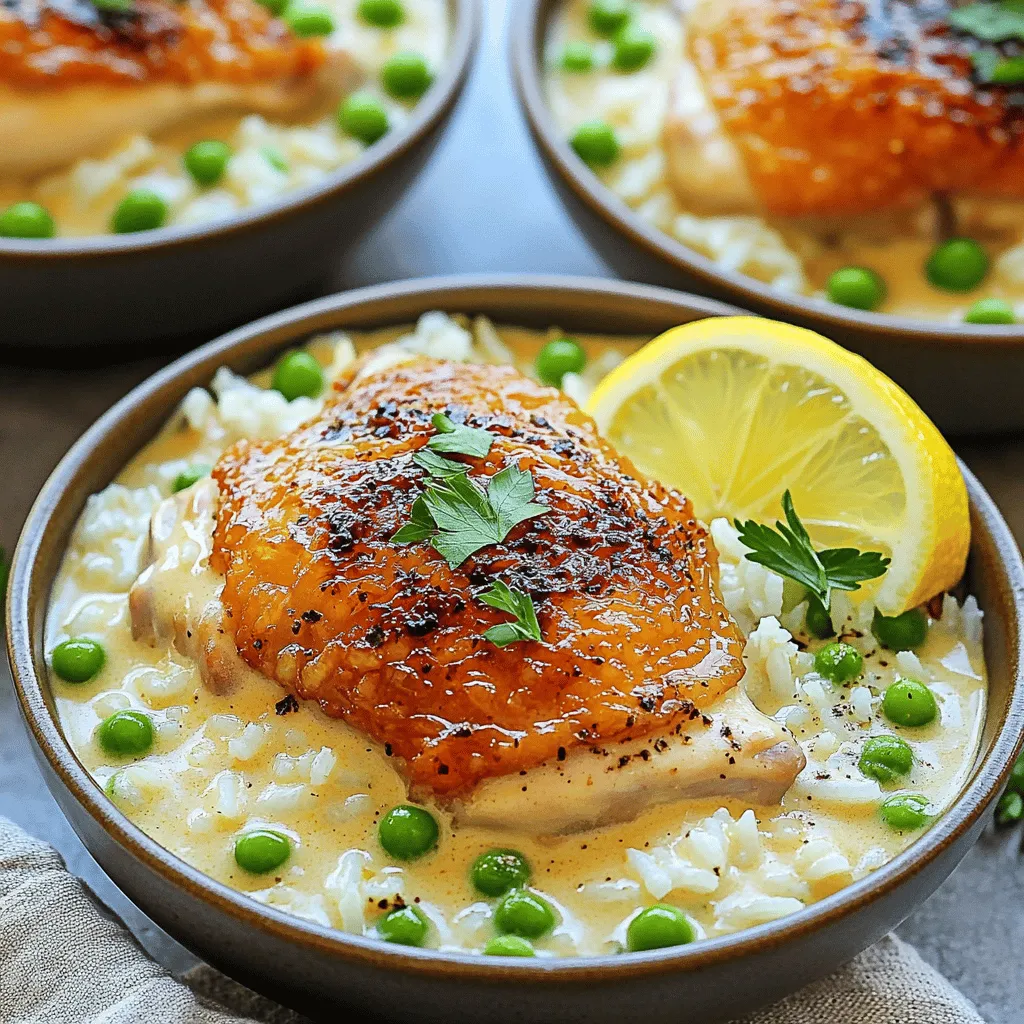
Creamy Smothered Chicken and Rice Dinner Delight
Craving a comforting meal that warms your soul? Look no further than Creamy Smothered Chicken and Rice. This dish combines
Read more…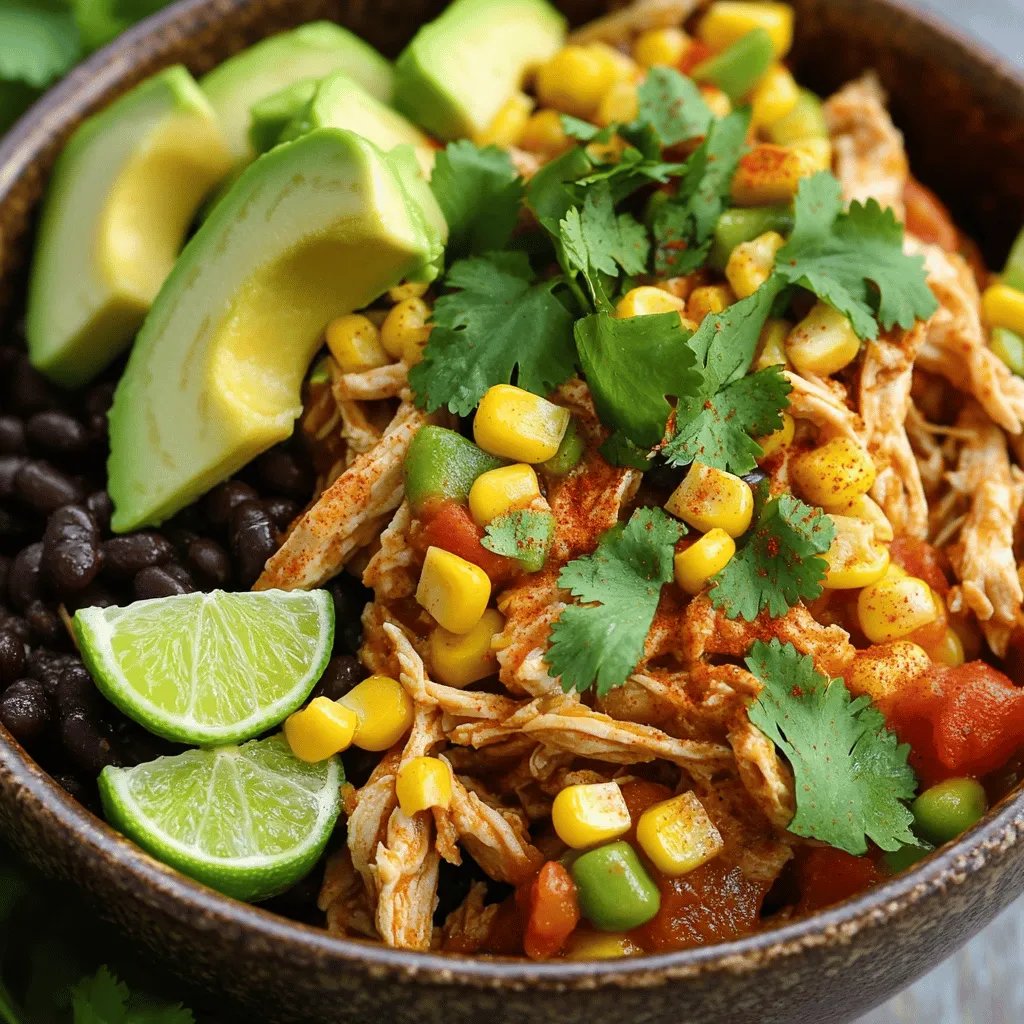
Crockpot Mexican Chicken Flavorful and Easy Recipe
Are you ready for a delicious and easy dinner? This Crockpot Mexican Chicken recipe is packed with flavor and perfect
Read more…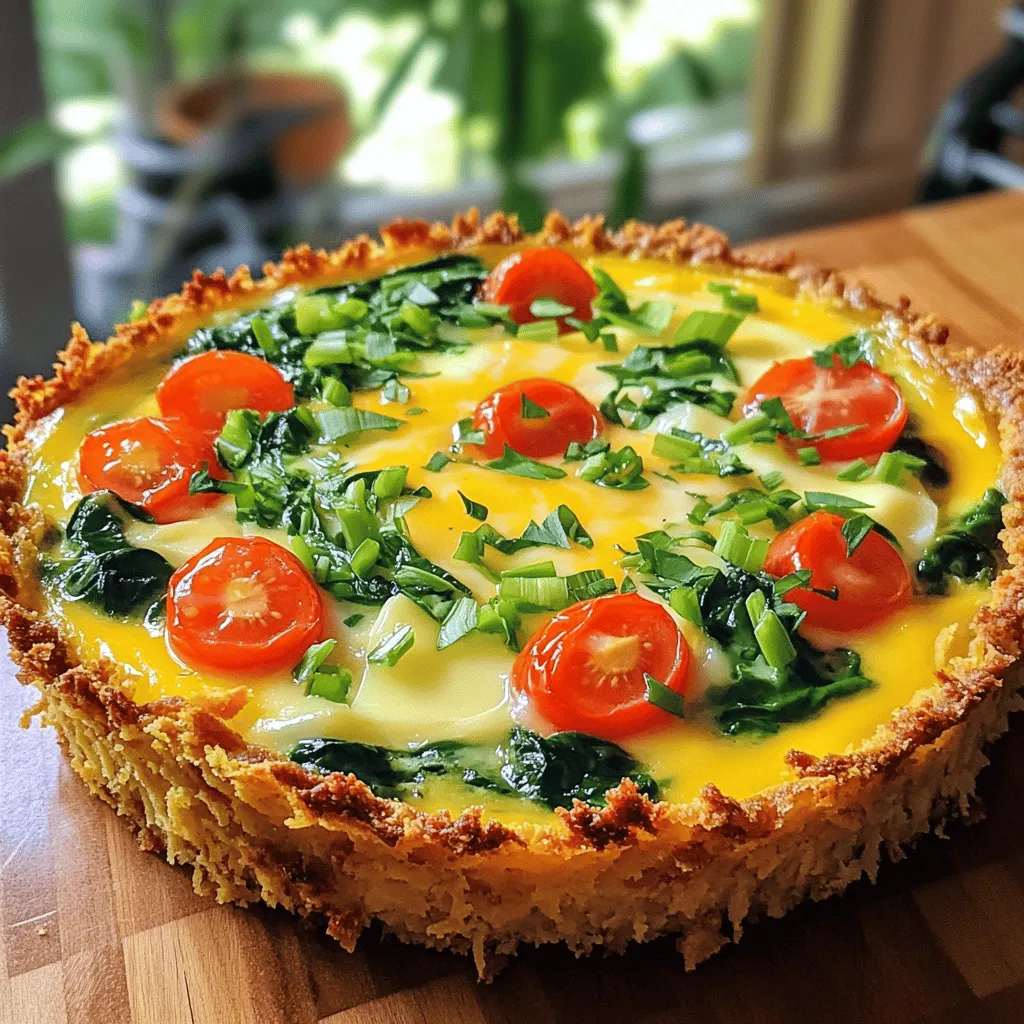
Spring Hash Brown Crust Quiche Flavorful and Easy Meal
Are you ready for a simple, tasty dish this spring? Try my Spring Hash Brown Crust Quiche! With a crispy
Read more…browse recipes


![- 4 large bell peppers (any color) - 1 cup quinoa, rinsed - 2 cups vegetable broth - 1 cup black beans, canned and rinsed - 1 small red onion, finely chopped - 2 cloves garlic, minced - 1 teaspoon cumin - 1 teaspoon smoked paprika - 1 teaspoon chili powder - 1 cup diced tomatoes (canned or fresh) - 1 cup shredded cheese (cheddar or mozzarella) - Fresh cilantro or parsley, for garnish Stuffed bell peppers are a hearty meal, and they’re simple to make. Start by gathering your main ingredients. For this recipe, I choose four large bell peppers. I love using a mix of colors, like red, yellow, and green. Each one adds a pop and a bit of sweetness. Next, I rinse one cup of quinoa. This step is key. Rinsing removes a bitter coating. I cook the quinoa in two cups of vegetable broth for extra flavor. You can also use chicken broth if you prefer. Black beans add protein and fiber. I use one cup of canned black beans, rinsed well. This saves time and makes cooking easier. You can also mix in some corn if you like a bit of sweetness. Now for the flavorings. I finely chop one small red onion and mince two cloves of garlic. These two ingredients make the dish smell wonderful as they cook. I add one teaspoon each of cumin, smoked paprika, and chili powder. These spices give the filling a nice kick and warmth. Finally, for toppings, I use one cup of diced tomatoes and one cup of shredded cheese. Cheddar or mozzarella works great. Fresh cilantro or parsley brightens the dish and adds color. For the full recipe and step-by-step instructions, check out the [Full Recipe]. Enjoy making these tasty stuffed peppers! 1. Preheat your oven to 375°F (190°C). This helps cook the peppers evenly. 2. Prepare the bell peppers by cutting off the tops and removing the seeds. Set them aside. 3. In a medium saucepan, combine 1 cup of rinsed quinoa with 2 cups of vegetable broth. Bring this to a boil. Once boiling, reduce the heat, cover, and let it simmer for 15 minutes or until the quinoa is cooked and the liquid is gone. 1. In a large skillet over medium heat, add a drizzle of olive oil. 2. Sauté 1 small chopped red onion and 2 minced garlic cloves for about 3-4 minutes. The onion should look translucent. 3. Next, mix in 1 cup of black beans, 1 cup of corn, 1 cup of diced tomatoes, 1 teaspoon of cumin, 1 teaspoon of smoked paprika, and 1 teaspoon of chili powder. Stir this well and cook for another 5 minutes. 1. Once the quinoa is ready, fluff it with a fork. Add it to the skillet mixture and stir everything together. Season with salt and pepper to taste. 2. Spoon this quinoa mixture evenly into each bell pepper. Pack the filling down gently. 3. Place the stuffed peppers upright in a baking dish. 4. Top each stuffed pepper with 1 cup of shredded cheese. Cover the dish with foil and bake for 25 minutes. 5. After 25 minutes, remove the foil and bake for another 10-15 minutes. The peppers should be tender, and the cheese should be bubbly and golden. 6. When done, take them out of the oven and let them cool slightly before serving. For the full recipe, check out the earlier section. How to ensure the quinoa is fully cooked? To cook quinoa perfectly, rinse it well to remove bitterness. Combine one cup of quinoa with two cups of vegetable broth in a saucepan. Bring it to a boil, then lower the heat. Cover the pot and let it simmer for about 15 minutes. Check for fluffy grains and no liquid left. If it feels crunchy, let it cook a bit longer. Tips for selecting the best bell peppers? Choose bell peppers that feel firm and heavy in your hand. Look for bright colors, which mean they're fresh. Check for smooth skin without any soft spots or wrinkles. If you prefer sweetness, red peppers are best. For a bit of bite, go for green ones. Best baking dishes for stuffed peppers? A glass or ceramic baking dish works well. These materials help the peppers cook evenly. Make sure the dish is deep enough to hold the peppers upright. If you have a cast-iron skillet, it can add great flavor too. Essential cookware for sautéing? A large non-stick skillet is perfect for sautéing. It helps prevent sticking and makes cleanup easy. Use a wooden spoon or spatula for stirring. If you want extra flavor, a heavy-bottomed pan can give a nice sear to your onions and garlic. Suggested side dishes to complement the peppers? A light side salad pairs nicely with stuffed peppers. Try a mix of greens, cherry tomatoes, and a tangy vinaigrette. You could also serve with rice or a small bowl of guacamole. These sides bring a fresh taste to your meal. Ideas for customizing the presentation Make your dish pop by adding fresh herbs on top. Chopped cilantro or parsley adds color and flavor. You can also drizzle a bit of sour cream or yogurt on top. For a fun twist, serve the peppers on a colorful platter with lime wedges. {{image_2}} You can easily make vegan stuffed peppers. Skip the cheese and use plant-based cheese instead. Replace the vegetable broth with water if needed. This keeps the dish light and tasty. For gluten-free options, stick to quinoa and check your canned goods. Ensure they are gluten-free, especially the beans. You can also swap black beans for lentils or chickpeas. Both add great flavor and protein. To make your stuffed peppers even more exciting, try adding spices. You can mix in cayenne pepper for heat or Italian herbs for a new twist. Each spice brings its own flair. For cheese lovers, experiment with different types. Feta adds a tangy taste, while goat cheese offers creaminess. You can even try a mix of cheeses for more depth. Seasonal veggies are a fun way to change things up. In summer, add zucchini or yellow squash. In fall, try mushrooms or spinach. These additions keep the dish fresh and lively. For special occasions, adjust the filling to match the season. You could use pumpkin and sage for a cozy autumn feel. This way, you can celebrate each season with a new flavor journey. Store your leftover stuffed peppers in an airtight container. This keeps them fresh and tasty. You can place them in the fridge for up to four days. If you want to enjoy them later, refrigerate them right after they cool. This helps to keep the flavors locked in. To freeze stuffed peppers, let them cool completely first. Wrap each pepper tightly in plastic wrap. Then, place them in a freezer-safe bag or container. They can stay frozen for up to three months. When you’re ready to eat, thaw them overnight in the fridge. Reheat in the oven at 350°F (175°C) for about 20-25 minutes. This warms them through and makes the cheese nice and melty. You can prepare the ingredients ahead of time. Cook the quinoa and mix it with the veggies. Store the filling in a separate container. Keep the bell peppers whole in the fridge. When you’re ready to cook, just stuff the peppers and bake. This makes dinner quick and easy! How do I know when the stuffed peppers are done? You can tell the stuffed peppers are done when they are soft. The cheese should be golden and bubbly. A fork should easily pierce the pepper. If the pepper skin is tender, it is ready to eat. Can I use cooked quinoa instead of raw? Yes, you can use cooked quinoa. Just make sure to adjust the liquid in the recipe. Since cooked quinoa has moisture, you may need less vegetable broth. This change will help keep the filling from being too wet. What to do if peppers are too crunchy? If your peppers are too crunchy, cover them with foil and bake longer. Check every five minutes until they reach your desired softness. You can also try cooking them in boiling water for a few minutes before stuffing. How to fix overcooked quinoa in the filling? If your quinoa is overcooked, try adding a little vegetable broth. This can help restore some moisture. Mixing in a fresh ingredient like diced tomatoes can also add texture. Can I use other grains instead of quinoa? Yes, you can use rice, farro, or bulgur instead of quinoa. Just ensure they are fully cooked before mixing with the filling. Each grain will give a different flavor and texture. What are good alternatives for black beans? Good alternatives for black beans include kidney beans, pinto beans, or lentils. These options will add protein and texture. Each choice will bring its own unique taste to the stuffed peppers. Stuffed peppers are a fun and tasty dish. We explored the key ingredients, from bell peppers to quinoa and spices. I shared steps for preparing, cooking, and baking them to perfection. Don't forget my tips for making your dish shine, including storage and meal prep ideas. You can easily adapt this recipe for different diets and occasions. Enjoy your cooking and feel free to experiment with flavors and toppings. Happy cooking!](https://foodishtalk.com/wp-content/uploads/2025/05/ff2147a1-fca7-41d0-ae2c-900f1d0fc493.webp)
Stuffed Bell Peppers with Quinoa Flavorful Delight
Looking to spice up your dinner with a nutritious twist? Stuffed bell peppers with quinoa are the perfect solution! They are vibrant, flavorful, and…
My Latest Desserts

Fig Cake with Almond and Honey Delight Recipe
Are you ready to indulge in a delightful treat? My Fig Cake with Almond and Honey recipe combines rich flavors Read Full Recipe-
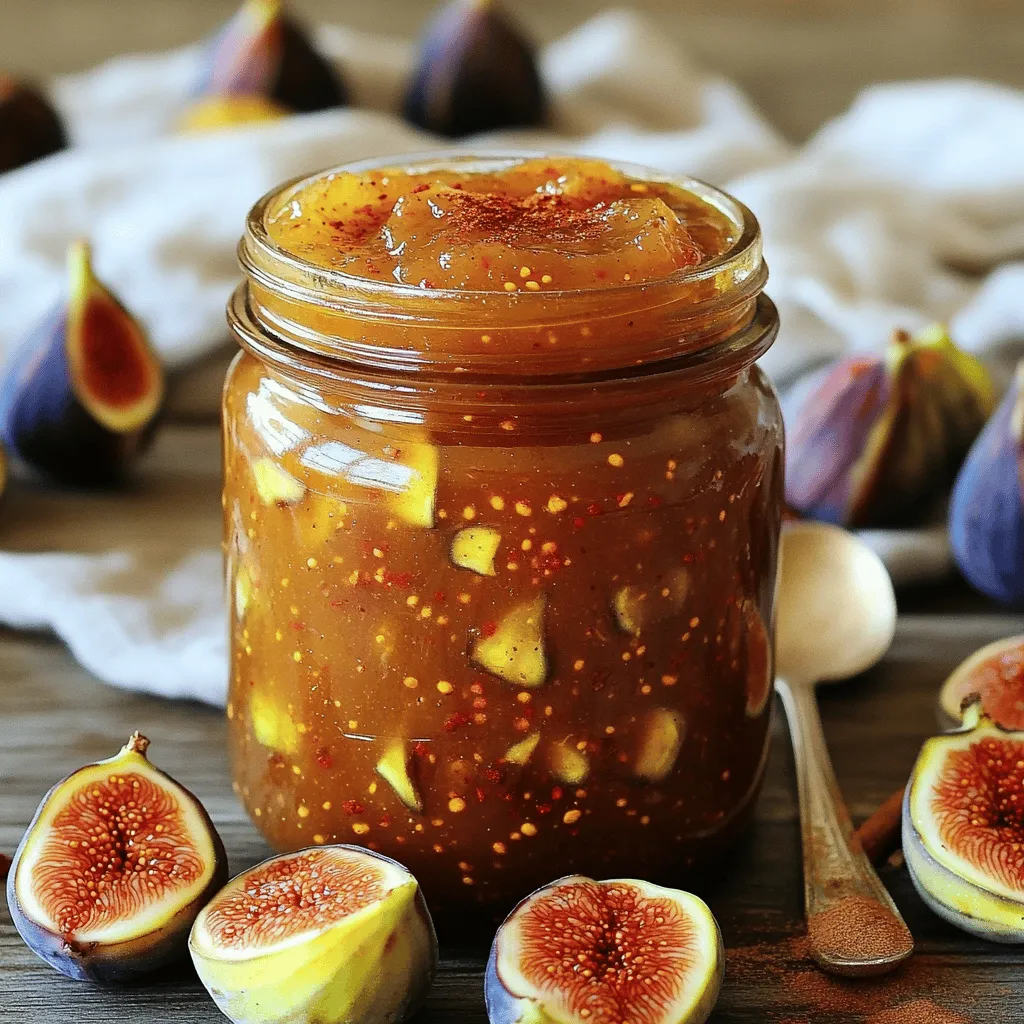
Simple Fig Jam Easy Recipe to Savor and Enjoy
Are you ready to make a burst of flavor with your next kitchen project? This Simple Fig Jam recipe is Read Full Recipe -
Mini Vanilla Cream Tarts with Raspberries Delight
Welcome to the sweet world of Mini Vanilla Cream Tarts with Raspberries! Today, I’ll show you how to make these Read Full Recipe -
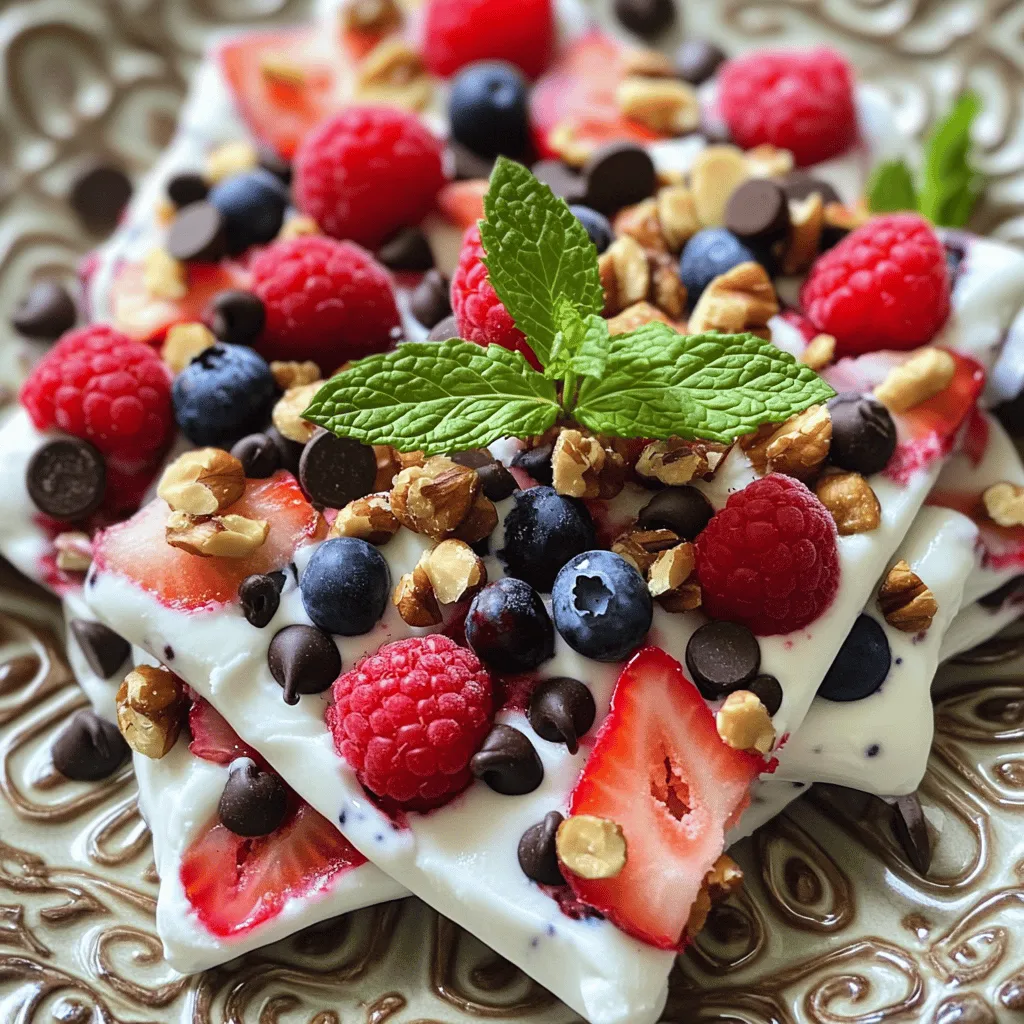
Frozen Yogurt Bark Delightful and Simple Treat
If you’re looking for a quick, tasty treat, frozen yogurt bark is a winner. It’s easy to make and fun Read Full Recipe -
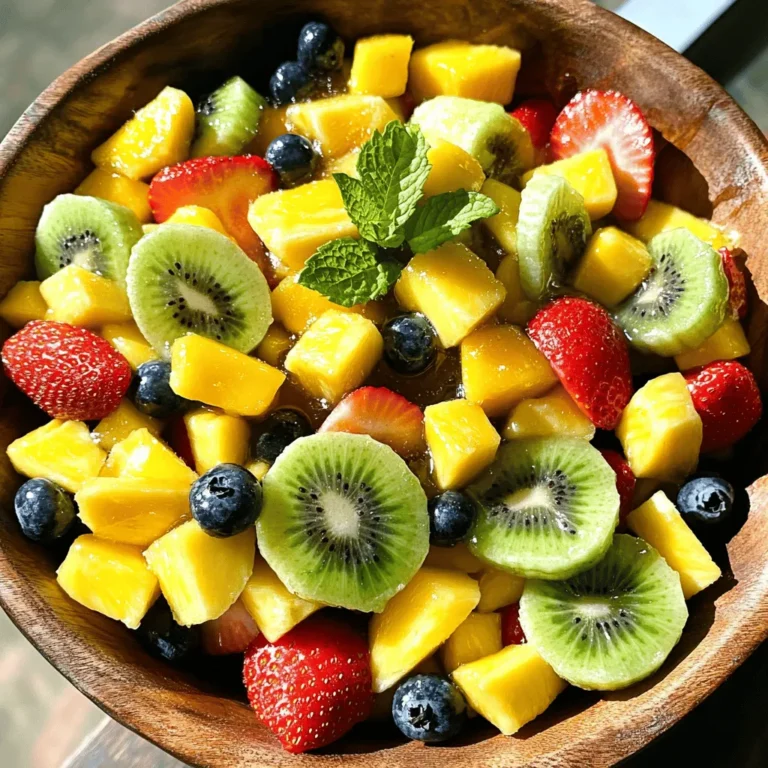
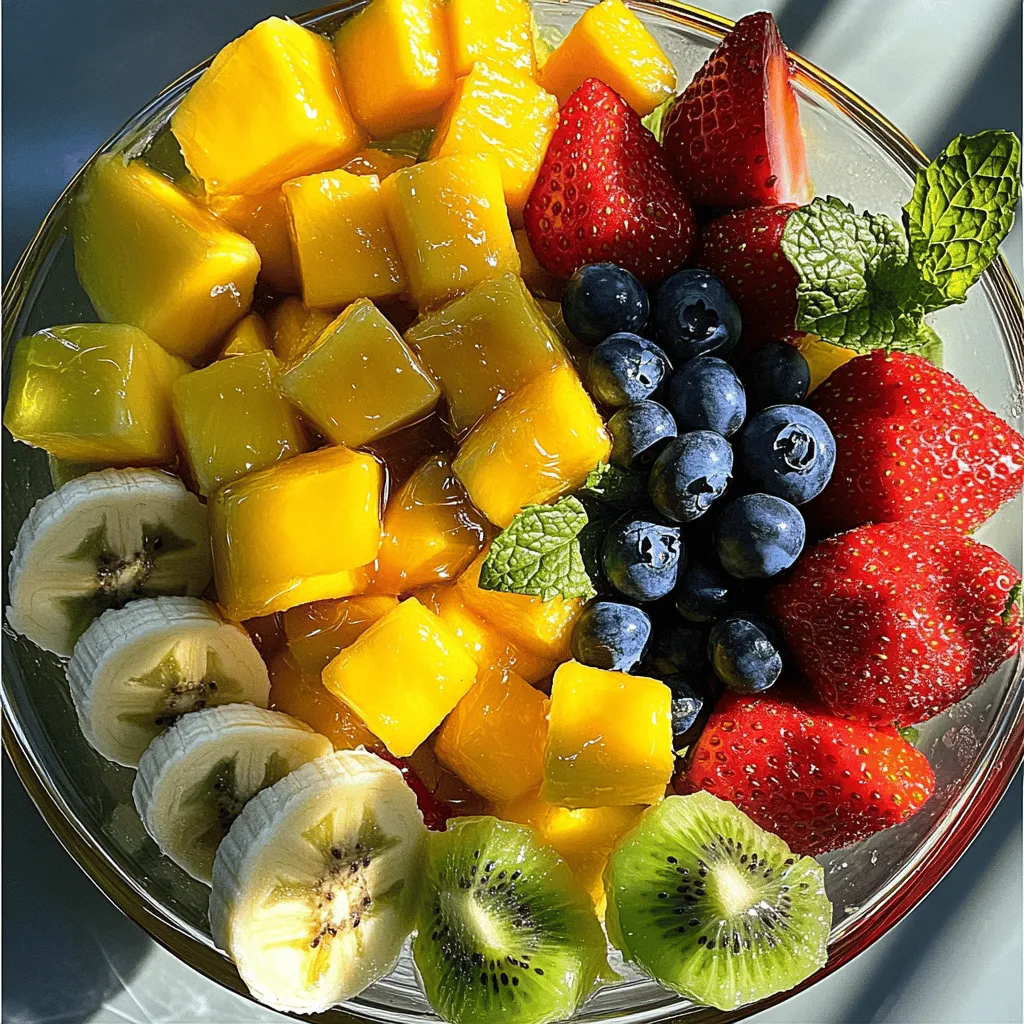
Fruit Salad with Honey Lime Dressing Easy Recipe
Looking for a fresh and easy treat? This Fruit Salad with Honey Lime Dressing is the perfect choice. Bursting with Read Full Recipe -
Blueberry Cheesecake Bars Simple and Delicious Treat
Looking for a dessert that’s easy to make and bursting with flavor? You’ve found it! These Blueberry Cheesecake Bars are Read Full Recipe -
Lemon Cheesecake Crumb Bars Delightful and Fresh Treat
Are you ready to brighten your day with a sweet treat? These Lemon Cheesecake Crumb Bars combine creamy cheesecake with Read Full Recipe -
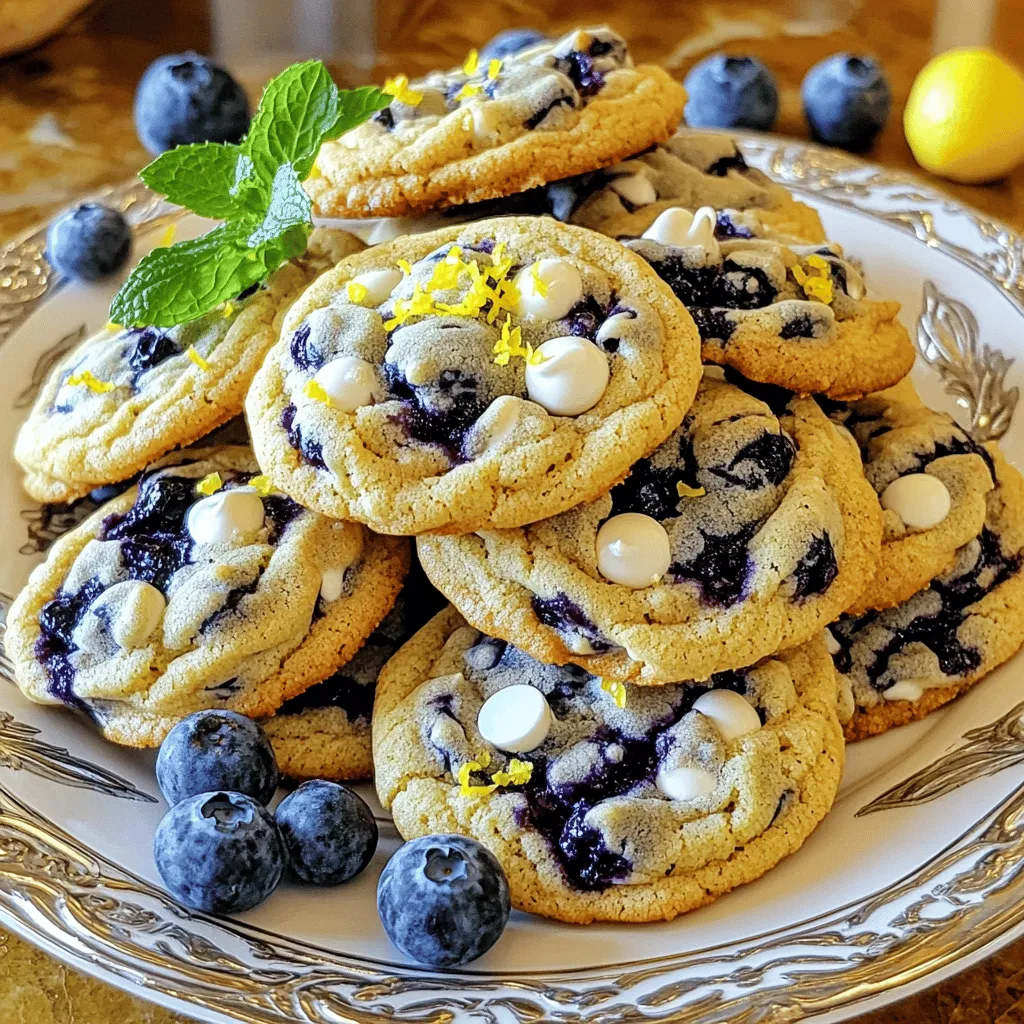
Blueberry Heaven Cookies Irresistible Sweet Treat
Welcome to your new favorite cookie recipe! Blueberry Heaven Cookies are the perfect blend of sweet and tart, making them Read Full Recipe -
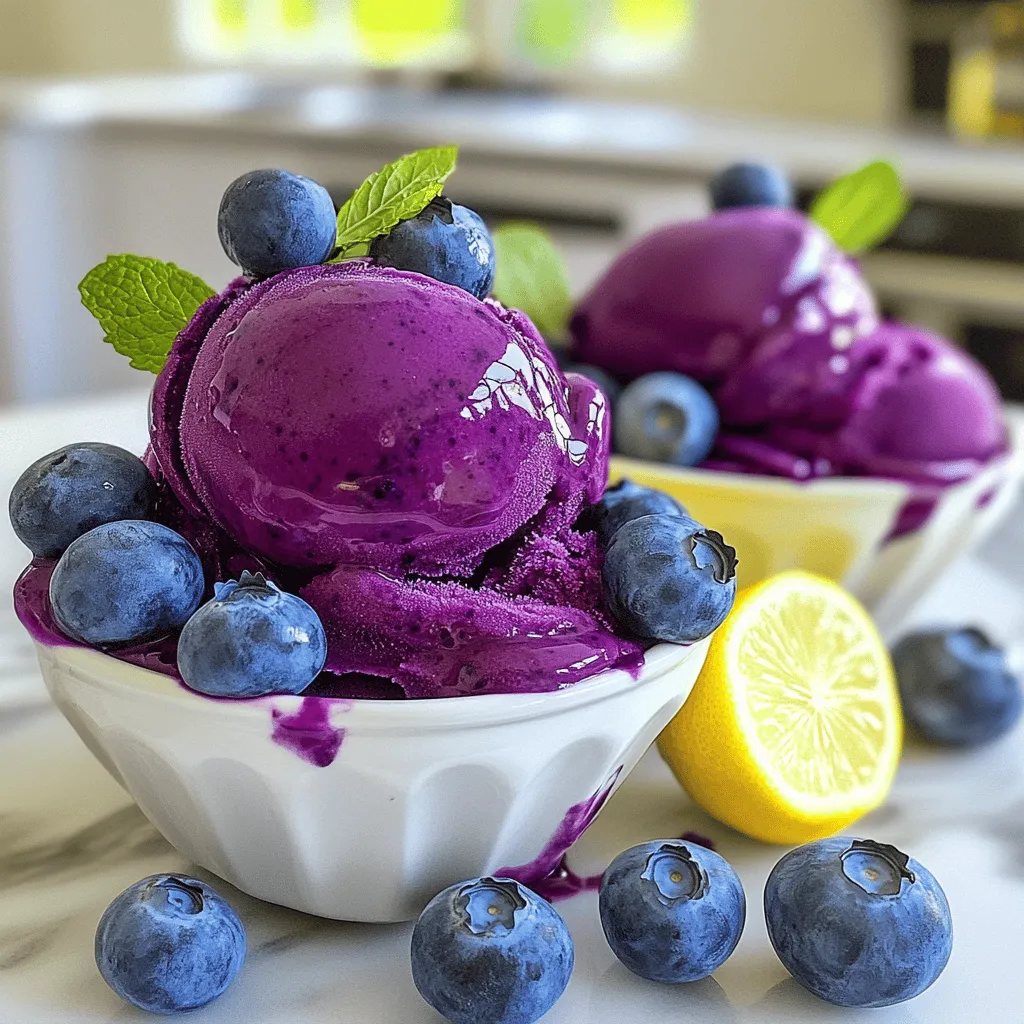
Lemon Blueberry Sorbet Fresh and Refreshing Delight
Cool off with a bowl of Lemon Blueberry Sorbet! This sweet, tangy treat is perfect for hot days. You only Read Full Recipe -
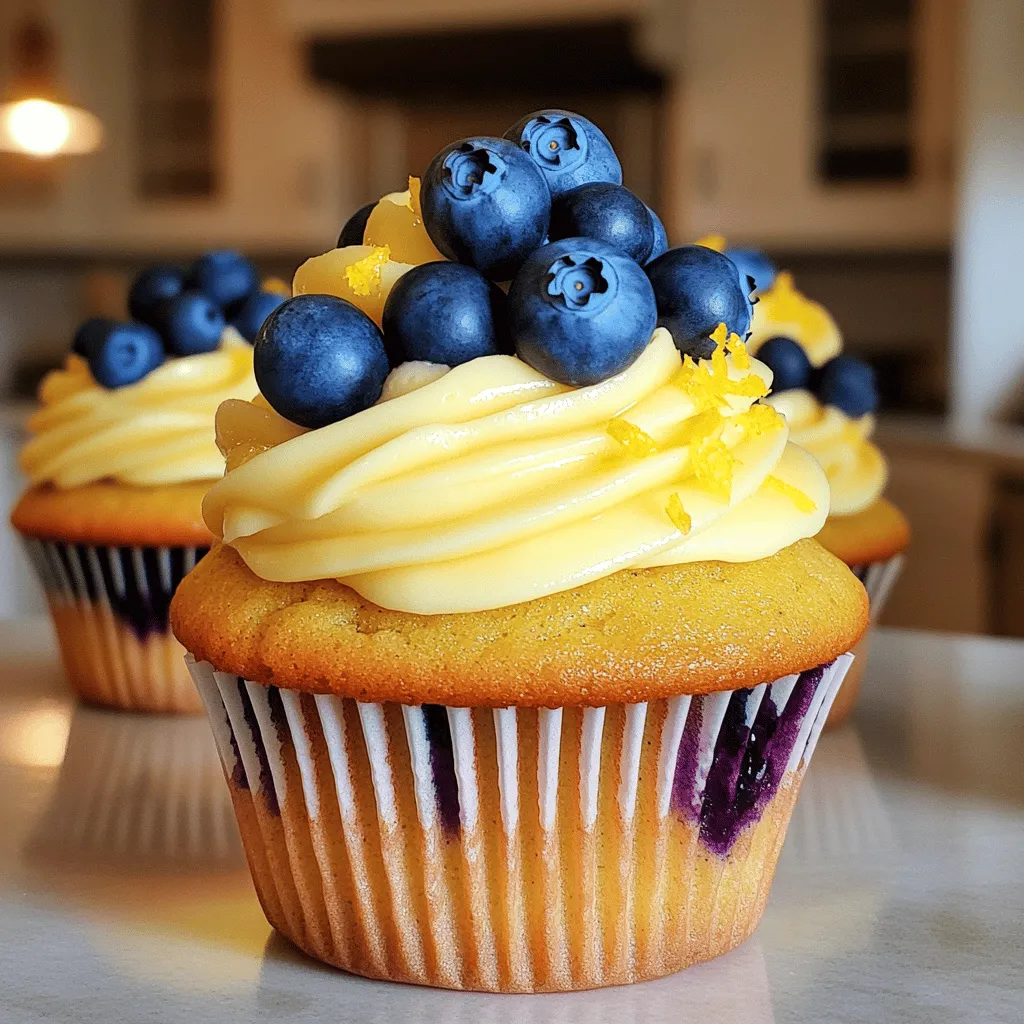
Lemon Blueberry Cupcakes Delightful and Light Treat
Are you ready to indulge in a sweet treat that brightens your day? These Lemon Blueberry Cupcakes are just what Read Full Recipe


hey,
i’m !
I’m so happy you’re here!
I pour heart and skill into every recipe I create. I know you’ll taste the difference now let’s enjoy this flavorful adventure together.
. First, preheat your oven to 400°F (200°C). This temperature helps the carrots roast well and get that nice caramelization. While the oven heats up, wash and trim your baby carrots. If you can’t find baby carrots, you can cut regular carrots into sticks. Aim for pieces that are similar in size. This way, they cook evenly. In a large bowl, mix 4 tablespoons of melted unsalted butter with 4 minced garlic cloves, 1 teaspoon of fresh thyme leaves, 1 tablespoon of honey, salt, and pepper. Stir it well until everything combines. For extra flavor, you can try adding a pinch of red pepper flakes or a splash of lemon juice. These small changes can make a big difference. Now, it’s time to roast. Add the carrots to your garlic butter mixture. Toss them until they are fully coated. Next, spread the carrots in a single layer on a baking sheet lined with parchment paper. Make sure not to crowd them; this ensures they roast evenly. Halfway through cooking, about 15 minutes in, give the carrots a good stir. This helps them cook and brown on all sides. You can find the full recipe for garlic butter roasted carrots to follow along easily. Enjoy your cooking! To get the best roast, choose baby carrots. They cook quickly and turn soft inside. When you coat them with the garlic butter mix, make sure every carrot gets a good layer. This helps with flavor and color. Roast them at 400°F for 25 to 30 minutes. Stir halfway to ensure even cooking. You want them tender and slightly caramelized. If you like more flavor, taste the carrots before serving. Add more salt or pepper if needed. For a beautiful look, serve your garlic butter roasted carrots on a big platter. Drizzle any leftover garlic butter from the baking sheet on top. It adds flavor and shine. You can also sprinkle some fresh parsley on them for color. Pair these carrots with roasted chicken or fish. They make a great side dish and add a pop of color to your meal. One common mistake is overcrowding the baking sheet. If you pile too many carrots together, they won’t roast well. They need space for the hot air to circulate. Another mistake is using the wrong size carrots. Try to use baby carrots for the best texture. If you use larger ones, cut them into smaller pieces. This way, they cook evenly and don’t take too long. Following these tips will help you make perfect garlic butter roasted carrots every time. You can find the Full Recipe for more details. {{image_2}} You can change the flavor of garlic butter roasted carrots in fun ways. Try adding spices like paprika or cumin. Paprika gives a mild heat and a lovely color. Cumin adds a warm, earthy tone that pairs well with the sweetness of carrots. You can also incorporate citrus zest for freshness. Lemon or orange zest brightens the dish and adds a nice zing. Just a little zest goes a long way, so use about a teaspoon for great flavor. Want a quicker way to make these carrots? Try the air fryer! Set your air fryer to 375°F (190°C) and cook for about 15-20 minutes. Toss the carrots halfway through for even cooking. They will be crispy and full of flavor. You can also grill the carrots for a smoky flavor. Toss them in the garlic butter mixture, then place them on a hot grill. Cook for about 10-15 minutes, turning often. The grill marks add a lovely touch, and the smoky flavor is amazing. These garlic butter roasted carrots pair well with many side dishes. Try them alongside creamy mashed potatoes or a light salad. They are also great with grains like quinoa or farro for a healthy option. For protein pairings, consider serving them with grilled chicken or baked salmon. Both proteins complement the sweetness of the carrots well. You can also try them with a hearty lentil dish for a vegetarian meal. For the complete recipe, check out the Full Recipe section. To keep your garlic butter roasted carrots fresh, follow these tips: - Refrigeration: Allow the carrots to cool completely. Then, store them in an airtight container. They will stay fresh in the fridge for about 4 to 5 days. - Freezing: If you want to save some for later, freeze the roasted carrots. First, let them cool. Then, place them in a freezer bag, removing as much air as possible. They can last for up to 3 months in the freezer. When it's time to enjoy your leftover roasted carrots, use these methods for the best taste: - Oven: Preheat your oven to 350°F (175°C). Spread the carrots on a baking sheet. Heat for about 10 to 15 minutes until warm. This method helps keep their texture. - Microwave: Place the carrots in a microwave-safe dish. Cover with a damp paper towel. Heat for about 1 to 2 minutes, checking every 30 seconds. This method is faster, but it may make them softer. Knowing how long your roasted carrots last helps avoid waste: - In the fridge: Roasted carrots last for about 4 to 5 days. Keep an eye on them to enjoy their best flavor. - Signs of spoilage: Check for sliminess or an off smell. If you notice any of these signs, it’s best to toss them. Enjoying fresh food is key! For more details, check out the Full Recipe for garlic butter roasted carrots. Garlic butter roasted carrots need about 25 to 30 minutes to cook. Preheat your oven to 400°F (200°C). This temperature helps the carrots caramelize nicely. Stir the carrots halfway through. This ensures they roast evenly. You want them tender but not mushy. Check them with a fork for the right texture. Yes, you can swap carrots for other veggies. Try using baby potatoes or zucchini. They roast well with garlic butter. You may need to adjust cooking times. For example, potatoes may need longer than carrots. Broccoli or bell peppers are great too. Just cut them into similar sizes for even cooking. Garlic butter roasted carrots pair well with many dishes. Serve them with grilled chicken or fish. They also go great with steak or pork. For a vegetarian meal, add quinoa or a grain salad. A glass of white wine, like Sauvignon Blanc, complements the flavors. This makes for a complete meal experience. For the full recipe, check the recipe section above. Garlic butter roasted carrots are easy to make and delicious. We covered ingredients, steps, and tips for success. You learned about variations, storage options, and common mistakes to avoid. This recipe adds flavor and nutrition to meals. Feel free to experiment with other vegetables or spices to customize your dish. Enjoy the vibrant taste of roasted carrots, and don't be afraid to share your cooking adventures. Cooking simple dishes like this builds confidence in the kitchen.](https://foodishtalk.com/wp-content/uploads/2025/06/c861c06f-3dd8-4fc1-92d6-0d9433bc1c8e-300x300.webp)


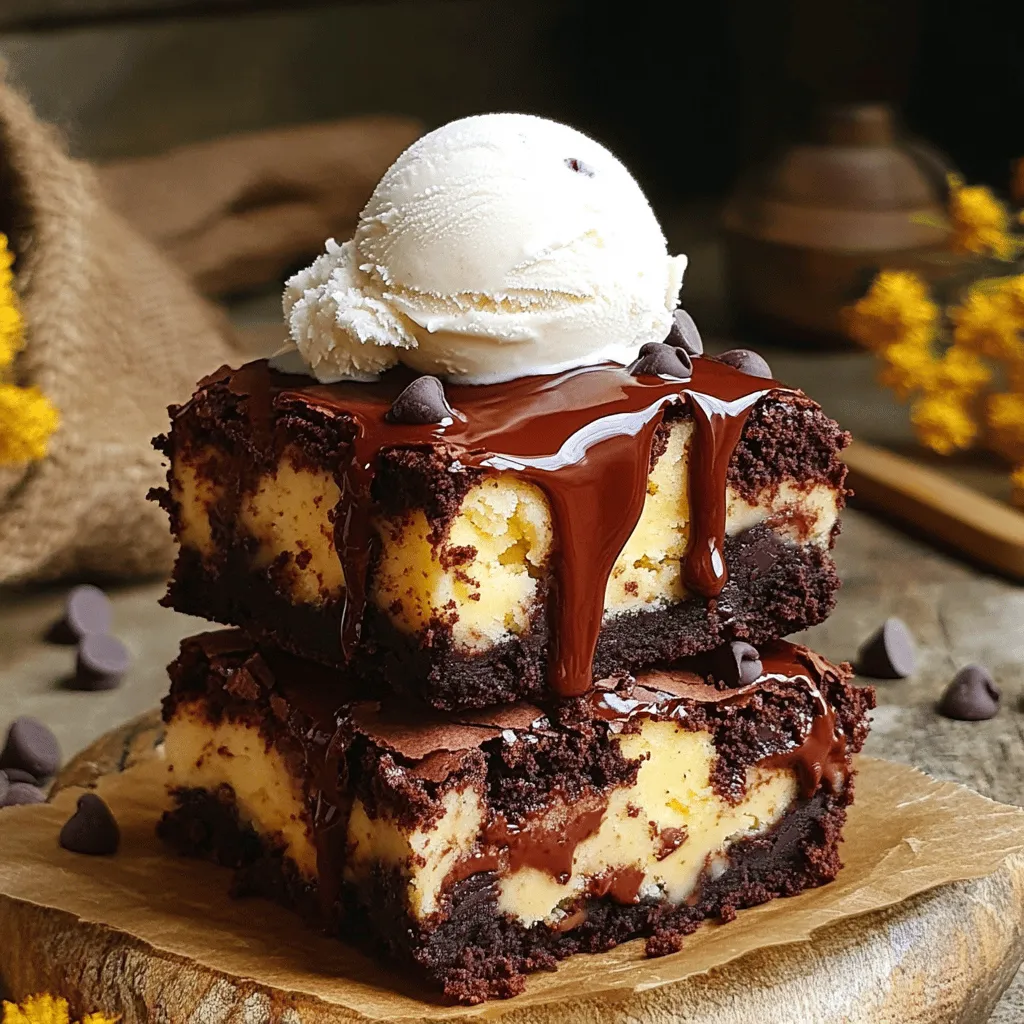
Fudgy Chewy Brookies Delightful Dessert Recipe
If you love brownies and cookies, prepare for a sweet surprise! Fudgy Chewy Brookies blend both treats into one delightful dessert. With layers of…