
Latest & Greatest
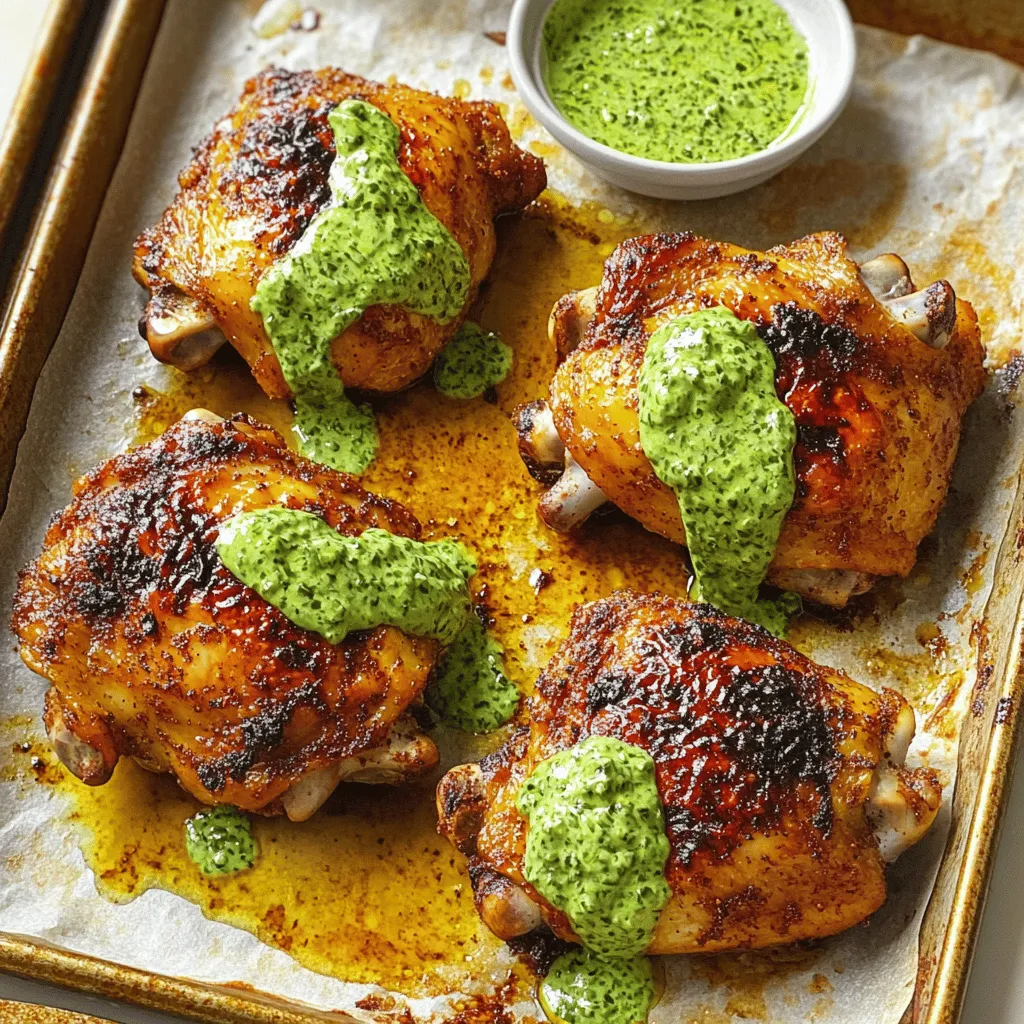
Peruvian Chicken with Green Sauce Flavorful Dish
Are you ready to explore the vibrant flavors of Peru? My guide on Peruvian Chicken with Green Sauce will take
Read more…
Baked Crunchy Hot Honey Chicken Flavorful Delight
If you want a dinner that’s crunchy, sweet, and a bit spicy, you’re in for a treat! My Baked Crunchy
Read more…
Chicken Noodle Casserole Flavorful and Easy Recipe
If you’re looking for a quick, comforting dish that the whole family will love, you’ve hit the jackpot! This Chicken
Read more…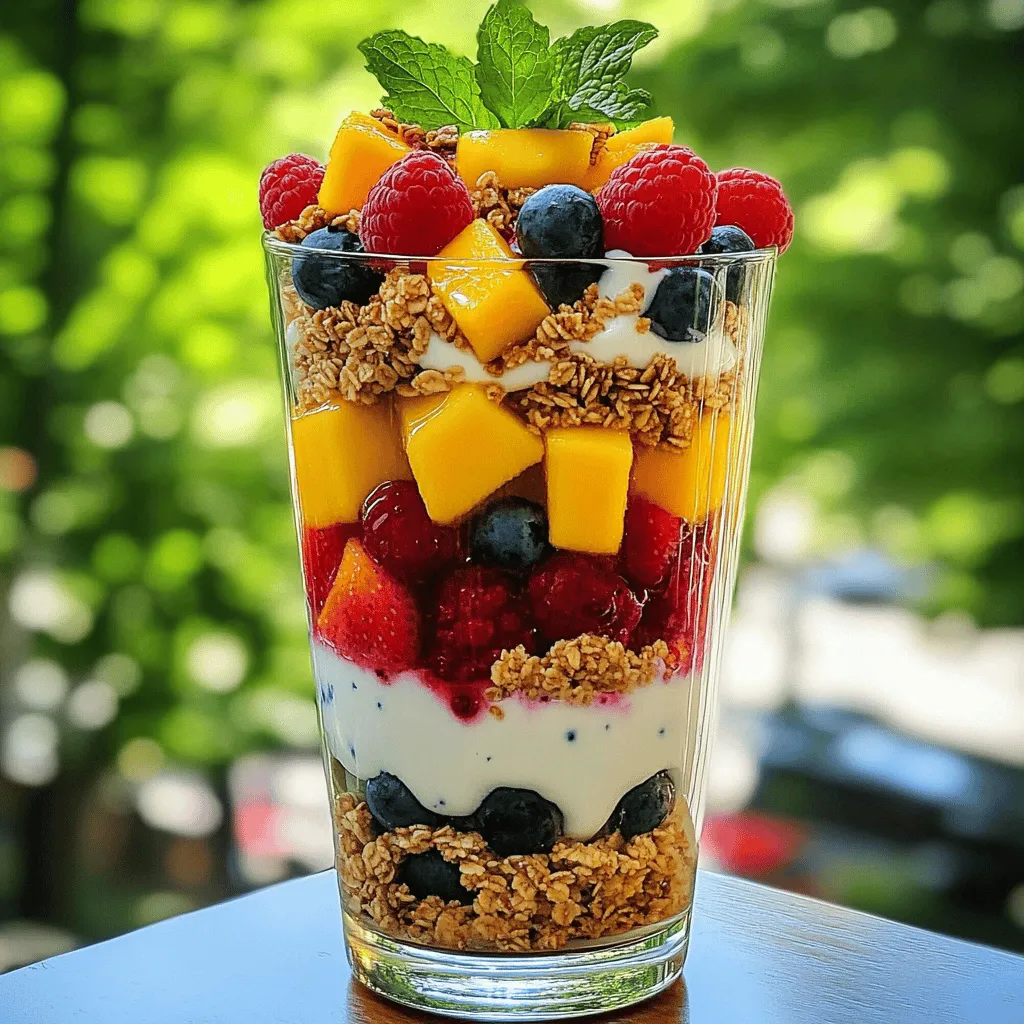
Spring Berry Parfait Delightful and Easy Recipe
Spring is here, and it’s the perfect time to create a delicious Spring Berry Parfait! This easy recipe combines fresh
Read more…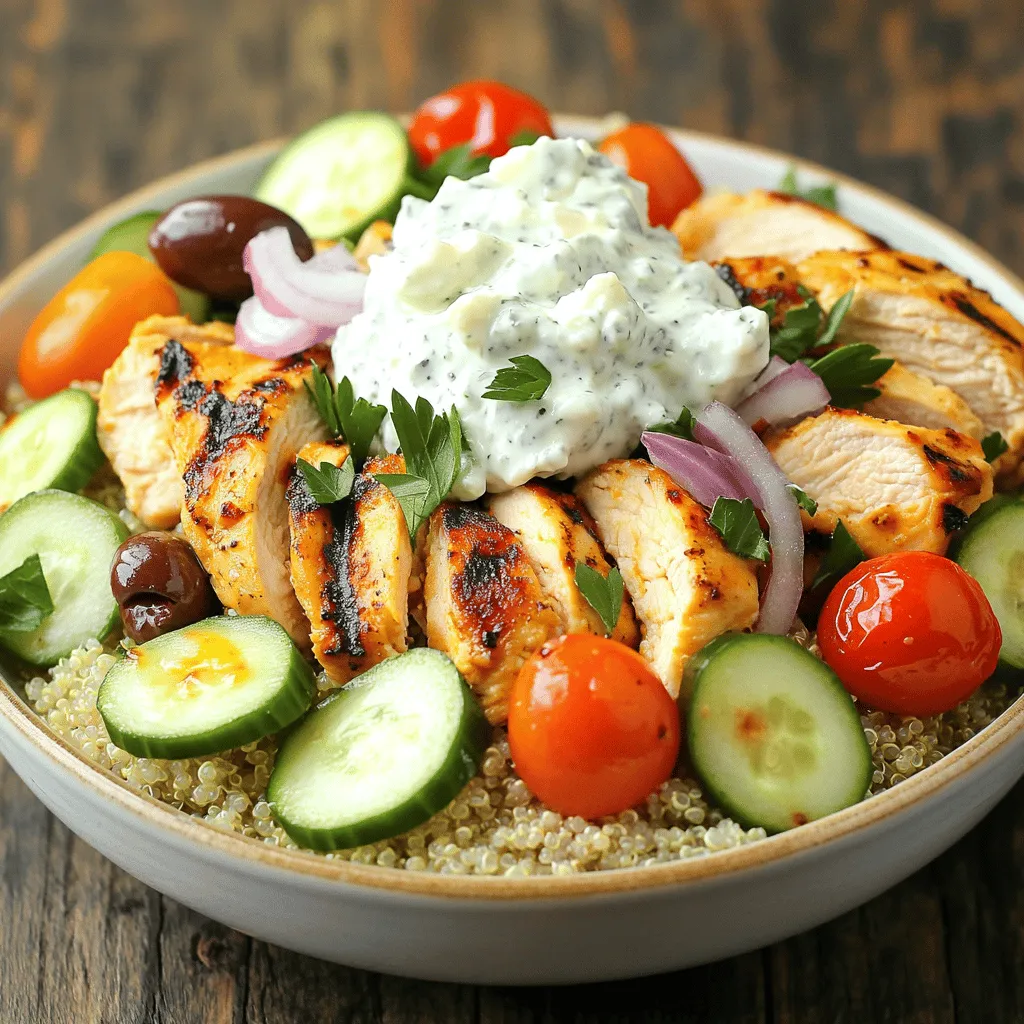
Greek Chicken Bowls Flavorful and Nourishing Meal
Are you ready to enjoy a meal that’s tasty and healthy? Greek Chicken Bowls pack bold flavors and nutrition in
Read more…
Garlic Knots Irresistible Homemade Bread Delight
Garlic knots are a tasty treat that everyone loves! In this guide, you’ll learn how to make these delicious bites
Read more…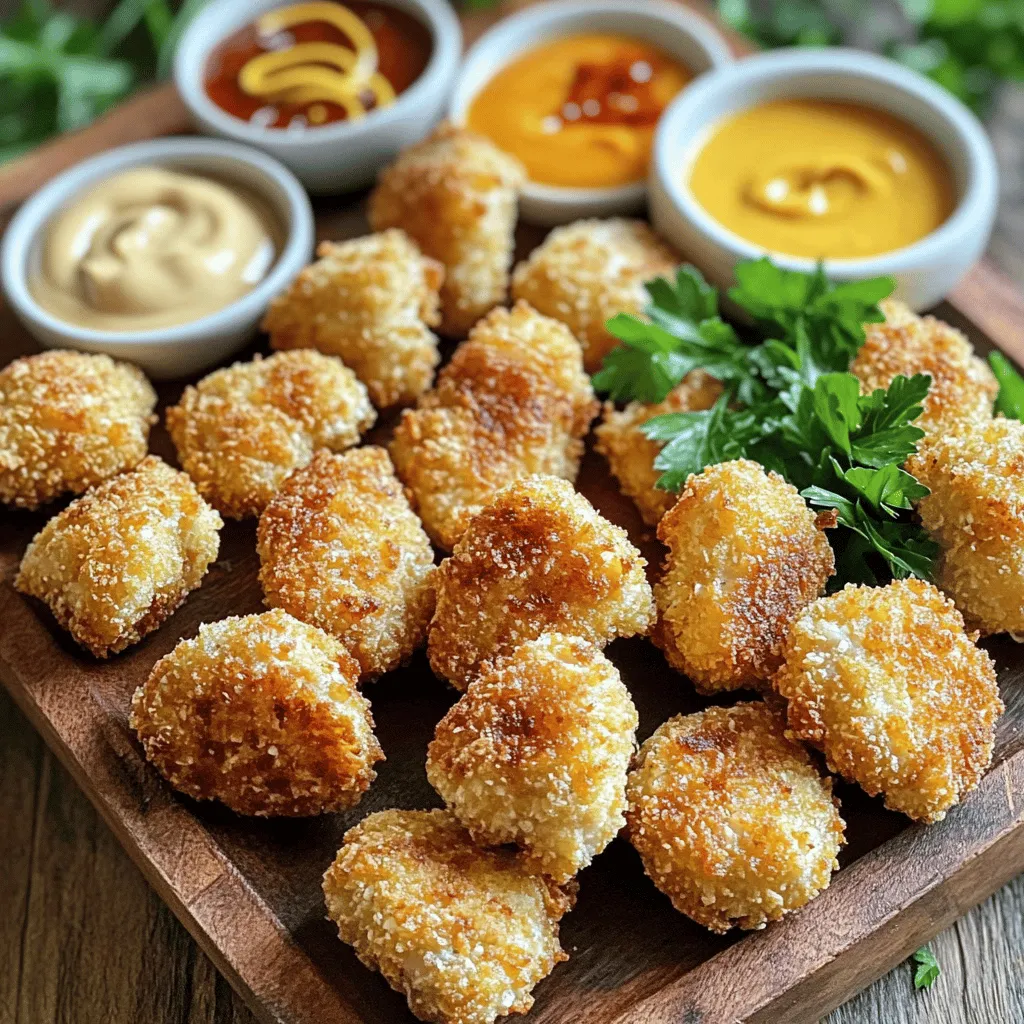
Crispy Chicken Nuggets Quick and Easy Recipe Guide
Craving delicious crispy chicken nuggets? You’ve come to the right place! In this quick and easy recipe guide, I will
Read more…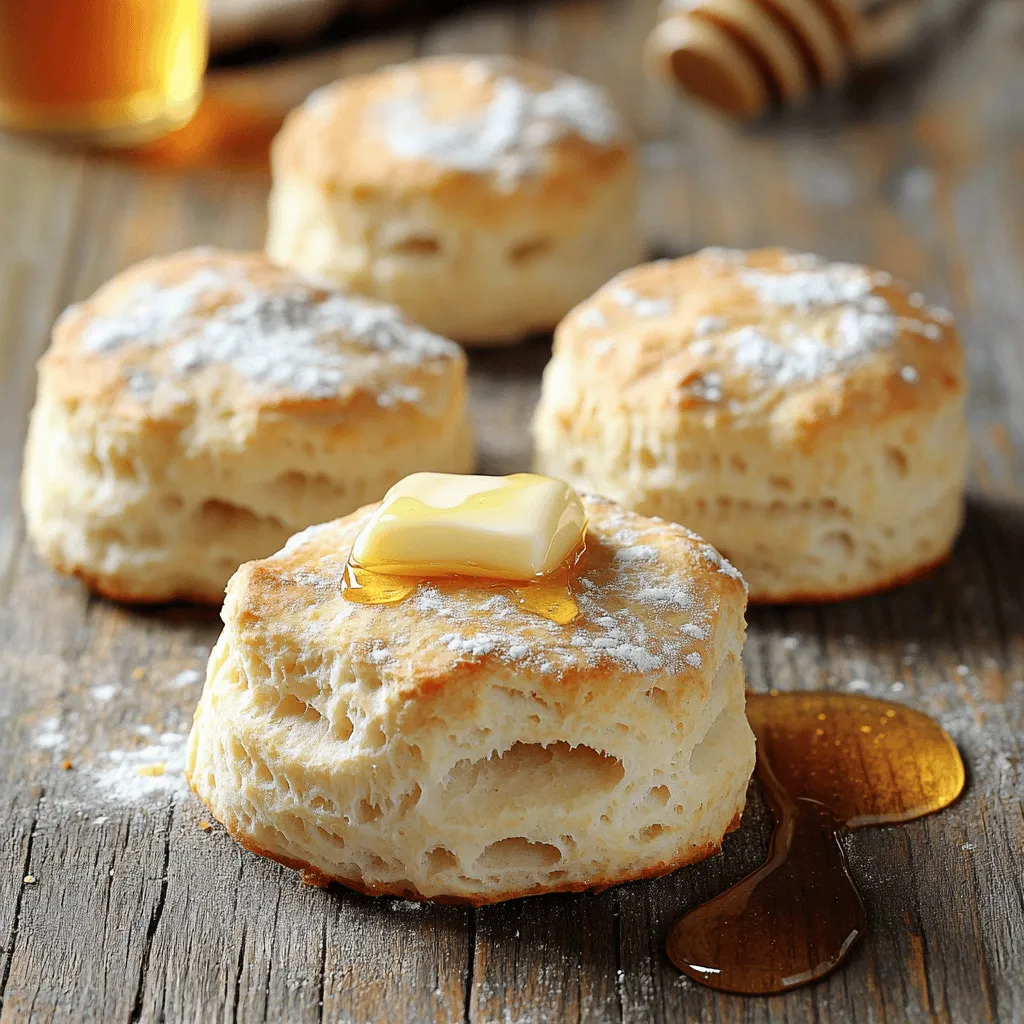
Homemade Biscuits Simple Fluffy Texture Recipe
Are you ready to elevate your baking skills with homemade biscuits? This simple recipe guarantees a fluffy texture that will
Read more…browse recipes


![- 2 ripe avocados - 1/2 cup unsweetened cocoa powder - 1/2 cup maple syrup (or agave syrup) - 1/2 cup almond milk (or any plant-based milk) - 1 teaspoon vanilla extract - A pinch of sea salt This vegan chocolate avocado mousse uses simple, tasty ingredients. Ripe avocados give it a creamy base. They blend well with cocoa powder, making it rich in chocolate flavor. Maple syrup adds natural sweetness, while almond milk keeps it light. Vanilla extract enhances the taste, and sea salt balances the flavors. - Coconut whipped cream - Fresh berries - Shaved chocolate Toppings add fun and flair to your mousse. Coconut whipped cream gives a light and fluffy touch. Fresh berries add color and a burst of flavor. Shaved chocolate provides a rich finish. You can mix and match toppings to make your mousse unique. For the full recipe, check out the details to create this delightful dish! - Step 1: Prepare the avocados First, take two ripe avocados. Cut them in half and remove the pits. Use a spoon to scoop the flesh into your blender. Ripe avocados give the mousse a smooth texture. - Step 2: Blend ingredients Next, add the unsweetened cocoa powder, maple syrup, almond milk, vanilla extract, and a pinch of sea salt to the blender. Blend all the ingredients until you have a creamy mixture. If the blend is too thick, add more almond milk as needed. - Step 3: Adjust sweetness and texture Taste your mousse and decide if it needs more sweetness. If it does, add extra maple syrup. For a richer chocolate flavor, you can mix in more cocoa. Blend again to combine. - Step 4: Spoon into bowls After blending, spoon the mousse into individual bowls or glasses. Clear cups work well to show off the rich chocolate color. - Step 5: Chill the mousse Place the filled bowls in the refrigerator. Chill for at least 30 minutes. This helps the mousse firm up and enhances the flavors. - Step 6: Add toppings Before serving, top the mousse with coconut whipped cream, fresh berries, or shaved chocolate. These toppings add flavor and look great. For the full recipe, check the details above. To get that rich, velvety texture, start with ripe avocados. Ripe avocados are soft and creamy, making them blend smoothly. If they are too firm, your mousse will be chunky. Look for avocados that give slightly when you press them gently. Blending duration also matters. Blend the ingredients for about 1 to 2 minutes. Stop and scrape down the sides of the blender to ensure everything mixes well. The longer you blend, the smoother your mousse will be. Sweetness is key for a great mousse. Taste your mixture after blending. If it’s not sweet enough, add more maple syrup. Mix well and taste again. You can keep adjusting until you find your perfect balance. If you want to try something different, use alternative sweeteners. Agave syrup or dates work great too. Each sweetener adds its unique flavor, so experiment to see what you love best. For the full recipe, check out the details above. {{image_2}} You can make this vegan chocolate avocado mousse even more exciting. One great way is by adding espresso or coffee. Just a tablespoon or two of brewed coffee gives the mousse a deeper flavor. It highlights the chocolate and adds richness. If you love coffee, this combo will delight your taste buds. Another option is to incorporate nut butters. Almond butter or peanut butter works well. Just a couple of tablespoons will add creaminess and a nutty twist. This adds healthy fats and makes the mousse even more filling. You can experiment with different nut butters for unique tastes. If you need gluten-free options, you’re in luck! All the ingredients in this recipe are naturally gluten-free. Just make sure your sweeteners and toppings are also gluten-free. This way, everyone can enjoy this treat without worry. For those who need nut-free alternatives, you can switch almond milk for oat milk or soy milk. These options keep the mousse creamy and delicious. Always check labels to ensure no cross-contamination with nuts. This way, you can share this rich dessert with everyone. For the full recipe, check the section above. Enjoy experimenting with these variations! To keep your vegan chocolate avocado mousse fresh, store it in the refrigerator. Use an airtight container. This helps prevent it from absorbing other smells. You can keep it in the fridge for about three days. If you want to store it longer, you can freeze the mousse. Scoop it into an airtight container. Make sure to leave some space for expansion. When you are ready to enjoy it, thaw it in the fridge overnight. The best time to eat the mousse is within three days of making it. It tastes best when fresh. However, if you freeze it, you can enjoy it for up to a month. Just remember, the texture may change slightly after freezing, but the flavor stays rich. For the full recipe, check out the details above. Is avocado mousse healthy? Yes, avocado mousse is very healthy. It uses ripe avocados, which are full of good fats. These fats help your heart and keep you full. The cocoa powder adds antioxidants, making it even better for you. Using maple syrup or agave syrup gives it sweetness without refined sugar. Can I use different types of chocolate? Absolutely! You can use dark chocolate, semi-sweet, or even dairy-free chocolate chips. Each type brings its own flavor. If you want a richer taste, dark chocolate is the best choice. Just make sure the chocolate is vegan if you want to keep it plant-based. How long does the mousse last? The mousse lasts about 3 to 5 days in the fridge. Make sure to cover it well. It helps keep it fresh and tasty. If you want to store it longer, you can freeze it for up to one month. Just thaw it in the fridge before enjoying. What to do if the mousse is too thick? If your mousse is too thick, don’t worry! Just add a little more almond milk. Blend it again until it reaches your desired creaminess. You can add the milk slowly to avoid making it too runny. How can I make it sweeter? To make it sweeter, simply add more maple syrup or agave syrup. Start with a tablespoon and blend well. Taste it after each addition to find the perfect sweetness for you. You can always add more, but you can't take it out! For the full recipe, check out the [Full Recipe]. This blog detailed how to make a rich avocado mousse using simple ingredients. We explored the main components, from ripe avocados to cocoa powder, and discussed blending tips for the perfect texture. Optional toppings can enhance your dessert, and we covered variations to meet dietary needs. In the end, this treat is not just delicious but healthy too. It’s easy to make and fun to customize. Enjoy your creamy creation today!](https://foodishtalk.com/wp-content/uploads/2025/05/0db1b33b-d4e1-4dc3-bdef-cfcbf3de3837.webp)
Vegan Chocolate Avocado Mousse Rich and Velvety Delight
Craving a delicious dessert that feels rich but is totally guilt-free? Look no further! This Vegan Chocolate Avocado Mousse is a pure delight, combining…
My Latest Desserts

Mini Vanilla Cream Tarts with Raspberries Delight
Welcome to the sweet world of Mini Vanilla Cream Tarts with Raspberries! Today, I’ll show you how to make these Read Full Recipe-
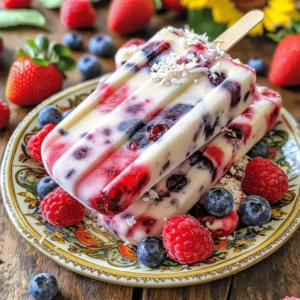
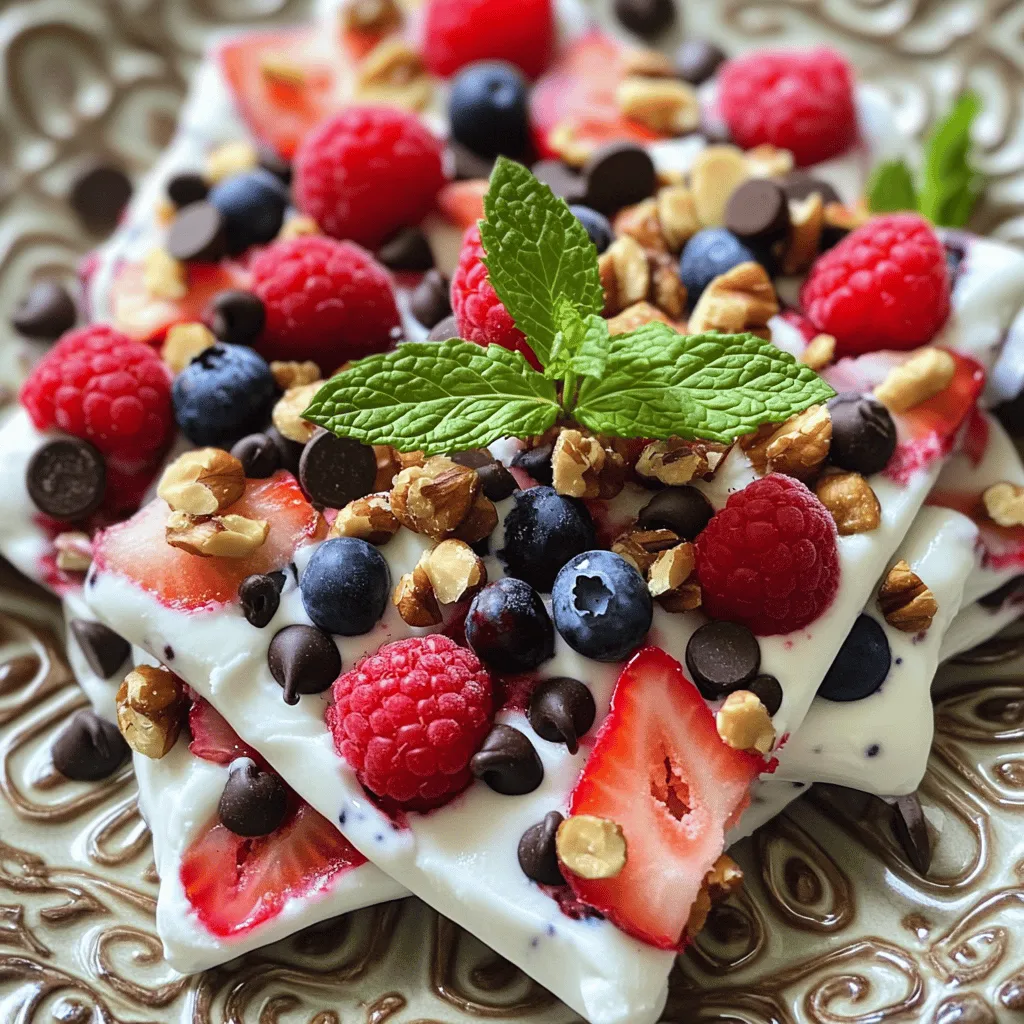
Frozen Yogurt Bark Delightful and Simple Treat
If you’re looking for a quick, tasty treat, frozen yogurt bark is a winner. It’s easy to make and fun Read Full Recipe -
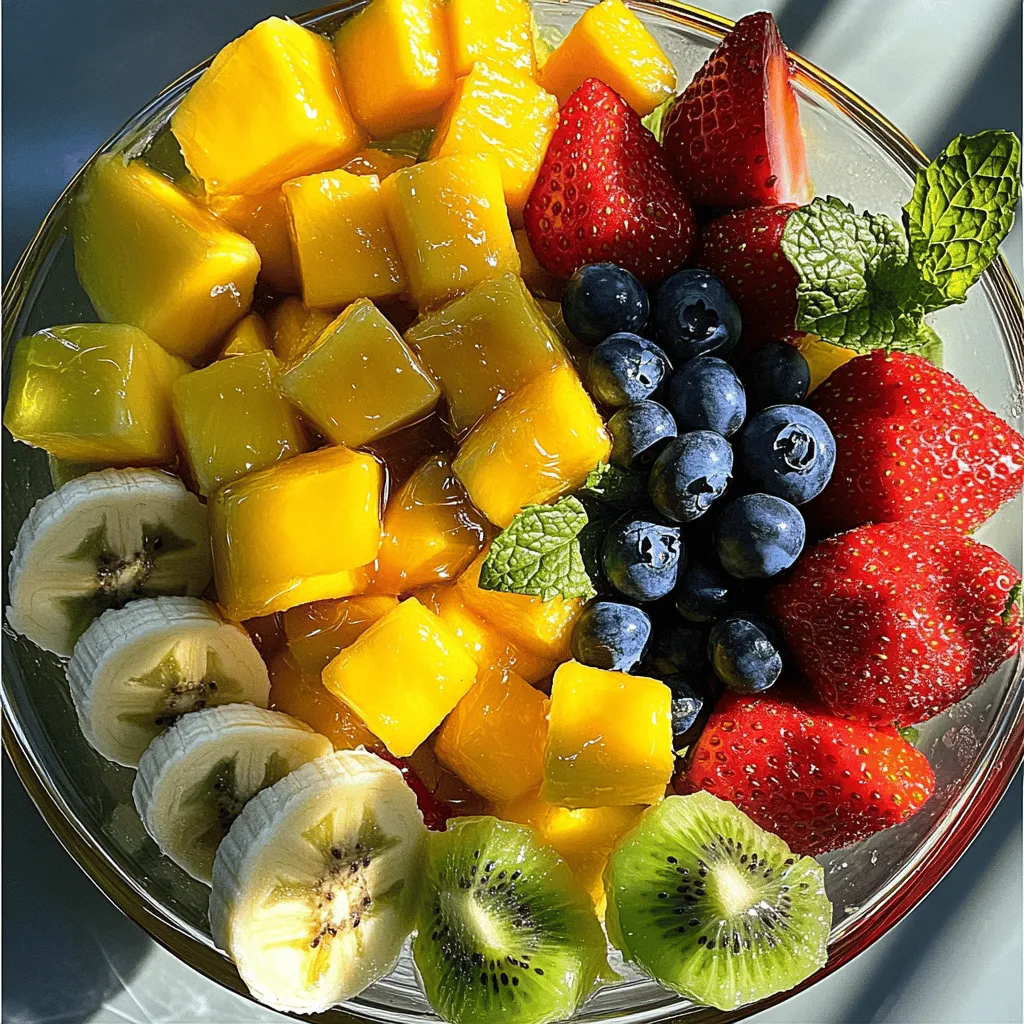
Fruit Salad with Honey Lime Dressing Easy Recipe
Looking for a fresh and easy treat? This Fruit Salad with Honey Lime Dressing is the perfect choice. Bursting with Read Full Recipe -
Blueberry Cheesecake Bars Simple and Delicious Treat
Looking for a dessert that’s easy to make and bursting with flavor? You’ve found it! These Blueberry Cheesecake Bars are Read Full Recipe -
Lemon Cheesecake Crumb Bars Delightful and Fresh Treat
Are you ready to brighten your day with a sweet treat? These Lemon Cheesecake Crumb Bars combine creamy cheesecake with Read Full Recipe -
Blueberry Heaven Cookies Irresistible Sweet Treat
Welcome to your new favorite cookie recipe! Blueberry Heaven Cookies are the perfect blend of sweet and tart, making them Read Full Recipe -
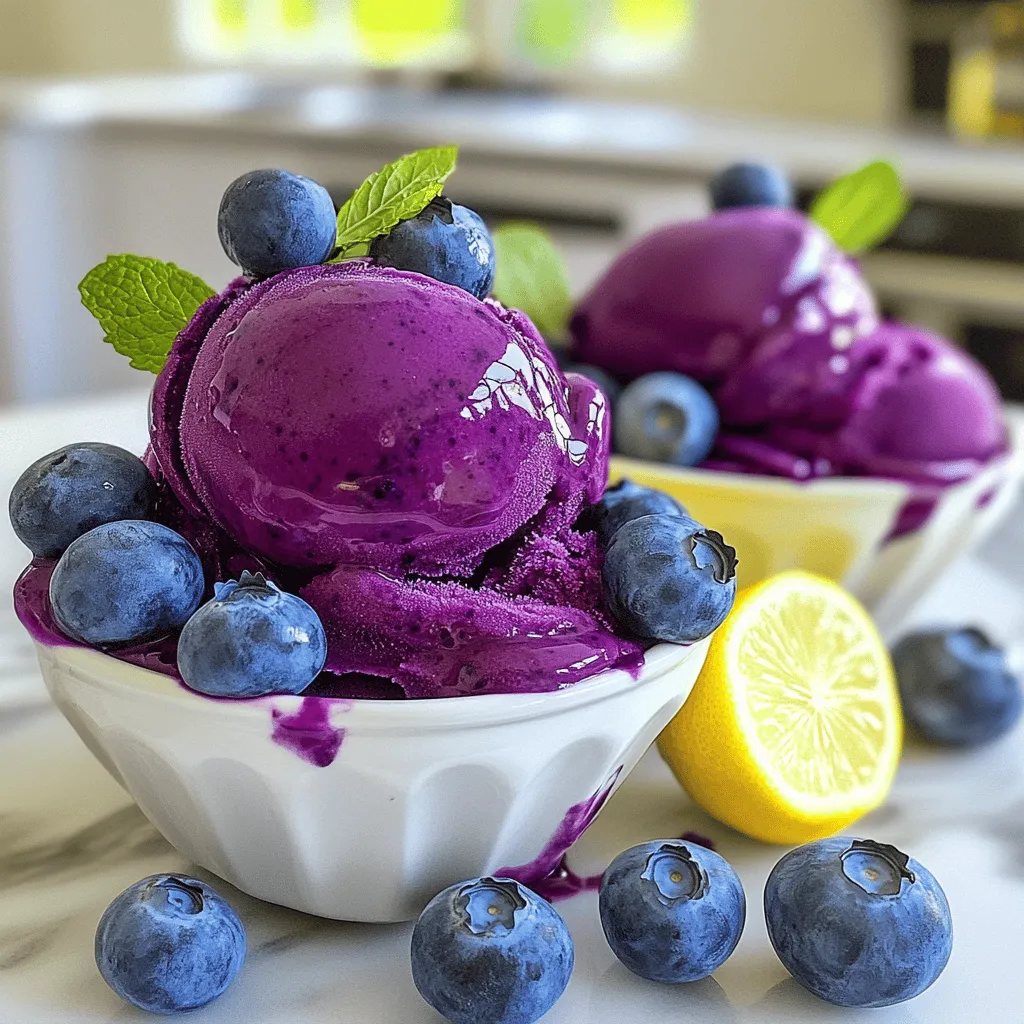
Lemon Blueberry Sorbet Fresh and Refreshing Delight
Cool off with a bowl of Lemon Blueberry Sorbet! This sweet, tangy treat is perfect for hot days. You only Read Full Recipe -
Lemon Blueberry Cupcakes Delightful and Light Treat
Are you ready to indulge in a sweet treat that brightens your day? These Lemon Blueberry Cupcakes are just what Read Full Recipe -
Blueberry Cheesecake Cookies Delightful and Easy Recipe
If you love the sweet and tangy combo of blueberry cheesecake, you’re in for a treat! I’ll show you how Read Full Recipe -
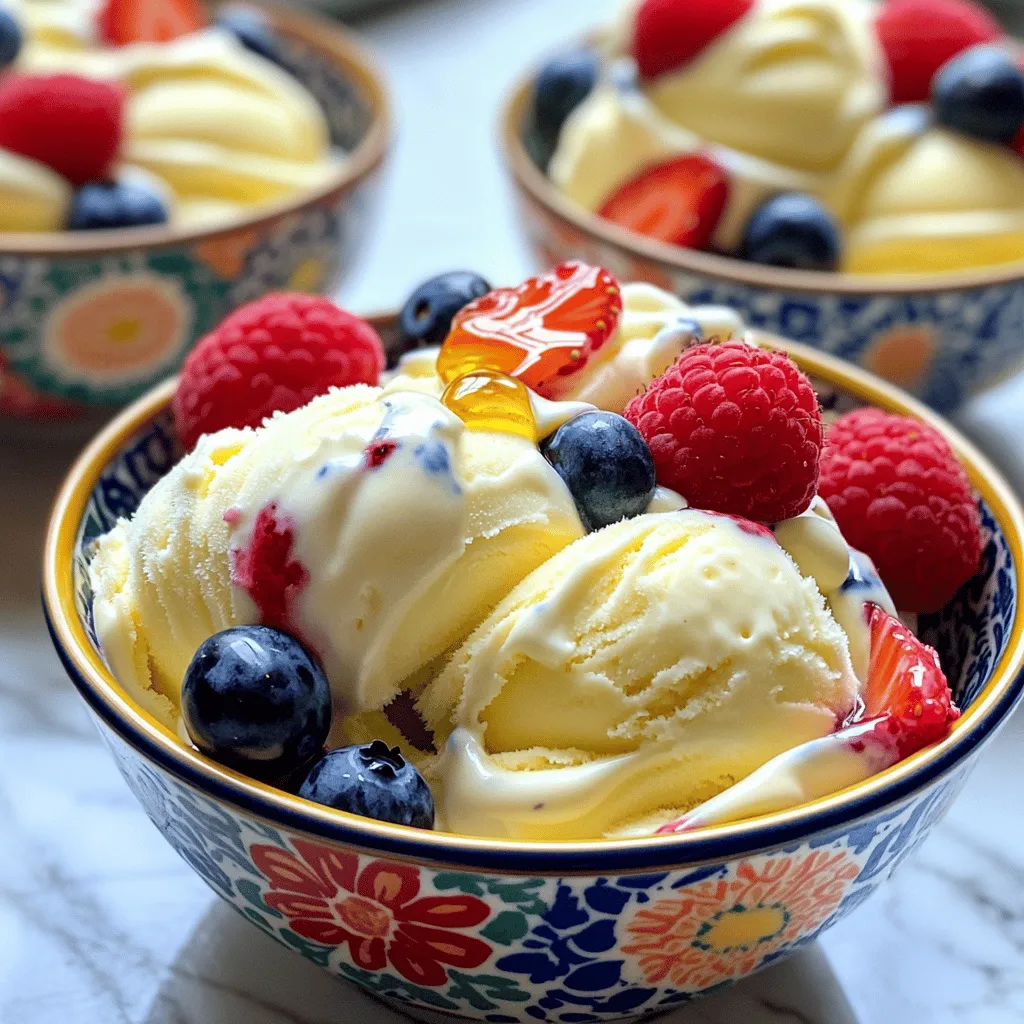
Greek Yogurt Ice Cream Creamy and Simple Delight
Looking for a cool treat that’s both delicious and easy to make? Greek yogurt ice cream is your answer! This Read Full Recipe


hey,
i’m !
I’m so happy you’re here!
I pour heart and skill into every recipe I create. I know you’ll taste the difference now let’s enjoy this flavorful adventure together.


Crispy Honey Chicken Tenders Flavorful and Easy Recipe
Looking for a mouth-watering meal that’s both simple and satisfying? You’ve found it! My Crispy Honey Chicken Tenders are golden, crunchy, and bursting with…