

Latest & Greatest

Viral Homemade Dunkaroo Dip Irresistibly Tasty Treat
Get ready to indulge in a fun and tasty treat! This Viral Homemade Dunkaroo Dip takes you back to childhood
Read more…
Korean Cheese Kimchi Kimbap Flavorful Rice Roll
Are you ready to try something delicious and fun? Korean Cheese Kimchi Kimbap is a tasty twist on the classic
Read more…
Garlic Butter Steak Tips with Cheesy Rigatoni Delight
Do you want a meal that bursts with flavor? My Garlic Butter Steak Tips with Cheesy Rigatoni offers just that!
Read more…
No-Bake Mini Key Lime Pies Easy and Refreshing Treat
Are you craving a sweet, zesty treat that’s super easy to make? These No-Bake Mini Key Lime Pies are your
Read more…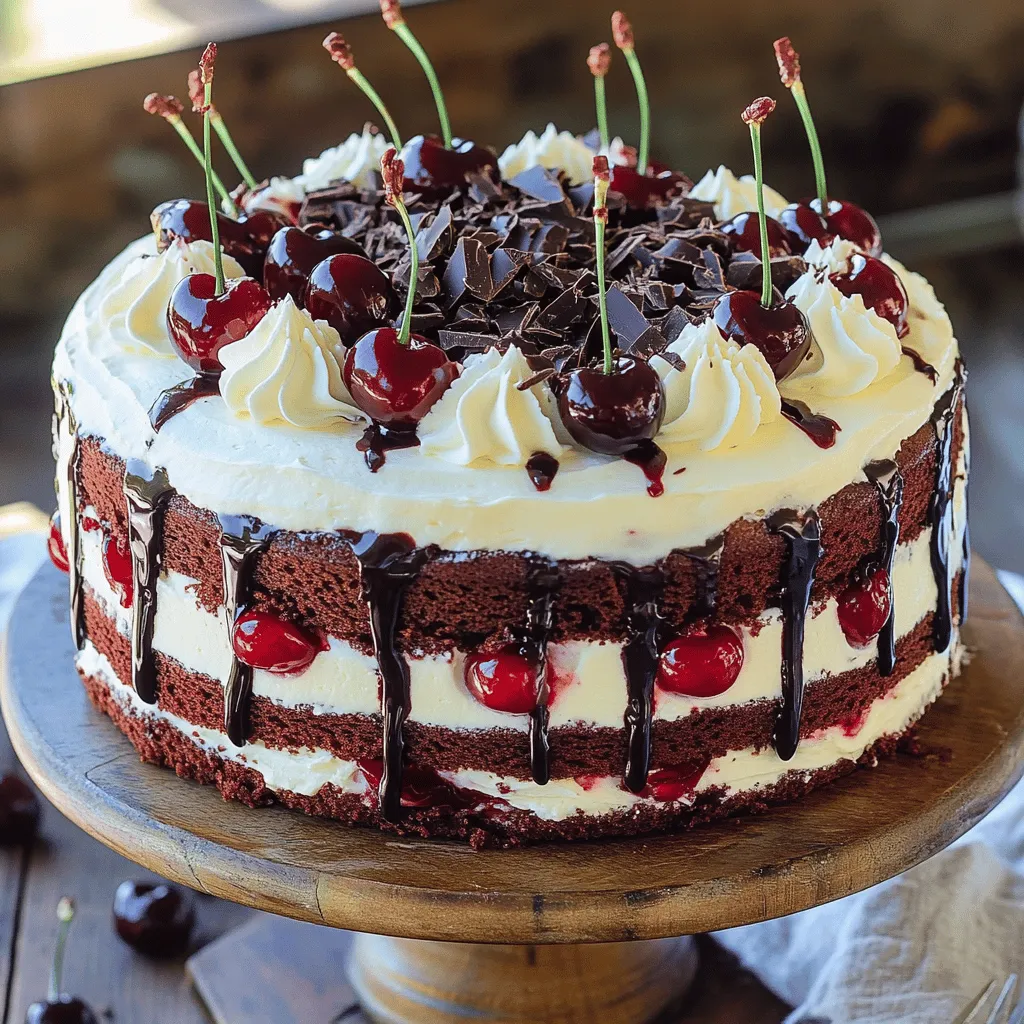
Black Forest Cake Delightful and Easy Recipe Steps
Craving a slice of rich, decadent Black Forest Cake? I’ve got you covered! In this easy guide, I’ll walk you
Read more…
Easy Fried Rice Recipe Quick and Flavorful Dish
Are you ready to whip up a dish that’s quick, easy, and packed with flavor? My Easy Fried Rice Recipe
Read more…
Scrumptious Banana Caramel Nut Cheesecake Delight
Are you ready to dive into a dessert that will make your taste buds dance? Meet the “Scrumptious Banana Caramel
Read more…
Spinach Garlic Meatballs with Mozzarella Delight
Are you ready to impress your taste buds with a bold dish? Let me introduce you to Spinach Garlic Meatballs
Read more…browse recipes


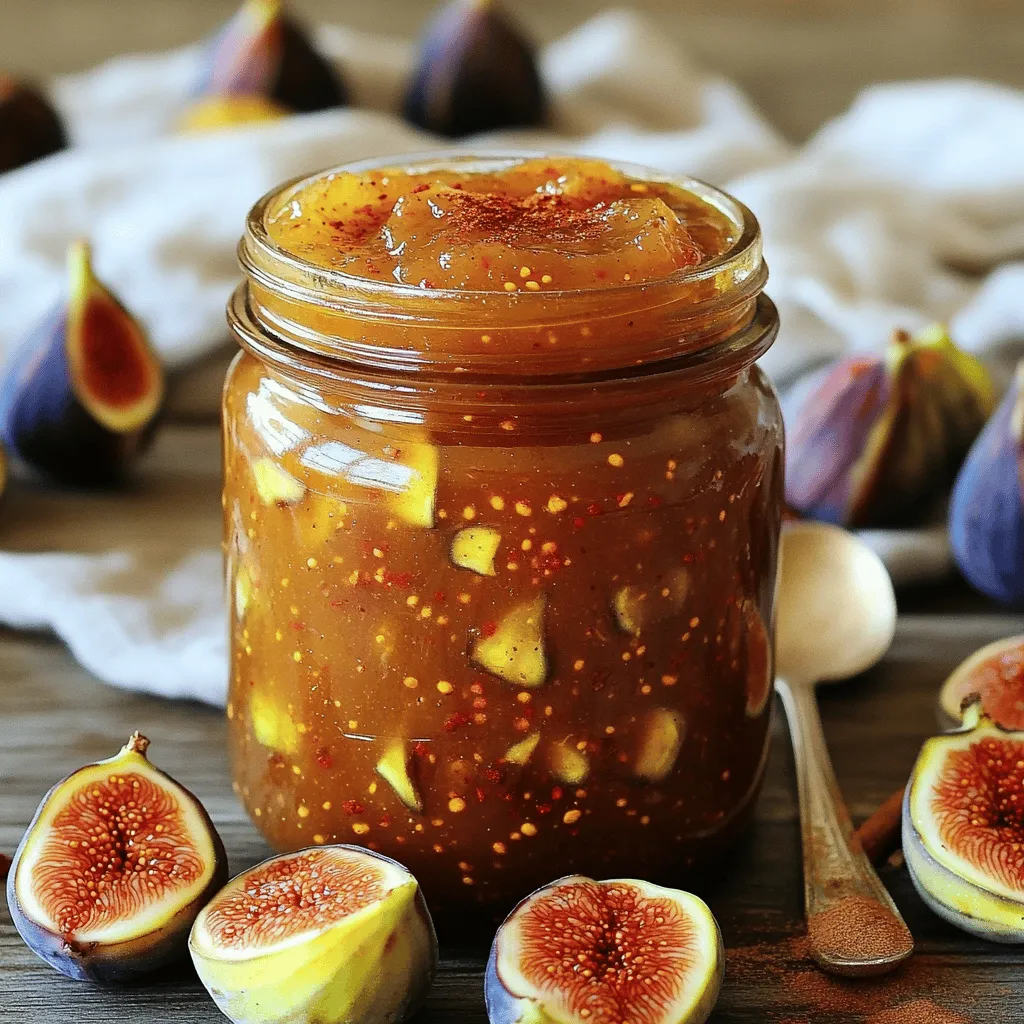
![- 2 pounds fresh figs, stems removed and chopped - 2 cups granulated sugar - 1/4 cup lemon juice - 1 teaspoon vanilla extract - 1/4 teaspoon ground cinnamon - 1/4 teaspoon ground nutmeg You can use several options if you want to swap ingredients. - Alternative sweeteners: Use honey or maple syrup. Adjust amounts, since they are sweeter than sugar. - Non-citrus acid options: Try apple cider vinegar or white vinegar. These can help balance flavors. - Flavoring variations: Add spices like cardamom or ginger for a unique taste. You can also mix in other fruits, such as pears. This simple fig jam recipe relies on fresh, ripe figs. These ingredients work together to create a sweet and tangy spread perfect for toast or cheese. Feel free to explore substitutions to make it your own! For the complete process, check the Full Recipe. First, gather your figs, sugar, and lemon juice. I love using fresh figs for this recipe. They have a sweet taste that shines through. Chop the figs and put them in a large, non-reactive pot. Add the sugar and lemon juice to the pot. This combination is key to making a tasty jam. Next, let the mixture rest for about 30 minutes. This waiting time helps the figs release their juices. You will notice the mixture becoming syrupy. It’s a crucial step for a rich flavor. Now, place the pot over medium heat. Stir the mixture gently until the sugar dissolves. This process takes only a few minutes. Once the sugar is gone, raise the heat to medium-high. Bring the mixture to a boil, stirring often. This stirring stops the jam from sticking to the pot. After it starts to boil, reduce the heat to medium. Let it simmer for about 30 to 40 minutes. Keep stirring often. You want to watch as the jam thickens. It can take some time, but don’t rush it. To check if your jam is ready, use the spoon test. Take a spoonful of the jam and place it on a chilled plate. Run your finger through the jam. If it holds its shape, it’s done! If not, let it cook a little longer. If the jam is too thick, add a bit of water. Stir well and test again. You want a perfect spreadable jam. Once it’s just right, pour it into sterilized jars. Leave a little space at the top of each jar. Seal them tightly and let them cool. Your fig jam is ready to enjoy! - Choosing ripe figs: Select figs that are soft and fragrant. Ripe figs have a deep color and feel slightly tender. This ensures the best flavor and texture for your jam. - Ensuring proper sterilization of jars: Clean your jars well. You can boil them in water for ten minutes. This prevents bacteria from ruining your jam. - Overcooking the jam: Cooking too long makes the jam thick and sticky. Stir often and watch closely. It should be thick but still spreadable. - Not stirring enough: Stir your mixture often. This helps the sugar dissolve and prevents burning. A good stir keeps the jam smooth and prevents lumps. - Using fresh herbs: Try adding a sprig of rosemary or thyme while cooking. These herbs add a nice, fresh taste to your fig jam. Just remember to remove them before canning. - Infusing additional spices: You can boost flavor with spices like ginger or cloves. A pinch can add warmth and depth, making your jam unique and delightful. For the complete recipe, check out the [Full Recipe]. {{image_2}} You can easily change the taste of your fig jam. Try adding other fruits like apples or pears. These fruits mix well with figs and give a fresh flavor. You can also add spices such as cardamom or ginger. These spices add warmth and depth to the jam. Experimenting with these options can make your jam unique and delicious. If you want a low-sugar version, you can still make fig jam. Use less sugar than the recipe calls for. You can also try alternative sweeteners like honey or stevia. These sweeteners can give you a tasty jam without too much sugar. Just remember, using less sugar may change the texture a bit. Savory fig jam is a fun twist on the classic recipe. For this, you can add ingredients like balsamic vinegar and a pinch of salt. These flavors balance the sweetness. You might also try mixing in herbs like thyme or rosemary for added depth. This jam pairs well with meats and cheeses, making it a great addition to your next charcuterie board. Store your fig jam in a cool, dark place. A pantry or cupboard works well. Keep it away from heat or direct sunlight. Always use clean jars to avoid spoilage. When you fill jars, leave about 1/4 inch of headspace at the top. This space helps the jam expand when it cools and seals properly. Homemade fig jam lasts about one year when stored correctly. Once opened, keep it in the fridge. It’s good for about three weeks after opening. Fig jam is not just for toast. Use it in yogurt, on pancakes, or in desserts. It’s also great with cheese or in sauces for meats. For safe canning, use a water bath method. This method keeps bacteria out and seals jars tight. Use sterilized jars and lids to keep your jam fresh. A large pot, jar lifter, and funnel will help you can safely. Always check seals after cooling. A good seal means your jam is safe to store. You know fig jam is ready when it thickens. To test this, place a spoonful on a chilled plate. Run your finger through it; if it holds its shape, it’s done. The jam should coat the back of a spoon and not drip quickly. Cooking time is usually 30-40 minutes, but watch closely. Yes, you can use dried figs. However, they need more liquid. Soak them in warm water for about 30 minutes before using. This helps rehydrate them and brings back their flavor. The taste will be different, but it can still be tasty. Jam is made from crushed fruit and has a smooth texture. Preserves contain whole fruit pieces or larger chunks, giving them a chunkier feel. Both spread well, but if you like bits of fruit, go for preserves. If you prefer a smoother spread, stick with jam. Yes, you can freeze fig jam. Use airtight containers or freezer bags. Leave some space at the top for expansion. This helps keep the jam fresh. It can last up to a year in the freezer. Just thaw it in the fridge when you want to use it. Fig jam pairs well with many foods. Here are some ideas: - Cheese: Try it with brie or goat cheese for a sweet-salty treat. - Meats: Serve it with prosciutto or roasted meats for a savory twist. - Bread: Spread it on toasted bread or croissants for breakfast. - Desserts: Use it as a topping for vanilla ice cream or yogurt. For a full recipe, check out the ingredients and instructions above. Enjoy your fig jam! Making fig jam is straightforward and rewarding. You learned about the key ingredients, like fresh figs and sugar. I shared steps, from prep to cooking, to ensure your jam is perfect. Remember, using ripe figs and sterilizing jars is key. You can even explore different flavors or make it savory! Stay creative and enjoy the process. Your homemade fig jam can be delicious on so many dishes!](https://foodishtalk.com/wp-content/uploads/2025/07/c5644245-6b4b-48a8-b4a4-66fb60194bd5.webp)
Classic Fig Jam Simple and Delicious Recipe
Are you ready to savor the sweet taste of summer year-round? Making classic fig jam is simple and rewarding. With just a handful of…
My Latest Desserts

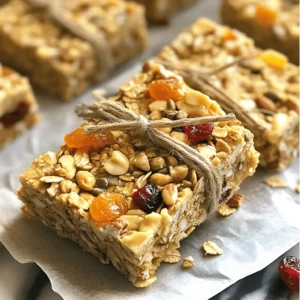
No-Bake Chocolate Oatmeal Bars Simple and Tasty Treat
Looking for a simple and tasty treat that’s also healthy? You’ve found it! My No-Bake Chocolate Oatmeal Bars are a Read Full Recipe-
Peach Pie Cruffins Delightful and Simple Recipe
Are you ready to dive into a sweet and flaky treat? Peach Pie Cruffins are a delightful twist on classic Read Full Recipe -
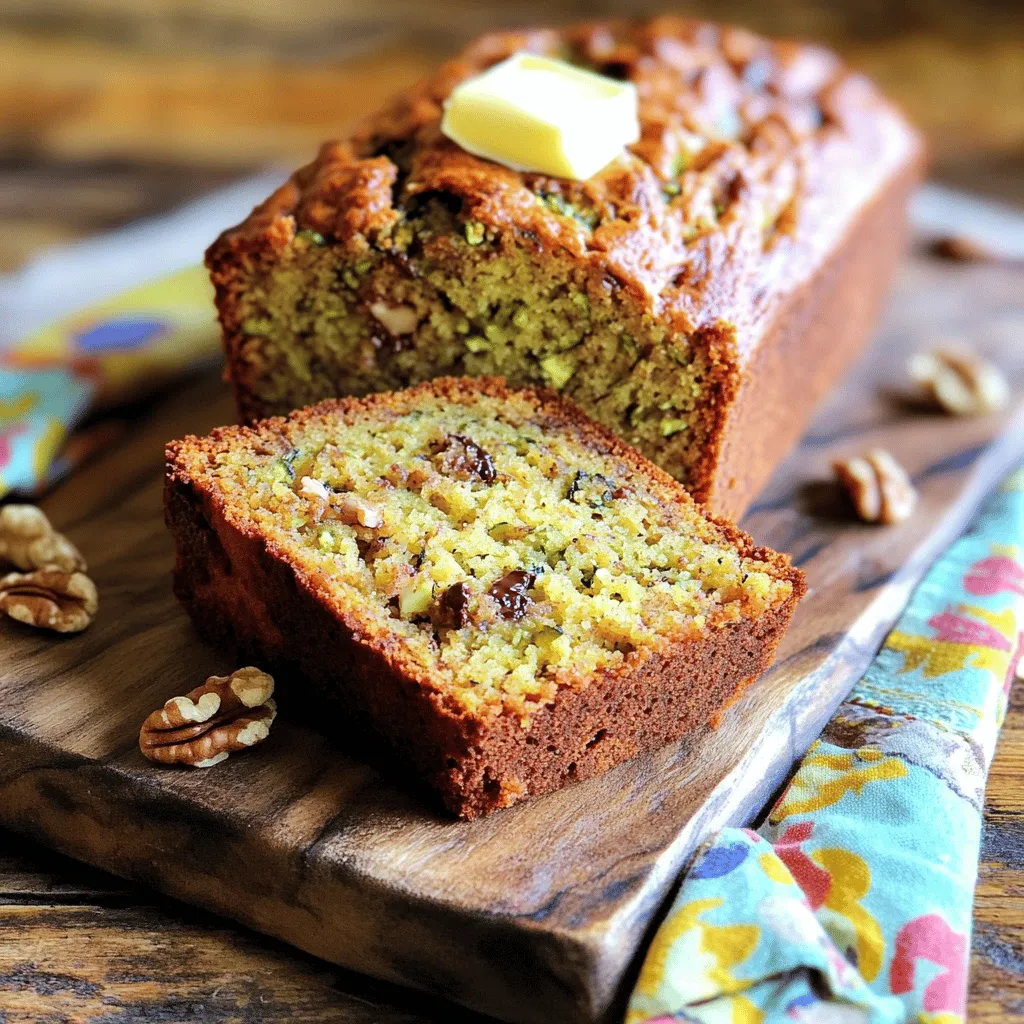
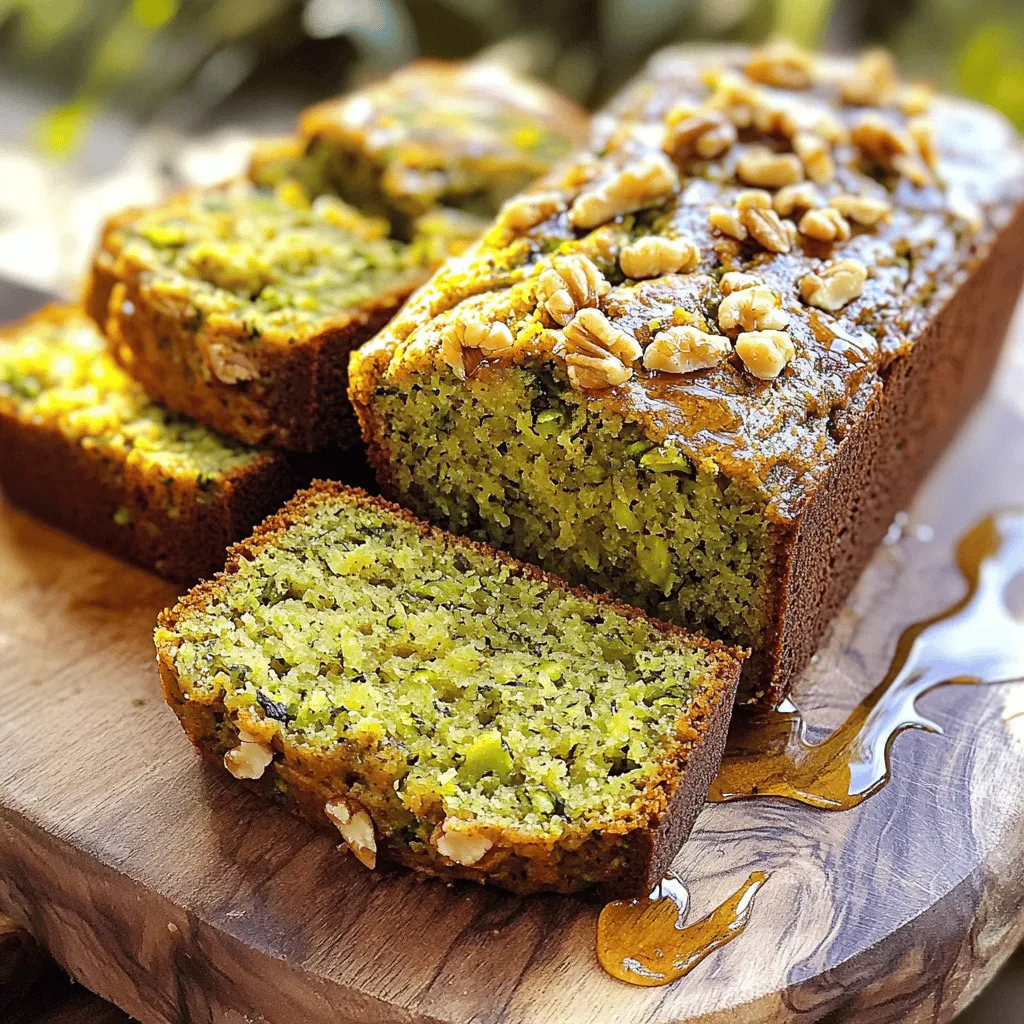
Retro Zucchini Bread Healthy and Flavorful Delight
Are you ready to bake a delicious, healthy treat? Retro Zucchini Bread is packed with flavor and goodness. This simple Read Full Recipe -
Classic Fig Jam Simple and Delicious Recipe
Are you ready to savor the sweet taste of summer year-round? Making classic fig jam is simple and rewarding. With Read Full Recipe -
Fresh Peach Cobbler Flavorful and Easy Recipe Guide
Craving a sweet treat that showcases the juicy goodness of fresh peaches? You’re in the right place! In this guide, Read Full Recipe -
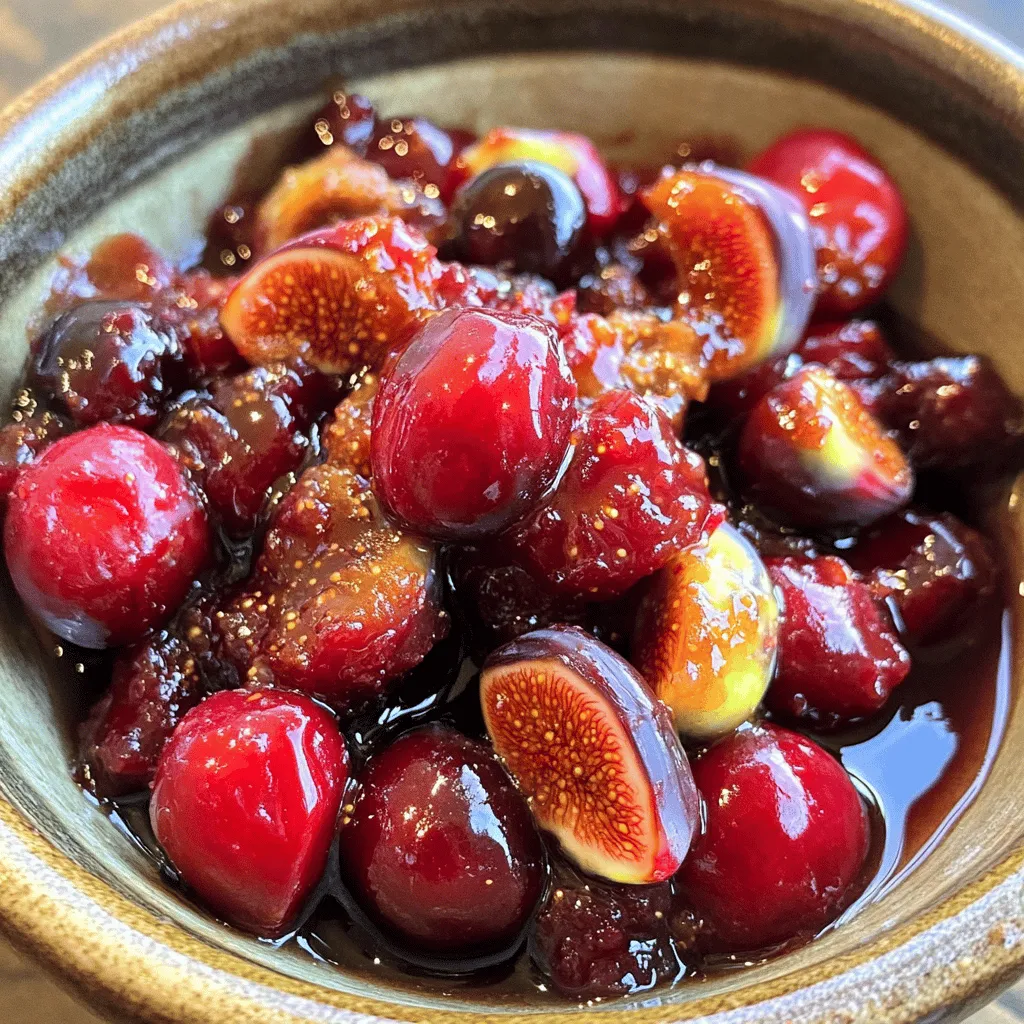
Ginger Fig Cherry Compote Flavorful and Easy Recipe
Are you ready to explore a dish that bursts with flavor? This Ginger Fig Cherry Compote is not only easy Read Full Recipe -
Zucchini Banana Bread Flavorful and Moist Recipe
Do you love warm, fresh bread that bursts with flavor? You’re in the right spot! This Zucchini Banana Bread recipe Read Full Recipe -
Fig Cake with Almond and Honey Delight Recipe
Are you ready to indulge in a delightful treat? My Fig Cake with Almond and Honey recipe combines rich flavors Read Full Recipe -
Simple Fig Jam Easy Recipe to Savor and Enjoy
Are you ready to make a burst of flavor with your next kitchen project? This Simple Fig Jam recipe is Read Full Recipe -
Mini Vanilla Cream Tarts with Raspberries Delight
Welcome to the sweet world of Mini Vanilla Cream Tarts with Raspberries! Today, I’ll show you how to make these Read Full Recipe


hey,
i’m !
I’m so happy you’re here!
I pour heart and skill into every recipe I create. I know you’ll taste the difference now let’s enjoy this flavorful adventure together.

![To make the Creamy Parmesan Sausage Ditalini Soup, gather these simple ingredients: - 1 pound Italian sausage (mild or spicy) - 1 medium onion, diced - 2 cloves garlic, minced - 3 medium carrots, diced - 2 celery stalks, diced - 6 cups chicken broth - 1 can (14 oz) diced tomatoes, undrained - 1 cup Ditalini pasta - 1 cup heavy cream - 1 cup grated Parmesan cheese - 1 teaspoon dried oregano - 1 teaspoon dried basil - Salt and pepper to taste - Fresh parsley, chopped (for garnish) Each ingredient plays a key role in this soup. The Italian sausage gives a hearty flavor. The veggies add crunch and sweetness. Ditalini pasta brings comfort and fullness. Heavy cream and Parmesan cheese create a rich, creamy texture. Herbs like oregano and basil enhance the taste. For the best results, use fresh ingredients. This ensures your soup is vibrant and full of flavor. If you want to explore more, check the Full Recipe for detailed steps! First, we need to brown the Italian sausage. In a large pot, heat it over medium heat. Use a spoon to break it up while cooking. This takes about 5 to 7 minutes. Cook until the sausage is brown and no longer pink. Be sure to remove any excess grease. Next, let's sauté the vegetables for flavor. Add the diced onion, carrots, and celery to the pot. Sauté these for about 5 minutes. You want them softened and fragrant. Then, stir in the minced garlic and cook for one more minute. This brings out the garlic's delicious aroma. Now, it's time to add the broth and tomatoes. Pour in the chicken broth and the can of diced tomatoes. Make sure to include all the juice from the can. Bring this mixture to a gentle boil. Then, incorporate the Ditalini pasta and herbs. Add the Ditalini pasta, dried oregano, and dried basil. Reduce the heat and let it simmer for 10 to 12 minutes. You want the pasta to be al dente, not mushy. For the final touches, mix in cream and cheese. Stir in the heavy cream and grated Parmesan cheese. Mix well until the cheese melts and the soup is creamy. Then, taste and adjust seasoning with salt and pepper. Cook for another 2 to 3 minutes. This lets all the flavors blend together. Now, ladle the soup into bowls. Garnish with fresh chopped parsley for a pop of color. Enjoy your creamy Parmesan sausage Ditalini soup! For the full recipe, check out the [Full Recipe]. - Tips for selecting quality sausage: Look for fresh Italian sausage from a trusted butcher. Check the label for high meat content and avoid fillers. Fresh sausage has a great flavor. You can choose mild or spicy based on your taste. - Maximizing vegetable freshness: Use fresh, colorful veggies. Crisp carrots and vibrant celery add great taste. Always wash them well. Cut them just before cooking for the best flavor and texture. - Preventing overcooking the pasta: Cook the Ditalini pasta al dente. This means it should still have a bit of bite. Add it to the soup last, so it cooks just right. Keep an eye on the timer! - Achieving the perfect creamy consistency: Stir in the heavy cream slowly. This helps it mix well with the broth and cheese. Make sure the heat is low when you add it. This keeps the cream from curdling. - Pairing with bread or salads: Serve the soup with crusty bread or a fresh salad. This makes a balanced meal. The bread is great for dipping, and the salad adds crunch. - Best time to serve the soup: This soup is perfect for chilly nights. Serve it warm to bring comfort. It also works well for family gatherings or casual dinners with friends. {{image_2}} You can easily swap out the Italian sausage. Turkey sausage works great if you want a leaner option. For a vegetarian dish, use plant-based sausage or mushrooms. They add a nice texture and flavor. If you're looking for dairy-free options, try coconut cream instead of heavy cream. Nutritional yeast can replace Parmesan cheese. It gives a cheesy flavor without dairy. Spice up your soup with red pepper flakes or smoked paprika. Both add warmth and depth. You can also add more veggies like spinach or zucchini for extra nutrients. For garnishing, try croutons for crunch or a sprinkle of chili flakes for heat. Fresh herbs like chives or basil can brighten up the dish. This soup can take on flavors from different cuisines. For a Mexican twist, add corn and lime juice. You could also mix in some black beans for protein. Using seasonal produce makes your soup fresh. In the fall, add pumpkin or squash. In summer, use fresh tomatoes or bell peppers. These simple changes keep your soup exciting and delicious. To keep your Creamy Parmesan Sausage Ditalini Soup fresh, follow these tips: - Refrigeration: Place leftovers in an airtight container. Store in the fridge for up to 3 days. Make sure to cool the soup to room temperature before sealing it. This helps prevent condensation, which can make the soup watery. - Freezing Tips: For longer storage, freeze the soup in portions. Use freezer-safe bags or containers. Remove as much air as possible to avoid freezer burn. This soup can last for up to 3 months in the freezer. When you're ready to enjoy it, thaw in the fridge overnight. Reheating is simple and keeps the soup tasty: - Methods: You can reheat the soup on the stove over low heat. Stir often to prevent sticking. If you prefer, you can use the microwave. Heat in short bursts, stirring in between. - Adjusting Seasoning: Sometimes, flavors fade during storage. Taste the soup before serving. If needed, add a pinch of salt, pepper, or even a sprinkle of cheese. This brings back its rich taste. Here’s what to expect for freshness: - Fridge: The soup stays fresh for about 3 days in the fridge. Ensure it’s in a sealed container to maintain quality. - Freezer: In the freezer, the soup will be good for 3 months. After that, it may lose its best flavor and texture. Always label your containers with the date to keep track. You can use small pasta shapes like macaroni or orzo. Both work well in soup. If you want a low-carb option, try zucchini noodles or cauliflower rice. Each choice gives a different texture but still tastes great. Yes, you can! This soup tastes even better the next day. Just store it in the fridge after it cools. When you're ready to eat, heat it up on the stove. You might need to add a little water or broth to keep it creamy. Absolutely! This soup freezes well. Let it cool completely, then put it in an airtight container. It can stay in the freezer for up to three months. Thaw it in the fridge overnight before reheating. To spice it up, add red pepper flakes or a splash of hot sauce. You can also use spicy Italian sausage instead of mild. If you like fresh heat, toss in some chopped jalapeños or a dash of cayenne pepper. For one serving, you can expect about: - Calories: 350 - Protein: 22g - Carbs: 30g - Fat: 18g - Fiber: 3g These values can vary based on the exact ingredients you use. For the full recipe, check the details provided. In this post, we covered how to make a delicious Italian sausage soup. We explored the key ingredients, preparation steps, and tips to enhance flavor. You learned about ingredient swaps and regional twists to customize your soup. Storing and reheating tips ensure you enjoy every last bite. This soup is not just tasty; it’s adaptable. Whether you stick to the classic or experiment with your own twists, this recipe brings warmth to any meal. Enjoy creating your own version!](https://foodishtalk.com/wp-content/uploads/2025/05/8eff3966-5bde-49ff-8a24-8e0ca3766e61-300x300.webp)

Coconut Curry Lentils Flavorful and Easy Recipe
Let’s dive into a deliciously simple dish: Coconut Curry Lentils! This recipe is packed with flavor and is perfect for both busy nights and…