


Latest & Greatest
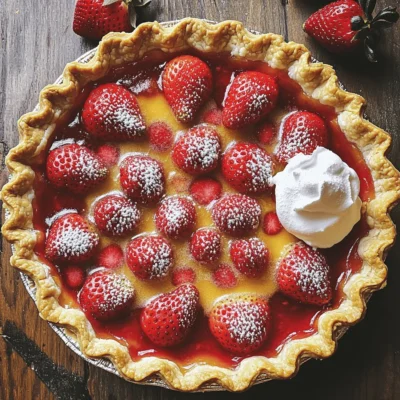
Fresh Strawberry Pie Delicious and Easy Recipe
Fresh strawberries bring vibrant flavor to any dessert, and this pie is no exception! In this easy recipe, I’ll guide
Read more…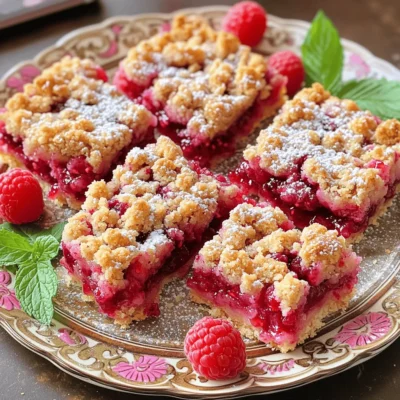
Raspberry Crumble Bars Delightful and Easy Recipe
If you crave a sweet treat that’s both simple and delicious, raspberry crumble bars are perfect for you. This easy
Read more…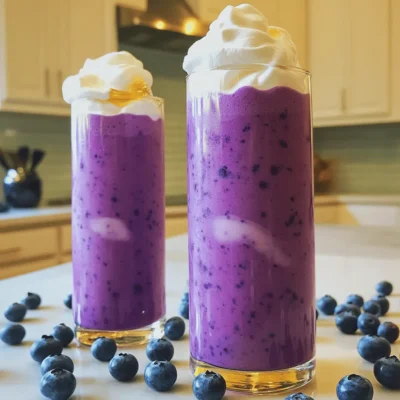
Blueberry Milk Creamy Refreshing Drink Recipe
Are you ready to indulge in a refreshing treat? Blueberry milk is your new go-to drink for summer. This creamy
Read more…
Blue Lagoon Mocktail Refreshing Summer Drink Recipe
Looking for the perfect summer drink to cool you down? The Blue Lagoon Mocktail is not only vibrant and refreshing,
Read more…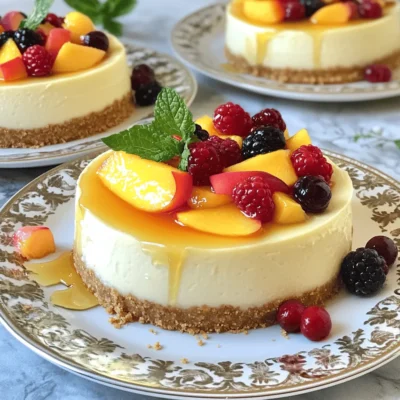
Summer Berry Peach Cheesecake Delightful and Creamy
Are you craving a dessert that screams summer? Look no further than my Summer Berry Peach Cheesecake! This delightful and
Read more…
Mini Vegan Lemon Tarts Delightful and Fresh Treat
Are you ready to brighten your dessert table? These Mini Vegan Lemon Tarts are the perfect blend of tart and
Read more…
Blue Violet Gradient Drink Refreshing and Colorful Treat
Are you ready to impress your friends with a stunning and tasty Blue Violet Gradient Drink? This drink is not
Read more…
One-Pan Honey BBQ Chicken Rice Flavorful Meal Prep
Looking for a simple, tasty meal prep idea? You’re in the right place! This One-Pan Honey BBQ Chicken Rice recipe
Read more…browse recipes


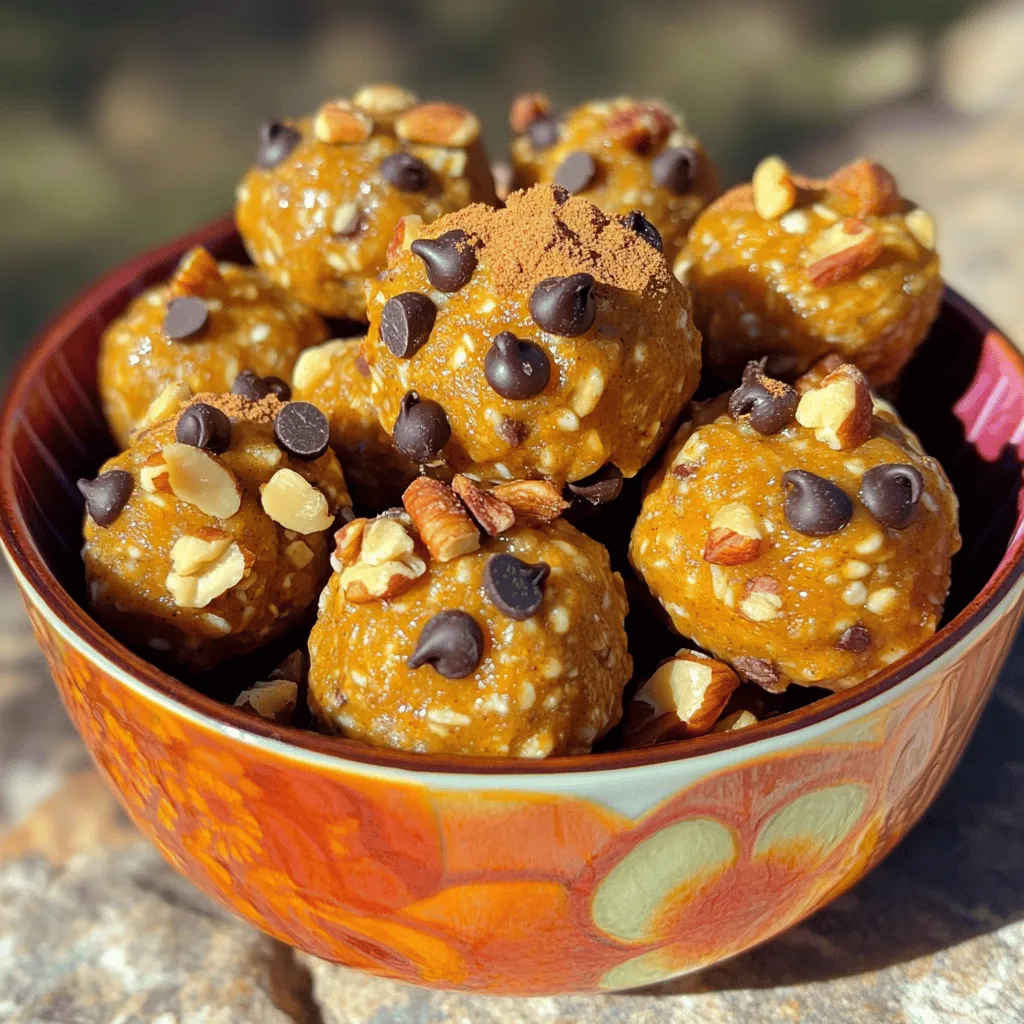
Pumpkin Spice Energy Bites Simple and Tasty Treat
Are you ready to enjoy a sweet and healthy snack? These Pumpkin Spice Energy Bites are simple to make and bursting with fall flavors.…
My Latest Desserts

Mini Vanilla Cream Tarts with Raspberries Delight
Welcome to the sweet world of Mini Vanilla Cream Tarts with Raspberries! Today, I’ll show you how to make these Read Full Recipe-
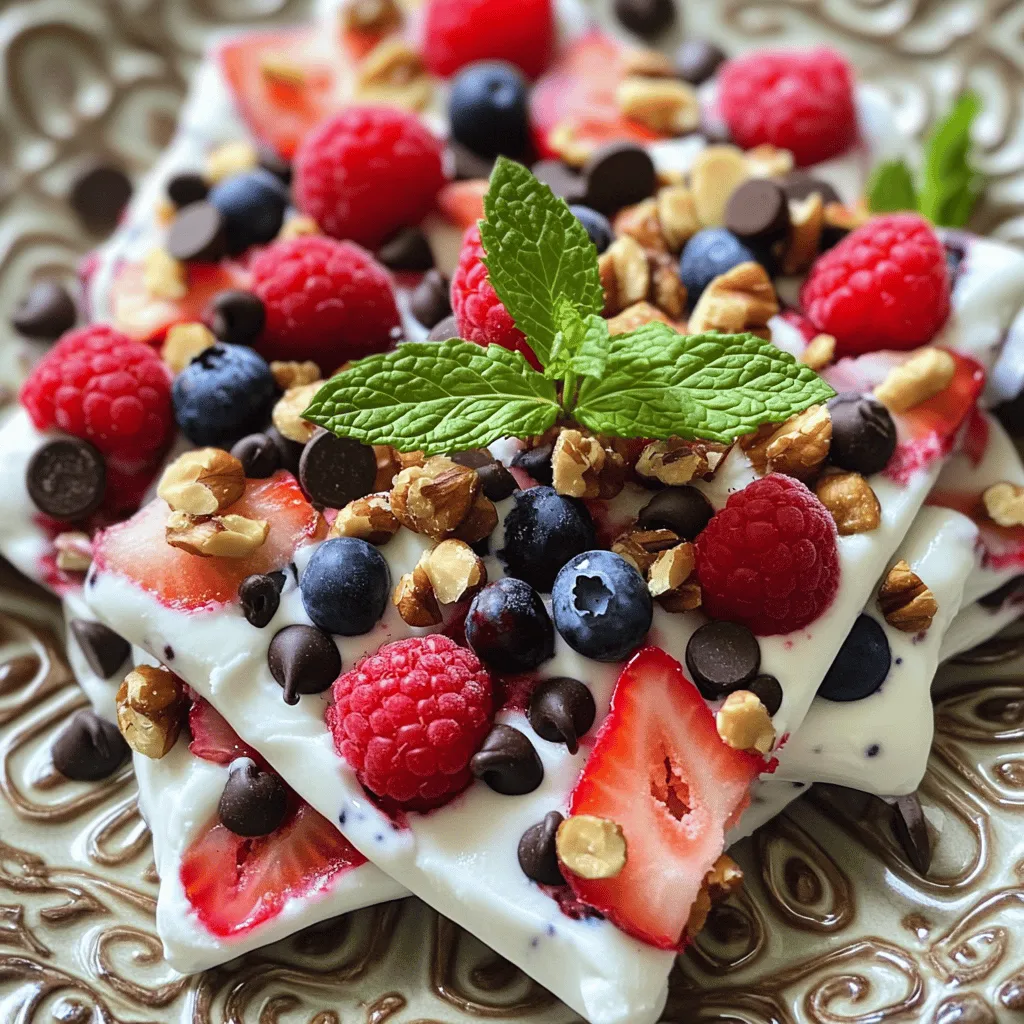
Frozen Yogurt Bark Delightful and Simple Treat
If you’re looking for a quick, tasty treat, frozen yogurt bark is a winner. It’s easy to make and fun Read Full Recipe -
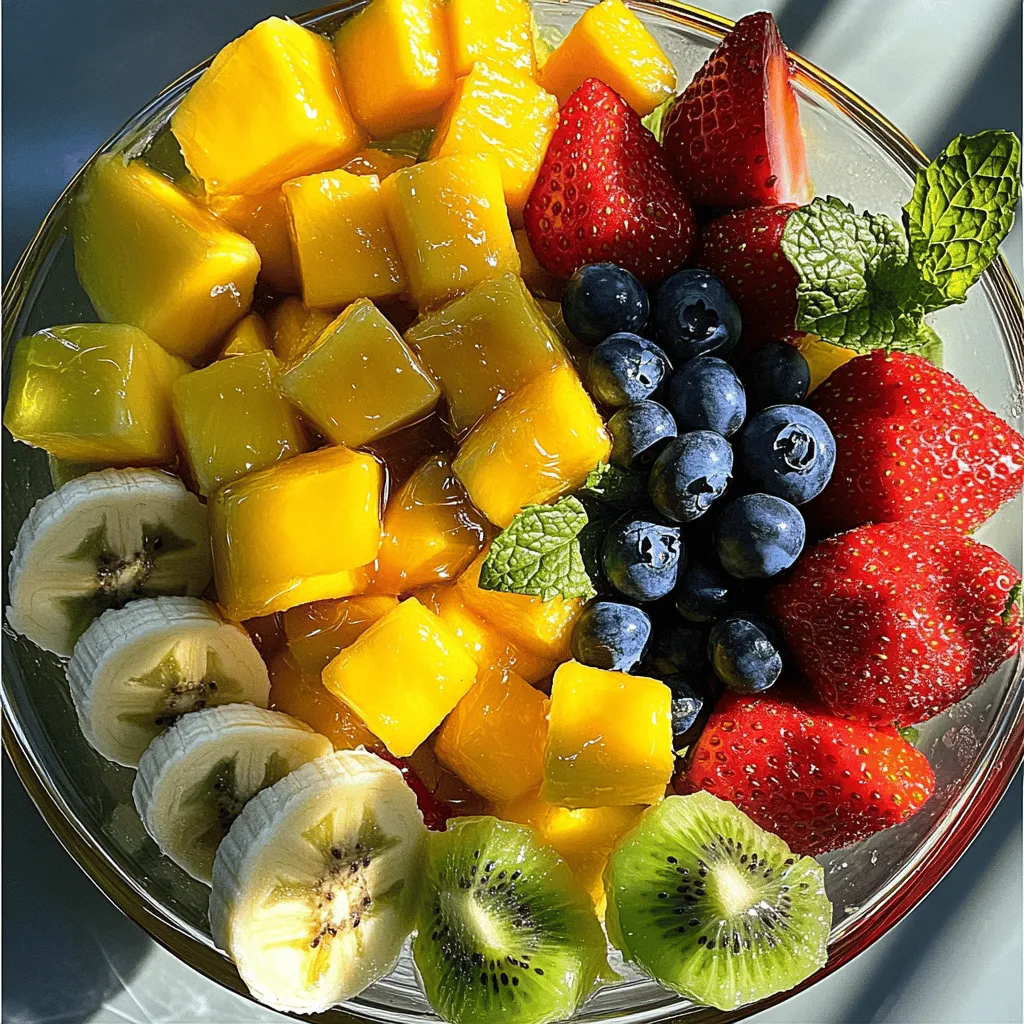
Fruit Salad with Honey Lime Dressing Easy Recipe
Looking for a fresh and easy treat? This Fruit Salad with Honey Lime Dressing is the perfect choice. Bursting with Read Full Recipe -
Blueberry Cheesecake Bars Simple and Delicious Treat
Looking for a dessert that’s easy to make and bursting with flavor? You’ve found it! These Blueberry Cheesecake Bars are Read Full Recipe -
Lemon Cheesecake Crumb Bars Delightful and Fresh Treat
Are you ready to brighten your day with a sweet treat? These Lemon Cheesecake Crumb Bars combine creamy cheesecake with Read Full Recipe -
Blueberry Heaven Cookies Irresistible Sweet Treat
Welcome to your new favorite cookie recipe! Blueberry Heaven Cookies are the perfect blend of sweet and tart, making them Read Full Recipe -
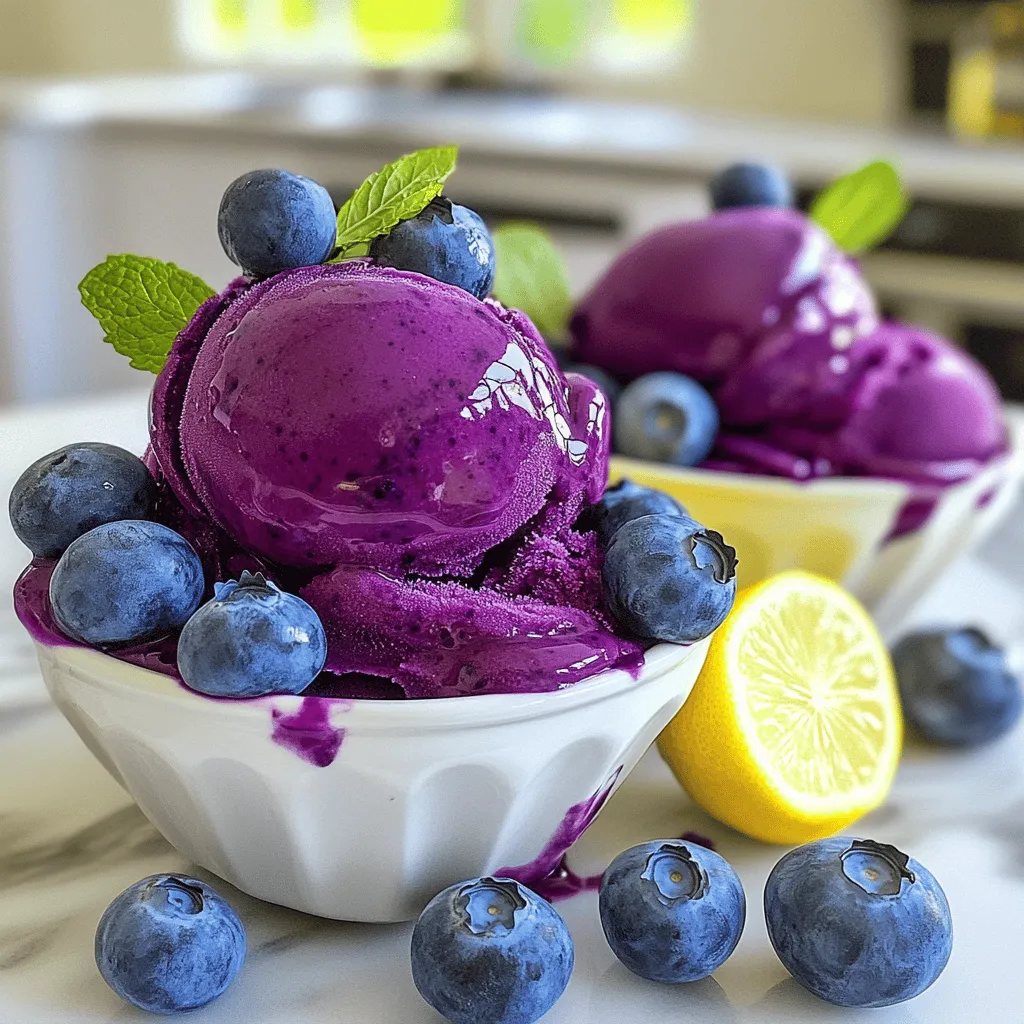
Lemon Blueberry Sorbet Fresh and Refreshing Delight
Cool off with a bowl of Lemon Blueberry Sorbet! This sweet, tangy treat is perfect for hot days. You only Read Full Recipe -
Lemon Blueberry Cupcakes Delightful and Light Treat
Are you ready to indulge in a sweet treat that brightens your day? These Lemon Blueberry Cupcakes are just what Read Full Recipe -
Blueberry Cheesecake Cookies Delightful and Easy Recipe
If you love the sweet and tangy combo of blueberry cheesecake, you’re in for a treat! I’ll show you how Read Full Recipe -
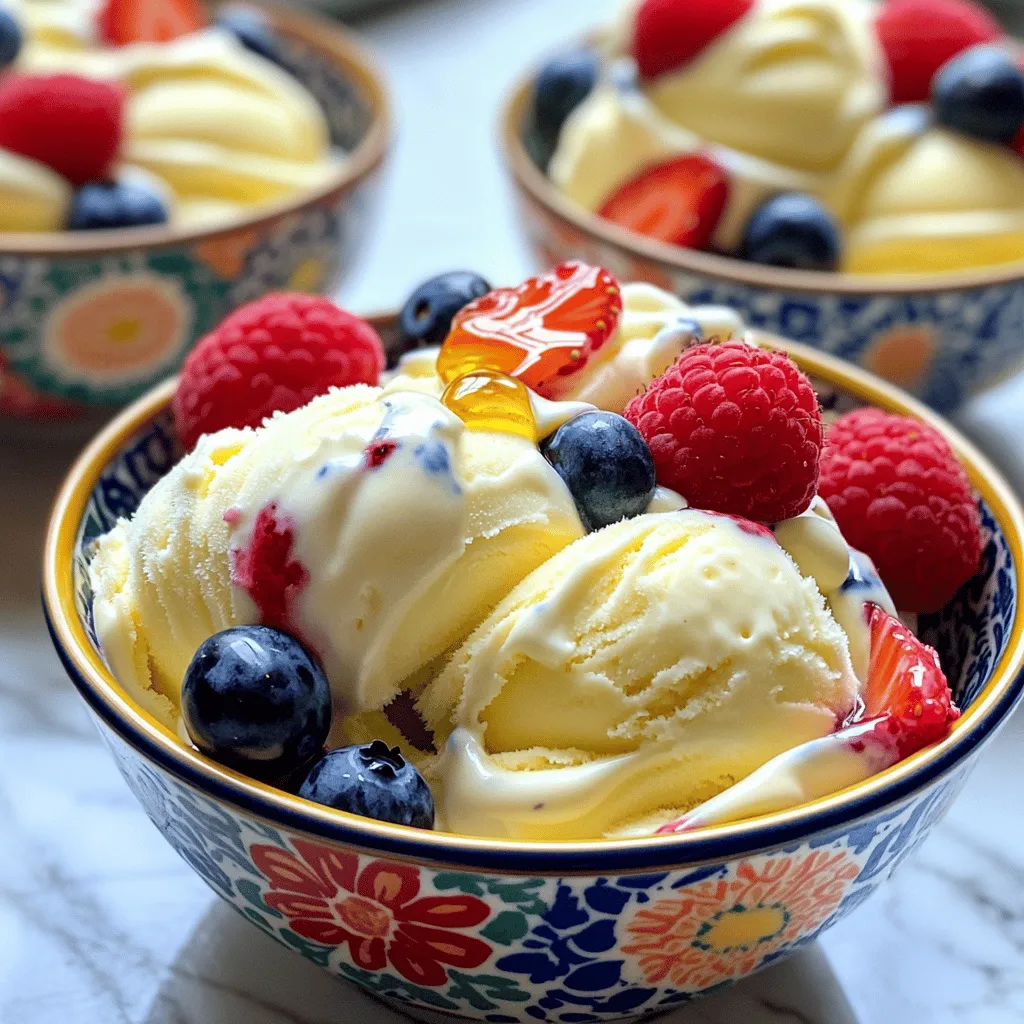
Greek Yogurt Ice Cream Creamy and Simple Delight
Looking for a cool treat that’s both delicious and easy to make? Greek yogurt ice cream is your answer! This Read Full Recipe


hey,
i’m !
I’m so happy you’re here!
I pour heart and skill into every recipe I create. I know you’ll taste the difference now let’s enjoy this flavorful adventure together.

![- 1 ½ cups all-purpose flour - 1 cup granulated sugar - 1 cup fresh blueberries The main ingredients are key to making this cake tasty. All-purpose flour gives the cake its structure. Granulated sugar adds sweetness, making every bite delightful. Fresh blueberries bring a burst of flavor and color to the cake. You can also use frozen blueberries if fresh ones are not available. - ½ cup unsalted butter - 2 large eggs - Zest of 1 lemon - 1 tablespoon lemon juice Next, we have the ingredients that boost flavor. Unsalted butter makes the cake rich and moist. The eggs help bind everything together, giving it a fluffy texture. Lemon zest and lemon juice are essential for that bright, zesty taste. They add a refreshing note that pairs perfectly with the blueberries. - ½ cup buttermilk (or milk with 1 teaspoon vinegar) - Powdered sugar for dusting For serving, you can use buttermilk or a mix of milk and vinegar. This adds moisture and tenderness to the cake. A light dusting of powdered sugar on top makes it look pretty and adds a touch of sweetness. These optional ingredients enhance the overall experience of enjoying your lemon blueberry pound cake. For the complete recipe, check out the [Full Recipe]. 1. First, preheat your oven to 350°F (175°C). This step is key for even baking. 2. Grease a 9x5 inch loaf pan. I like to line it with parchment paper too. This helps with easy removal later. 3. In a medium bowl, whisk together the dry ingredients. You will need: - 1 ½ cups all-purpose flour - 1 teaspoon baking powder - ½ teaspoon baking soda - ¼ teaspoon salt 4. In a large bowl, cream the softened butter and sugar together. Use an electric mixer for about 3-4 minutes. This makes the mixture light and fluffy. 5. Add the eggs one at a time. Mix well after each addition. Then, add in the lemon zest and juice. Keep mixing until everything is combined. 6. Gradually add the flour mixture to the wet ingredients. Alternate with the buttermilk. Start and end with the flour. Mix until just combined. Be careful not to overmix. 7. Now, gently fold in the blueberries using a spatula. Make sure they spread evenly throughout the batter. 8. Pour the batter into the prepared loaf pan and smooth the top. Bake in the preheated oven for 50-60 minutes. A toothpick should come out clean when inserted into the center. These steps will guide you to a delicious Lemon Blueberry Pound Cake. For the full recipe, check the previous section. To bake the best lemon blueberry pound cake, avoid overmixing the batter. Mix until just combined. This keeps your cake light and fluffy. If you overmix, the cake can become tough. Check for doneness using a toothpick. Insert it into the center of the cake. If it comes out clean, your cake is ready. If it has wet batter, bake for a few more minutes and check again. Serving your cake with a dusting of powdered sugar adds a nice touch. It looks pretty and gives a slight sweetness. Just sprinkle a little on top before serving. Pairing your cake with tea or coffee works well. The bright flavors of lemon and blueberry match nicely with a warm drink. Enjoy a slice with your favorite brew for a perfect treat. One common mistake is not using room temperature ingredients. Cold butter or eggs can make mixing harder. It can also affect how well the cake rises. Always bring these to room temp before you start. Another mistake is overbaking the cake. Every oven is different, so keep an eye on it. If you bake too long, the cake can dry out. Aim for that perfect golden color and a clean toothpick! {{image_2}} You can add fun flavors to your Lemon Blueberry Pound Cake. Try using different citrus fruits like oranges or limes. Just swap in their zest and juice. This change gives the cake a fresh twist. You can also mix in nuts or coconut for texture. Chopped walnuts or shredded coconut can add great crunch and taste. If you need a gluten-free cake, you can use a gluten-free flour blend. This swap works well without changing the taste. For a vegan version, replace the eggs with flax eggs. Mix 1 tablespoon of flaxseed meal with 2.5 tablespoons of water for each egg. Use a plant-based butter instead of regular butter for the best results. A glaze can make your cake shine. You can mix powdered sugar with lemon juice for a simple glaze. Drizzle it over the cooled cake for a beautiful finish. For a decorative touch, serve slices on a colorful plate. Add fresh blueberries and lemon slices around the cake. This adds color and makes it look special. You can even use edible flowers for more flair. To keep your lemon blueberry pound cake fresh, store it in the fridge. Wrap it tightly in plastic wrap. You can also use an airtight container. This prevents drying and keeps the flavor intact. If you want to freeze it, slice the cake first. Wrap each slice in plastic wrap and then place them in a zip-top bag. This way, you can enjoy a slice whenever you want! In the fridge, your cake will last about 5 days. If you freeze it, the cake can stay good for up to 3 months. Make sure to label your bag with the date. This helps you keep track of how long it’s been stored. If your cake feels a bit dry after storage, don’t worry! You can refresh it easily. Try warming it in the microwave for about 10 seconds. This helps bring back its soft texture. If you want to heat it in the oven, set it to 300°F (150°C) and warm for about 10 minutes. Enjoy your cake with a dusting of powdered sugar for extra sweetness. Yes, you can use frozen blueberries. Just add them directly to the batter without thawing. This keeps them from breaking apart and turning the batter blue. Adjust baking time if needed. Check your cake a few minutes early to ensure it bakes perfectly. If you don’t have buttermilk, mix regular milk with vinegar. Use 1 cup of milk and add 1 teaspoon of vinegar. Let it sit for 5 minutes before using. This gives you the right tangy flavor and helps the cake rise. To keep your cake moist, use room temperature ingredients. This helps them mix better. Don’t overmix the batter when combining wet and dry ingredients. Overmixing can make the cake dense. Make sure to check for doneness with a toothpick. If it comes out clean, your cake is ready! This blog post covered all you need for a delicious lemon blueberry pound cake. You learned about key ingredients like flour and blueberries, plus tips for mixing and baking. Remember to avoid common mistakes like overmixing. Experiment with variations to keep things fresh. Store leftovers correctly to enjoy later. You can make this cake yours with simple changes. Now, roll up your sleeves and bake a treat your friends and family will love.](https://foodishtalk.com/wp-content/uploads/2025/06/ecab5488-e5df-4482-a841-c4aab0316ff5-300x300.webp)
![For Herbed Garlic Butter Mushrooms, gather these items: - 500g fresh mushrooms (button or cremini), cleaned and sliced - 4 tablespoons unsalted butter - 3 cloves garlic, minced - 1 teaspoon dried thyme - 1 teaspoon dried rosemary - 1 teaspoon fresh parsley, chopped (plus more for garnish) - 1/2 teaspoon crushed red pepper flakes (optional) - Salt and pepper to taste - Juice of half a lemon You can swap some ingredients if needed. Use olive oil instead of butter for a vegan option. Fresh herbs can replace dried ones, but use more of them. For mushrooms, you can try shiitake or portobello for richer flavor. If you dislike garlic, onion powder works too. I recommend using button or cremini mushrooms for this recipe. They have a mild flavor and cook well. Brands like Whole Foods and Trader Joe’s offer fresh options. If you want a stronger taste, opt for shiitake or portobello. They add depth and a unique twist to the dish. You can find these varieties at local farmers' markets, too. For the full recipe, check out the detailed cooking steps provided. To make herbed garlic butter mushrooms, start by gathering your ingredients. You’ll need: - 500g fresh mushrooms (button or cremini), cleaned and sliced - 4 tablespoons unsalted butter - 3 cloves garlic, minced - 1 teaspoon dried thyme - 1 teaspoon dried rosemary - 1 teaspoon fresh parsley, chopped (plus more for garnish) - 1/2 teaspoon crushed red pepper flakes (optional) - Salt and pepper to taste - Juice of half a lemon First, clean the mushrooms with a damp cloth. This keeps them fresh and tasty. Next, slice them evenly for even cooking. Mince the garlic finely to release its rich flavor. Chop the fresh parsley so it stays bright and vibrant. Now, let’s cook! Heat a large skillet over medium heat. Add the unsalted butter. Watch it melt and foam. Once it starts bubbling, add the minced garlic. Sauté for 1-2 minutes until it smells amazing. Be careful not to burn it. After the garlic is fragrant, toss in the sliced mushrooms. Stir them well to coat with the garlic butter. Sprinkle in the dried thyme and dried rosemary. If you like a little heat, add the crushed red pepper flakes. Sauté the mushrooms for about 5-7 minutes. Stir them occasionally until they turn golden brown and tender. Season with salt and pepper to taste. This step is important to bring out all the flavors. Squeeze the juice of half a lemon over the mushrooms and stir once more. The lemon adds brightness. Remove the skillet from heat. Just before serving, stir in the fresh parsley. This adds a vibrant color and fresh taste. Serve these herbed garlic butter mushrooms warm. They make a great side dish or a tasty topping for grilled meats. You can also use them as a filling for pasta or on top of toasted bread. Enjoy the blend of flavors and share with friends! For a full recipe, check the details above. When you pick mushrooms, look for firm ones. They should feel smooth and not slimy. Check for no dark spots or wrinkles. Fresh mushrooms smell earthy and pleasant. Choose button or cremini mushrooms for this dish. Both add great taste. One common mistake is overcooking mushrooms. They can become too soft and lose flavor. Always sauté them until they are golden brown, about 5-7 minutes. Another mistake is adding salt too soon. Salt draws out moisture, making mushrooms soggy. Add salt and pepper near the end of cooking. You can boost flavor in many ways. Try adding fresh herbs like basil or chives. You can also use different spices, like garlic powder or onion powder. A splash of balsamic vinegar adds a nice touch. For a kick, add more crushed red pepper flakes. You can find more great ideas in the Full Recipe. {{image_2}} You can change the flavor of your herbed garlic butter mushrooms by using different herbs. Basil adds a sweet touch, while oregano gives a nice kick. If you love a fresh taste, try using dill or chives. Mix and match to find your favorite blend. Fresh herbs work well too! Just chop them finely and add them at the end for a burst of flavor. You can make this dish even better by adding other veggies. Try bell peppers for color and crunch. Spinach or kale adds a healthy twist. You can also toss in zucchini or asparagus. Just be mindful of cooking times. Add these veggies based on how long they take to cook. This way, everything stays tender and tasty. If you want to make this dish vegan, swap the butter for olive oil or vegan butter. You can still get great flavor from garlic and herbs. Use mushrooms, as they are naturally plant-based. For a creamy touch, add a splash of coconut milk or cashew cream at the end. This keeps the dish rich while being dairy-free. Check the [Full Recipe] for details on how to prepare this delicious meal. To store your herbed garlic butter mushrooms, let them cool first. Place them in an airtight container. Keep the container in the fridge. They will stay fresh for about three to four days. Make sure to label the container with the date. When you're ready to enjoy the leftovers, reheat them gently. You can use a skillet over low heat. Add a splash of water or broth to keep them moist. Stir occasionally until heated through. You can also microwave them in short bursts, checking often to avoid overcooking. You can freeze these mushrooms, but they may lose some texture. Place them in a freezer-safe bag or container. Squeeze out as much air as possible. They will last for up to two months in the freezer. To thaw, move them to the fridge overnight. Reheat them in a skillet or microwave after thawing. This method helps keep the flavor intact. For the best taste, try to enjoy them fresh whenever you can. You can find the full recipe online for more details. Yes, you can use canned mushrooms. They are quick and easy. However, fresh mushrooms taste better. Canned mushrooms may not have the same texture. If you use canned, drain and rinse them first. Then, add them to the pan with the garlic butter. Cook for a shorter time, just until warmed through. Herbed garlic butter mushrooms go well with many dishes. They make a great side for steak or chicken. You can also serve them on pasta or rice. For a lighter meal, pair them with a fresh salad. They also taste great on toasted bread as an appetizer. Feel free to explore your favorite combinations! This dish is naturally gluten-free. Just ensure that your butter and seasonings do not have gluten. If you want to serve it with a side, use gluten-free options. Rice or gluten-free pasta works well. You can enjoy this recipe without worry, making it perfect for everyone. For the full recipe, check out the details above! In this blog post, we covered how to make Herbed Garlic Butter Mushrooms. We discussed ingredients, preparation steps, and cooking methods. I shared helpful tips on selecting fresh mushrooms and avoiding common mistakes. You also learned about tasty variations and how to store leftovers. Now you have the tools to create this delicious dish. Use these insights to impress friends and family. Enjoy your cooking and make this recipe your own!](https://foodishtalk.com/wp-content/uploads/2025/05/7eb9bc65-32db-4df9-a58f-5a080b4f72fe-300x300.webp)

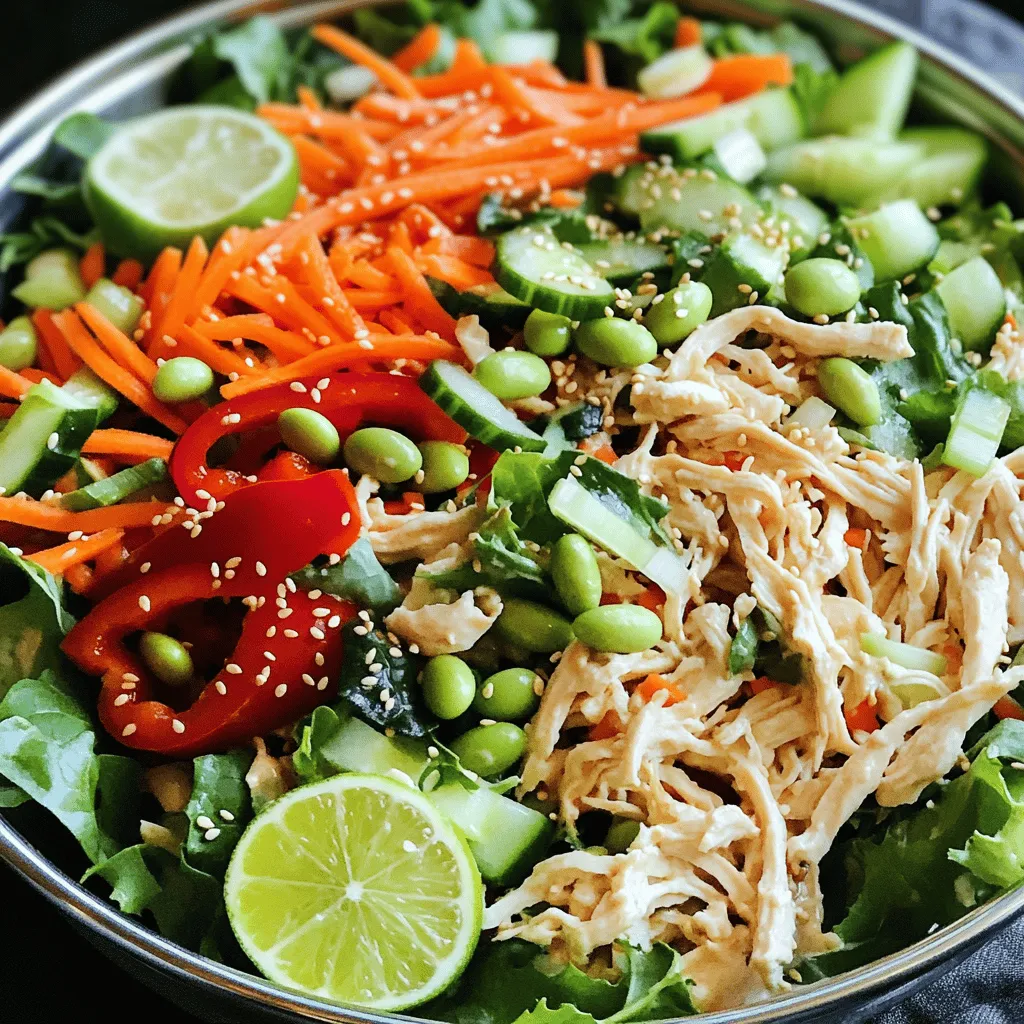
Asian Sesame Chicken Salad Flavorful and Fresh Meal
Are you craving a fresh and flavorful meal? Look no further than Asian Sesame Chicken Salad! This dish combines tender chicken, crunchy veggies, and…