Latest & Greatest

Lemon Blueberry Cupcakes Delightful and Light Treat
Are you ready to indulge in a sweet treat that brightens your day? These Lemon Blueberry Cupcakes are just what
Read more…
Blueberry Cheesecake Cookies Delightful and Easy Recipe
If you love the sweet and tangy combo of blueberry cheesecake, you’re in for a treat! I’ll show you how
Read more…
Mediterranean Baked Fish Flavorful and Simple Recipe
Craving a healthy dish that’s bursting with flavor? Look no further! This Mediterranean Baked Fish recipe is both quick and
Read more…
Creamy Tuscan Chicken Skillet Quick and Flavorful Meal
Are you ready to whip up a delicious meal in just 30 minutes? The Creamy Tuscan Chicken Skillet is your
Read more…
Greek Yogurt Ice Cream Creamy and Simple Delight
Looking for a cool treat that’s both delicious and easy to make? Greek yogurt ice cream is your answer! This
Read more…
Strawberry Lemonade Layer Cake Delicious Summer Treat
Looking for the perfect summer treat? Look no further! My Strawberry Lemonade Layer Cake combines sweet strawberries and zesty lemon
Read more…
Big Mac Wraps with Special Sauce Easy and Tasty Meal
If you love Big Macs but want a fun twist, try Big Mac Wraps with Special Sauce! This easy recipe
Read more…
Frozen Peach Lemonade Slushie Refreshing Summer Drink
Beat the heat this summer with my delicious Frozen Peach Lemonade Slushie! This easy drink is a refreshing mix of
Read more…browse recipes
. Preheat the Oven and Prepare the Pan Start by heating your oven to 350°F (175°C). Grease a 9-inch round cake pan with butter or cooking spray. This step helps the cake release easily after baking. Creaming the Butter and Sugar In a large bowl, combine the softened butter and granulated sugar. Use an electric mixer on medium speed to mix them. Beat until the mixture is light and fluffy. This usually takes about 3 to 5 minutes. The air you whip in will help the cake rise. Incorporating the Eggs and Vanilla Next, add the eggs to the mixture one at a time. Mix well after each addition. This helps each egg blend into the batter. Then, stir in the vanilla extract. This adds a nice flavor to the cake. Whisking Together the Dry Components In another bowl, whisk together the flour, baking powder, baking soda, salt, and ground cinnamon (if using). Mixing these dry ingredients well ensures even rising and flavor. Combining with Wet Ingredients Gradually add the dry ingredients to the wet mixture. Do this in three parts, alternating with the buttermilk. Start and finish with the flour mixture. Mix until just combined. Avoid overmixing to keep the cake light. Folding in the Diced Peaches Gently fold in the diced peaches into the batter. Make sure the peaches are evenly distributed. This will give you sweet bites of peach in every slice. Pouring the Batter into the Cake Pan Carefully pour the batter into the prepared cake pan. Use a spatula to smooth the top. This helps the cake bake evenly. Baking Instructions Place the pan in the preheated oven. Bake for 30 to 35 minutes. To check if it's done, insert a toothpick into the center. If it comes out clean, the cake is ready. Let it cool in the pan for 10 minutes before moving it to a wire rack. Dust the top with powdered sugar before serving. For the full recipe, check out the [Full Recipe]. Suggested Flavor Additions You can boost the taste with a few simple extras. Try adding a teaspoon of almond extract for a nutty twist. A splash of orange juice gives a bright note. You might also sprinkle in some fresh ginger for a spicy kick. Each of these will add a unique layer to your peach cake. How to Ensure Moisture To keep your cake moist, use ripe peaches. They add natural juice to the batter. You can also add an extra egg yolk for richness. Another trick is to use buttermilk. It helps create a soft texture. Make sure not to overmix the batter as well; this can make the cake tough. Preventing a Dry Cake To avoid a dry cake, watch your baking time closely. Start checking at 25 minutes. If a toothpick comes out clean, it’s done. If it pulls out with wet batter, give it more time. Remember, every oven is a bit different, so adjust as needed. Checking for Doneness Test the cake with a toothpick. Insert it in the center and pull it out. If it’s clean, the cake is ready. If you see batter, bake a bit longer. You want a soft, springy feel when you touch the top. Serving Recommendations Serve your peach cake warm or at room temperature. A dollop of whipped cream pairs nicely. You can also add a scoop of vanilla ice cream for extra creaminess. This dessert shines at summer gatherings. Creative Garnishing Ideas For a fun touch, sprinkle powdered sugar on top. You can also add fresh peach slices for color. Mint leaves make a great garnish, too. They add a pop of green and a fresh taste. These small details make your cake look as good as it tastes. For the full recipe, check out the Peachy Paradise Cake. {{image_2}} You can switch peaches for other fruits. Try using ripe plums, nectarines, or berries. These fruits add their unique flavors. They also keep the cake fresh and vibrant. Seasonal fruits work best. Use what you find at your local market. You can even mix fruits for fun twists. Think about adding blueberries with peaches or raspberries with nectarines. Some people need special diets. For gluten-free options, replace all-purpose flour with almond flour or gluten-free flour. These choices give you a moist cake with a nice crumb. If you want a vegan version, swap eggs for flax eggs. Mix one tablespoon of flaxseed meal with three tablespoons of water. Let it sit until thick. For butter, use coconut oil or vegan butter. This way, everyone can enjoy a slice! Frosting can change your cake's vibe. Cream cheese frosting pairs well with peaches. It gives a tangy kick that complements the fruit. If you want something lighter, try whipped cream. You can also serve the cake plain and top it with fresh peach slices. For a fun twist, sprinkle nuts or granola on top for crunch. Drizzle honey or maple syrup for added sweetness. There are so many ways to dress up this cake! For the complete recipe, check out the [Full Recipe]. To keep your peach cake fresh, store it in an airtight container. This helps keep moisture in and prevents it from drying out. If you have leftover slices, wrap them tightly in plastic wrap before placing them in the container. You can also store the cake at room temperature for up to three days. If you want to store it longer, refrigerate it. The cold will help it last about a week. If you want to save the cake for later, freezing is a great option. First, let the cake cool completely. Then, wrap it tightly in plastic wrap. After that, place the wrapped cake in a freezer-safe bag or container. It can stay frozen for up to three months. When you are ready to eat it, move the cake to the fridge to thaw overnight. This way, it will be ready for a tasty treat whenever you want! To keep your cake moist, focus on a few key tips: - Use ripe peaches. Fresh, juicy peaches add moisture. - Don't overmix the batter. This can make the cake dense. - Add buttermilk, which makes the cake soft and tender. - Bake just until a toothpick comes out clean. Overbaking can dry it out. These steps will help you create a cake that stays moist and delicious. Yes, you can use canned peaches. If you go this route, here are some tips: - Drain and rinse the canned peaches. This removes excess syrup. - Cut them into smaller pieces, similar to fresh peaches. - Reduce the sugar in the recipe slightly. Canned peaches can be sweeter. This way, your cake will still taste great with canned peaches! Peach cake can last up to 3 days at room temperature. Here are some guidelines for storage: - Keep it in an airtight container. This helps maintain moisture. - If you want it to last longer, store it in the fridge. It can last up to a week there. - For longer storage, freeze the cake. Wrap it well in plastic wrap and foil. With these tips, you can enjoy your peach cake for days! This blog post covered everything you need for a great peach cake. We discussed the key ingredients, like fresh peaches, eggs, and buttermilk. I shared step-by-step instructions for making the cake, from mixing to baking. You also learned handy tips to enhance flavor and ensure moistness. Plus, I explored variations, storage tips, and addressed common questions. With this guide, you can make a delicious peach cake with ease. Enjoy baking!](https://foodishtalk.com/wp-content/uploads/2025/06/1136ab2f-d07e-476d-a8da-cc55492adb9c.webp)
Easy Peach Cake Simple and Delicious Summer Treat
Looking for a tasty summer treat? Look no further than this Easy Peach Cake! With juicy peaches and simple ingredients, it’s perfect for warm…
My Latest Desserts
Mini Vanilla Cream Tarts with Raspberries Delight
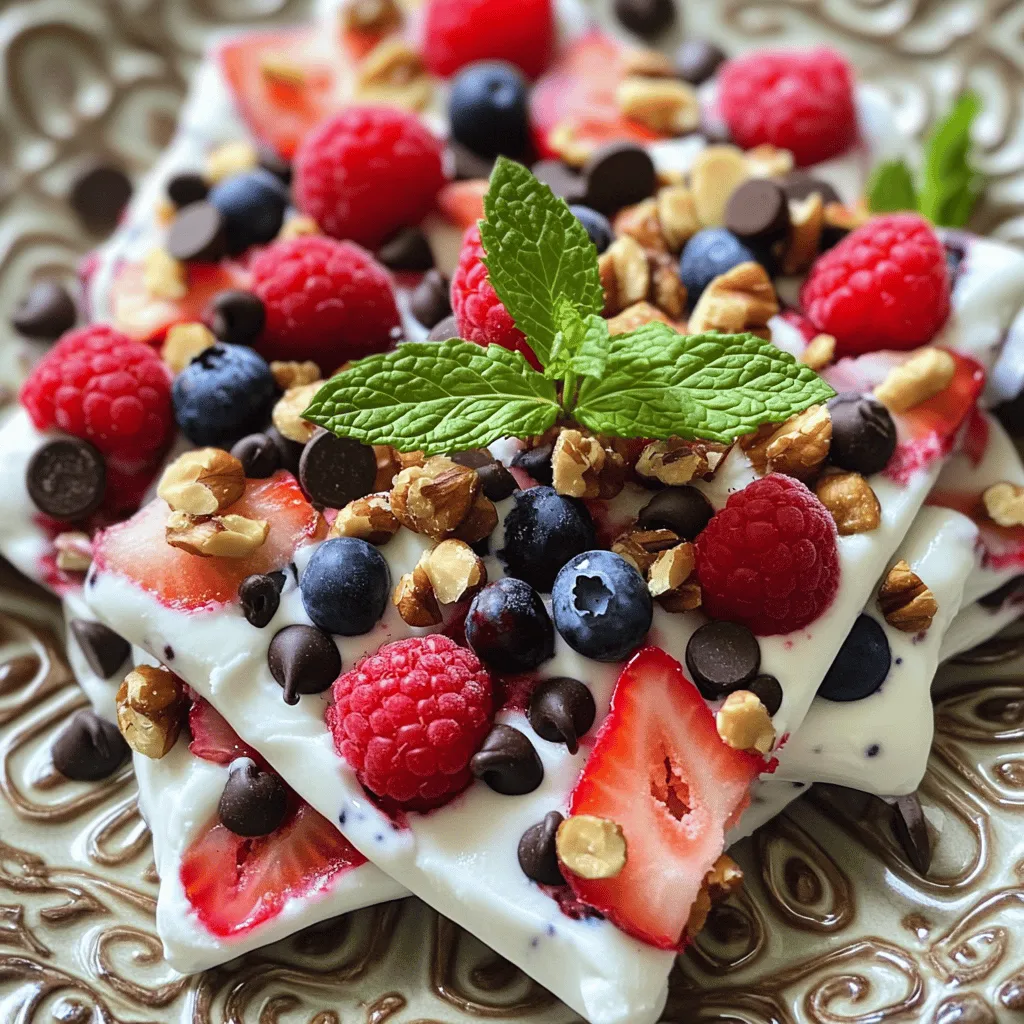
Welcome to the sweet world of Mini Vanilla Cream Tarts with Raspberries! Today, I’ll show you how to make these Read Full RecipeFrozen Yogurt Bark Delightful and Simple Treat
If you’re looking for a quick, tasty treat, frozen yogurt bark is a winner. It’s easy to make and fun Read Full RecipeFruit Salad with Honey Lime Dressing Easy Recipe
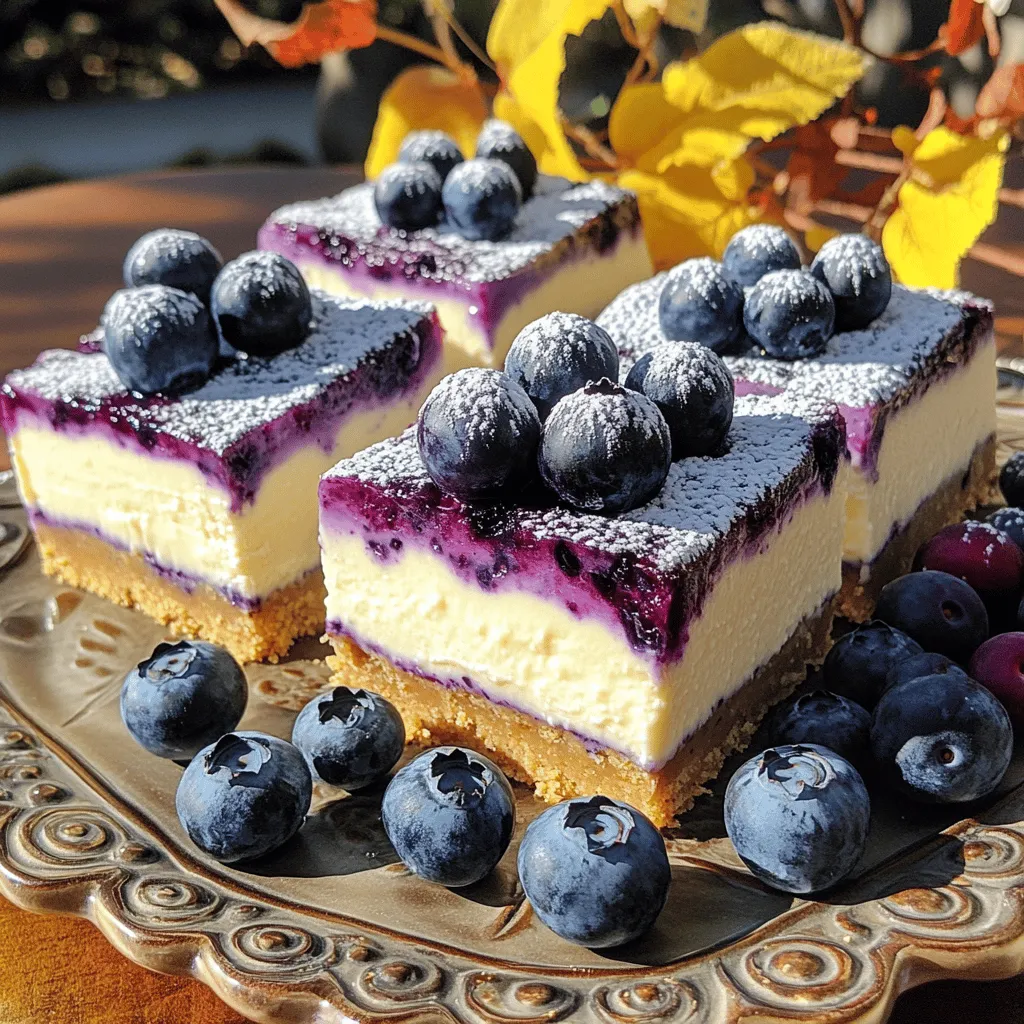
Looking for a fresh and easy treat? This Fruit Salad with Honey Lime Dressing is the perfect choice. Bursting with Read Full RecipeBlueberry Cheesecake Bars Simple and Delicious Treat
Looking for a dessert that’s easy to make and bursting with flavor? You’ve found it! These Blueberry Cheesecake Bars are Read Full RecipeLemon Cheesecake Crumb Bars Delightful and Fresh Treat
Are you ready to brighten your day with a sweet treat? These Lemon Cheesecake Crumb Bars combine creamy cheesecake with Read Full RecipeBlueberry Heaven Cookies Irresistible Sweet Treat
Welcome to your new favorite cookie recipe! Blueberry Heaven Cookies are the perfect blend of sweet and tart, making them Read Full RecipeLemon Blueberry Sorbet Fresh and Refreshing Delight
Cool off with a bowl of Lemon Blueberry Sorbet! This sweet, tangy treat is perfect for hot days. You only Read Full RecipeLemon Blueberry Cupcakes Delightful and Light Treat
Are you ready to indulge in a sweet treat that brightens your day? These Lemon Blueberry Cupcakes are just what Read Full RecipeBlueberry Cheesecake Cookies Delightful and Easy Recipe
If you love the sweet and tangy combo of blueberry cheesecake, you’re in for a treat! I’ll show you how Read Full RecipeGreek Yogurt Ice Cream Creamy and Simple Delight
Looking for a cool treat that’s both delicious and easy to make? Greek yogurt ice cream is your answer! This Read Full Recipe
hey,
i’m !
I’m so happy you’re here!
I pour heart and skill into every recipe I create. I know you’ll taste the difference now let’s enjoy this flavorful adventure together.
Garlic Butter Steak Bites Flavorful and Quick Recipe
Craving a savory meal that’s both quick and flavorful? You’re in the right place! My Garlic Butter Steak Bites recipe packs a punch in…
![- 1 lb sirloin steak - Salt and black pepper - 4 tablespoons unsalted butter - 4 cloves garlic, minced - Fresh parsley - Fresh rosemary (or dried) - 1 teaspoon lemon juice - A pinch of red pepper flakes - Large skillet - Tongs - Serving platter To make Garlic Butter Steak Bites, you will need some key ingredients. First, choose a good cut of steak. I prefer sirloin because it's tender and full of flavor. You can also use ribeye or filet mignon if you want to be fancy. Next, season the steak with salt and black pepper. This simple step adds a lot of taste. You will also need unsalted butter and garlic. Garlic brings a rich, savory taste that pairs well with the steak. Mince the garlic into small pieces for the best flavor. You can add optional ingredients for extra flavor. Fresh parsley and rosemary give a nice herbal touch. Lemon juice adds brightness, while red pepper flakes bring heat. These are all great ways to customize your dish. For tools, a large skillet is a must. It helps cook the steak bites evenly. Use tongs to flip the steak without losing any juices. Lastly, have a serving platter ready to show off your yummy dish. This combination of ingredients and tools makes for a quick, easy, and flavorful meal. For the full recipe, check out the details above to start your cooking adventure! Seasoning the steak cubes First, take your sirloin steak and cut it into 1-inch cubes. This size helps them cook evenly. Next, season the steak cubes well with salt and black pepper. Make sure every piece is coated. This seasoning adds flavor and enhances the taste of the beef. Properly heating the pan Now, grab a large skillet and place it over medium-high heat. Add 2 tablespoons of unsalted butter and let it melt. You want the butter to sizzle, signaling that the pan is hot enough. A hot pan is key to getting a nice sear on the meat. Searing the steak bites Once the pan is ready, add the seasoned steak cubes. Make sure to place them in a single layer. Do not overcrowd the pan; this lets them sear nicely. Cook one side for 2-3 minutes until it turns golden brown. Then, flip the cubes and cook for another 2 minutes, or until they reach your desired doneness. Medium-rare is usually the best choice for steak bites. Adding garlic and herbs After searing, lower the heat to medium. It’s time to add flavor! Toss in minced garlic, chopped parsley, and fresh rosemary. Stir them around for 1-2 minutes. You want the garlic to become fragrant but not burnt, as burnt garlic can taste bitter. Incorporating butter and lemon Next, add the remaining 2 tablespoons of butter to the skillet. Squeeze in some lemon juice, and if you like spice, add a pinch of red pepper flakes. Toss the steak bites in this buttery mixture. Cook until the sauce is bubbling, which takes just a minute. Serving suggestions When ready, remove the skillet from heat. Let the steak bites sit for a minute to soak up the flavors. Serve them on a platter, garnished with more parsley and some lemon wedges. This adds color and a fresh touch. For gatherings, consider using toothpicks for easy serving. Enjoy your Garlic Butter Steak Bites! For the full recipe, refer to the earlier section. To get the best doneness, start with a hot pan. Heat your skillet until it shimmers. This helps create a nice sear on the steak. For medium-rare, cook the steak bites for 2-3 minutes on each side. Use a meat thermometer if you want precision; aim for 130°F. Do not overcrowd the pan. If you add too many steak bites, they will steam instead of sear. This will make them less tasty. Work in batches if needed. You want each piece to get that golden crust. To boost flavor, consider adding spices and herbs. Fresh thyme or oregano can add depth. You can mix and match to find your favorite. A pinch of red pepper flakes also brings a nice kick. Adjust the amount based on your heat preference. It can turn a good dish into a great one. For plating, arrange the steak bites on a wide platter. This gives them space and looks inviting. Add a sprinkle of parsley on top for a pop of color. Lemon wedges on the side also add brightness. They look great and give a fresh taste. You can even use toothpicks for easy serving at parties. This adds a fun touch for your guests. {{image_2}} You can switch the sirloin steak for chicken or pork. Both meats work well with garlic butter. For chicken, use chicken breast cut into small pieces. For pork, pork tenderloin is a great choice. These options will give you delicious bites with a different taste. If you prefer vegetarian options, try mushrooms or tofu. Use portobello mushrooms for a hearty bite. You can also cube firm tofu for a protein-rich dish. Both options soak up the garlic butter flavor nicely. Mix up the herbs for more flavor. Try basil, thyme, or even oregano. Each herb adds a unique taste to the dish. You can also use a blend of herbs for an exciting twist. Adding sauces or marinades before cooking can change the flavor too. Consider using soy sauce or teriyaki sauce. These sauces add depth and make the steak bites even more tasty. Pair garlic butter steak bites with sides like rice, mashed potatoes, or salads. These sides complement the rich flavors of the steak. They also help create a balanced meal. You can also transform the steak bites into a wrap or sandwich. Use a soft tortilla or crusty bread. Add your favorite toppings like lettuce, tomatoes, or cheese for a fun and easy meal. For the full recipe, check out [Full Recipe]. To store leftover garlic butter steak bites, let them cool down first. Place them in an airtight container. Make sure to seal it well to keep the moisture in. They will stay fresh in the fridge for up to three days. To keep them tasty, do not store them with sides, as they can absorb flavors. When you’re ready to enjoy your steak bites again, the best way to reheat them is in a skillet. Heat the skillet over medium heat and add a little butter or oil. Place the steak bites in the skillet and cook for about three to four minutes. Stir them gently to warm them evenly. This method keeps the meat juicy and avoids drying it out. You can also use the microwave, but be careful. Heat them in short bursts to avoid toughening the meat. If you want to save garlic butter steak bites for later, freezing is a great option. Allow the bites to cool completely. Then, place them in a freezer-safe bag or container. Remove as much air as you can before sealing. They can last in the freezer for up to three months. When you’re ready to eat, thaw them overnight in the fridge. Reheat them as mentioned above to restore their flavor and texture. Enjoy them anytime you crave a delicious meal! The best cut for Garlic Butter Steak Bites is sirloin. Sirloin is tender and has great flavor. It cooks quickly, which is perfect for this recipe. Ribeye is another good option, as it has more fat and flavor. However, sirloin is leaner and still very tasty. You can prepare the steak bites ahead of time. Just season and cut the steak into cubes. Store them in the fridge for up to a day before cooking. When ready, follow the cooking steps in the Full Recipe. This way, you save time and still enjoy a fresh meal. To serve more people, simply double or triple the ingredients. Use a larger skillet or cook in batches. Make sure not to overcrowd the pan. This keeps the steak bites juicy and gives them a nice crust. Adjust the cook time as needed, and enjoy your gathering! In this blog post, we explored how to make Garlic Butter Steak Bites. We covered essential ingredients, handy tools, and easy step-by-step cooking instructions. You learned tips for perfecting flavors and presentation. We also discussed variations and storage methods. Cooking can be fun and rewarding. With this guide, you can easily whip up a tasty dish that impresses. Enjoy your time in the kitchen and savor every bite!](https://foodishtalk.com/wp-content/uploads/2025/06/c0f2fb60-761d-46c7-9305-ead88cabc61b.webp)












. Preheat the Oven and Prepare the Pan Start by heating your oven to 350°F (175°C). Grease a 9-inch round cake pan with butter or cooking spray. This step helps the cake release easily after baking. Creaming the Butter and Sugar In a large bowl, combine the softened butter and granulated sugar. Use an electric mixer on medium speed to mix them. Beat until the mixture is light and fluffy. This usually takes about 3 to 5 minutes. The air you whip in will help the cake rise. Incorporating the Eggs and Vanilla Next, add the eggs to the mixture one at a time. Mix well after each addition. This helps each egg blend into the batter. Then, stir in the vanilla extract. This adds a nice flavor to the cake. Whisking Together the Dry Components In another bowl, whisk together the flour, baking powder, baking soda, salt, and ground cinnamon (if using). Mixing these dry ingredients well ensures even rising and flavor. Combining with Wet Ingredients Gradually add the dry ingredients to the wet mixture. Do this in three parts, alternating with the buttermilk. Start and finish with the flour mixture. Mix until just combined. Avoid overmixing to keep the cake light. Folding in the Diced Peaches Gently fold in the diced peaches into the batter. Make sure the peaches are evenly distributed. This will give you sweet bites of peach in every slice. Pouring the Batter into the Cake Pan Carefully pour the batter into the prepared cake pan. Use a spatula to smooth the top. This helps the cake bake evenly. Baking Instructions Place the pan in the preheated oven. Bake for 30 to 35 minutes. To check if it's done, insert a toothpick into the center. If it comes out clean, the cake is ready. Let it cool in the pan for 10 minutes before moving it to a wire rack. Dust the top with powdered sugar before serving. For the full recipe, check out the [Full Recipe]. Suggested Flavor Additions You can boost the taste with a few simple extras. Try adding a teaspoon of almond extract for a nutty twist. A splash of orange juice gives a bright note. You might also sprinkle in some fresh ginger for a spicy kick. Each of these will add a unique layer to your peach cake. How to Ensure Moisture To keep your cake moist, use ripe peaches. They add natural juice to the batter. You can also add an extra egg yolk for richness. Another trick is to use buttermilk. It helps create a soft texture. Make sure not to overmix the batter as well; this can make the cake tough. Preventing a Dry Cake To avoid a dry cake, watch your baking time closely. Start checking at 25 minutes. If a toothpick comes out clean, it’s done. If it pulls out with wet batter, give it more time. Remember, every oven is a bit different, so adjust as needed. Checking for Doneness Test the cake with a toothpick. Insert it in the center and pull it out. If it’s clean, the cake is ready. If you see batter, bake a bit longer. You want a soft, springy feel when you touch the top. Serving Recommendations Serve your peach cake warm or at room temperature. A dollop of whipped cream pairs nicely. You can also add a scoop of vanilla ice cream for extra creaminess. This dessert shines at summer gatherings. Creative Garnishing Ideas For a fun touch, sprinkle powdered sugar on top. You can also add fresh peach slices for color. Mint leaves make a great garnish, too. They add a pop of green and a fresh taste. These small details make your cake look as good as it tastes. For the full recipe, check out the Peachy Paradise Cake. {{image_2}} You can switch peaches for other fruits. Try using ripe plums, nectarines, or berries. These fruits add their unique flavors. They also keep the cake fresh and vibrant. Seasonal fruits work best. Use what you find at your local market. You can even mix fruits for fun twists. Think about adding blueberries with peaches or raspberries with nectarines. Some people need special diets. For gluten-free options, replace all-purpose flour with almond flour or gluten-free flour. These choices give you a moist cake with a nice crumb. If you want a vegan version, swap eggs for flax eggs. Mix one tablespoon of flaxseed meal with three tablespoons of water. Let it sit until thick. For butter, use coconut oil or vegan butter. This way, everyone can enjoy a slice! Frosting can change your cake's vibe. Cream cheese frosting pairs well with peaches. It gives a tangy kick that complements the fruit. If you want something lighter, try whipped cream. You can also serve the cake plain and top it with fresh peach slices. For a fun twist, sprinkle nuts or granola on top for crunch. Drizzle honey or maple syrup for added sweetness. There are so many ways to dress up this cake! For the complete recipe, check out the [Full Recipe]. To keep your peach cake fresh, store it in an airtight container. This helps keep moisture in and prevents it from drying out. If you have leftover slices, wrap them tightly in plastic wrap before placing them in the container. You can also store the cake at room temperature for up to three days. If you want to store it longer, refrigerate it. The cold will help it last about a week. If you want to save the cake for later, freezing is a great option. First, let the cake cool completely. Then, wrap it tightly in plastic wrap. After that, place the wrapped cake in a freezer-safe bag or container. It can stay frozen for up to three months. When you are ready to eat it, move the cake to the fridge to thaw overnight. This way, it will be ready for a tasty treat whenever you want! To keep your cake moist, focus on a few key tips: - Use ripe peaches. Fresh, juicy peaches add moisture. - Don't overmix the batter. This can make the cake dense. - Add buttermilk, which makes the cake soft and tender. - Bake just until a toothpick comes out clean. Overbaking can dry it out. These steps will help you create a cake that stays moist and delicious. Yes, you can use canned peaches. If you go this route, here are some tips: - Drain and rinse the canned peaches. This removes excess syrup. - Cut them into smaller pieces, similar to fresh peaches. - Reduce the sugar in the recipe slightly. Canned peaches can be sweeter. This way, your cake will still taste great with canned peaches! Peach cake can last up to 3 days at room temperature. Here are some guidelines for storage: - Keep it in an airtight container. This helps maintain moisture. - If you want it to last longer, store it in the fridge. It can last up to a week there. - For longer storage, freeze the cake. Wrap it well in plastic wrap and foil. With these tips, you can enjoy your peach cake for days! This blog post covered everything you need for a great peach cake. We discussed the key ingredients, like fresh peaches, eggs, and buttermilk. I shared step-by-step instructions for making the cake, from mixing to baking. You also learned handy tips to enhance flavor and ensure moistness. Plus, I explored variations, storage tips, and addressed common questions. With this guide, you can make a delicious peach cake with ease. Enjoy baking!](https://foodishtalk.com/wp-content/uploads/2025/06/1136ab2f-d07e-476d-a8da-cc55492adb9c-300x300.webp)


