Latest & Greatest
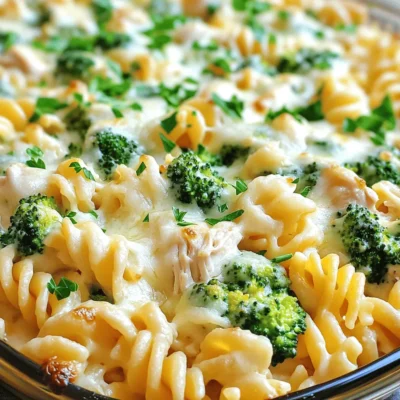
Easy Chicken Alfredo Bake Simple and Flavorful Dish
If you’re craving a warm, creamy dish that’s super easy to make, look no further! My Easy Chicken Alfredo Bake
Read more…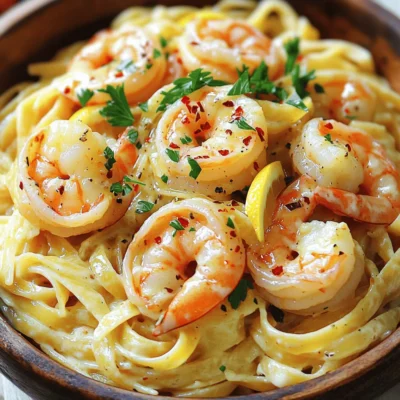
Garlic Butter Shrimp Pasta Quick and Flavorful Meal
Craving a meal that’s quick, tasty, and satisfying? Garlic Butter Shrimp Pasta is the answer! This dish brings the rich
Read more…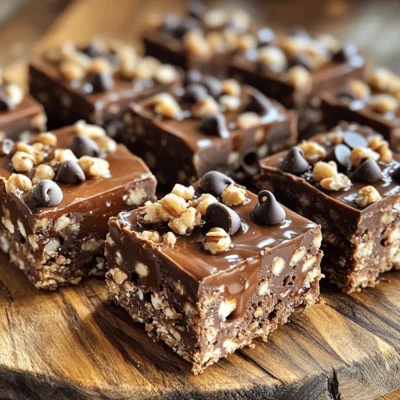
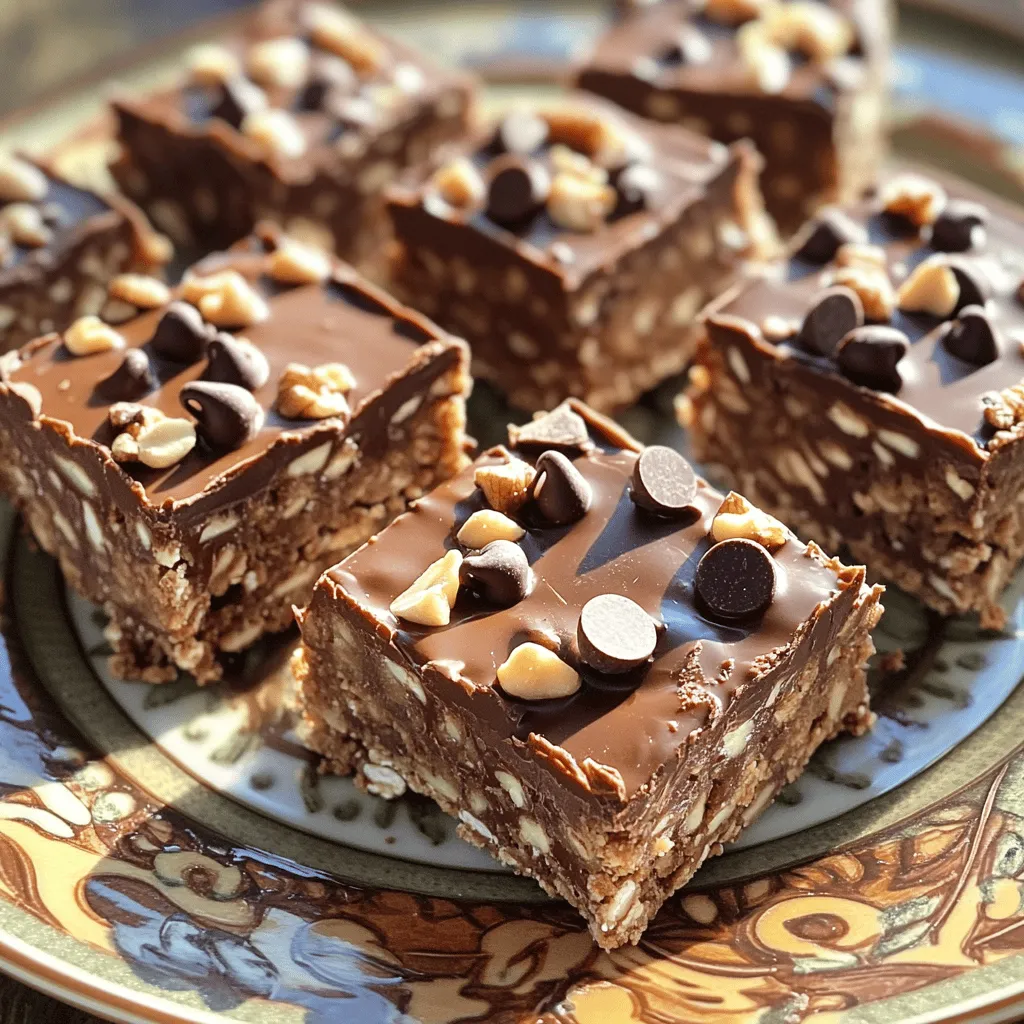
No Bake Chocolate Oat Bars Simple and Tasty Treat
Looking for a delicious treat that requires no baking? You’re in the right place! These No Bake Chocolate Oat Bars
Read more…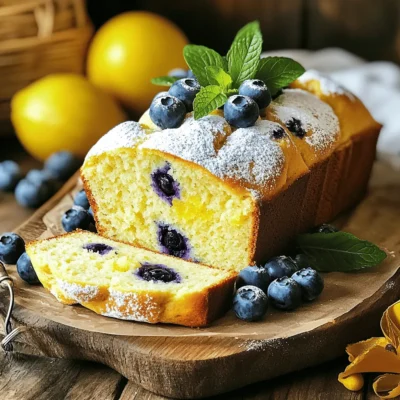
Lemon Blueberry Bread Delightfully Moist Recipe
Are you ready to bake the most delicious Lemon Blueberry Bread? This recipe is not only simple, but it also
Read more…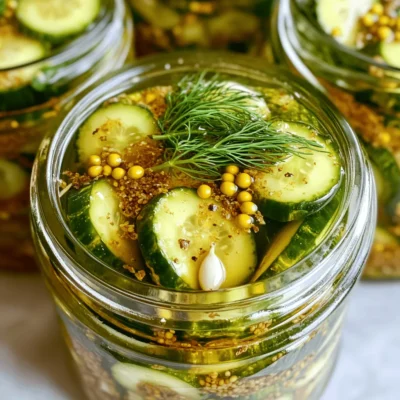
Homemade Garden Pickles Simple and Crunchy Recipe
Craving crunchy, zesty pickles straight from your garden? You’re in the right place! I’m excited to share my simple recipe
Read more…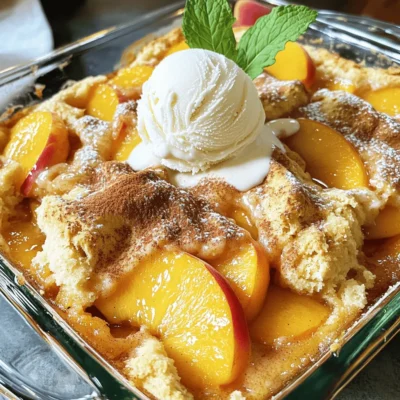
Best Peach Cobbler Delight Easy and Flavorful Treat
Are you ready to impress your family and friends with a sweet treat? This Best Peach Cobbler Delight is both
Read more…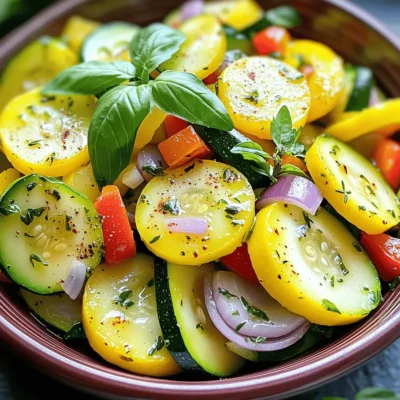
Sautéed Squash and Zucchini Fresh and Flavorful Dish
If you want a quick, tasty dish, sautéed squash and zucchini is perfect. This fresh and colorful meal packs a
Read more…
Carrot Zucchini Fritters Healthy and Simple Recipe
Are you ready to add a burst of flavor to your meals? These Carrot Zucchini Fritters are healthy, simple, and
Read more…browse recipes

Buffalo Cauliflower Bites Crispy and Flavorful Snack
Looking for a tasty snack that packs a punch? Buffalo Cauliflower Bites are crispy, flavorful, and easy to make! This delightful dish is perfect…
My Latest Desserts
No-Bake Chocolate Oatmeal Bars Simple and Tasty Treat
Looking for a simple and tasty treat that’s also healthy? You’ve found it! My No-Bake Chocolate Oatmeal Bars are a Read Full RecipePeach Pie Cruffins Delightful and Simple Recipe
Are you ready to dive into a sweet and flaky treat? Peach Pie Cruffins are a delightful twist on classic Read Full RecipeRetro Zucchini Bread Healthy and Flavorful Delight
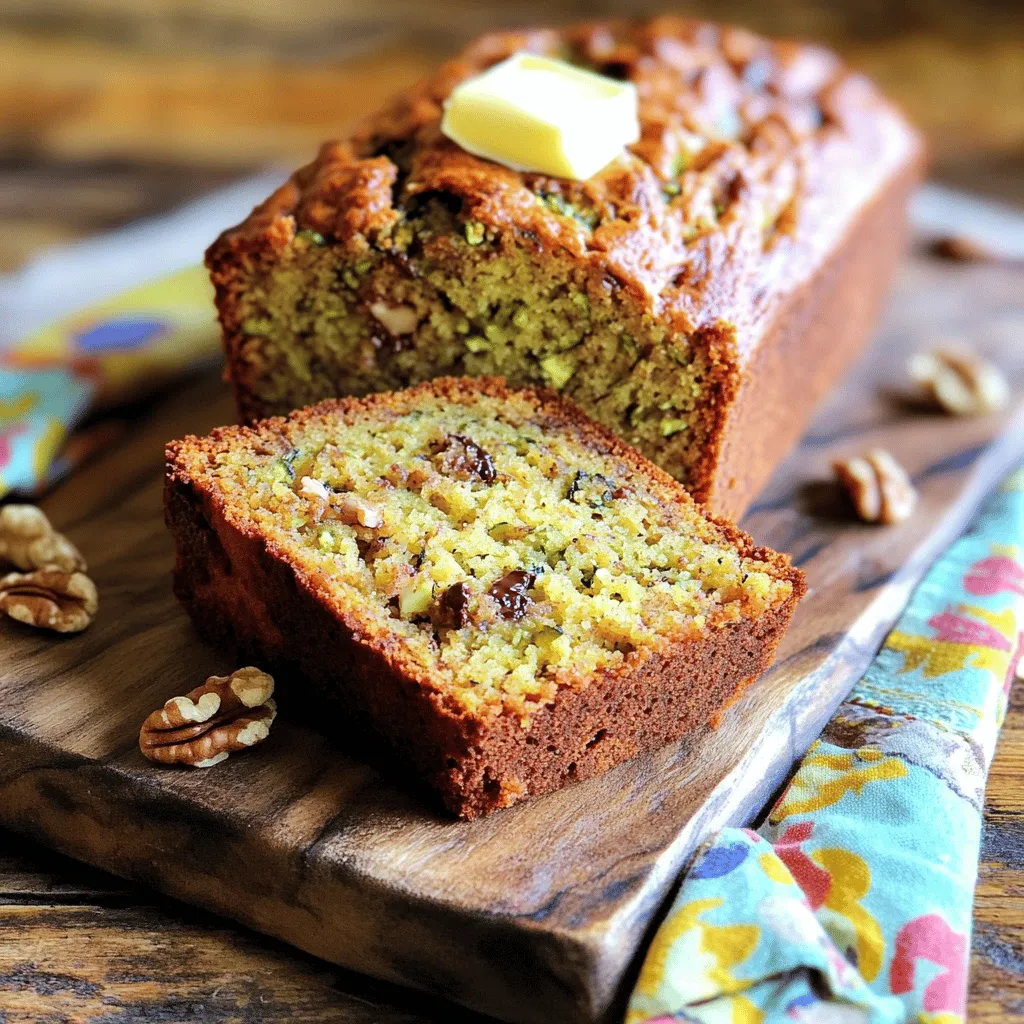
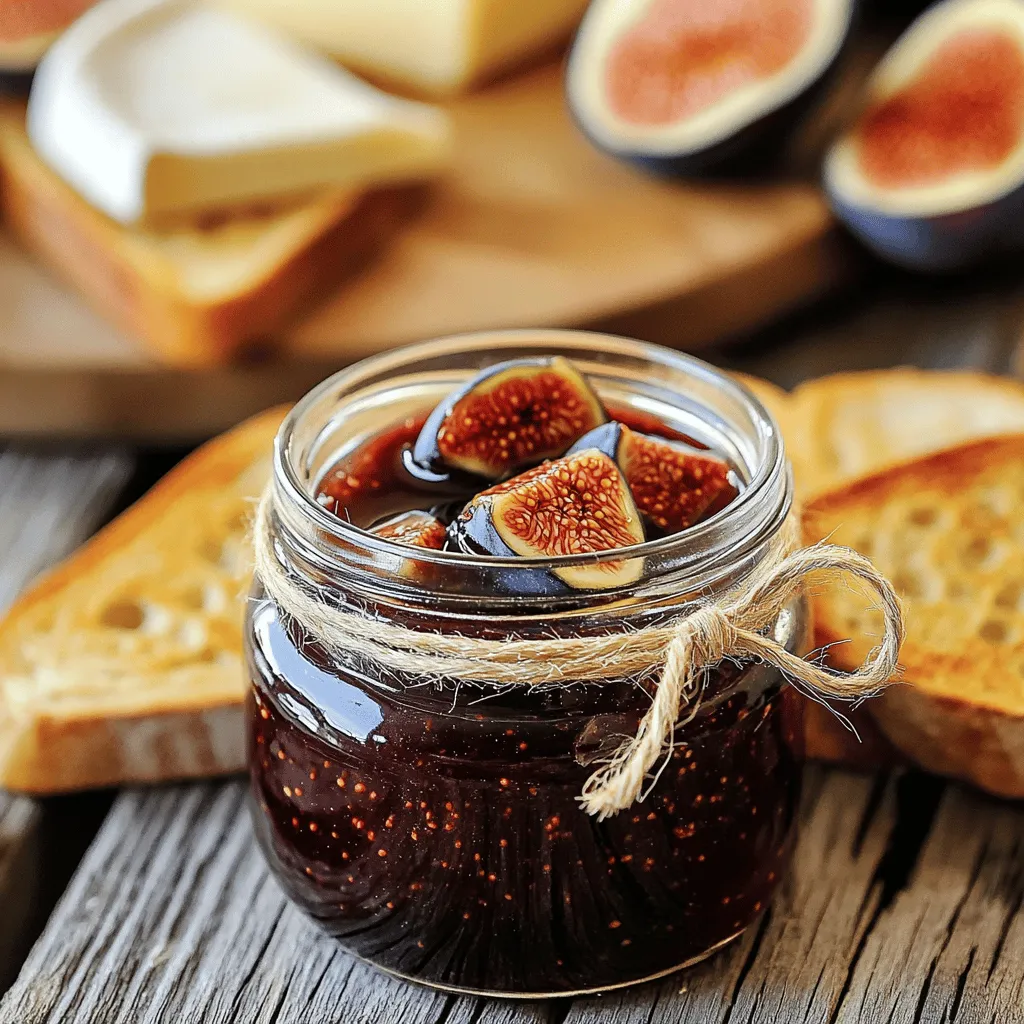
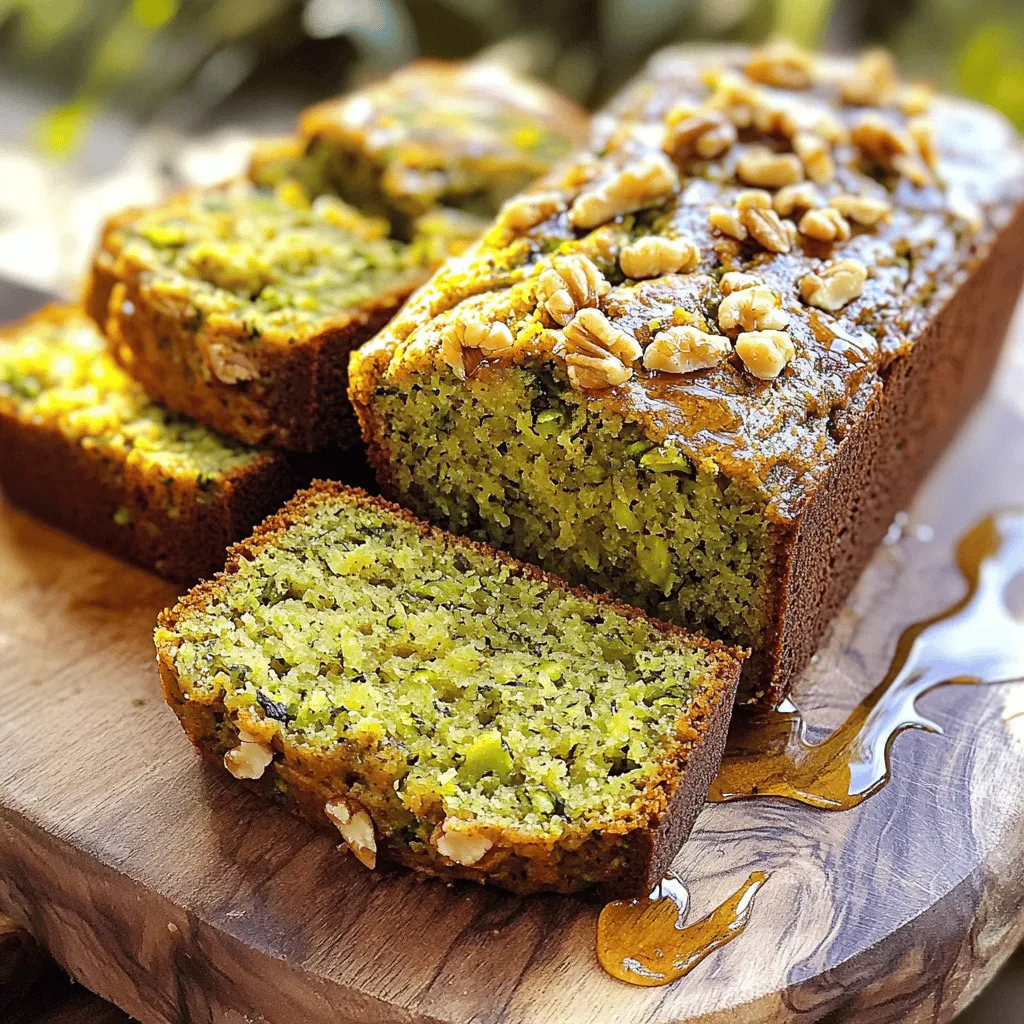
Are you ready to bake a delicious, healthy treat? Retro Zucchini Bread is packed with flavor and goodness. This simple Read Full RecipeClassic Fig Jam Simple and Delicious Recipe
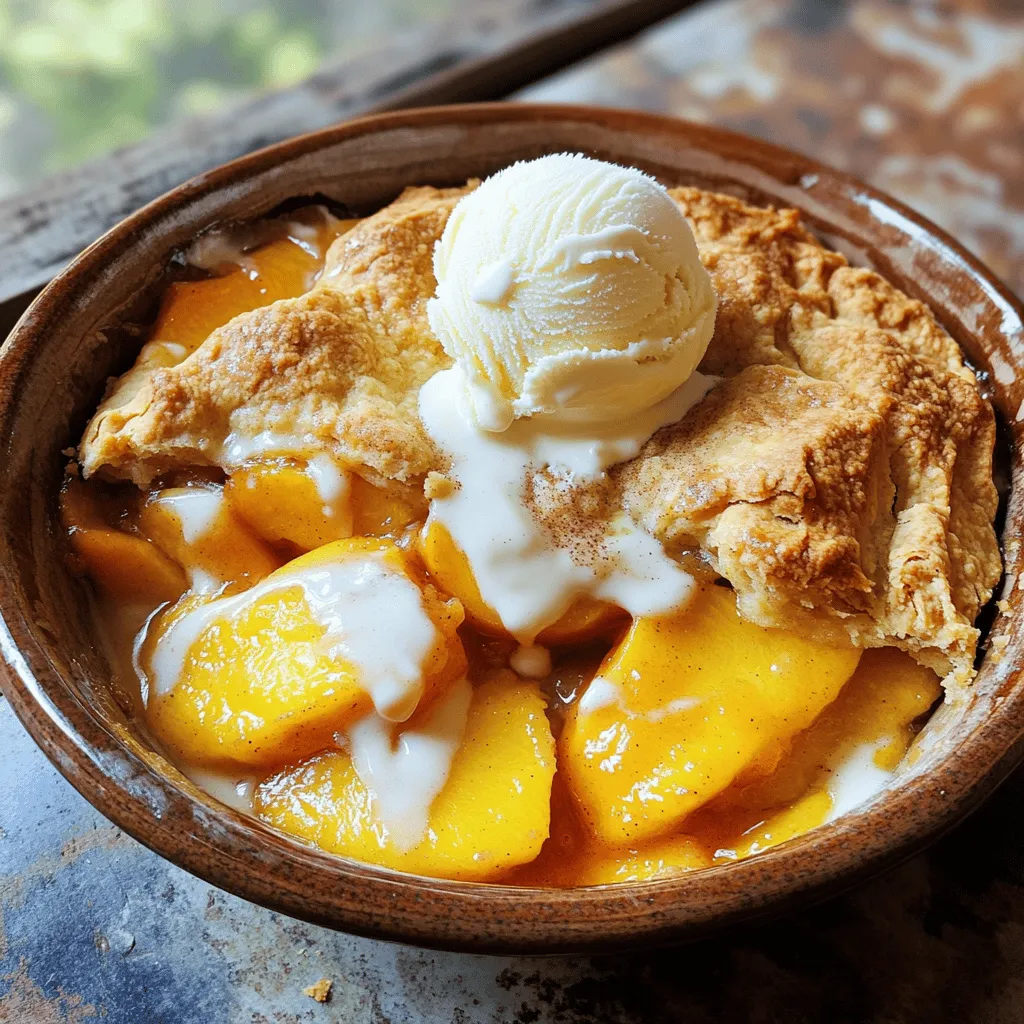
Are you ready to savor the sweet taste of summer year-round? Making classic fig jam is simple and rewarding. With Read Full RecipeFresh Peach Cobbler Flavorful and Easy Recipe Guide
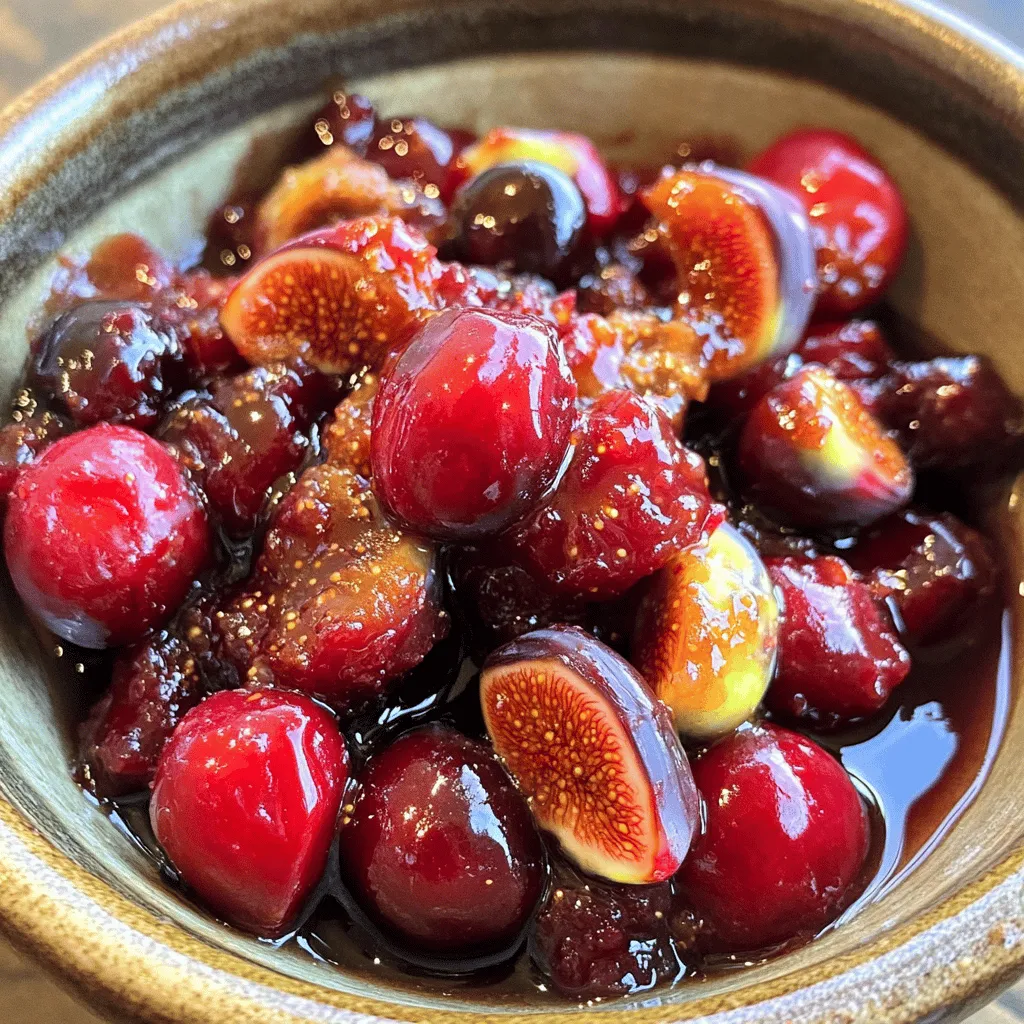
Craving a sweet treat that showcases the juicy goodness of fresh peaches? You’re in the right place! In this guide, Read Full RecipeGinger Fig Cherry Compote Flavorful and Easy Recipe
Are you ready to explore a dish that bursts with flavor? This Ginger Fig Cherry Compote is not only easy Read Full RecipeZucchini Banana Bread Flavorful and Moist Recipe
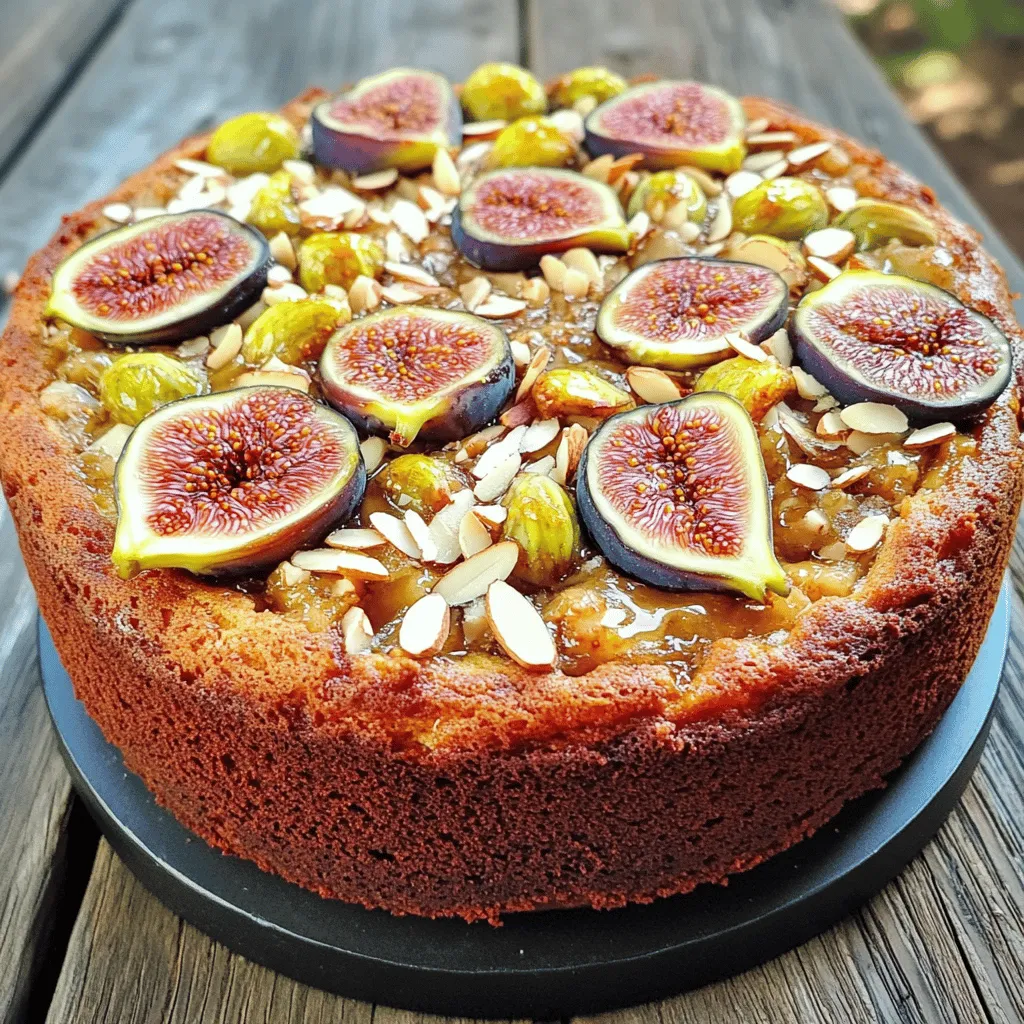
Do you love warm, fresh bread that bursts with flavor? You’re in the right spot! This Zucchini Banana Bread recipe Read Full RecipeFig Cake with Almond and Honey Delight Recipe
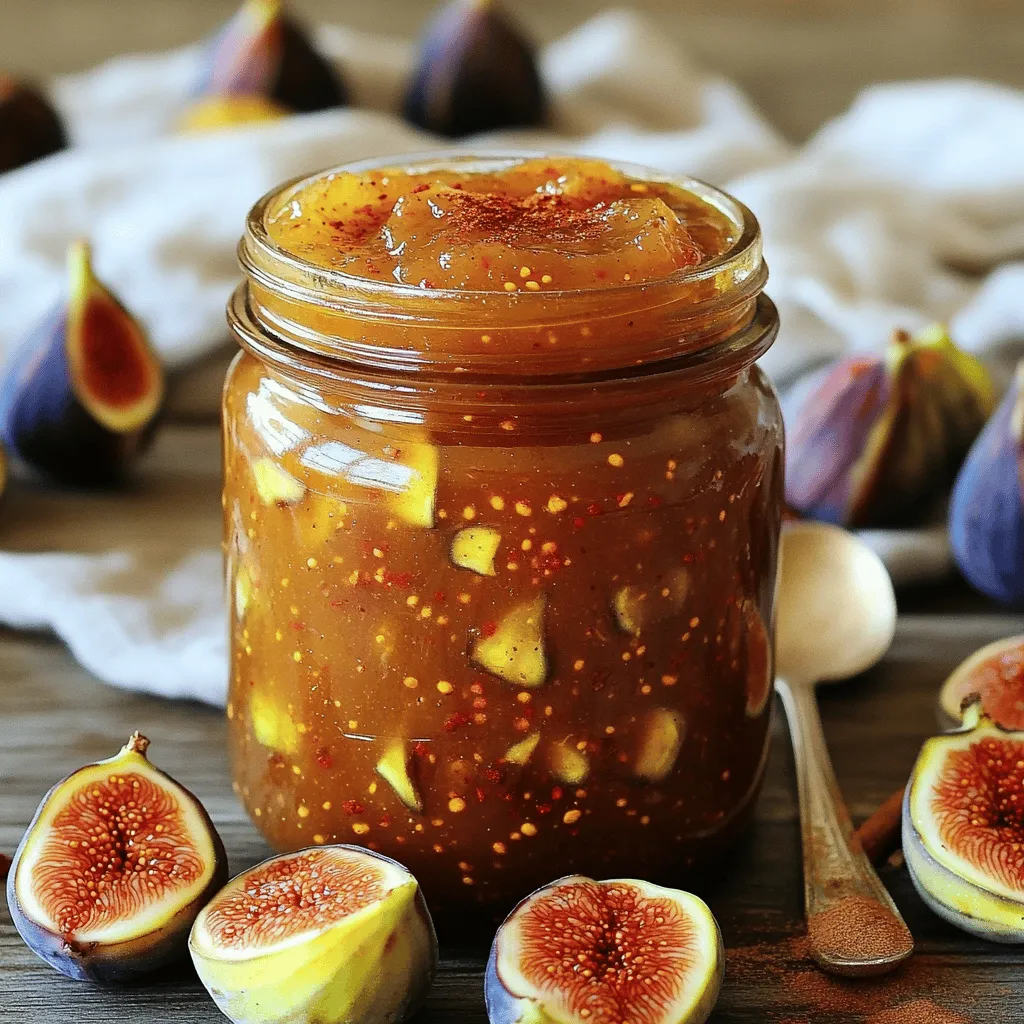
Are you ready to indulge in a delightful treat? My Fig Cake with Almond and Honey recipe combines rich flavors Read Full RecipeSimple Fig Jam Easy Recipe to Savor and Enjoy
Are you ready to make a burst of flavor with your next kitchen project? This Simple Fig Jam recipe is Read Full RecipeMini Vanilla Cream Tarts with Raspberries Delight
Welcome to the sweet world of Mini Vanilla Cream Tarts with Raspberries! Today, I’ll show you how to make these Read Full Recipe
hey,
i’m !
I’m so happy you’re here!
I pour heart and skill into every recipe I create. I know you’ll taste the difference now let’s enjoy this flavorful adventure together.
Crispy Garlic Parmesan Brussels Sprouts Irresistible Treat
Are you ready to level up your side dish game? Crispy Garlic Parmesan Brussels Sprouts are here to steal the show! This delightful recipe…
![- 1 lb Brussels sprouts, trimmed and halved - 3 tablespoons olive oil - 4 cloves garlic, minced - 1 teaspoon salt - ½ teaspoon black pepper - ½ cup grated Parmesan cheese - 1 teaspoon lemon zest - 1 tablespoon balsamic glaze (for drizzling) - Fresh parsley, chopped (for garnish) You can swap garlic for garlic powder if needed. Use nutritional yeast instead of cheese for a vegan option. For oil, you can try avocado oil or melted coconut oil. These swaps still keep the dish tasty. Adjust them based on what you have. 1. Preheat your oven to 425°F (220°C). This helps the Brussels sprouts cook evenly. 2. Line a baking sheet with parchment paper. This keeps the sprouts from sticking. 3. In a large bowl, combine the trimmed and halved Brussels sprouts with olive oil, minced garlic, salt, and black pepper. Toss them well. Make sure they are fully coated. 1. Spread the Brussels sprouts in a single layer on the baking sheet. This allows hot air to circulate. 2. Roast them in the preheated oven for 15 minutes. The heat will start to crisp them up. 3. After 15 minutes, take out the baking sheet. Sprinkle the grated Parmesan cheese over the Brussels sprouts. This adds a rich flavor. 4. Return the baking sheet to the oven. Roast for another 10 to 15 minutes. Look for crispy and golden sprouts. 1. Once done, zest some lemon over the top. This adds a fresh touch to the dish. 2. Drizzle with balsamic glaze for a sweet finish. 3. Garnish with chopped fresh parsley for color. 4. Serve warm for the best taste. Enjoy your crispy treat! For the full recipe, check the detailed instructions above. To get the best crispiness from your Brussels sprouts, space matters. Place the sprouts apart on the baking sheet. If they touch, they will steam instead of roast. This will leave them soft. I recommend using a convection oven if you have one. The fan helps circulate hot air and gives the sprouts a nice crunch. If not, a regular oven works too; just watch the time closely! Want to kick up the flavor? Try adding red pepper flakes. They give a nice heat that pairs well with garlic. You can also drizzle different sauces on top. A balsamic glaze adds sweetness. For a tangy twist, try a lemon vinaigrette. Both options work great with these sprouts! Checking doneness is key. You want your sprouts to be golden brown and crispy. Use a fork to poke one. It should be tender inside. Avoid soggy sprouts by not overcrowding the pan. If you have leftovers, reheat them in the oven for the best texture. Keeping them crisp takes just a few minutes at 375°F (190°C). For the complete recipe, check out the [Full Recipe]. {{image_2}} For a vegan twist, skip the Parmesan cheese. Instead, use a mix of cashew cheese or vegan cheese. You can also use olive oil or avocado oil for roasting. Adding nutritional yeast gives a cheesy flavor without dairy. It adds a nice umami taste, too. You can change the flavor of your Brussels sprouts easily. Try a lemon herb variation. Just add lemon juice and fresh herbs like thyme or rosemary. For a spicy kick, toss in some red pepper flakes with the garlic. You’ll get a great mix of heat and flavor. Feel free to add seasonal veggies to your dish. Carrots or sweet potatoes work great in the fall. During the holidays, toss in some cranberries or pecans for a fun twist. These simple changes can make your dish festive and colorful. For the full recipe, check out the detailed steps to make this tasty dish. After you enjoy the crispy garlic parmesan Brussels sprouts, let them cool. Place them in a shallow container. Use a lid to cover the container tightly. This keeps them fresh. You can store them in the fridge for up to three days. If you want to save space, use a resealable bag. Just make sure to remove as much air as possible. To reheat, the oven is your best friend. Preheat it to 350°F (175°C). Spread the Brussels sprouts on a baking sheet. Heat for about 10 to 15 minutes. This will help them regain their crispy texture. If you’re in a hurry, use the microwave. Just heat for a minute or two, but be careful; they may get soggy. To keep them crispy, avoid covering them while reheating. If you want to freeze your cooked sprouts, let them cool first. Spread them on a baking sheet in a single layer. Freeze them for about an hour until firm. Then, transfer them to a freezer bag. Squeeze out as much air as you can. They can stay frozen for up to three months. To thaw, leave them in the fridge overnight and reheat as mentioned above. Crispy Garlic Parmesan Brussels Sprouts are a tasty side dish. They are made with fresh Brussels sprouts, garlic, and Parmesan cheese. The sprouts are roasted until golden and crispy. The garlic adds a strong flavor, while the cheese gives a rich taste. You can drizzle balsamic glaze on top for extra flavor. This dish is perfect for any meal. Yes, you can prep these Brussels sprouts ahead of time. Trim and halve them a day before. Toss them with olive oil, garlic, salt, and pepper. Store them in the fridge in a sealed container. When ready to cook, spread them out on a baking sheet and roast. They will still taste great! These Brussels sprouts go well with many dishes. They are great with roasted chicken or grilled steak. You can also serve them with pasta or a hearty grain salad. Adding a nice dip or sauce can enhance their flavor. Try serving them at your next dinner party! To make sure your Brussels sprouts are crispy, space them out on the baking sheet. Crowding them can lead to steaming instead of roasting. Use a hot oven set to 425°F (220°C). Also, don’t skip the Parmesan cheese; it helps create a crunchy crust. If they start to get soggy, roast them a few minutes longer. Crispy Garlic Parmesan Brussels sprouts are easy and tasty. We covered the key ingredients like Brussels sprouts, garlic, and cheese. I shared simple steps for roasting them to perfection. You learned tips for maximum crispiness and different ways to adjust the recipe. From storing to reheating, I aimed to answer all your questions. Enjoy making these sprouts, and don’t forget to share them! Each bite brings flavor and joy to your meal.](https://foodishtalk.com/wp-content/uploads/2025/05/fa0a54e5-ad59-4860-9166-83cea01fbe54.webp)







![- 1 cup stone-ground grits - 4 cups chicken broth - 1 cup shredded sharp cheddar cheese - 1 cup milk - 1 pound shrimp, peeled and deveined - 1 bell pepper, diced (red or green) - 1 small onion, chopped - 2 cloves garlic, minced - 1 teaspoon smoked paprika - 1 teaspoon cayenne pepper (adjust to taste) - Salt and pepper, to taste - 2 tablespoons olive oil - 1 teaspoon fresh parsley, chopped (for garnish) When you gather your ingredients, think about where they come from. I love using fresh, local produce. This connects you with your food and makes it taste better. The stone-ground grits are key for a creamy base. They absorb flavors well and give a nice texture. The chicken broth adds depth. You can also use vegetable broth for a lighter touch. The sharp cheddar cheese brings a rich, tangy flavor. Make sure to use high-quality cheese for the best results. The shrimp is the star here. Using fresh shrimp maximizes taste, but frozen shrimp works too. Just thaw them properly. The spices, especially smoked paprika and cayenne, add warmth and a hint of smokiness. Adjust the spice level based on your taste. Fresh parsley at the end gives a pop of color and freshness. As you prepare, enjoy the process! Cooking is an art, and every ingredient plays a role. You can find the full recipe to guide you through making this delicious dish. - Calories per serving: Approximately 400-450 calories - Breakdown of macronutrients: - Carbohydrates: 45g - Protein: 25g - Fat: 15g Knowing the nutritional facts can help you plan meals better. This casserole is balanced with carbs, protein, and healthy fats. It's a hearty dish that can satisfy hunger while keeping you nourished. To start, pour four cups of chicken broth into a large saucepan. Bring it to a boil over medium heat. Once it boils, slowly stir in one cup of stone-ground grits. Reduce the heat to low. Cook the grits for about 20 to 25 minutes. Stir frequently to prevent clumping. The grits should thicken nicely during this time. Once thickened, mix in one cup of shredded sharp cheddar cheese and one cup of milk. Stir until creamy. Season with salt and pepper to your taste. Set this mixture aside for later. Next, grab a skillet and heat two tablespoons of olive oil over medium heat. Add one diced bell pepper, one small chopped onion, and two cloves of minced garlic. Sauté these until they soften, which takes about five to seven minutes. After that, toss in one pound of peeled and deveined shrimp. Sprinkle in one teaspoon of smoked paprika and one teaspoon of cayenne pepper. Cook the shrimp until they turn pink, which should take about three to four minutes. Once done, remove the skillet from the heat. Now it’s time to bring everything together. Take a large mixing bowl and combine the creamy cheese grits with the shrimp and vegetable mixture. Stir well to make sure everything is mixed evenly. Next, transfer this combined mixture to a greased 9x13 inch baking dish. Spread it out evenly. Preheat your oven to 350°F (175°C). Bake for 25 to 30 minutes until the top is golden and bubbly. After baking, let it cool for a few minutes. Then slice into squares and garnish with fresh parsley before serving. Enjoy your delicious shrimp and grits casserole! For the complete guide, check the Full Recipe. To make the best shrimp and grits casserole, you need creamy grits. Start by choosing stone-ground grits. They have more flavor and texture than instant or quick-cooking grits. The right choice makes a big difference. For cooking, bring chicken broth to a boil. Gradually stir in the grits. Reduce the heat to low and cook for about 20-25 minutes. Stir frequently to avoid lumps. The goal is a thick, smooth mixture. If they seem too thick, add a little more broth or milk. For shrimp, seasoning is key. I recommend using smoked paprika and cayenne pepper. They add depth and a slight kick. Feel free to adjust the cayenne to your taste. If you like it mild, use less. You can cook shrimp in different ways. Sautéing gives a nice sear and helps lock in flavor. Grilling adds a smoky touch, which is great for summer. Both methods work well, so choose what you prefer. Garnishes can elevate your dish. Fresh parsley adds color and a hint of freshness. You might also try a sprinkle of extra cheese or a dash of hot sauce for a kick. For side dishes, a simple green salad pairs well. You can also serve it with crusty bread to soak up any extra sauce. The combination of flavors will impress your guests. If you're ready to dive into the full recipe, check out the [Full Recipe]. {{image_2}} You can change the cheese and milk in this dish. Use cream cheese or a dairy-free milk like almond or oat milk. For cheese, try Monterey Jack or pepper jack for a spicy kick. If you want to switch the shrimp, consider using scallops or crawfish. These options bring new flavors and textures. They also cook quickly and add a nice seafood twist. To boost flavor, add spices or herbs. Thyme or basil can enhance the taste. You might also try adding some red pepper flakes for extra heat. Incorporate vegetables for color and nutrition. Spinach or diced tomatoes work well. They not only add flavor but also make the dish look more appealing. For gluten-free options, ensure your broth is gluten-free. Check the labels on all your ingredients. This will keep your dish safe and tasty. If you want a vegetarian version, skip the shrimp. Use mushrooms or zucchini instead. They will absorb flavors and add depth to your casserole. For the full recipe, check the details above. To store your leftover shrimp and grits casserole, let it cool completely. Transfer the casserole to an airtight container. You can keep it in the fridge for up to four days. This way, you can enjoy the dish multiple times. Just remember to check for any signs of spoilage before eating. If you want to keep your casserole for longer, freezing is a great option. Cut the casserole into portions before freezing. Wrap each piece tightly in plastic wrap, then place it in a freezer-safe bag. It will stay good for about three months. When you are ready to eat, take a piece out and thaw it overnight in the fridge. To reheat, place it in an oven at 350°F (175°C) until it's hot throughout. You can also use the microwave for a quicker option, but the oven gives a better texture. Enjoy your comfort food delight anytime! To make shrimp and grits casserole, start by cooking the grits. Boil chicken broth in a pot. Gradually stir in stone-ground grits. Cook on low heat until thick, about 20 to 25 minutes. Once thick, mix in cheese and milk until creamy. Meanwhile, sauté diced bell pepper, onion, and garlic in olive oil until soft. Add shrimp, smoked paprika, and cayenne pepper, cooking until shrimp turns pink. Mix the shrimp and veggie mix into the grits. Transfer to a greased baking dish and bake at 350°F for about 25 to 30 minutes. The top should be golden and bubbly when ready. For the full recipe, check out the earlier section. Yes, you can use frozen shrimp in this recipe. Frozen shrimp are convenient and save time. Just remember to thaw them before cooking. Place them in the fridge overnight or run them under cold water for a quick thaw. Fresh shrimp offer a slightly better taste and texture, but frozen shrimp will work great too. Just make sure to pat them dry before cooking. This will help the shrimp brown better. Shrimp and grits casserole pairs well with many sides. Try serving it with a crisp green salad. A light vinaigrette will balance the richness. You can also serve it with roasted vegetables for added color and nutrients. For drinks, a chilled white wine, like Sauvignon Blanc, complements the dish well. If you prefer non-alcoholic options, sweet tea is a classic Southern choice. This recipe blends rich flavors and creamy textures for a delicious dish. You learned how to make shrimp and grits, from prepping the ingredients to baking the casserole. Remember to adjust spices for your taste and try different veggies or seafood. Leftovers store well in the fridge or freezer, ensuring future meals are just as tasty. I hope you enjoy making this dish as much as I do. Happy cooking!](https://foodishtalk.com/wp-content/uploads/2025/05/0845f3ef-6693-4e0e-8496-1a668e6356fc-300x300.webp)


