
Latest & Greatest

Easy Vegetable Frittata Quick and Tasty Recipe
Are you looking for a quick and tasty meal that’s packed with flavor? This Easy Vegetable Frittata checks all the
Read more…
Peaches and Cream Pie Delicious Summer Dessert Recipe
Looking for a delicious summer dessert? You’ll love this Peaches and Cream Pie! Juicy peaches blend perfectly with creamy whipped
Read more…
Marinated Cucumbers and Tomatoes Fresh Flavor Boost
If you’re looking to add a burst of fresh flavor to your meals, marinated cucumbers and tomatoes are a must-try!
Read more…
Buttermilk Fried Okra Crispy Southern Delight
If you crave a crispy Southern dish, Buttermilk Fried Okra is a must-try. This recipe gives you tender okra coated
Read more…
Easy Peach Cake Simple and Delicious Summer Treat
Looking for a tasty summer treat? Look no further than this Easy Peach Cake! With juicy peaches and simple ingredients,
Read more…
Spinach and Cheese Frittata Savory Delight at Home
Looking for a quick, tasty meal? This Spinach and Cheese Frittata is a savory delight you can whip up at
Read more…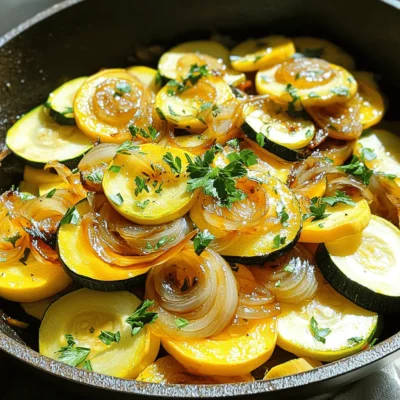
Old-Fashioned Squash and Onions Easy Cooking Guide
Are you ready to bring back a classic dish that warms the heart? In this easy cooking guide, I’ll show
Read more…
Buffalo Cauliflower Bites Crispy and Flavorful Snack
Looking for a tasty snack that packs a punch? Buffalo Cauliflower Bites are crispy, flavorful, and easy to make! This
Read more…browse recipes


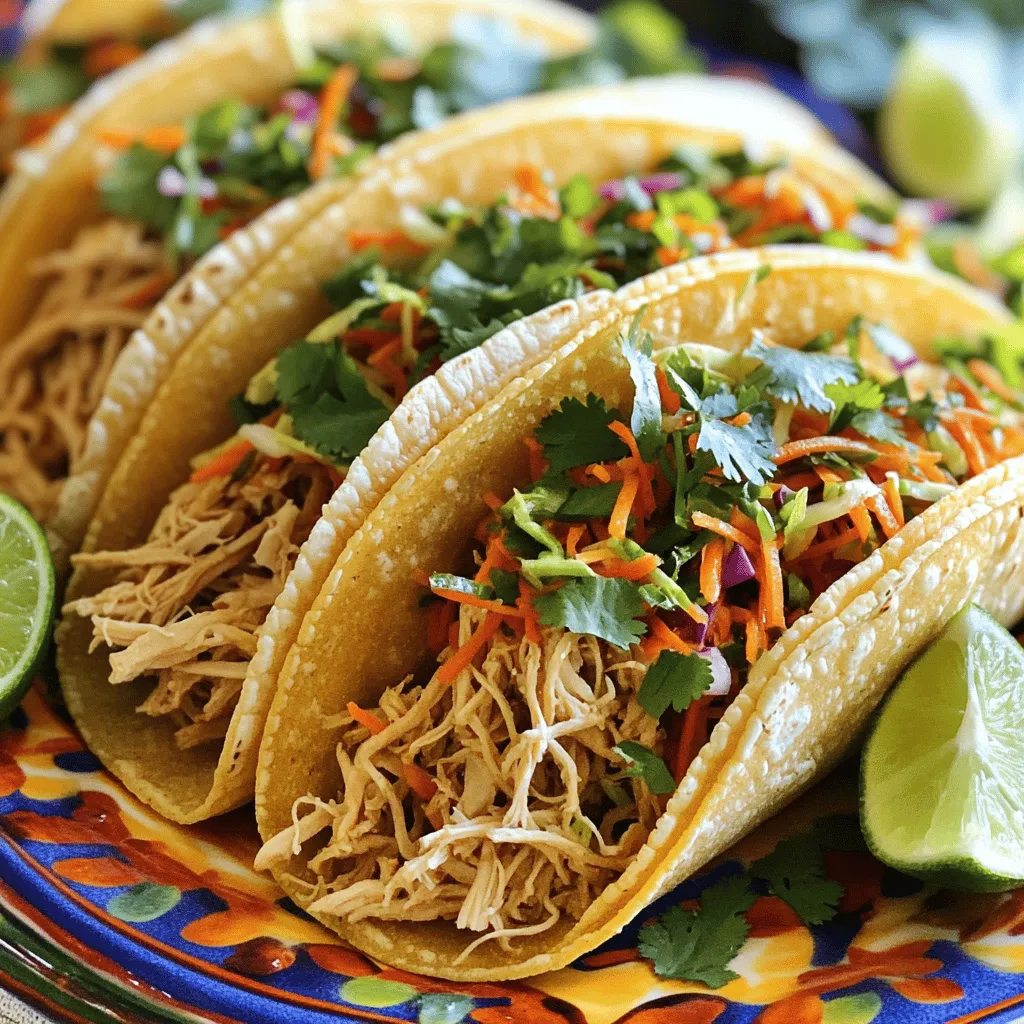
Pulled Chicken Tacos with Slaw Fresh Flavor Delight
Get ready for a flavor explosion with my Pulled Chicken Tacos with Slaw! These mouthwatering tacos are not only easy to make, but they…
My Latest Desserts

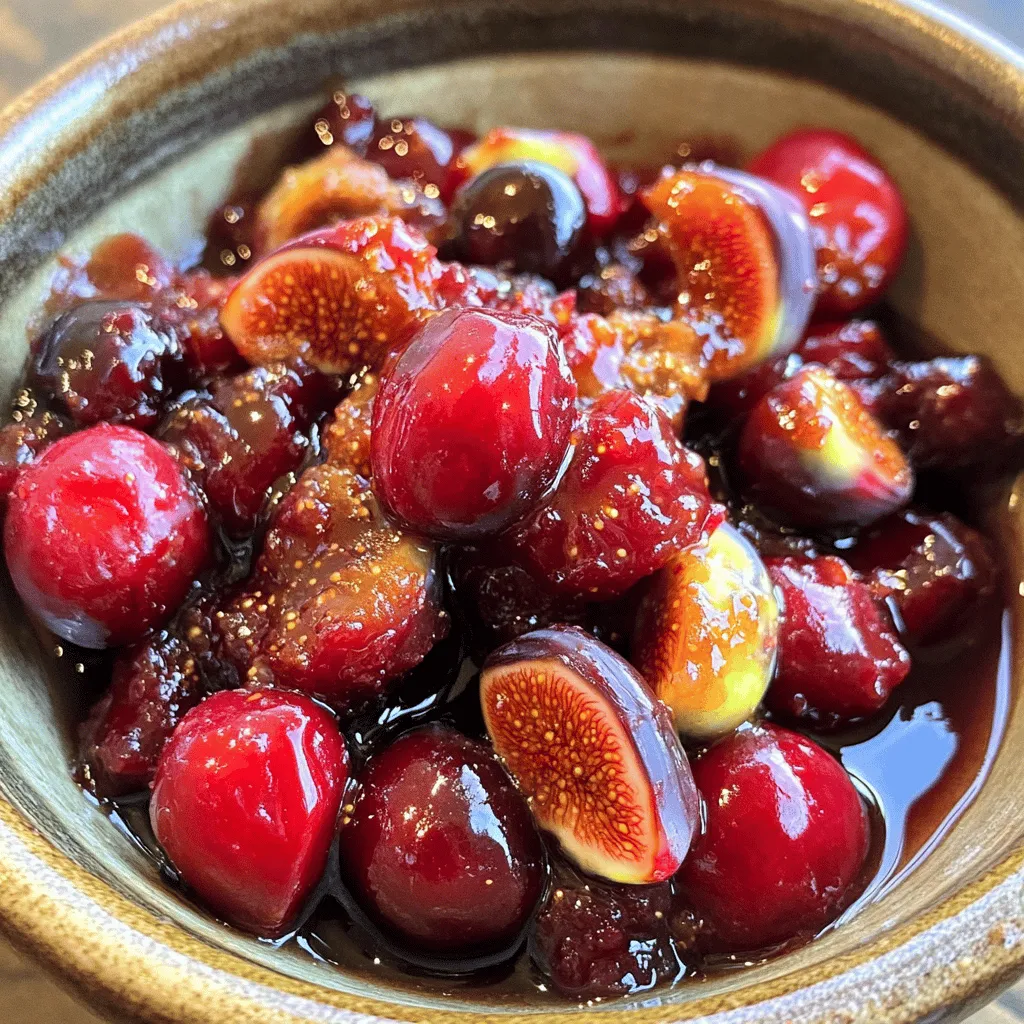
Ginger Fig Cherry Compote Flavorful and Easy Recipe
Are you ready to explore a dish that bursts with flavor? This Ginger Fig Cherry Compote is not only easy Read Full Recipe-
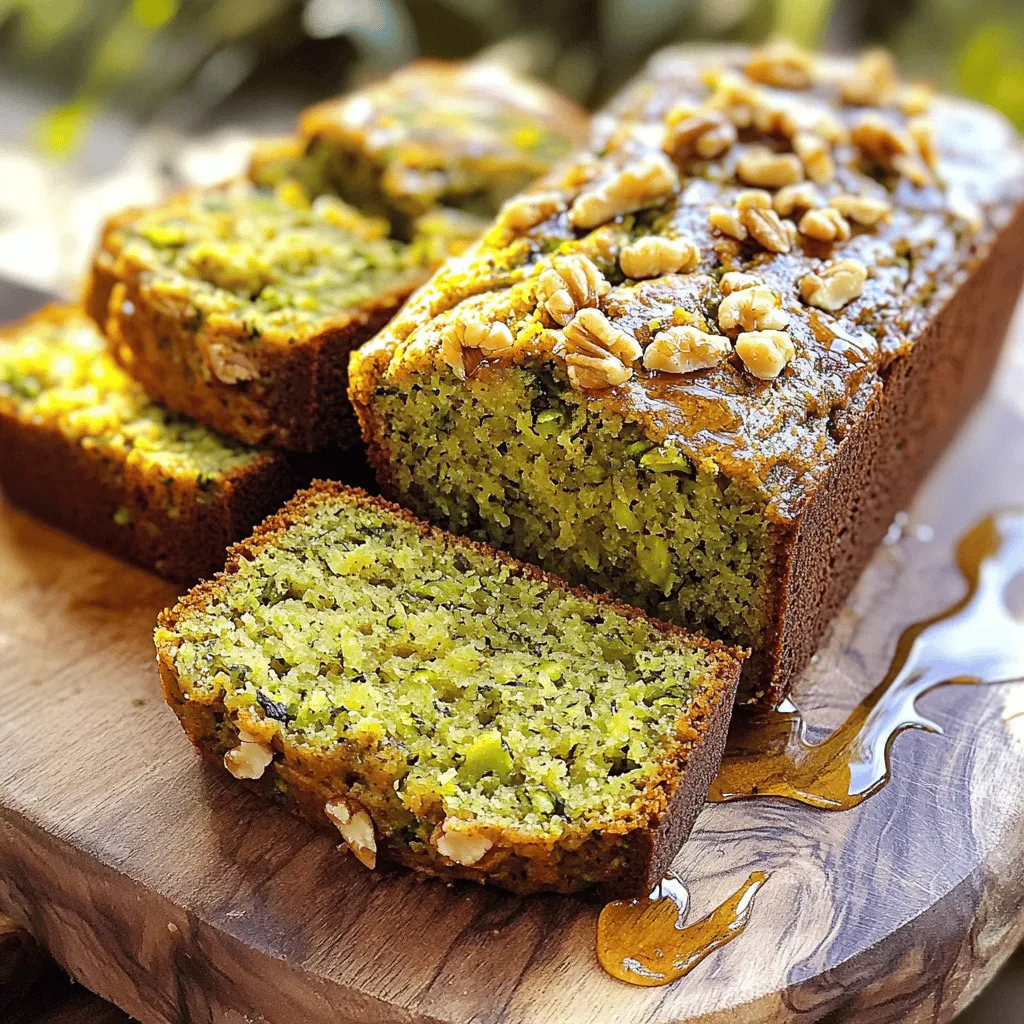
Zucchini Banana Bread Flavorful and Moist Recipe
Do you love warm, fresh bread that bursts with flavor? You’re in the right spot! This Zucchini Banana Bread recipe Read Full Recipe -
Fig Cake with Almond and Honey Delight Recipe
Are you ready to indulge in a delightful treat? My Fig Cake with Almond and Honey recipe combines rich flavors Read Full Recipe -
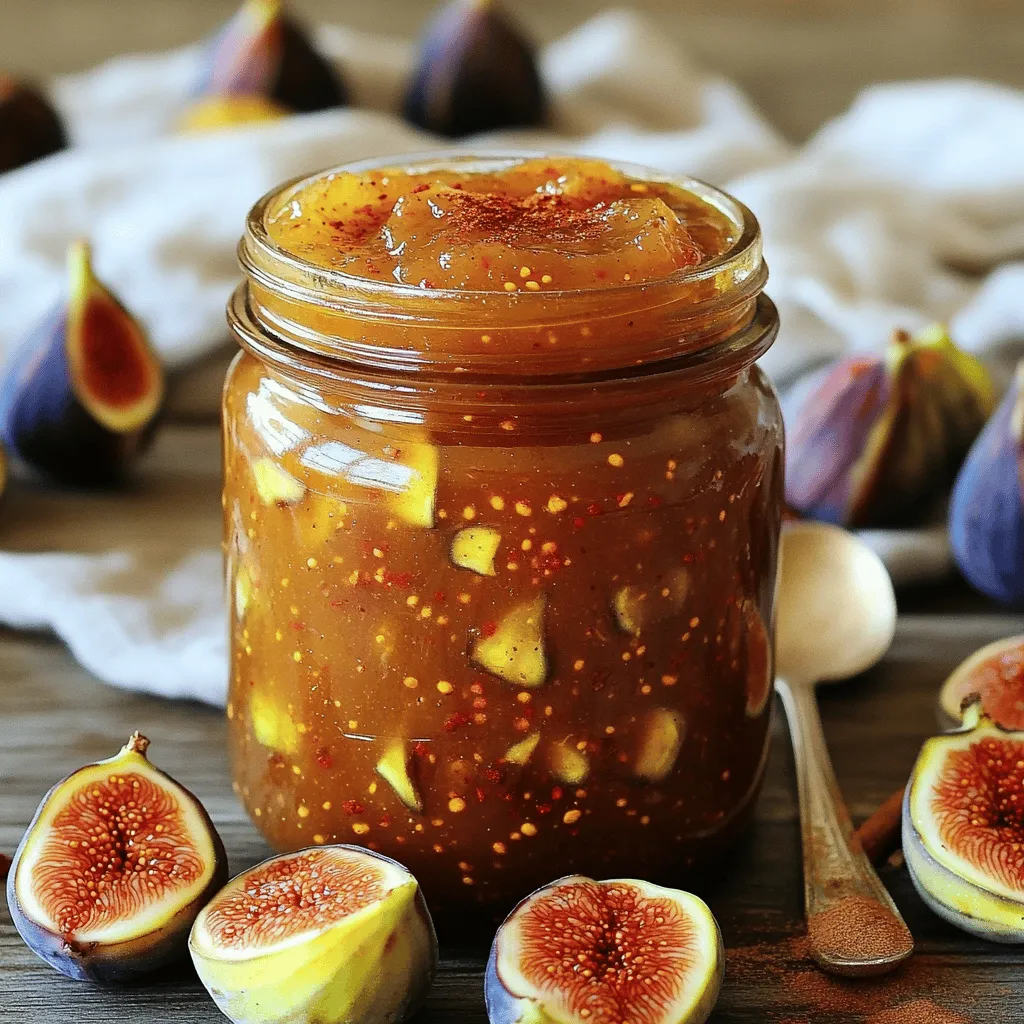
Simple Fig Jam Easy Recipe to Savor and Enjoy
Are you ready to make a burst of flavor with your next kitchen project? This Simple Fig Jam recipe is Read Full Recipe -
Mini Vanilla Cream Tarts with Raspberries Delight
Welcome to the sweet world of Mini Vanilla Cream Tarts with Raspberries! Today, I’ll show you how to make these Read Full Recipe -
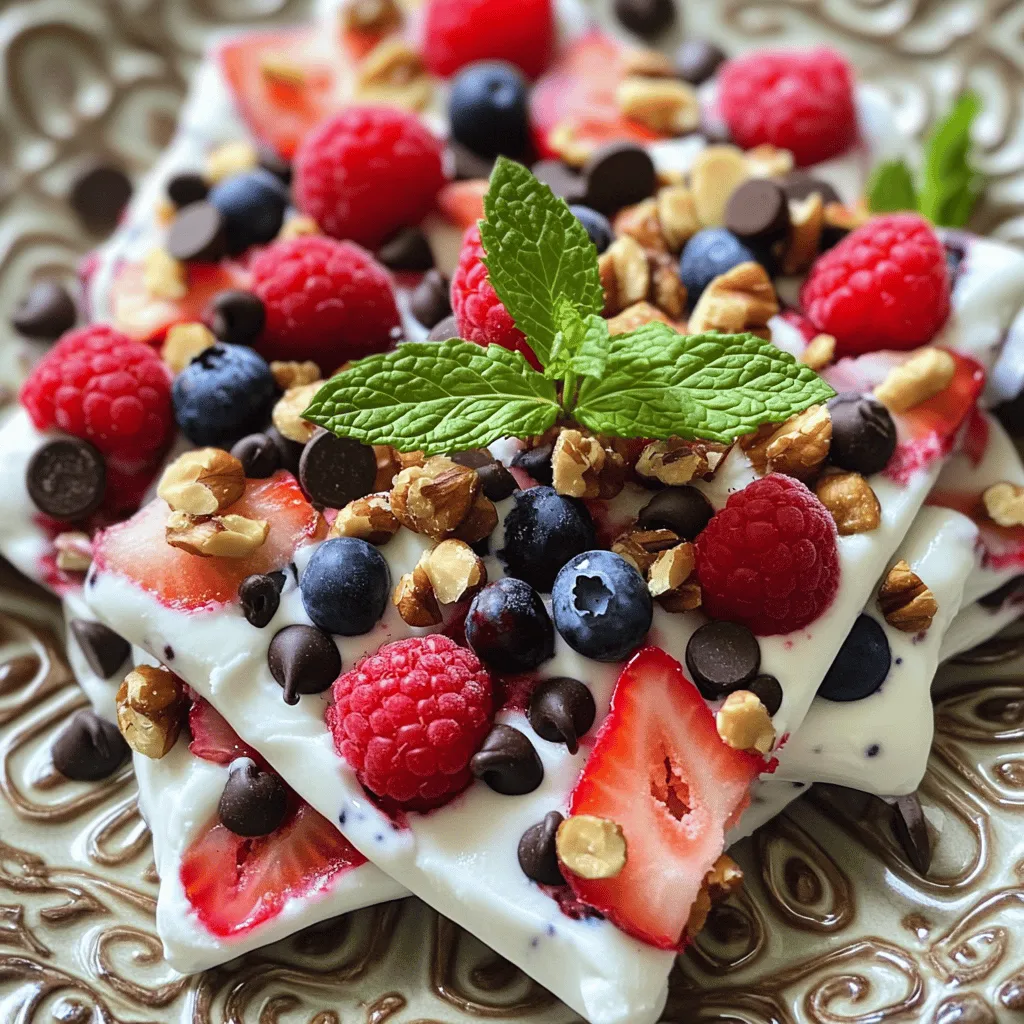
Frozen Yogurt Bark Delightful and Simple Treat
If you’re looking for a quick, tasty treat, frozen yogurt bark is a winner. It’s easy to make and fun Read Full Recipe -
Fruit Salad with Honey Lime Dressing Easy Recipe
Looking for a fresh and easy treat? This Fruit Salad with Honey Lime Dressing is the perfect choice. Bursting with Read Full Recipe -
Blueberry Cheesecake Bars Simple and Delicious Treat
Looking for a dessert that’s easy to make and bursting with flavor? You’ve found it! These Blueberry Cheesecake Bars are Read Full Recipe -
Lemon Cheesecake Crumb Bars Delightful and Fresh Treat
Are you ready to brighten your day with a sweet treat? These Lemon Cheesecake Crumb Bars combine creamy cheesecake with Read Full Recipe -
Blueberry Heaven Cookies Irresistible Sweet Treat
Welcome to your new favorite cookie recipe! Blueberry Heaven Cookies are the perfect blend of sweet and tart, making them Read Full Recipe


hey,
i’m !
I’m so happy you’re here!
I pour heart and skill into every recipe I create. I know you’ll taste the difference now let’s enjoy this flavorful adventure together.
![- 1 pound large shrimp, peeled and deveined - 1 cup fresh pineapple, cut into bite-sized chunks - 1 bell pepper (red or yellow), cut into chunks - 1 red onion, cut into chunks - 1 tablespoon olive oil - 2 tablespoons honey - 1 tablespoon soy sauce - 1 teaspoon sriracha (adjust to taste) - 1 teaspoon garlic powder - Salt and pepper to taste - Wooden skewers (soaked in water for 30 minutes) Gathering fresh ingredients is key. I highly recommend using large shrimp. They hold up well on the grill and soak up flavors nicely. Fresh pineapple makes a sweet contrast to the spice. Choose a ripe pineapple for the best taste. The bell pepper adds crunch and color. Red or yellow works great. The red onion gives a nice bite. Together, these ingredients create a balance of sweet and spicy. The marinade is simple but powerful. Olive oil helps keep the shrimp moist. Honey adds sweetness, while soy sauce brings depth. Sriracha adds a kick, so adjust it to your taste. Garlic powder gives a nice savory note. Make sure to soak the wooden skewers. This step prevents burning while grilling. Soaking for 30 minutes is ideal, so plan ahead. This recipe is not only tasty, but it is also healthy. You can enjoy these skewers as a meal or snack. For the full recipe, refer to the detailed instructions provided. To start, gather your ingredients for the marinade. You need olive oil, honey, soy sauce, sriracha, garlic powder, salt, and pepper. In a mixing bowl, whisk these ingredients together. Make sure they blend well. This mix adds flavor to the shrimp. You can adjust the sriracha to make it spicier or milder. Now, it's time to marinate the shrimp. Add the peeled and deveined shrimp to your marinade. Toss them gently to coat each shrimp well. Cover the bowl and place it in the fridge. Let the shrimp marinate for about 30 minutes. This step helps the shrimp absorb all the tasty flavors. While the shrimp marinates, prepare your skewers. If you use wooden skewers, soak them in water for 30 minutes. This will stop them from burning on the grill. Once the shrimp has marinated, take the skewers out. Start by placing a shrimp on the skewer, then add a chunk of pineapple. Follow it with a piece of bell pepper and a piece of red onion. Repeat this pattern until the skewer is full. Preheat your grill to medium-high heat. Once hot, place your skewers on the grill. Cook them for about 2 to 3 minutes on each side. The shrimp should turn pink and opaque. The vegetables become tender and slightly charred. After grilling, drizzle any leftover marinade over the skewers for extra flavor. Enjoy your sweet and spicy pineapple shrimp skewers fresh off the grill! For more details, check out the Full Recipe. Cook the shrimp until they turn pink and opaque. This usually takes about 2-3 minutes per side on the grill. Overcooked shrimp become tough and rubbery. To check doneness, look for a firm texture and a bright color. If you use a meat thermometer, the internal temperature should reach 120°F. When assembling your skewers, alternate shrimp and veggies for even cooking. Start with a piece of shrimp, then add a pineapple chunk, followed by a bell pepper or onion piece. This mix not only looks great but also enhances flavor. Make sure to leave a little space between each piece. This allows heat to circulate and cook everything evenly. For the best flavor, marinate the shrimp for at least 30 minutes. If you have time, marinating for up to 2 hours can deepen the taste. However, avoid marinating shrimp for longer than 2 hours, as the acid in the marinade can start to "cook" the shrimp. This can lead to a mushy texture. Enjoy your sweet and spicy pineapple shrimp skewers with this advice in mind! For the full recipe, check [Full Recipe]. {{image_2}} If you want a twist on the classic shrimp skewers, try using chicken or tofu. Chicken thighs work well; they stay juicy and tender. Cut the chicken into bite-sized pieces, just like the shrimp. Tofu is great for a meat-free option. Use firm or extra-firm tofu, and press it to remove excess water. Marinate it the same way as the shrimp. You can also try fish like salmon or swordfish. Just adjust the cooking time, as fish cooks faster than shrimp. Feel free to mix up the veggies on your skewers! Zucchini, mushrooms, or cherry tomatoes add great flavor and color. You could also use asparagus or even corn on the cob cut into smaller pieces. Just remember to cut all veggies into similar sizes. This ensures they cook evenly. Grilling different vegetables can bring new tastes to your skewers while keeping them colorful and fun. If you like things spicy, add more sriracha to the marinade. You can also use red pepper flakes for extra heat. If you prefer a milder flavor, reduce the sriracha or leave it out entirely. For a sweet touch, add more honey or brown sugar. You can balance the sweetness with lime juice for a zesty kick. Experiment with the spice levels to find your perfect balance. Remember, cooking should be fun and tailored to your taste! For the full recipe, check out Sweet and Spicy Pineapple Shrimp Skewers . To keep your sweet and spicy pineapple shrimp skewers fresh, place them in an airtight container. Make sure to cool them to room temperature first. Store them in the fridge for up to three days. Layer parchment paper between the skewers to avoid sticking. This helps keep the flavors intact. When it’s time to enjoy leftovers, heat them gently. You can use a microwave or a skillet. If using a microwave, cover the skewers loosely with a damp paper towel. Heat for about 1-2 minutes. If you prefer a skillet, warm them over low heat for about 5 minutes. This keeps the shrimp tender and juicy. You can freeze sweet and spicy pineapple shrimp skewers if you want to save them. Wrap them tightly in plastic wrap, then place them in a freezer bag. They can last for up to three months. When you’re ready to eat, thaw them in the fridge overnight. Reheat them as mentioned earlier for the best taste. For the full recipe, check the earlier section. You can tell shrimp is cooked when it turns pink and opaque. This usually takes about 2-3 minutes on each side when grilled. Use a fork to check. If the shrimp curls tightly, it is done. Overcooking makes shrimp tough, so watch closely. Yes, you can use frozen shrimp. Just make sure to thaw them first. Place them in the fridge overnight or run them under cold water for quicker thawing. Pat them dry before marinating to help the flavors stick better. These skewers pair well with many sides. Try serving them with rice or quinoa for a full meal. A fresh salad adds a nice crunch. You can also serve them with grilled veggies or a tangy dipping sauce for extra flavor. You can marinate shrimp for up to 30 minutes. This allows the flavors to soak in without making the shrimp mushy. Marinating for too long can break down the shrimp’s texture. For the best taste, stick to this time frame. For the full recipe, check out the Sweet and Spicy Pineapple Shrimp Skewers section above. This recipe shows you how to make delicious sweet and spicy pineapple shrimp skewers. You learned about the right ingredients, marinade, and cooking methods. I shared tips for the best flavor and texture. You can also explore variations based on your taste. Now, gather your ingredients and enjoy grilling these tasty skewers with family or friends. You’ll impress everyone with this easy, flavorful dish! Happy cooking!](https://foodishtalk.com/wp-content/uploads/2025/07/7e47b2b3-1ee5-46b8-84d8-0283e574575f-300x300.webp)


![The heart of a great vegetable paella lies in its vibrant veggies. Here are the key players: - 1 red bell pepper, diced - 1 yellow bell pepper, diced - 1 zucchini, diced - 1 cup green peas (fresh or frozen) - 1 medium onion, finely chopped - 4 cloves garlic, minced These vegetables add color and flavor. The bell peppers bring sweetness, while zucchini adds a nice texture. Green peas offer a pop of freshness, making each bite exciting. Spices and seasonings make the dish sing. Here’s what you need: - 1 teaspoon smoked paprika - ½ teaspoon saffron threads (or turmeric for a budget-friendly option) - Salt and pepper to taste Smoked paprika gives a warm, smoky flavor. Saffron adds a unique taste and golden hue. If you're looking to save, turmeric works well too. Salt and pepper enhance all the flavors. Choosing the right broth and rice is crucial for the perfect paella. Use: - 3 cups vegetable broth - 1 ½ cups arborio rice Arborio rice is key. It absorbs flavors well and gives a creamy texture. Warm vegetable broth infuses the rice with taste. Keep it warm while cooking to help the rice cook evenly. For the full recipe, check out [Full Recipe]. Start by heating the vegetable broth in a medium saucepan. Use low heat to keep it warm. Add saffron threads for color and flavor. If you're on a budget, substitute with turmeric. This broth will bring depth to your paella. In a large paella pan or a wide skillet, heat olive oil over medium heat. Add finely chopped onion and minced garlic. Sauté them for about 2-3 minutes until soft. The smell will be amazing! Next, add diced red and yellow bell peppers, along with diced zucchini. Cook these veggies for 4-5 minutes until they soften. Season with salt, pepper, and smoked paprika for that extra kick. Now, it's time for the rice. Add arborio rice to the pan and stir for a couple of minutes. This coats the grains in oil and lightly toasts them. Then, carefully pour in the warm vegetable broth. Bring everything to a gentle boil before reducing the heat to low. Let it simmer without stirring for about 20 minutes. After 15 minutes, sprinkle green peas on top. Continue simmering until the rice absorbs all the liquid. This should take around 5 more minutes. Once done, remove the pan from heat. Cover it with a clean kitchen towel or lid. Let it rest for 5 minutes. This helps the flavors meld beautifully. Finally, fluff the paella with a fork and garnish with fresh parsley. Serve with lemon wedges for an added zing! Check out the Full Recipe for more details. To cook rice for paella, choose arborio rice. This rice absorbs flavors well. Rinse it under cold water before cooking. Rinsing helps remove excess starch. This keeps your paella from being too sticky. When adding rice to the pan, toast it lightly. This adds a nutty taste. Remember to not stir once you add the broth. Stirring can make the rice gummy. Instead, let it simmer gently. Authentic paella has depth and warmth. Use smoked paprika for a unique taste. It gives a hint of smokiness that is key. Saffron threads add a beautiful color and flavor. If saffron is too costly, use turmeric. It’s a great substitute and more budget-friendly. Don't forget to season well with salt and pepper. Fresh herbs like parsley add brightness. Always serve with lemon wedges. The lemon juice brightens every bite. To save time, prep your vegetables first. Chop everything before you start cooking. This keeps your cooking process smooth. Use store-bought vegetable broth to cut down on time. You can also use frozen peas. They cook quickly and add color. If you're in a hurry, a pressure cooker can speed up the rice cooking. Just adjust the liquid and timing as needed. These simple tips make cooking easier and faster. For the full recipe, check out the detailed instructions. Enjoy your cooking! {{image_2}} You can make your Vegetable Paella heartier by adding protein. Tofu and tempeh are great choices. They soak up flavors well and add texture. - Tofu: Use firm tofu for the best results. Cut it into cubes and sauté it until golden. Mix it in with your vegetables for a tasty boost. - Tempeh: Tempeh has a nutty flavor. Slice or cube it and cook it until crispy. This adds a nice crunch to your dish. Both options are easy to use and make the meal more filling. Vegetable Paella is flexible. You can mix and match your favorite veggies. Feel free to be creative! Here are some ideas: - Mushrooms: Add sliced mushrooms for an earthy taste. - Asparagus: Toss in asparagus for a fresh crunch. - Spinach: Stir in some spinach for a pop of color and nutrition. Adjust the vegetables based on what you have. Enjoy the vibrant colors and flavors! If you love heat, add some spicy peppers. A little kick can make your paella exciting. Here are ways to spice it up: - Jalapeños: Chop fresh jalapeños and stir them in with the onions. - Red Pepper Flakes: Sprinkle red pepper flakes while cooking for a warm flavor. - Serrano Peppers: Dice serrano peppers for a hotter option. Be careful not to overpower the dish. A little spice goes a long way! To keep your leftover vegetable paella fresh, first let it cool. Once cool, place it in an airtight container. Store it in the fridge for up to three days. Make sure to label the container with the date so you won’t forget. When you're ready to enjoy your leftover paella, reheat it gently. The best way is to use a skillet. Add a splash of vegetable broth or water to keep it moist. Heat it over medium-low heat, stirring often. This helps revive the flavors. You can also use a microwave. Just cover it with a damp paper towel and heat in short bursts. Stir between each burst to ensure even heating. If you want to save your vegetable paella for a longer time, freezing is a great option. First, let it cool completely. Then, transfer it to a freezer-safe container. You can also use freezer bags for easy storage. Make sure to remove as much air as possible before sealing. Vegetable paella can last up to three months in the freezer. When you're ready to eat it, thaw it overnight in the fridge before reheating. For best results, enjoy your paella within a month for the best flavor. If you want the full recipe, check out the [Full Recipe]. The best rice for Vegetable Paella is arborio rice. This rice has a high starch content. It makes the dish creamy and rich. You can use other short-grain rice too. Varieties like bomba or calasparra work well. They absorb flavors and liquids nicely. Avoid long-grain rice, as it won't give the same texture. Yes, you can make Vegetable Paella gluten-free. Most ingredients are naturally gluten-free. Use vegetable broth that is labeled gluten-free. Always check labels on packaged items. This way, you avoid hidden gluten. You can enjoy a tasty paella without worry. To add more flavor, consider these tips: - Use high-quality vegetable broth for depth. - Add a splash of white wine for acidity. - Mix in fresh herbs like thyme or basil. - Try different spices, such as cumin or coriander. - Include roasted vegetables for a smoky taste. These steps will create a more vibrant dish. Yes, Vegetable Paella is great for meal prep. It stores well in the fridge for three days. Just make sure to cool it first. To reheat, use a microwave or stovetop. Add a splash of broth if it seems dry. This dish stays tasty and satisfying, even days later. For a full recipe, check the Full Recipe section. Vegetable paella is a tasty and vibrant dish you can easily make at home. We covered the key vegetables, spices, and broth needed for a perfect flavor. I laid out step-by-step instructions for cooking the rice and enhancing flavors. I also shared tips for best practices and time-saving techniques. Remember, there are many variations, from proteins to spicy options. Lastly, I provided storage information for leftovers and reheating tips. With these insights, you can create a delicious vegetable paella that delights everyone! Enjoy cooking!](https://foodishtalk.com/wp-content/uploads/2025/05/c28dfe33-65ee-4f84-b23b-b2719a0b23bd-300x300.webp)
Buffalo Cauliflower Bites Crispy and Flavorful Snack
Looking for a tasty snack that packs a punch? Buffalo Cauliflower Bites are crispy, flavorful, and easy to make! This delightful dish is perfect…