Latest & Greatest
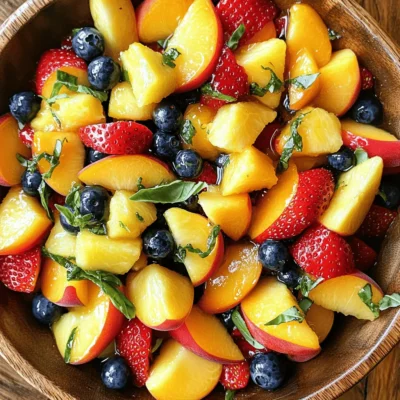
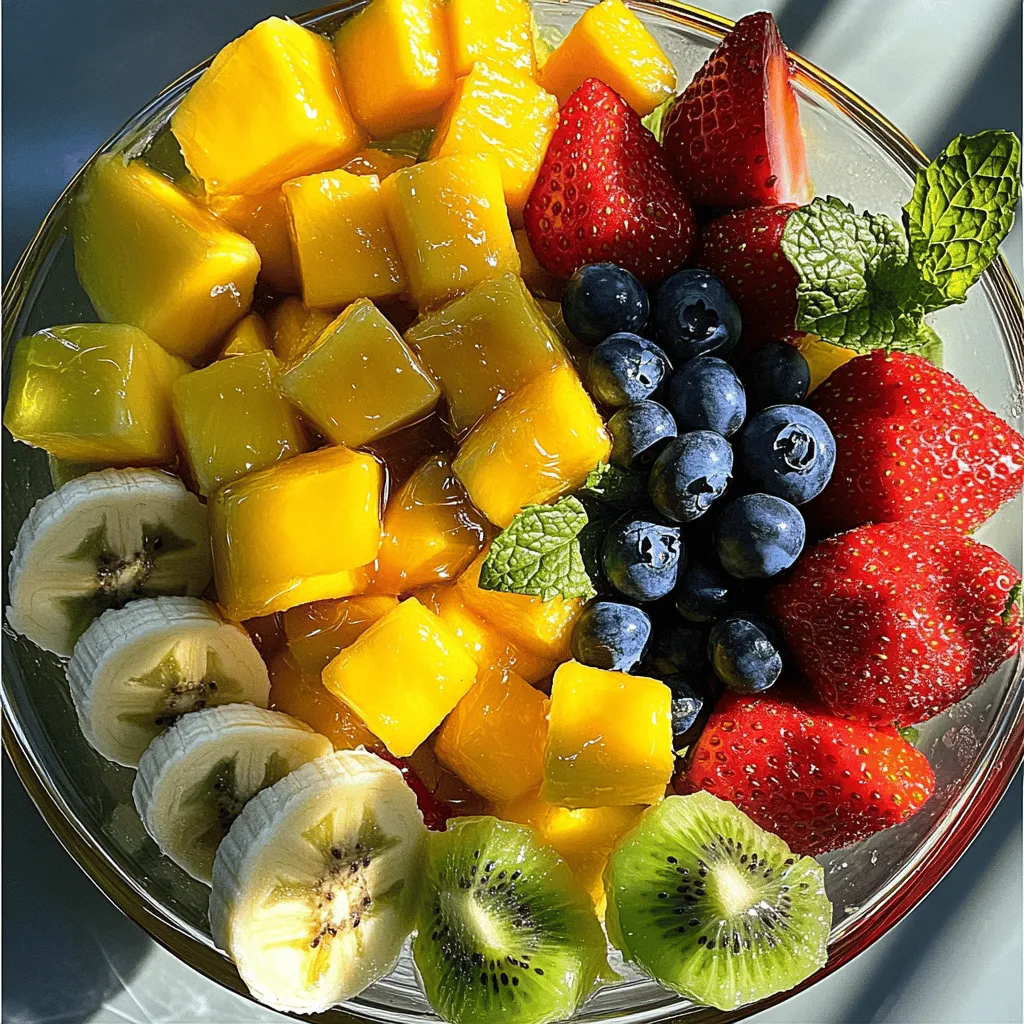
Honey Lime Basil Peach Fruit Salad Fresh and Delicious
Get ready to enjoy a burst of flavor with my Honey Lime Basil Peach Fruit Salad! This refreshing dish is
Read more…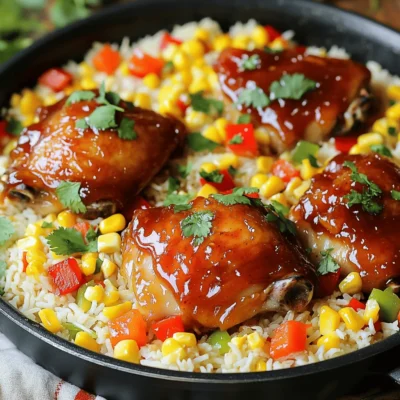
One-Pan Honey BBQ Chicken Rice Flavorful Family Meal
Looking for a tasty family meal that’s quick and easy? Try my One-Pan Honey BBQ Chicken Rice! This dish bursts
Read more…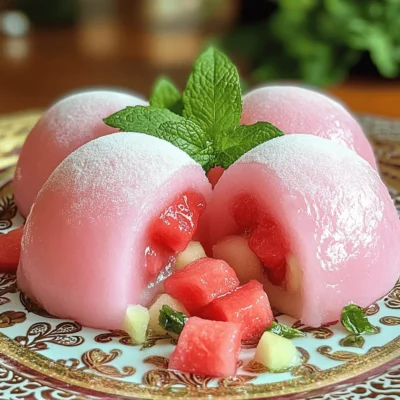
Watermelon Mochi Delightful and Easy Summer Treat
Watermelon mochi is a delightful treat that screams summer fun. This easy recipe combines the sweetness of ripe watermelon with
Read more…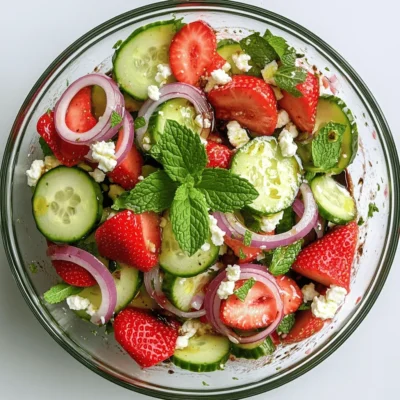
Cucumber Strawberry Salad Fresh and Flavorful Dish
Looking for a vibrant dish that bursts with flavor? Try my Cucumber Strawberry Salad! This fresh pairing of sweet strawberries
Read more…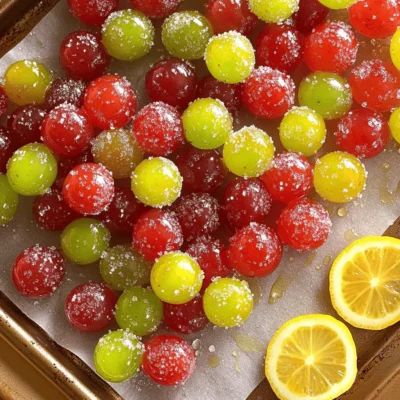
Sour Patch Grapes Tasty and Fun Snack Idea
Looking for a fun and tasty snack? Try making Sour Patch Grapes! This easy treat is perfect for kids and
Read more…
Strawberry and Whipped Cream Puff Pastries Delight
Welcome to my kitchen, where delicious Strawberry and Whipped Cream Puff Pastries await! These tasty treats are perfect for any
Read more…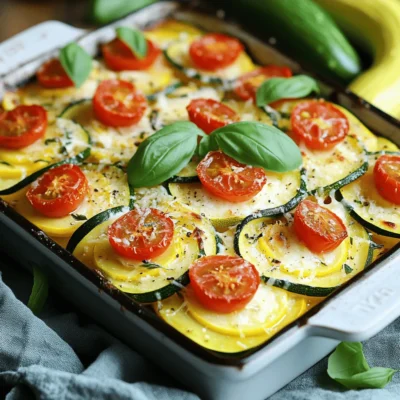
Healthy Summer Squash Casserole Tasty and Nourishing Dish
Looking for a delicious way to enjoy fresh summer squash? I’ve got you covered! My Healthy Summer Squash Casserole is
Read more…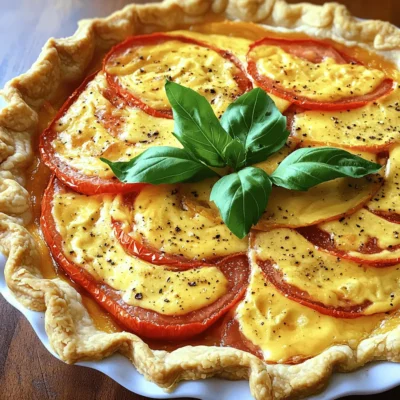
Pimento Cheese Tomato Pie Flavorful and Easy Recipe
If you want a dish that’s bursting with flavor and super easy to make, look no further! My Pimento Cheese
Read more…browse recipes
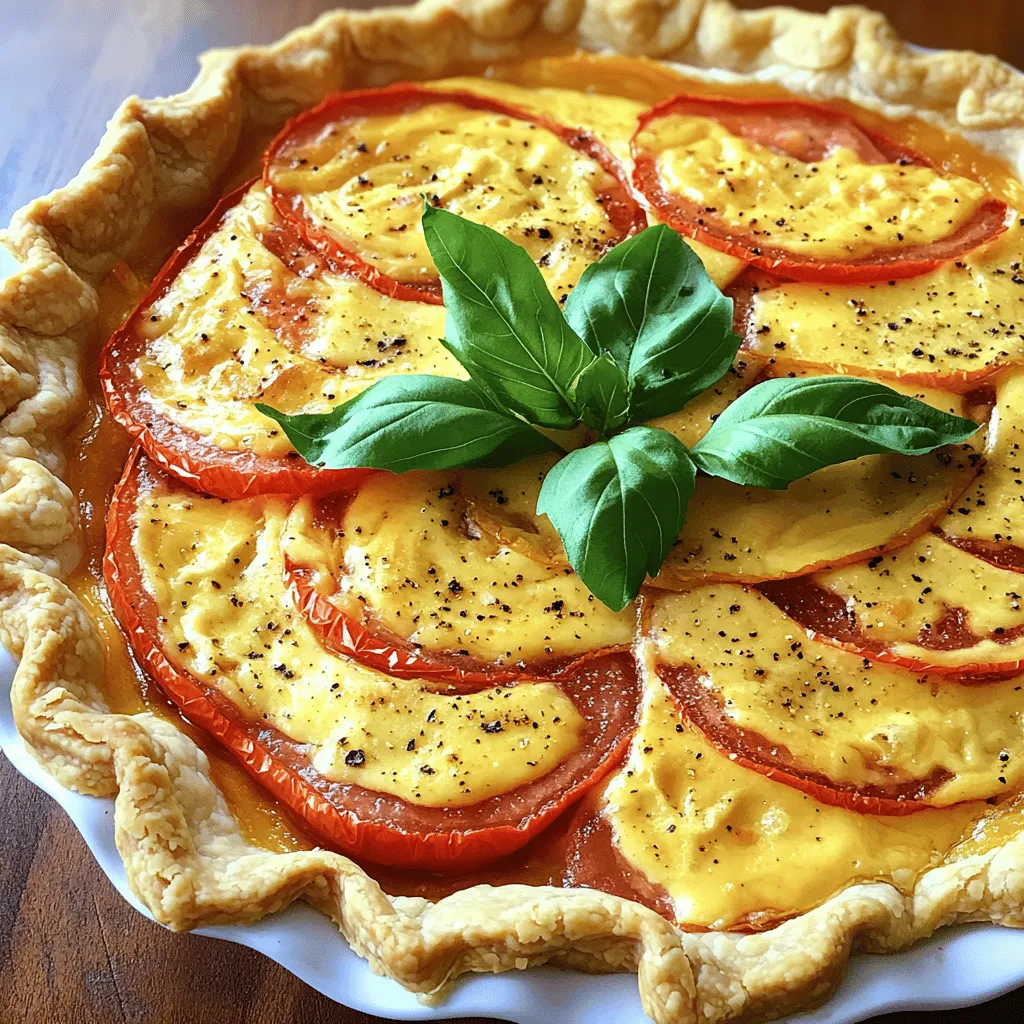
Pimento Cheese Tomato Pie Flavorful and Easy Recipe
If you want a dish that’s bursting with flavor and super easy to make, look no further! My Pimento Cheese Tomato Pie is a…
My Latest Desserts
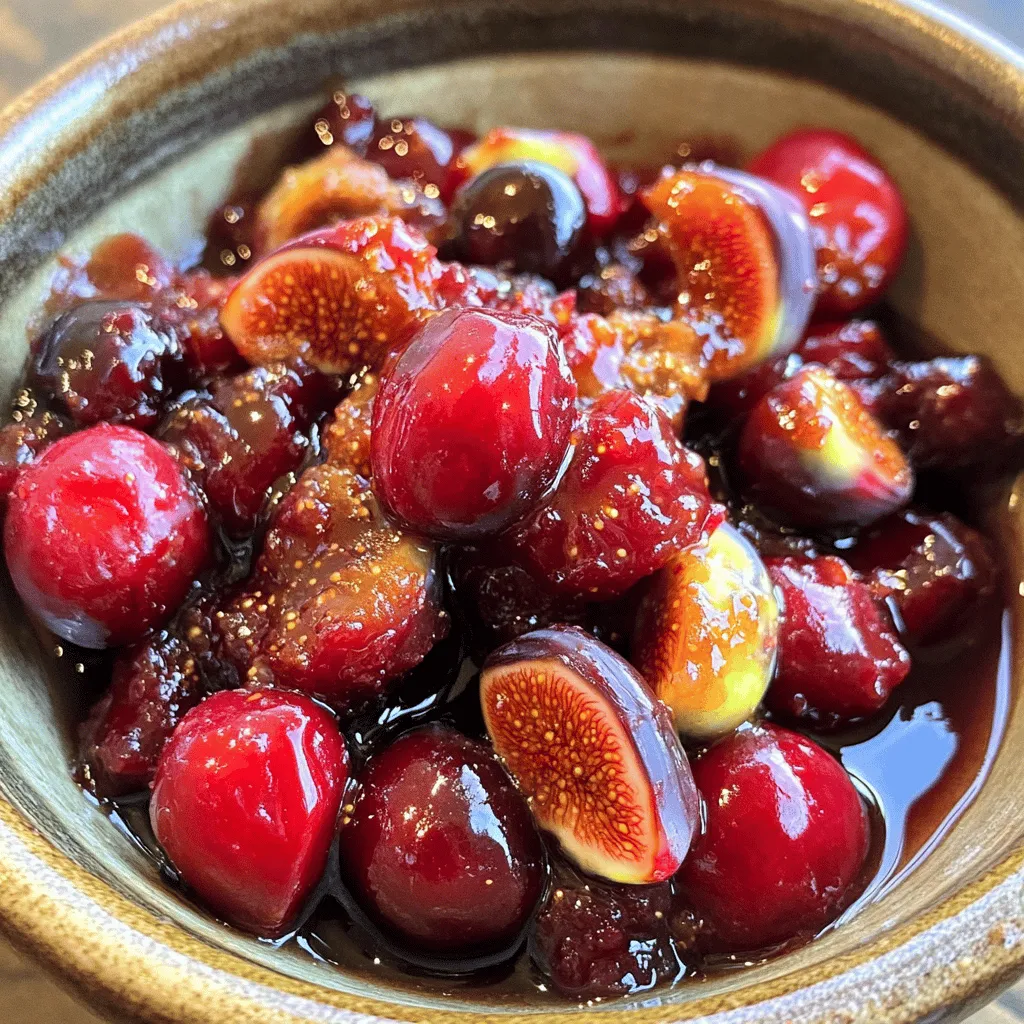
Ginger Fig Cherry Compote Flavorful and Easy Recipe
Are you ready to explore a dish that bursts with flavor? This Ginger Fig Cherry Compote is not only easy Read Full RecipeZucchini Banana Bread Flavorful and Moist Recipe
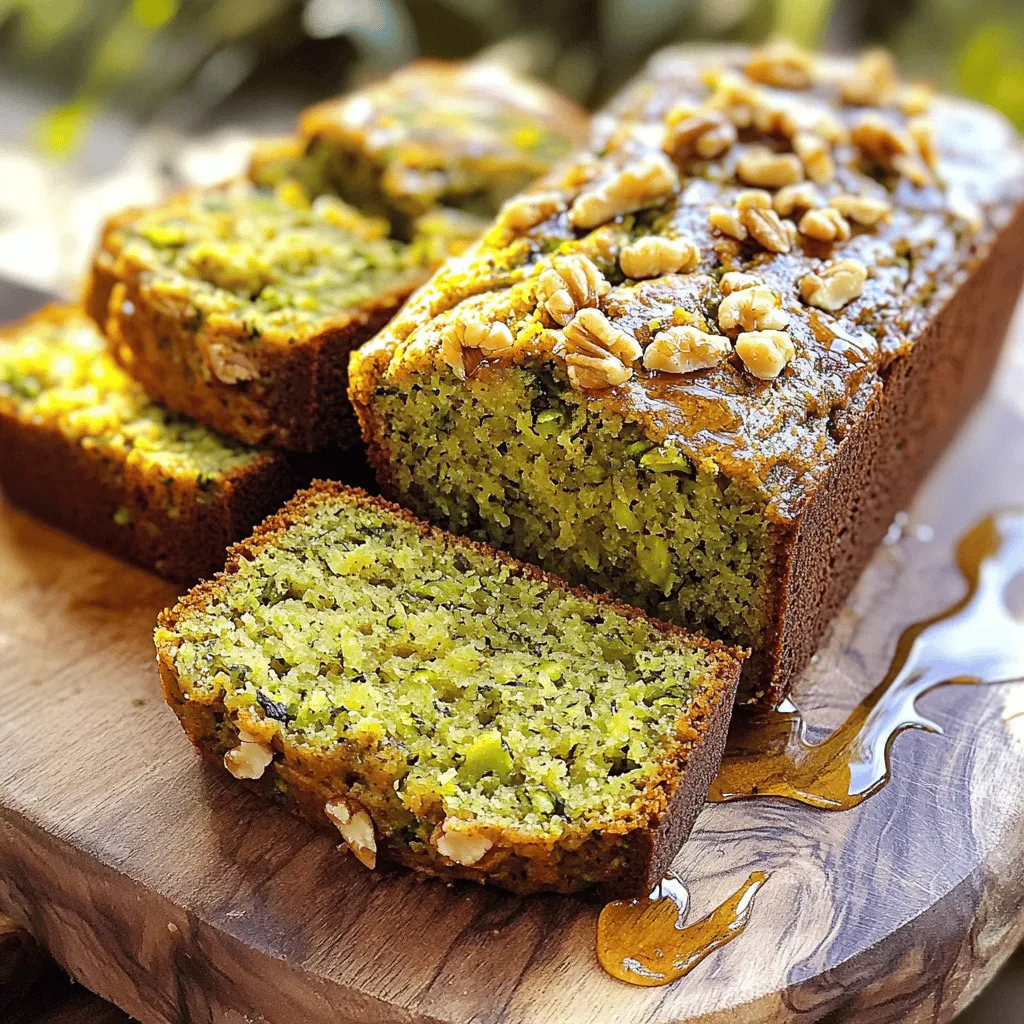
Do you love warm, fresh bread that bursts with flavor? You’re in the right spot! This Zucchini Banana Bread recipe Read Full RecipeFig Cake with Almond and Honey Delight Recipe
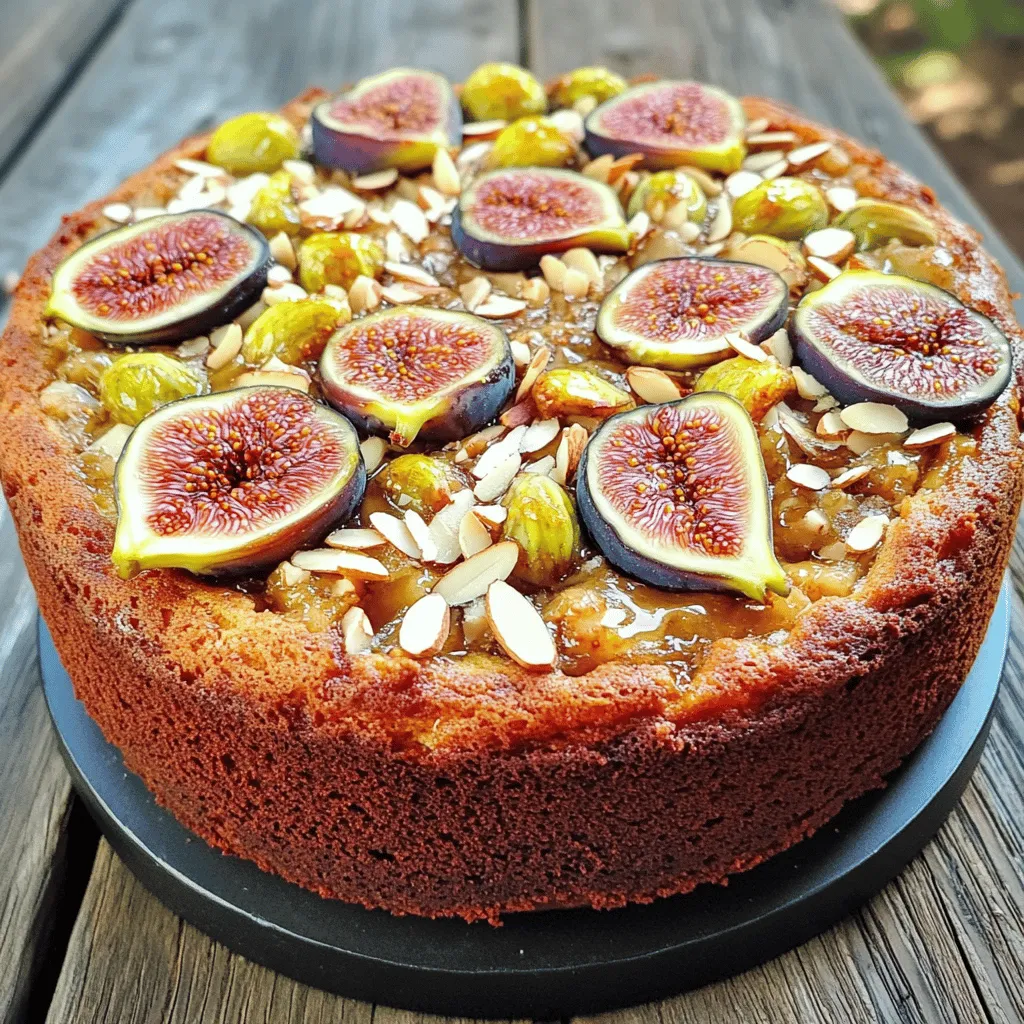
Are you ready to indulge in a delightful treat? My Fig Cake with Almond and Honey recipe combines rich flavors Read Full RecipeSimple Fig Jam Easy Recipe to Savor and Enjoy
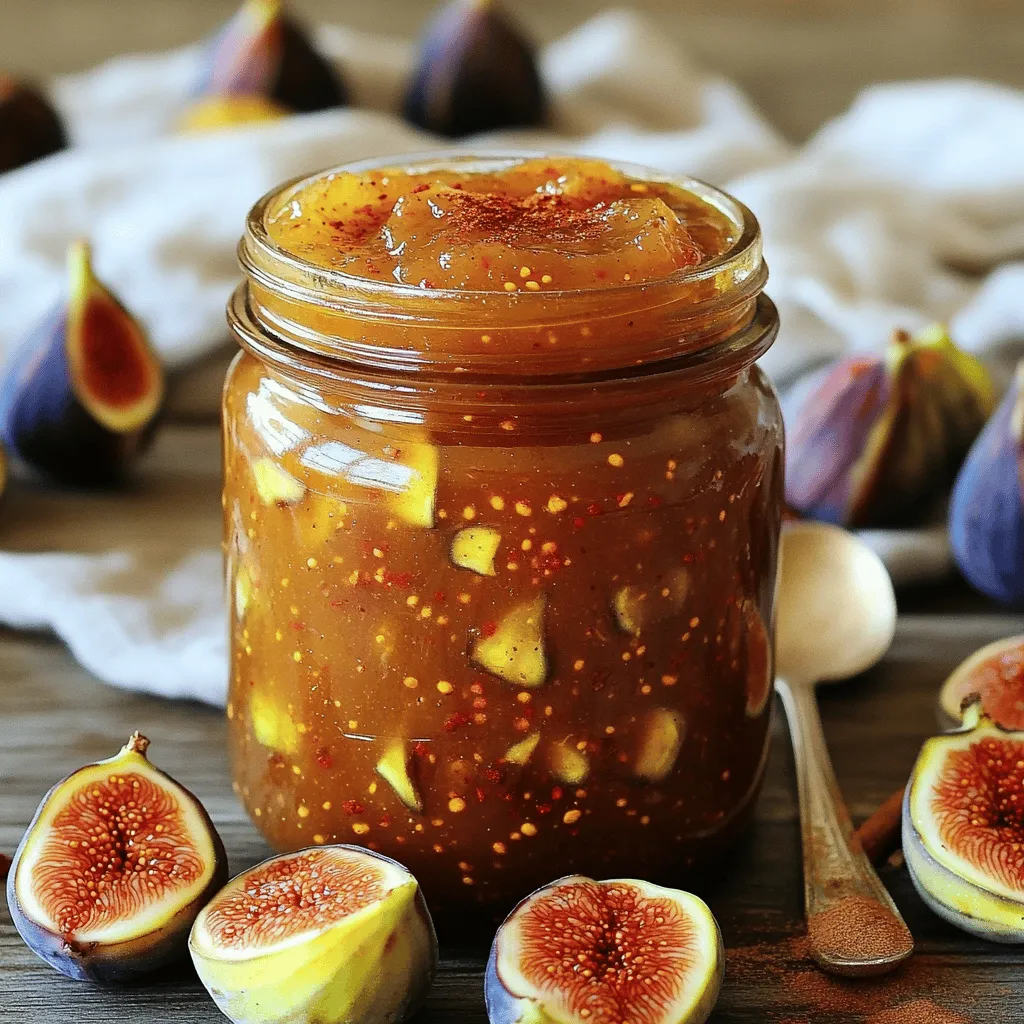
Are you ready to make a burst of flavor with your next kitchen project? This Simple Fig Jam recipe is Read Full RecipeMini Vanilla Cream Tarts with Raspberries Delight
Welcome to the sweet world of Mini Vanilla Cream Tarts with Raspberries! Today, I’ll show you how to make these Read Full RecipeFrozen Yogurt Bark Delightful and Simple Treat
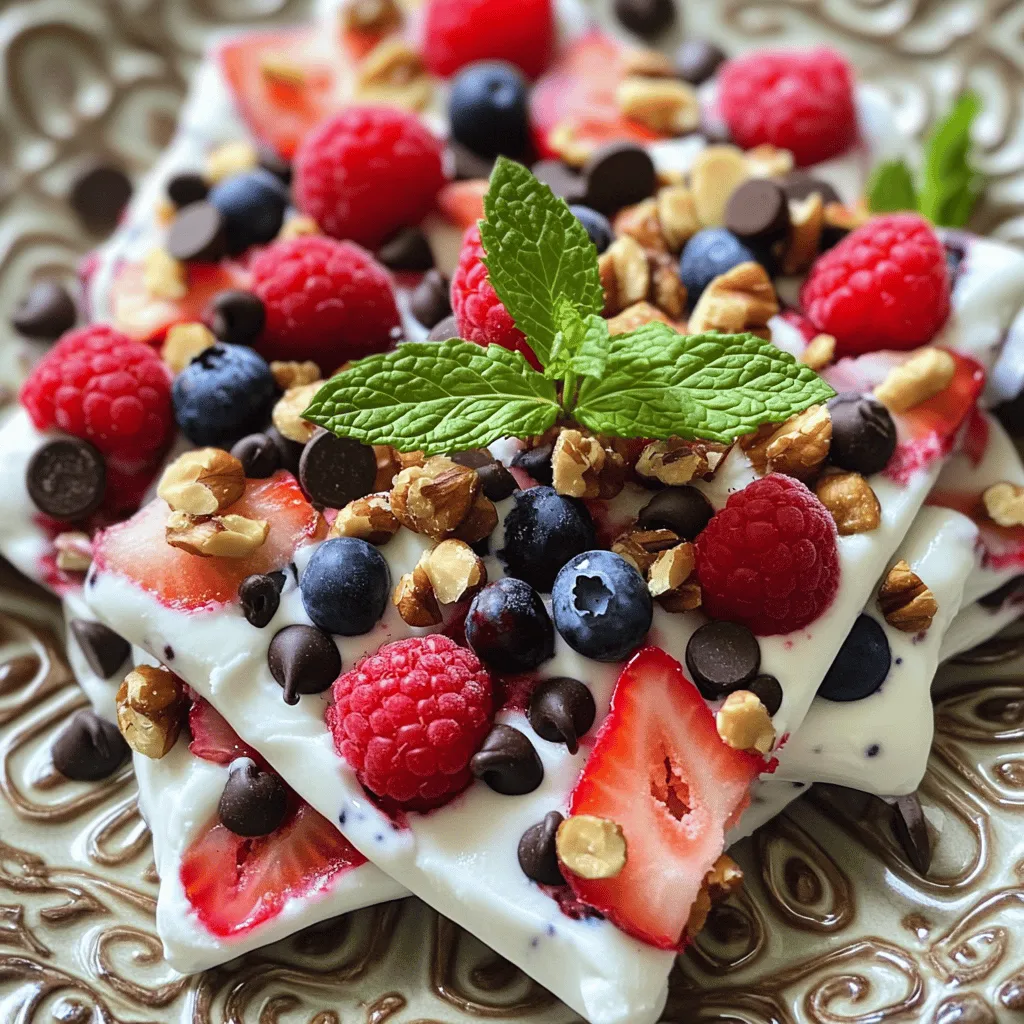
If you’re looking for a quick, tasty treat, frozen yogurt bark is a winner. It’s easy to make and fun Read Full RecipeFruit Salad with Honey Lime Dressing Easy Recipe
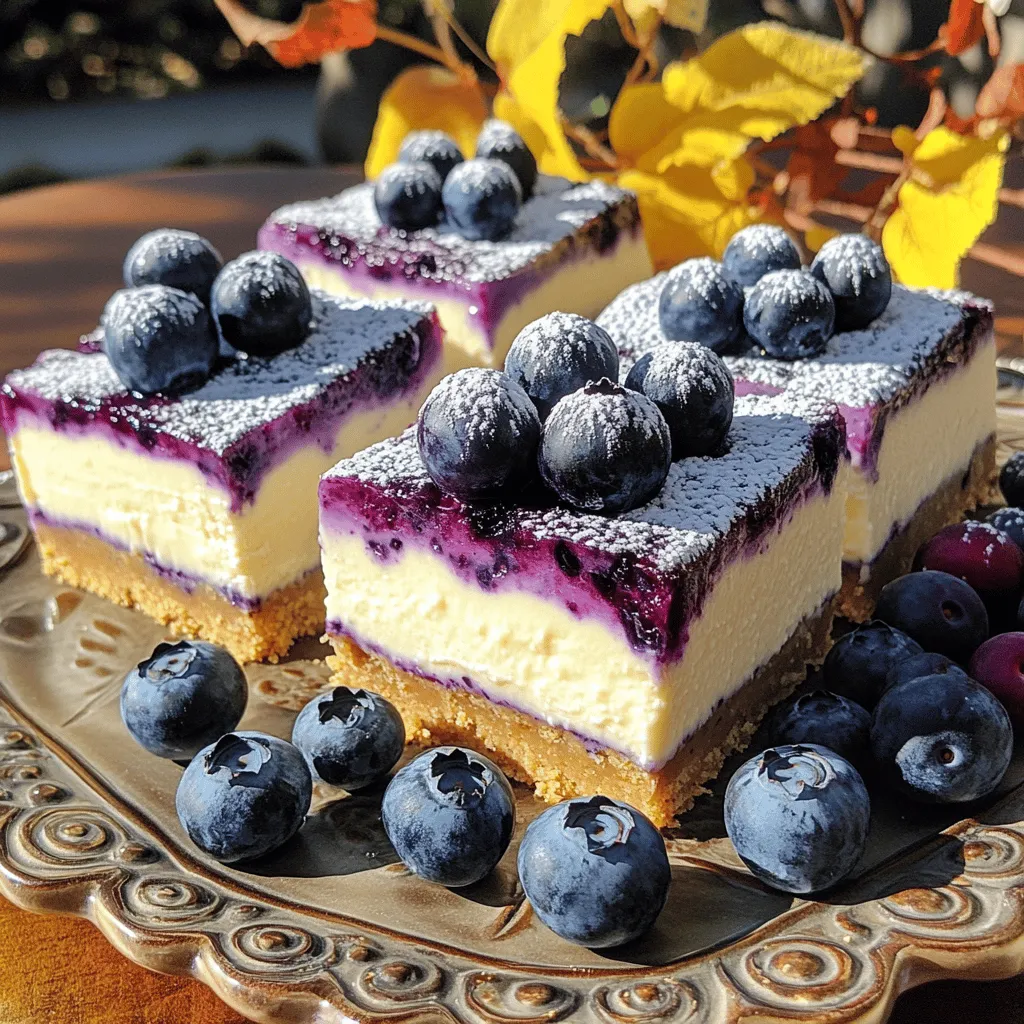
Looking for a fresh and easy treat? This Fruit Salad with Honey Lime Dressing is the perfect choice. Bursting with Read Full RecipeBlueberry Cheesecake Bars Simple and Delicious Treat
Looking for a dessert that’s easy to make and bursting with flavor? You’ve found it! These Blueberry Cheesecake Bars are Read Full RecipeLemon Cheesecake Crumb Bars Delightful and Fresh Treat
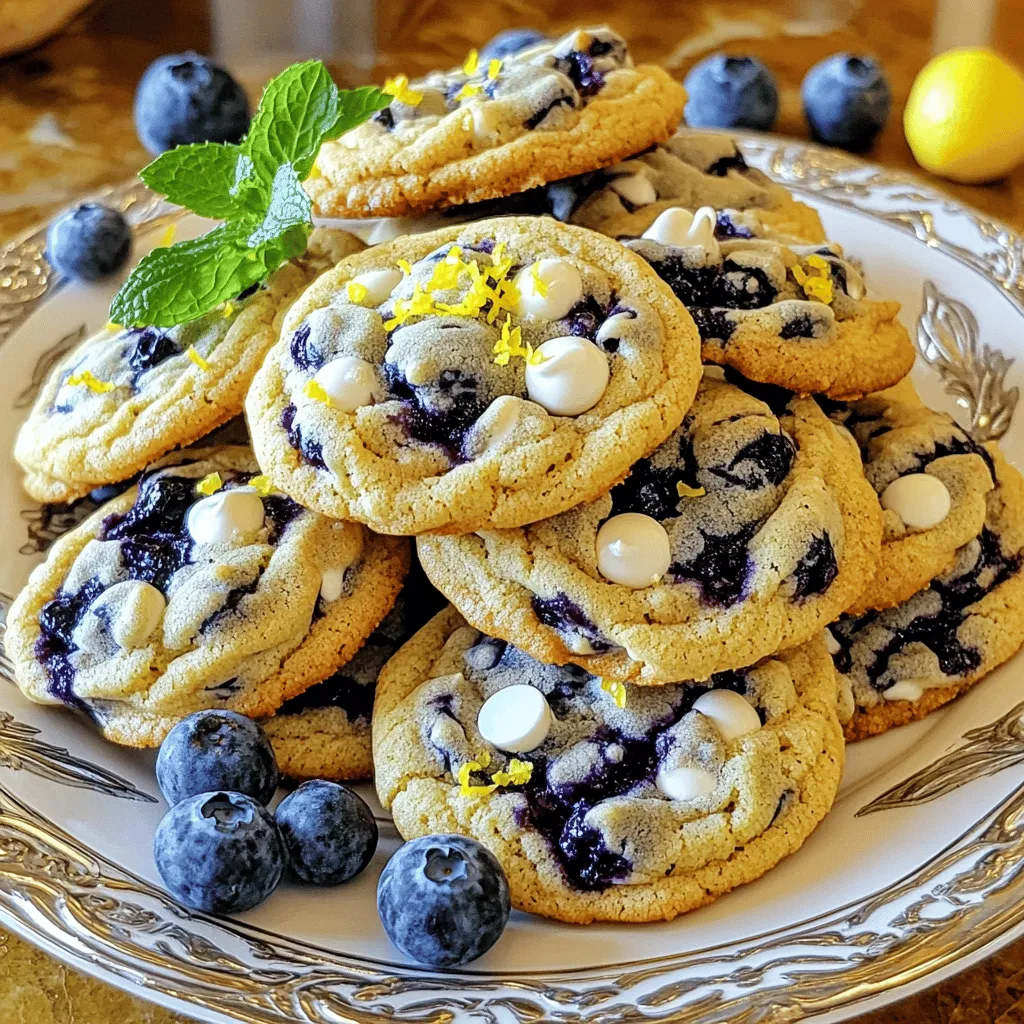
Are you ready to brighten your day with a sweet treat? These Lemon Cheesecake Crumb Bars combine creamy cheesecake with Read Full RecipeBlueberry Heaven Cookies Irresistible Sweet Treat
Welcome to your new favorite cookie recipe! Blueberry Heaven Cookies are the perfect blend of sweet and tart, making them Read Full Recipe
hey,
i’m !
I’m so happy you’re here!
I pour heart and skill into every recipe I create. I know you’ll taste the difference now let’s enjoy this flavorful adventure together.
Garlic Butter Roasted Carrots Tasty and Simple Side
Looking for a simple yet delicious side dish? Garlic Butter Roasted Carrots are your answer! This recipe combines sweet baby carrots with rich garlic…
. First, preheat your oven to 400°F (200°C). This temperature helps the carrots roast well and get that nice caramelization. While the oven heats up, wash and trim your baby carrots. If you can’t find baby carrots, you can cut regular carrots into sticks. Aim for pieces that are similar in size. This way, they cook evenly. In a large bowl, mix 4 tablespoons of melted unsalted butter with 4 minced garlic cloves, 1 teaspoon of fresh thyme leaves, 1 tablespoon of honey, salt, and pepper. Stir it well until everything combines. For extra flavor, you can try adding a pinch of red pepper flakes or a splash of lemon juice. These small changes can make a big difference. Now, it’s time to roast. Add the carrots to your garlic butter mixture. Toss them until they are fully coated. Next, spread the carrots in a single layer on a baking sheet lined with parchment paper. Make sure not to crowd them; this ensures they roast evenly. Halfway through cooking, about 15 minutes in, give the carrots a good stir. This helps them cook and brown on all sides. You can find the full recipe for garlic butter roasted carrots to follow along easily. Enjoy your cooking! To get the best roast, choose baby carrots. They cook quickly and turn soft inside. When you coat them with the garlic butter mix, make sure every carrot gets a good layer. This helps with flavor and color. Roast them at 400°F for 25 to 30 minutes. Stir halfway to ensure even cooking. You want them tender and slightly caramelized. If you like more flavor, taste the carrots before serving. Add more salt or pepper if needed. For a beautiful look, serve your garlic butter roasted carrots on a big platter. Drizzle any leftover garlic butter from the baking sheet on top. It adds flavor and shine. You can also sprinkle some fresh parsley on them for color. Pair these carrots with roasted chicken or fish. They make a great side dish and add a pop of color to your meal. One common mistake is overcrowding the baking sheet. If you pile too many carrots together, they won’t roast well. They need space for the hot air to circulate. Another mistake is using the wrong size carrots. Try to use baby carrots for the best texture. If you use larger ones, cut them into smaller pieces. This way, they cook evenly and don’t take too long. Following these tips will help you make perfect garlic butter roasted carrots every time. You can find the Full Recipe for more details. {{image_2}} You can change the flavor of garlic butter roasted carrots in fun ways. Try adding spices like paprika or cumin. Paprika gives a mild heat and a lovely color. Cumin adds a warm, earthy tone that pairs well with the sweetness of carrots. You can also incorporate citrus zest for freshness. Lemon or orange zest brightens the dish and adds a nice zing. Just a little zest goes a long way, so use about a teaspoon for great flavor. Want a quicker way to make these carrots? Try the air fryer! Set your air fryer to 375°F (190°C) and cook for about 15-20 minutes. Toss the carrots halfway through for even cooking. They will be crispy and full of flavor. You can also grill the carrots for a smoky flavor. Toss them in the garlic butter mixture, then place them on a hot grill. Cook for about 10-15 minutes, turning often. The grill marks add a lovely touch, and the smoky flavor is amazing. These garlic butter roasted carrots pair well with many side dishes. Try them alongside creamy mashed potatoes or a light salad. They are also great with grains like quinoa or farro for a healthy option. For protein pairings, consider serving them with grilled chicken or baked salmon. Both proteins complement the sweetness of the carrots well. You can also try them with a hearty lentil dish for a vegetarian meal. For the complete recipe, check out the Full Recipe section. To keep your garlic butter roasted carrots fresh, follow these tips: - Refrigeration: Allow the carrots to cool completely. Then, store them in an airtight container. They will stay fresh in the fridge for about 4 to 5 days. - Freezing: If you want to save some for later, freeze the roasted carrots. First, let them cool. Then, place them in a freezer bag, removing as much air as possible. They can last for up to 3 months in the freezer. When it's time to enjoy your leftover roasted carrots, use these methods for the best taste: - Oven: Preheat your oven to 350°F (175°C). Spread the carrots on a baking sheet. Heat for about 10 to 15 minutes until warm. This method helps keep their texture. - Microwave: Place the carrots in a microwave-safe dish. Cover with a damp paper towel. Heat for about 1 to 2 minutes, checking every 30 seconds. This method is faster, but it may make them softer. Knowing how long your roasted carrots last helps avoid waste: - In the fridge: Roasted carrots last for about 4 to 5 days. Keep an eye on them to enjoy their best flavor. - Signs of spoilage: Check for sliminess or an off smell. If you notice any of these signs, it’s best to toss them. Enjoying fresh food is key! For more details, check out the Full Recipe for garlic butter roasted carrots. Garlic butter roasted carrots need about 25 to 30 minutes to cook. Preheat your oven to 400°F (200°C). This temperature helps the carrots caramelize nicely. Stir the carrots halfway through. This ensures they roast evenly. You want them tender but not mushy. Check them with a fork for the right texture. Yes, you can swap carrots for other veggies. Try using baby potatoes or zucchini. They roast well with garlic butter. You may need to adjust cooking times. For example, potatoes may need longer than carrots. Broccoli or bell peppers are great too. Just cut them into similar sizes for even cooking. Garlic butter roasted carrots pair well with many dishes. Serve them with grilled chicken or fish. They also go great with steak or pork. For a vegetarian meal, add quinoa or a grain salad. A glass of white wine, like Sauvignon Blanc, complements the flavors. This makes for a complete meal experience. For the full recipe, check the recipe section above. Garlic butter roasted carrots are easy to make and delicious. We covered ingredients, steps, and tips for success. You learned about variations, storage options, and common mistakes to avoid. This recipe adds flavor and nutrition to meals. Feel free to experiment with other vegetables or spices to customize your dish. Enjoy the vibrant taste of roasted carrots, and don't be afraid to share your cooking adventures. Cooking simple dishes like this builds confidence in the kitchen.](https://foodishtalk.com/wp-content/uploads/2025/06/c861c06f-3dd8-4fc1-92d6-0d9433bc1c8e.webp)





. To make your chicken fajitas shine, focus on the marinade. Use fresh lime juice to add zest. Let the chicken soak in the mix for at least 30 minutes. The longer, the better! This step helps the flavors seep into the meat, making it tender and tasty. Also, don't skip the garlic; it adds a rich flavor. While cooking, use high heat. This gives your chicken a nice sear. It also creates those beautiful brown bits that taste great. When you add the veggies, keep them crisp. Don't overcook them; a little char is perfect. One common mistake is overcrowding the pan. If you add too much chicken or veggies, they will steam instead of sear. Cook in batches if needed. Another mistake is not seasoning enough. Make sure to taste and adjust the salt and spices. Don't forget to warm your tortillas! Cold tortillas can ruin the dish. Heat them in a pan or microwave until soft. Finally, avoid skipping the toppings. They add flavor and texture to your fajitas. Fajitas are fun to serve! Create a fajita bar with toppings. Use sour cream, guacamole, shredded cheese, and salsa. You can also add fresh cilantro or jalapeños for extra flavor. Serve them with lime wedges for a fresh burst. Pair with a side of rice or beans for a heartier meal. You can even offer chips and salsa as a starter. For a drink, try a light Mexican beer or a refreshing limeade. For the full recipe, check out the complete details above. Enjoy your cooking! {{image_2}} You can easily make fajitas without chicken. Use veggies like mushrooms or zucchini. They add a nice texture and soak up flavors well. For a vegan option, swap chicken for tofu or tempeh. Marinate them with the same spices as the chicken. This keeps the taste bold and fun. Spice it up! Add more spices for a kick. Try cayenne pepper or chipotle powder for heat. You can also add fresh herbs like cilantro or parsley. A splash of soy sauce or a dash of liquid smoke adds depth. A good marinade makes a huge difference. Let your chicken or veggies soak in those flavors for at least an hour. Grilling gives fajitas a smoky flavor. You can grill chicken and veggies on skewers. This method is fun and makes for great presentation. Baking is another option. Just spread everything on a baking sheet and roast at 400°F. This method is hands-off and saves time. Both grilling and baking bring out sweetness in the veggies. For the full recipe, check out the Flavorful Chicken Fajitas section. You can store leftover fajitas in an airtight container. Let the fajitas cool down first. Once cool, place the chicken and veggies together. Keep them separate from the tortillas. This helps keep everything fresh. Store them in the fridge for up to three days. To reheat your fajitas, use a skillet on medium heat. Add a splash of water or oil to keep them moist. Cook for about five minutes, stirring often. You can also use a microwave. Just place the chicken and veggies in a safe dish. Heat in 30-second bursts until warm. If you want to freeze fajitas, wrap the chicken and veggies tightly in plastic wrap. Then, place them in a freezer bag. Make sure to squeeze out excess air. You can freeze them for up to three months. When ready to eat, thaw them in the fridge overnight. Reheat following the guidelines above. Enjoying your fajitas later is easy with these steps! For the full recipe, check out the delicious details in the earlier section. Yes, you can use chicken thighs. They add a richer flavor and stay juicy. Thighs have more fat, which keeps them moist. This makes them a great choice for fajitas. Just slice them thinly like breasts. Cook them the same way, and enjoy the taste! Many toppings work well with chicken fajitas. Here are some tasty options: - Sour cream - Guacamole - Shredded cheese - Salsa - Fresh cilantro - Sliced jalapeños Feel free to mix and match. Each topping adds its own flavor. Use what you love best! To spice up your chicken fajitas, add more chili powder or fresh jalapeños. You can also try hot sauce for extra heat. Another option is to use spicy salsa. If you want, marinate the chicken longer with spices. This will enhance the flavor and heat. Enjoy your fiery fajitas for a bold kick! For the complete recipe, check out the Full Recipe section. You now know how to make tasty chicken fajitas from start to finish. We covered the best ingredients, cooking steps, and tips to avoid common mistakes. You also learned ways to vary your dish and store leftovers effectively. Remember, these fajitas are easy to customize based on your taste. Try different veggies or spices for unique flavors. Enjoy your cooking and share your delicious fajitas with others! You’ll surely impress everyone at the table.](https://foodishtalk.com/wp-content/uploads/2025/05/71a4ff8a-f4ec-4e77-85d7-246dcaa40ddd-300x300.webp)

