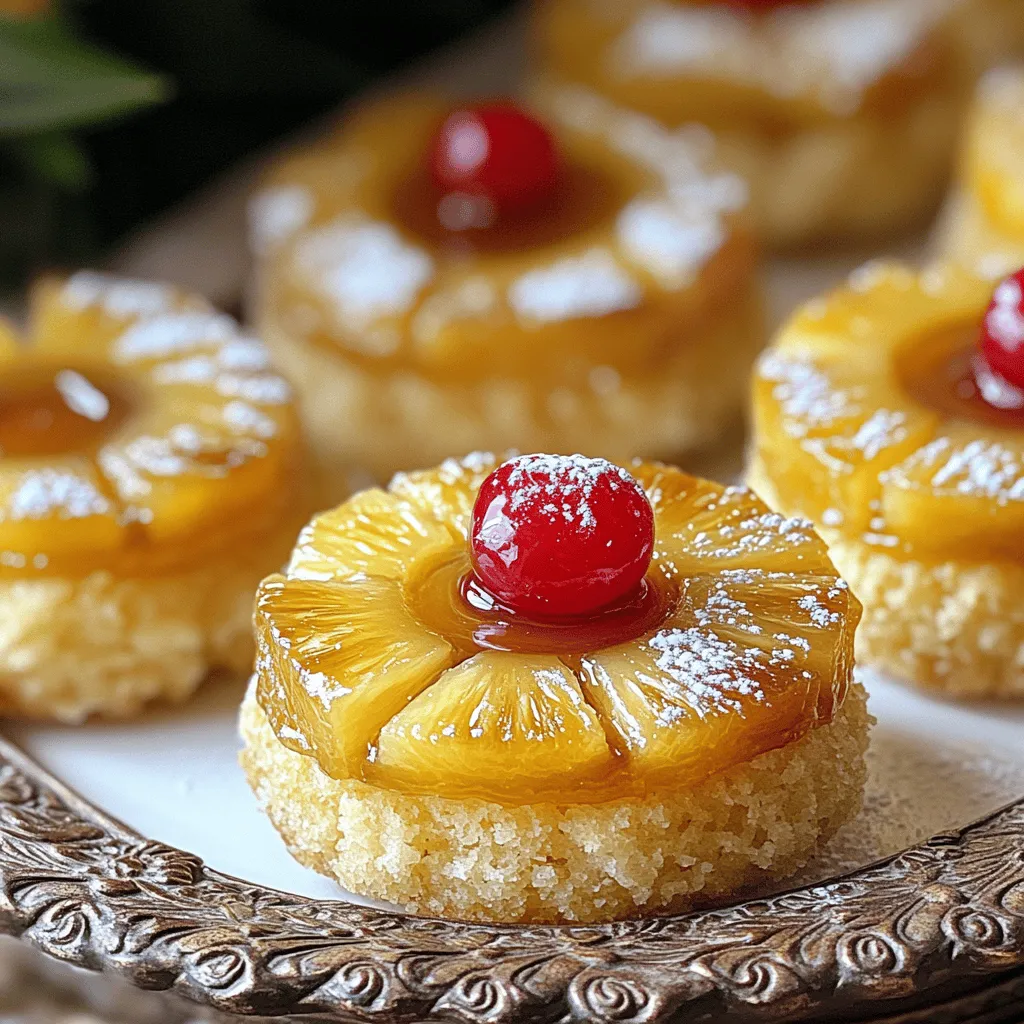
Are you ready to whip up a treat that’s both fun and delicious? Mini Pineapple Upside Down Cakes are the perfect bite-sized dessert for any occasion. They are simple to make and come packed with flavor, making them great for kids and adults alike. In this post, I’ll guide you through an easy recipe, share tips for perfecting your cakes, and reveal some tasty variations. Let’s get baking!Gather these ingredients:
Dry Ingredients
– 1 cup all-purpose flour
– 1 teaspoon baking powder
– 1/2 teaspoon baking soda
– 1/4 teaspoon salt
Wet Ingredients
– 1/2 cup unsalted butter, softened
– 1 cup brown sugar, packed
– 1 large egg
– 1/2 teaspoon vanilla extract
– 1/2 cup buttermilk
Toppings
– 1 can (8 oz) pineapple slices in juice, drained and juice reserved
– Maraschino cherries, for garnish
– Cooking spray or additional butter for greasing
These ingredients will give you a sweet, moist cake with a delightful topping. The combination of butter and brown sugar creates a rich base. The pineapple brings a fruity twist, while cherries add a pop of color. Each bite will take you to dessert heaven!
Step-by-Step Instructions
Preparation Steps
– Preheat oven to 350°F (175°C).
– Grease a 12-cup muffin tin with cooking spray or butter.
Combining Ingredients
– In a small bowl, mix the dry ingredients: flour, baking powder, baking soda, and salt.
– In a large bowl, cream the softened butter and brown sugar together until light and fluffy. This takes about 3 to 4 minutes.
Baking Process
– Add the egg and vanilla extract to the butter mix, blending well.
– Gradually add the dry mix to the butter mix, alternating with buttermilk. Start and end with the flour mix. Be careful not to overmix.
– Spoon about a tablespoon of reserved pineapple juice into each muffin cup.
– Place one slice of pineapple in each cup, adding a cherry in the center of each slice.
– Evenly fill the muffin cups with the cake batter, about three-quarters full.
– Bake in the preheated oven for 18 to 20 minutes. Check if done with a toothpick; it should come out clean.
– Cool the cakes in the pan for 5 minutes, then invert them onto a wire rack. Allow them to cool slightly before serving.Enjoy these mini treats!
Tips & Tricks
Perfecting the Texture
To get the best mini cakes, avoid overmixing the batter. Mix just until you see no dry flour. This helps keep them light and fluffy. After baking, let cakes cool for five minutes in the tin. Then, carefully invert them onto a wire rack. This step helps keep their shape and avoids breaking.
Enhancing Flavor
Using fresh pineapple makes a big difference in taste. It adds a bright, juicy flavor. You can also try flavored extracts. Almond or coconut extract can give your cakes a unique twist. Just add a few drops to the batter for a fun change!
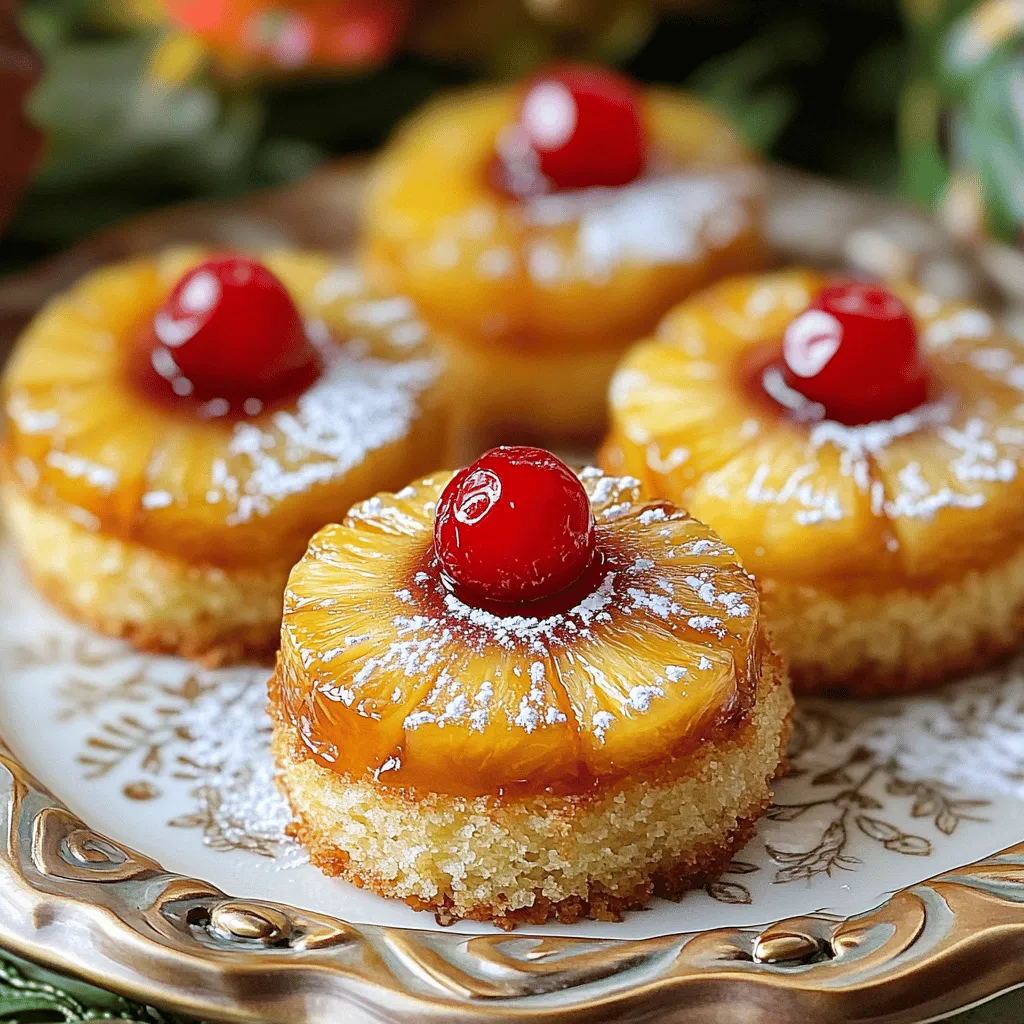
Presentation Tips
Serve your mini cakes warm, topped with a dollop of whipped cream. It adds a creamy touch and makes them look inviting. You can also use small slices of fresh pineapple for extra flair. Arrange them on a decorative platter to impress your guests. A beautiful display makes the cakes even more special!
Variations
Fruit Alternatives
You can switch up the fruit in your mini cakes. Instead of pineapple, use peaches or cherries. These fruits add a new taste and look. You can also try different canned fruits. Look for fruits like pears or apricots. They all work well in this recipe.
Dietary Adjustments
If you need gluten-free options, use gluten-free flour. Many brands offer good choices that work great in baking. You can also make these mini cakes vegan. Use plant-based butter and replace the egg with applesauce or a flax egg. These swaps keep the cakes moist and yummy.
Flavor Twists
For a fun twist, add coconut flakes to the batter. This gives a tropical taste that pairs well with pineapple. You can also incorporate spices like cinnamon or nutmeg. Just a pinch can add warmth and depth to your mini cakes. These small changes can make a big difference in flavor.
Storage Info
Short-Term Storage
You can store your mini pineapple upside down cakes in an airtight container at room temperature. This keeps them fresh for a short time. Make sure the container is sealed well to avoid any dry air getting in.
Long-Term Storage
For long-term storage, freeze individual cakes. Wrap each cake tightly in plastic wrap to prevent freezer burn. This method helps preserve their taste and texture. When you’re ready to enjoy one, simply thaw it in the fridge overnight. If you need it faster, you can leave it out at room temperature for a few hours.
Shelf Life
These little delights are best consumed within 2-3 days for optimal freshness. After that, you may notice a change in texture and flavor. Enjoy them while they are still soft and tasty!
FAQs
How do I know when the mini cakes are done?
To check if the mini cakes are done, use a toothpick. Insert it into the center of one cake. If it comes out clean, the cakes are ready. You can also look for golden brown edges. If they are golden and pull away from the sides, they are done baking.
Can I make these mini cakes in advance?
Yes, you can make these mini cakes ahead of time. To do this, bake them as usual and let them cool. Once cooled, place them in an airtight container. They stay fresh for a couple of days at room temperature. If you want to keep them longer, freeze them. Wrap each cake in plastic wrap before placing them in a freezer bag. Thaw them in the fridge when you’re ready to serve.
Can I substitute ingredients in the recipe?
Sure! You can swap ingredients based on your needs. If you’re gluten-free, use a gluten-free flour blend. For a dairy-free option, try almond milk instead of buttermilk. You can also use coconut oil in place of butter for a vegan version. Just ensure that the substitutions maintain a similar texture in the batter.
This blog post gave you a clear path to making delicious mini cakes. We covered the ingredients, step-by-step instructions, and tips for perfecting your bake. Remember, you can use different fruits or make dietary adjustments as needed. Storing your cakes is easy, ensuring they stay fresh. Enjoy experimenting with flavors and toppings to make each batch unique. Happy baking!


