Are you looking for a healthy, crunchy snack that’s packed with flavor? You’ve found it! My recipe for Air Fryer Crispy Chickpeas offers a delightful twist on snacking. With just a few simple ingredients and quick steps, you’ll create a tasty treat that’s perfect for any time of the day. Let’s dive into the world of crispy, seasoned goodness and turn plain chickpeas into your new favorite snack!
Ingredients
Main Ingredients for Air Fryer Crispy Chickpeas
To make crispy chickpeas, you need a few simple ingredients. Here’s what you will need:
– 1 can (15 oz) chickpeas, drained and rinsed
– 1 tablespoon olive oil
These two main items are the base for your tasty snack. The chickpeas provide protein and fiber, while the olive oil helps them crisp up nicely.
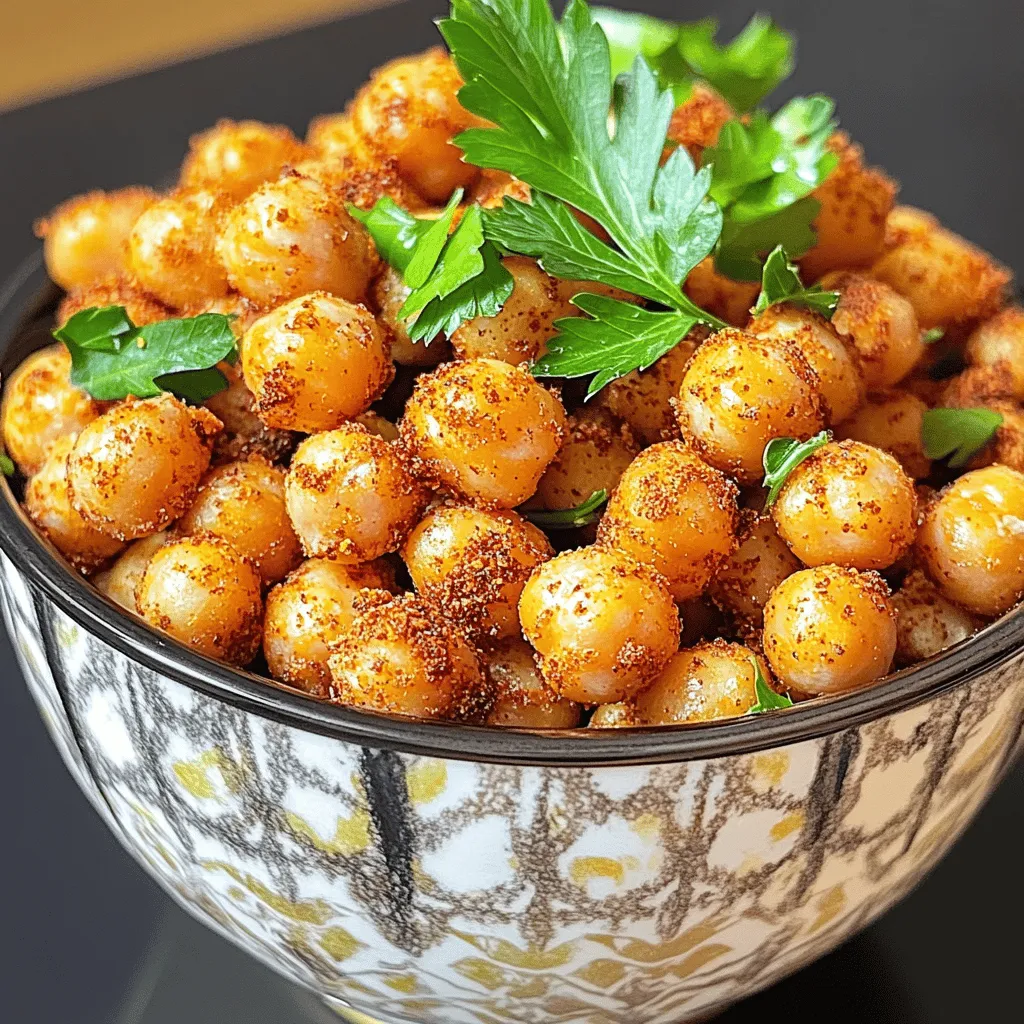
Recommended Seasonings
Seasoning makes all the difference in flavor. Here are the spices I love to use:
– 1 teaspoon garlic powder
– 1 teaspoon smoked paprika
– ½ teaspoon cumin
– ½ teaspoon salt
– ¼ teaspoon black pepper
These seasonings create a delicious mix. Garlic powder gives a savory taste, while smoked paprika adds a bit of warmth. Cumin and black pepper round out the flavors.
Optional Ingredients for Extra Flavor
Want to kick it up a notch? You can add more spices! Consider these options:
– ¼ teaspoon cayenne pepper (for heat)
Cayenne pepper brings a spicy kick. If you like heat, go for it! You can also try adding a sprinkle of your favorite herb for a fresh touch.
Step-by-Step Instructions
Prepping Chickpeas
To start, you need to get your chickpeas ready. Open a can of chickpeas, and drain them well. Rinse them under cool water. This removes the salty liquid and keeps them fresh. Next, pat the chickpeas dry with a clean kitchen towel. This step is key! Dry chickpeas will crisp up better in the air fryer.
Seasoning Process
Now it’s time to add some flavor! In a mixing bowl, add your dried chickpeas. Pour in one tablespoon of olive oil. This helps the seasonings stick. Next, sprinkle in garlic powder, smoked paprika, cumin, salt, black pepper, and cayenne if you like heat. Toss everything together until the chickpeas are well coated. You want every bite to be tasty.
Cooking in the Air Fryer
Preheat your air fryer to 400°F (200°C) for about five minutes. Once heated, place the seasoned chickpeas in the basket. Make sure they are in a single layer. Avoid overcrowding to help them cook evenly. Air fry the chickpeas for 15 to 20 minutes. Shake the basket every five minutes. This keeps them from burning and helps them cook evenly. When they are golden brown and crispy, take them out. Let them cool for a few minutes before serving. They will get even crispier as they cool. Enjoy your crunchy snack!
Tips & Tricks
How to Achieve Perfect Crispiness
To get that perfect crunch, start with dry chickpeas. After rinsing, use a kitchen towel to pat them dry. This step is key! Moisture will make your snack soggy. Use olive oil sparingly; just enough to coat the chickpeas will do. Spread them in a single layer in the air fryer. This allows hot air to circulate and crisp them well. Shake the basket every five minutes to ensure even cooking. You’ll know they’re ready when they turn golden brown.
Common Mistakes to Avoid
A few common mistakes can ruin your crispy chickpeas. First, do not skip drying the chickpeas. This is crucial for crispiness. Avoid overcrowding the air fryer basket. If you pack them too tight, they will steam instead of fry. Lastly, don’t forget to shake the basket. This helps them cook evenly. If you leave them in too long, they can burn. Keep an eye on them!
Enhancing Flavor Profiles with Additional Spices
You can easily take your chickpeas to the next level using spices. After trying the basic recipe, add your favorite spices. For a kick, consider cayenne pepper. If you like sweet flavors, try adding a sprinkle of cinnamon. You can also mix herbs like rosemary or thyme into the mix. Experiment with different spice blends to discover what you love. These little changes can make your crispy chickpeas truly unique and delightful!

Variations
Different Flavor Combinations
You can change the flavor of your crispy chickpeas easily. Try using different spices to match your mood. For a zesty kick, add lemon zest or lime juice. For a sweeter option, toss in some cinnamon and a touch of brown sugar. If you love heat, add more cayenne pepper or chili powder. You can also mix herbs like rosemary or thyme for a fresh taste. The combinations are endless!
Using Other Legumes
Chickpeas are great, but don’t stop there. You can use other legumes for a fun twist. Try black beans, lentils, or even edamame. Each legume has a unique flavor and texture. Adjust the cooking time based on the size and type. Smaller legumes may cook faster, while larger ones may need a bit more time in the air fryer.
Air Fryer vs. Oven-Baked Chickpeas
Air frying and oven baking both produce crispy chickpeas, but they differ. Air fryers cook faster due to hot air circulation. You can achieve golden-brown chickpeas in about 15-20 minutes. Oven-baked chickpeas take longer, around 30-40 minutes. Air fryers also use less oil, making them a healthier choice. If you prefer a hands-off method, oven baking allows you to walk away while they cook. Each method has its perks, so choose what fits your needs best.
Storage Info
Storing Leftover Crispy Chickpeas
After you enjoy your crispy chickpeas, store any leftovers in an airtight container. This keeps them fresh and crunchy. Make sure the container is completely dry before adding the chickpeas. I often use a glass jar with a tight lid. It’s easy to see what’s inside and keeps the flavor intact.
Reheating Tips for Retaining Crispiness
When you’re ready to enjoy the leftovers, reheat them in the air fryer. Set the air fryer to 350°F (175°C) for about 5-7 minutes. This method will help regain their crispiness. If you don’t have an air fryer, use a hot oven instead. Spread them out on a baking sheet and heat for the same time.
Shelf Life and Best Practices
Crispy chickpeas are best eaten fresh. However, if stored properly, they can last up to 5 days. Always check for any signs of moisture or off smells before eating. If they lose their crunch, consider using them in soups or salads. For the best eating experience, try to make only what you’ll eat in a few days.
FAQs
Can I make Air Fryer Chickpeas without oil?
Yes, you can make Air Fryer Chickpeas without oil. Just rinse and dry the chickpeas well. Season them with your favorite spices. They will still be tasty and crunchy. However, using oil helps in achieving a golden color. It also adds a nice flavor that many enjoy. If you skip the oil, choose spices that pack a punch to keep them flavorful.
How do I make chickpeas crispy without an air fryer?
You can make crispy chickpeas in the oven. Preheat your oven to 400°F (200°C). After rinsing and drying the chickpeas, spread them on a baking sheet. Toss them with oil and spices. Bake for 25-30 minutes, shaking the pan halfway through. This method also gives you crunchy chickpeas. Keep an eye on them to prevent burning.
What can I serve crispy chickpeas with?
Crispy chickpeas are great on their own as a snack. You can also serve them with dips like hummus or tzatziki. They make excellent toppings for salads or soups. Mix them into grain bowls for extra crunch. Their versatility makes them a fun addition to many meals.
Air fryer crispy chickpeas are easy and fun to make. We covered main ingredients, seasonings, and optional extras. You learned the best steps for prepping, seasoning, and cooking. I shared tips to avoid common mistakes and achieve the perfect crispiness. We also explored tasty variations and how to store your leftovers. Overall, making these chickpeas gives you a healthy snack with many flavors. Try different spices and legumes to keep it exciting. Crispy chickpeas can fit into any meal! Enjoy your cooking adventure!