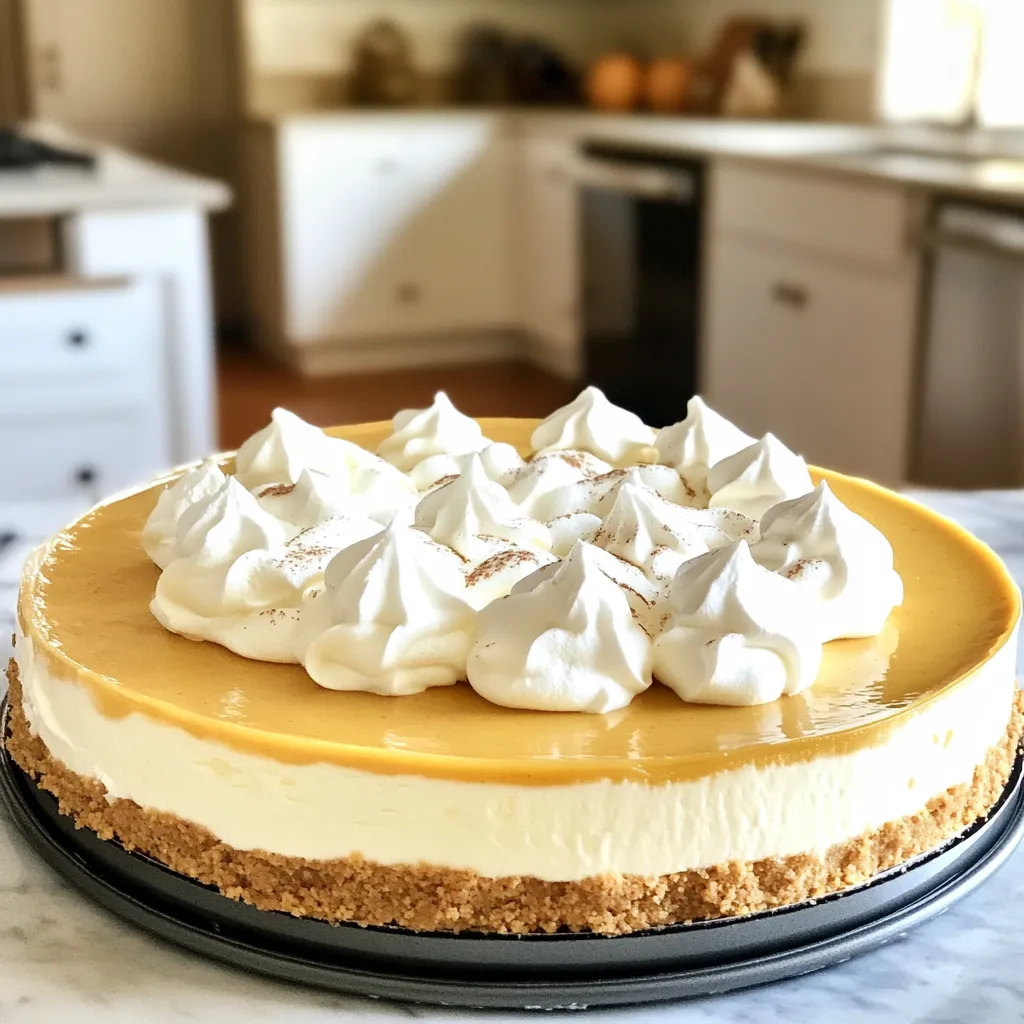
No Bake White Chocolate Pumpkin Cheesecake Delight
Get ready for a treat with my No Bake White Chocolate Pumpkin Cheesecake Delight! This creamy dessert blends sweet white
Get ready for a treat with my No Bake White Chocolate Pumpkin Cheesecake Delight! This creamy dessert blends sweet white
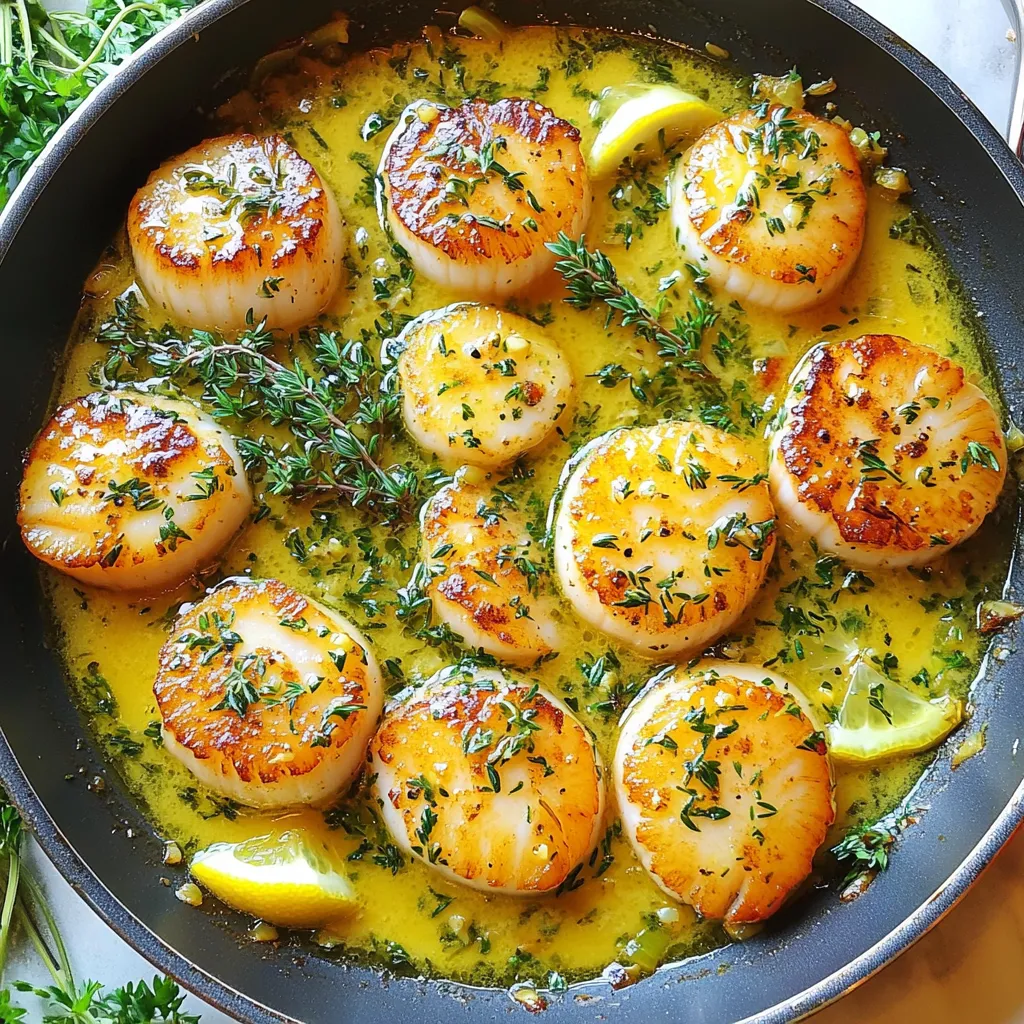
Are you ready to elevate your dining experience? Garlic Butter Scallops with Lemon are a show-stopping dish that’s easy to

If you’re looking for a flaky, savory treat, these Cheddar Chive Pumpkin Biscuits are perfect. They’re easy to make and

Get ready to bake the perfect Cinnamon Sugar Apple Donuts! These easy and tasty treats combine the sweetness of apples
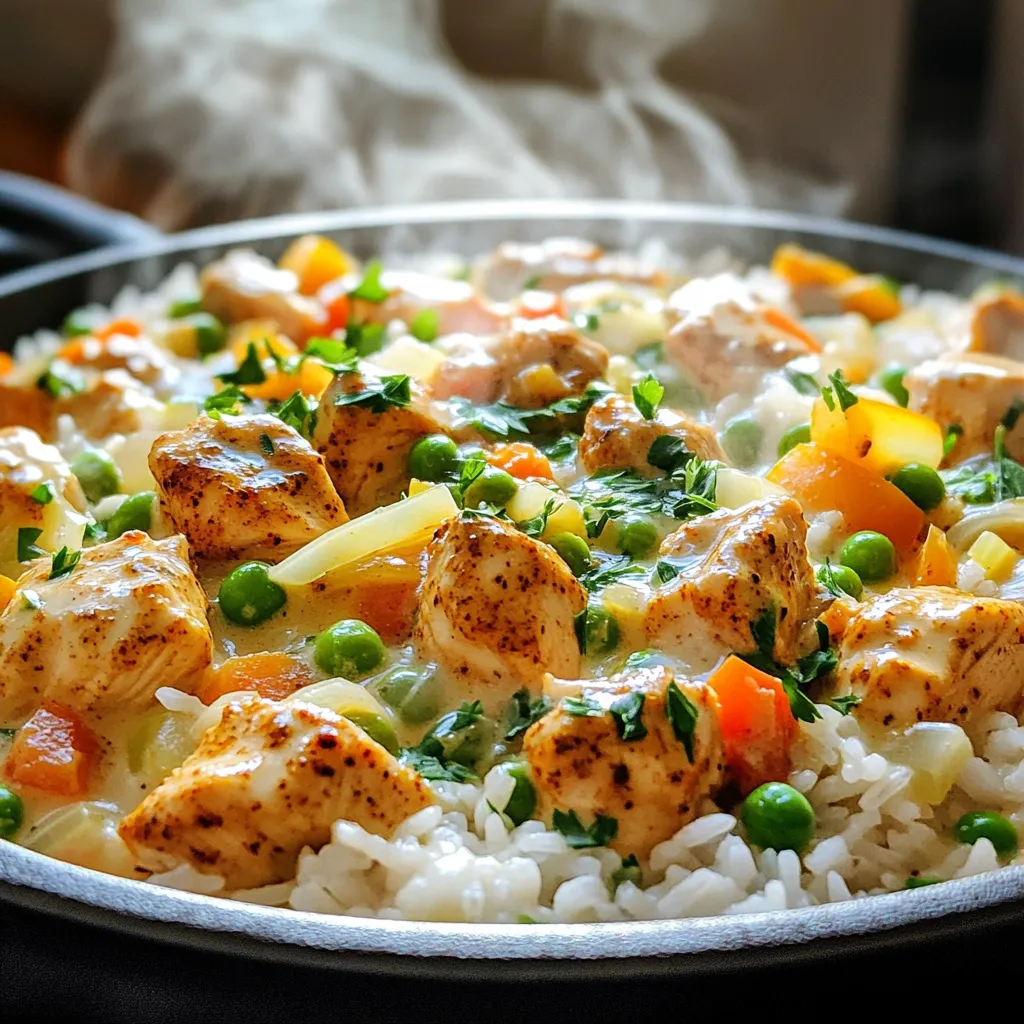
Looking for a quick and tasty dinner? My One Pot Creamy Cajun Chicken Rice is the answer. This dish packs
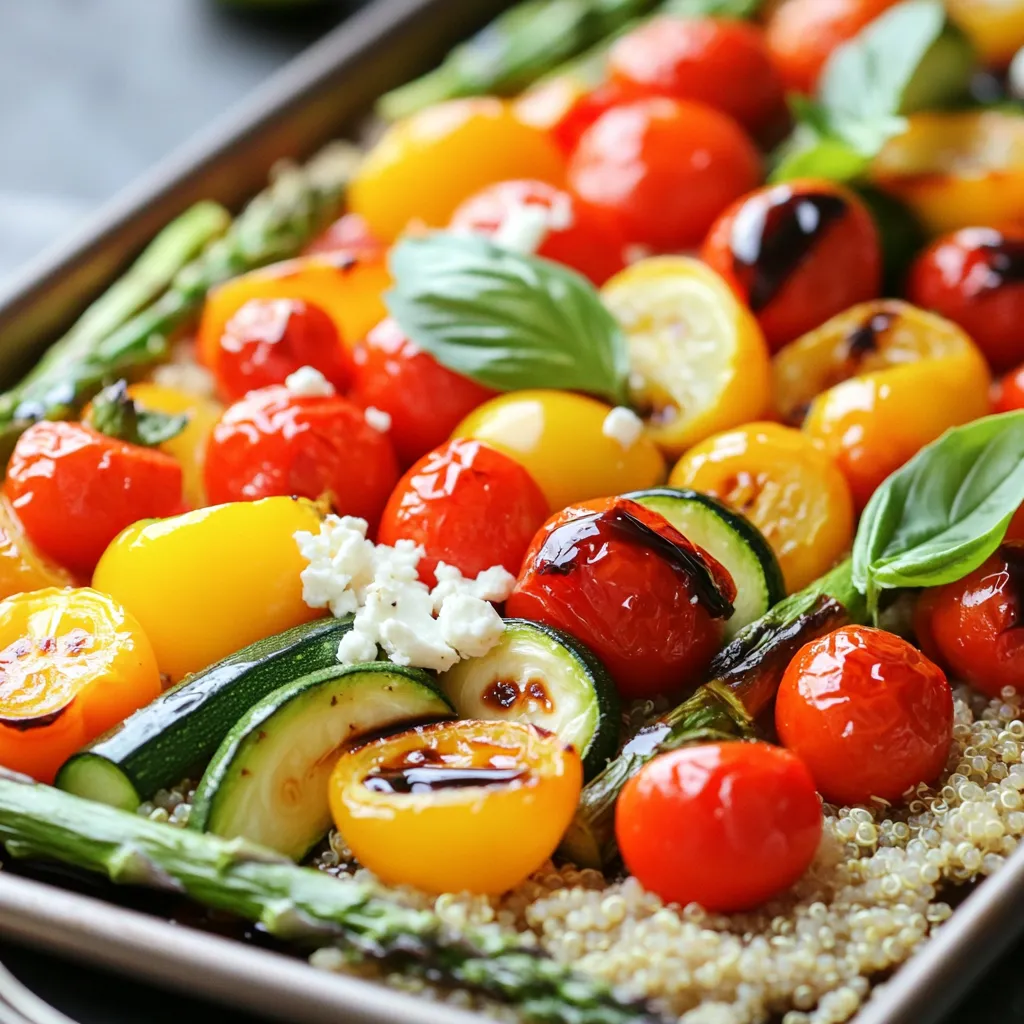
Craving a simple and tasty dish? These Sheet Pan Balsamic Veggie Bowls are just what you need! Packed with fresh
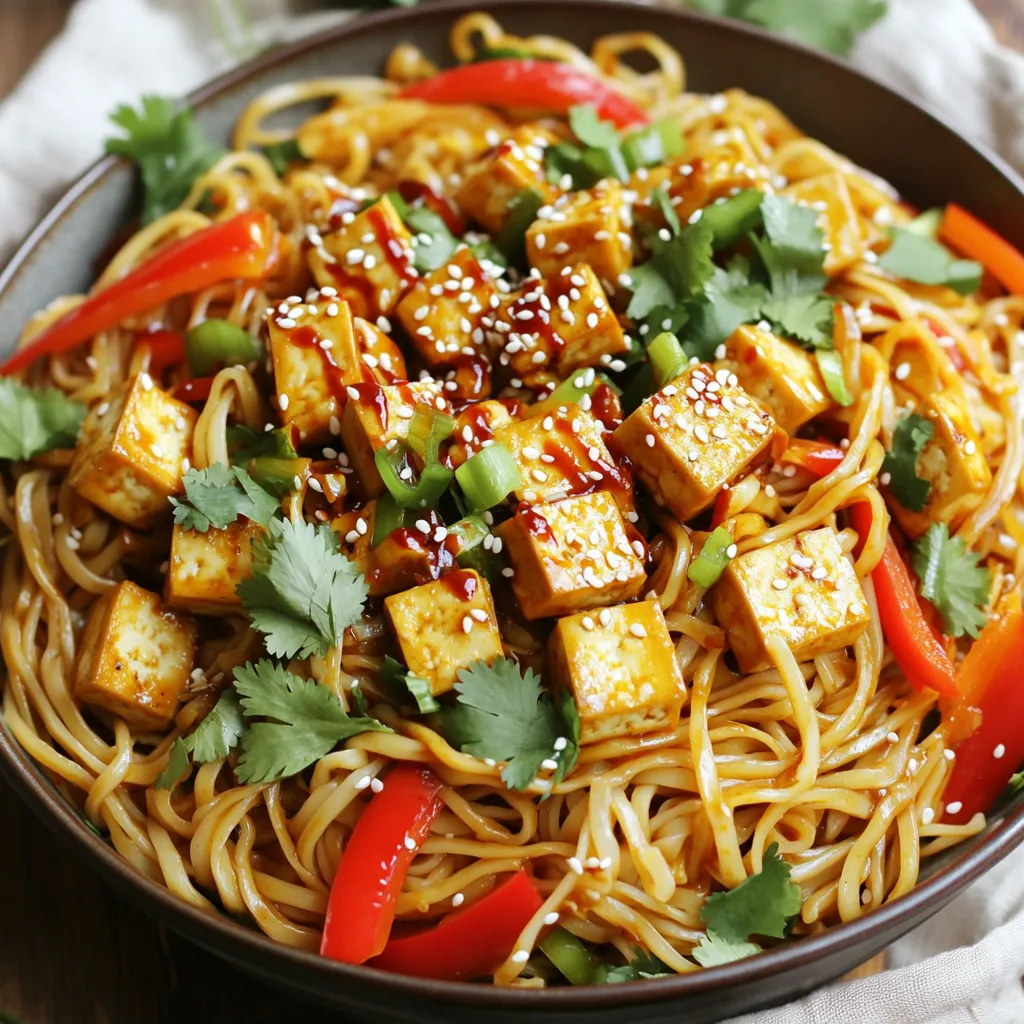
Craving a quick and tasty meal? Dive into these Spicy Chili Crisp Tofu Noodles! This dish combines the heartiness of
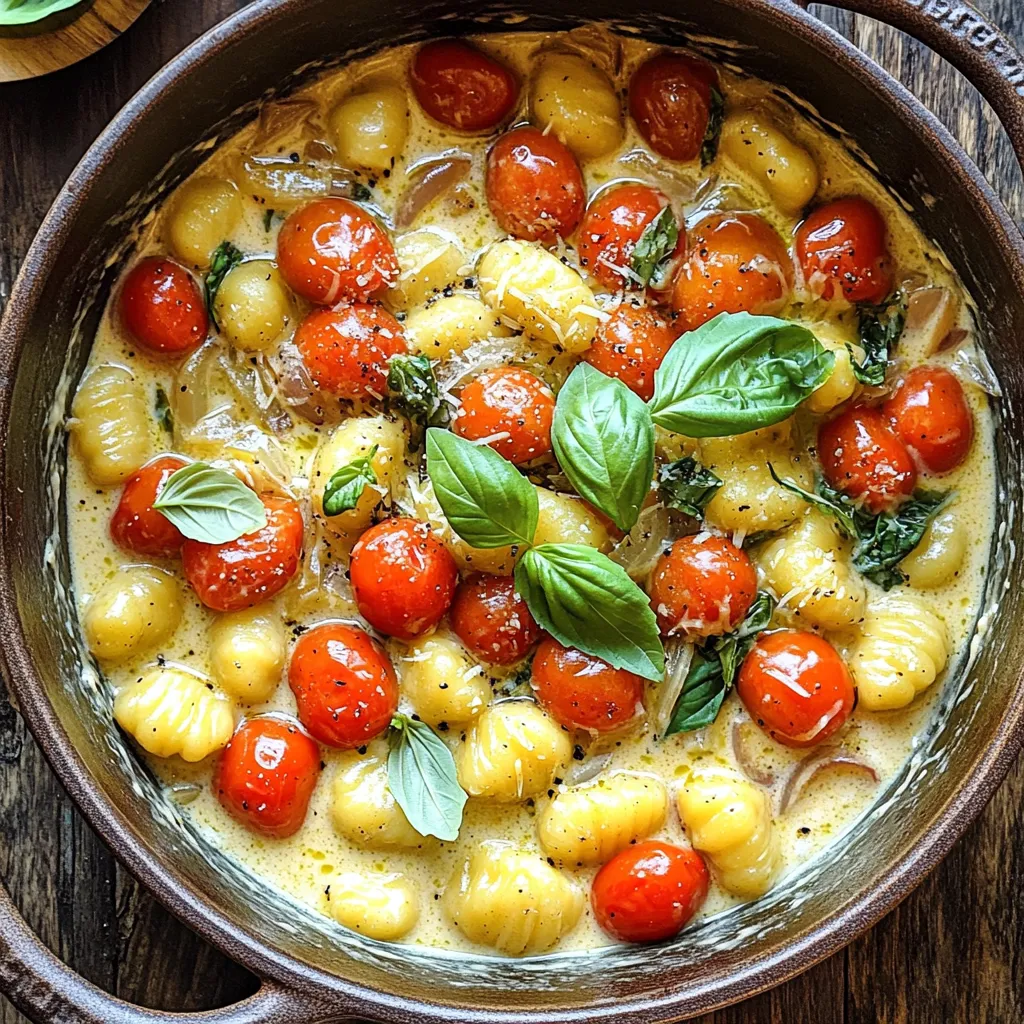
Are you craving a warm, comforting dish that’s easy to make? Look no further than my One-Pot Creamy Tomato Basil
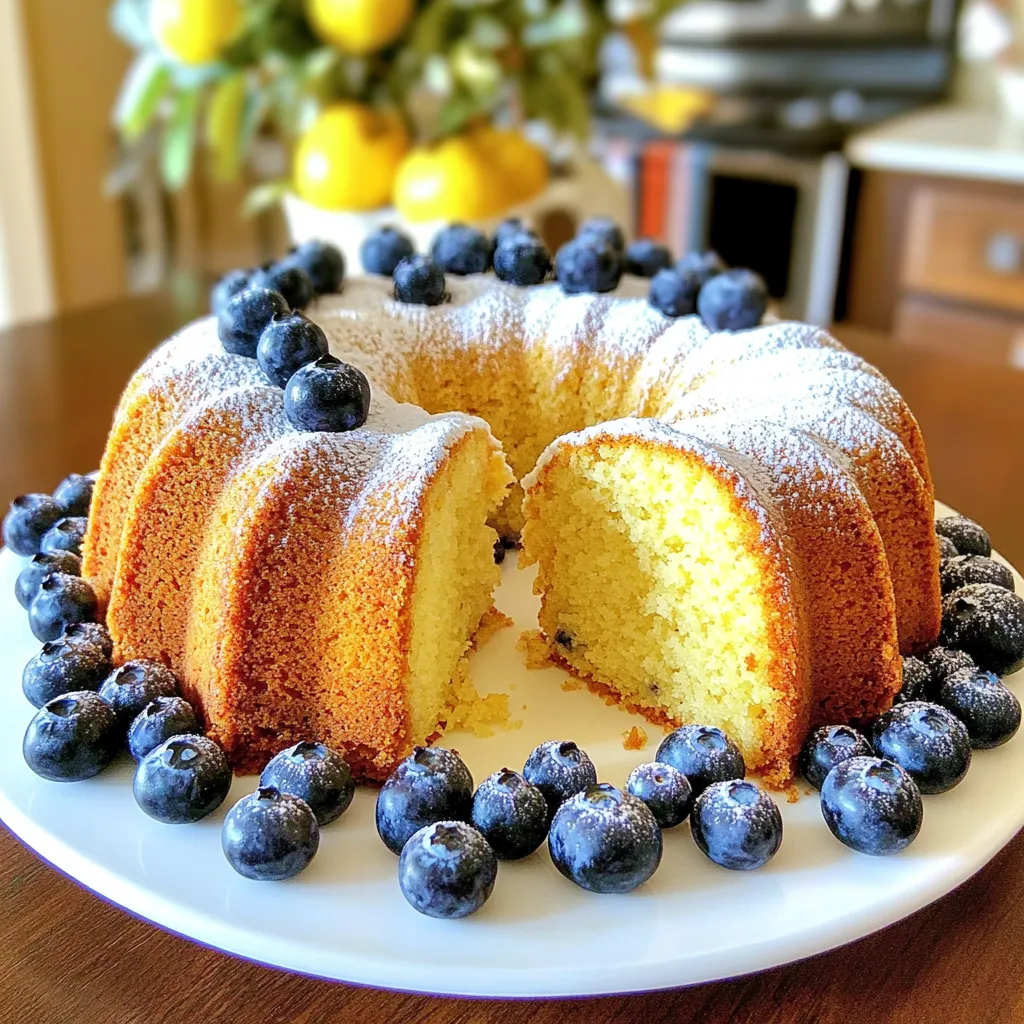
Are you ready to bake something simple and delicious? Lemon Blueberry Pound Cake is a treat you can’t miss! This

Looking for a warm and hearty dish that’s easy to make? My Slow Cooker Italian Wedding Soup is the answer!
