
Looking for a delicious treat that requires no baking? You’re in the right place! These No Bake Chocolate Oat Bars are simple to whip up and perfect for any occasion. Whether you’re in need of a quick snack or a sweet dessert, these bars hit the spot. With just a few ingredients and easy steps, you’ll have a tasty treat ready in no time. Let’s dive into the details!
Ingredients
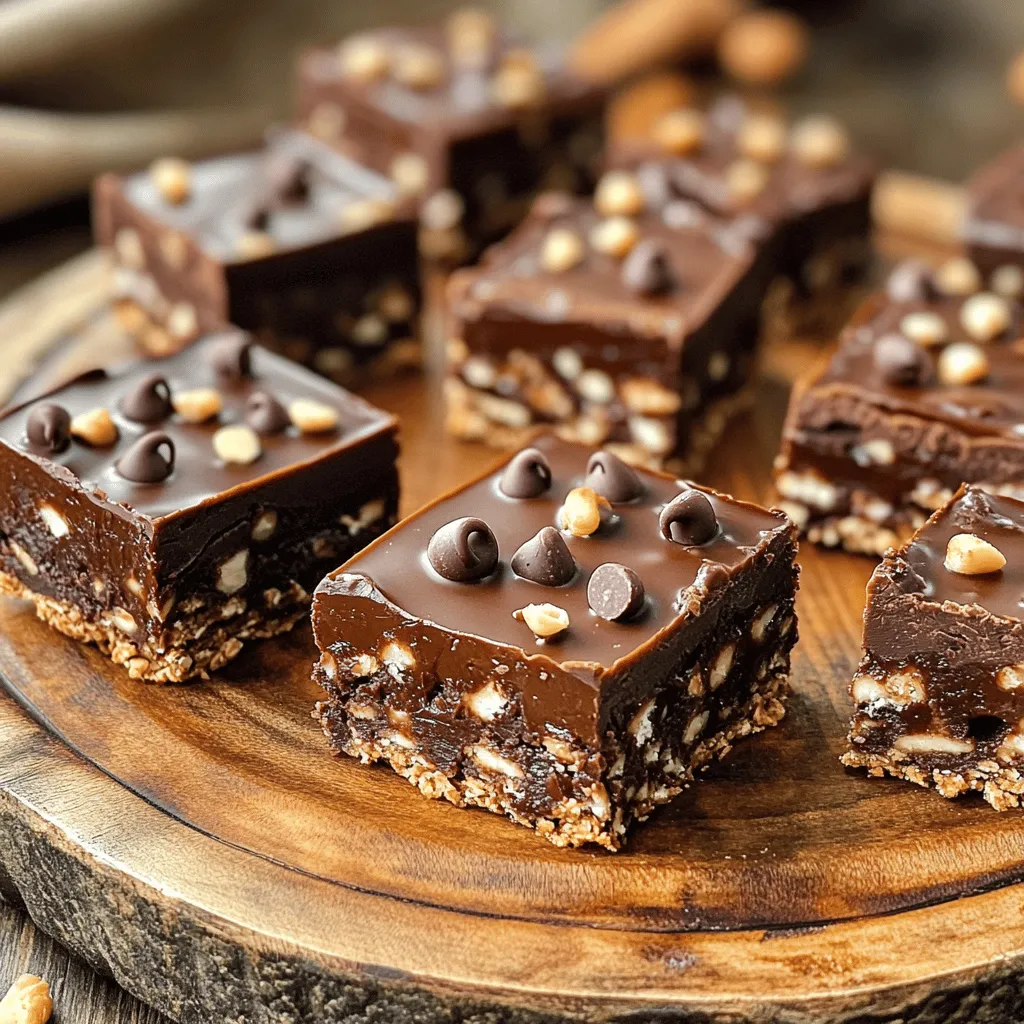
Complete List of Ingredients for No Bake Chocolate Oat Bars
To make these tasty no bake chocolate oat bars, gather the following ingredients:
– 2 cups rolled oats
– 1 cup almond butter (or any nut butter of your choice)
– 1/2 cup honey or maple syrup
– 1/2 cup unsweetened cocoa powder
– 1/2 cup chocolate chips (dark or semi-sweet)
– 1/4 teaspoon sea salt
– 1 teaspoon vanilla extract
– Optional: 1/4 cup chopped nuts or seeds (like walnuts or chia seeds) for added crunch
These ingredients come together to create a delicious and filling snack.
Ingredient Substitutions (Nut Butters, Sweeteners, etc.)
You can easily swap ingredients to fit your taste. Here are some ideas:
– Nut Butters: Use peanut butter, cashew butter, or sunflower seed butter if you prefer.
– Sweeteners: Swap honey for agave nectar or brown rice syrup for a different flavor.
– Cocoa Powder: If you want a lighter taste, replace cocoa powder with carob powder.
– Chocolate Chips: Use white chocolate chips or omit them for a less sweet bar.
Feel free to mix and match based on what you have at home!
Notes on Special Diet Options (Vegan, Gluten-Free)
This recipe can fit many diets:
– Vegan: Choose maple syrup and a vegan nut butter to keep it plant-based.
– Gluten-Free: Ensure the oats are labeled gluten-free to avoid cross-contamination.
– Nut-Free: Use sunflower seed butter instead of nut butter for a nut-free option.
These bars can work for many dietary needs, making them a great choice for gatherings!
Step-by-Step Instructions
Detailed Cooking Steps to Make No Bake Chocolate Oat Bars
1. Start by mixing the rolled oats, cocoa powder, and sea salt in a large bowl. Make sure to combine them well.
2. Next, grab a separate microwave-safe bowl. Add your almond butter and honey (or maple syrup) to this bowl. Heat it in the microwave for about 20 to 30 seconds. This step makes it easier to mix.
3. Stir the heated nut butter mix until it becomes smooth. Then, pour it into the bowl with oats. Add the vanilla extract and mix everything until it is well combined.
4. If you want, gently fold in chocolate chips and any nuts or seeds you like. This adds a nice crunch to your bars.
5. Line an 8×8-inch baking dish with parchment paper. Make sure some paper hangs over the sides. This helps you lift the bars out later.
6. Now, transfer the mixture to the baking dish. Spread it evenly and press it down firmly with your hands or a spatula. This helps the bars hold together.
7. Place the dish in the refrigerator for at least 2 hours. This cooling time helps the bars set properly.
8. Once the bars are firm, lift them out using the parchment paper. Cut them into squares or bars.
Tips for Combining Ingredients for Best Results
– Always use rolled oats for the best texture. Quick oats can make the bars too mushy.
– If you find the mixture too dry, add a little more almond butter or honey. It should stick together easily.
– Mixing the heated nut butter and sweetener well is key. This step ensures even sweetness throughout.
– Fold in chocolate chips last. This keeps them intact and prevents them from melting too much.
How to Properly Set the Bars in the Refrigerator
– Make sure to press the mixture down firmly in the baking dish. This helps the bars stay compact.
– Cover the dish with plastic wrap or a lid while it chills. This keeps the bars from drying out.
– Check the bars after 2 hours. They should feel firm but not rock hard. You can let them sit longer if needed.
– If your bars don’t set well, they might need more time in the fridge. Just be patient!
Tips & Tricks
Best Practices for Perfect Texture and Flavor
To get the best texture and flavor in your bars, use fresh ingredients. Old oats or nut butter can change the taste. Mix the dry ingredients well before adding the wet ones. This helps them combine smoothly. When you press the mixture into the pan, make sure it is compact. This keeps the bars from crumbling later.
How to Avoid Common Mistakes When Making the Bars
One common mistake is not measuring ingredients correctly. Use a scale or measuring cups for accuracy. Also, don’t skip the refrigeration step. Bars need time to set, so resist the urge to cut them too soon. Be careful when heating the nut butter and honey. Overheating can change the flavor, so stick to 20-30 seconds in the microwave.
Serving Suggestions and Pairing Ideas
These bars are tasty on their own, but you can add fun touches. Try serving them with a scoop of yogurt or a drizzle of honey. Pair them with a glass of almond milk or a cup of coffee. For a lively snack, add fresh fruit like bananas or berries on the side.
Variations
Customizing Flavors with Add-ins (Dried Fruits, Nut Mix)
You can easily change the taste of your no bake chocolate oat bars. Adding dried fruits like raisins, cranberries, or apricots brings a sweet and chewy texture. You can also mix in nuts or seeds for crunch. Think walnuts, almonds, or even sunflower seeds. Just stir in about 1/4 cup of your choice when mixing the ingredients. This step not only adds flavor but also boosts nutrition.
Making a Healthier Version of No Bake Chocolate Oat Bars
If you want a healthier twist, swap out some ingredients. Use almond butter or peanut butter to keep it rich without adding too much sugar. Instead of honey, try mashed bananas or unsweetened applesauce. These changes lower calories and add natural sweetness. You can also use 1/4 cup of unsweetened cocoa powder for a richer chocolate flavor without added sugar.
Creating Different Shapes and Sizes (Bites, Squares)
You don’t have to stick to squares with these bars. Use a cookie scoop to make small bites. Just drop spoonfuls onto parchment paper and chill. This makes a fun snack for kids and adults alike. You can also use muffin tins to create mini bars. Just press the mixture into each cup, then chill. Whether you choose squares or bites, they will still taste great!
Storage Info
How to Properly Store No Bake Chocolate Oat Bars
To keep your No Bake Chocolate Oat Bars fresh, store them in an airtight container. This helps keep moisture out and prevents the bars from getting hard. You can place parchment paper between layers to avoid sticking. This small step makes a big difference!
Shelf Life and Best Practices for Keeping Fresh
When stored correctly, these bars last up to a week in the fridge. For the best taste, enjoy them within the first few days. If you notice any off smell or change in texture, it’s best to toss them out. Keeping them cool helps maintain their flavor and texture.
Freezing Options for Long-Term Storage
You can freeze these bars for longer storage. Wrap each bar tightly in plastic wrap and place them in a freezer bag. This way, you can enjoy a delicious treat anytime. They can stay good in the freezer for about three months. When you’re ready to eat, let them thaw in the fridge overnight.
FAQs
How Long Do No Bake Chocolate Oat Bars Last?
No bake chocolate oat bars last about one week. Store them in an airtight container in the fridge. This keeps them fresh and tasty. If you want them to last longer, you can freeze them. They can stay good in the freezer for up to three months. Just cut them into bars before freezing. Use parchment paper to separate layers. This way, you can grab one or two easily later.
Can I Use Other Sweeteners Besides Honey or Maple Syrup?
Yes, you can use other sweeteners. Agave syrup or brown rice syrup works well too. If you prefer granulated sugar, you can use that too. Just mix it with the nut butter and a splash of water to help dissolve it. Remember, different sweeteners can change the taste. Try different ones to find what you like best.
Are No Bake Chocolate Oat Bars Healthy?
No bake chocolate oat bars can be healthy! They are full of oats and nut butter. Oats provide fiber and energy. Nut butter adds protein and healthy fats. However, watch the sweetener amount. Too much can make them less healthy. You can also add seeds or dried fruit for more nutrients. This recipe lets you control what goes in. This way, you can enjoy a treat that also feels good for you.
In this post, we covered how to make delicious no-bake chocolate oat bars. I shared ingredients, cooking steps, and handy tips to get great results. You learned about substituting ingredients and special diet options like vegan and gluten-free. Finally, we explored variations and storage methods to keep your bars fresh.
These bars are fun to make and easy to tweak. Enjoy them anytime you need a tasty treat!


