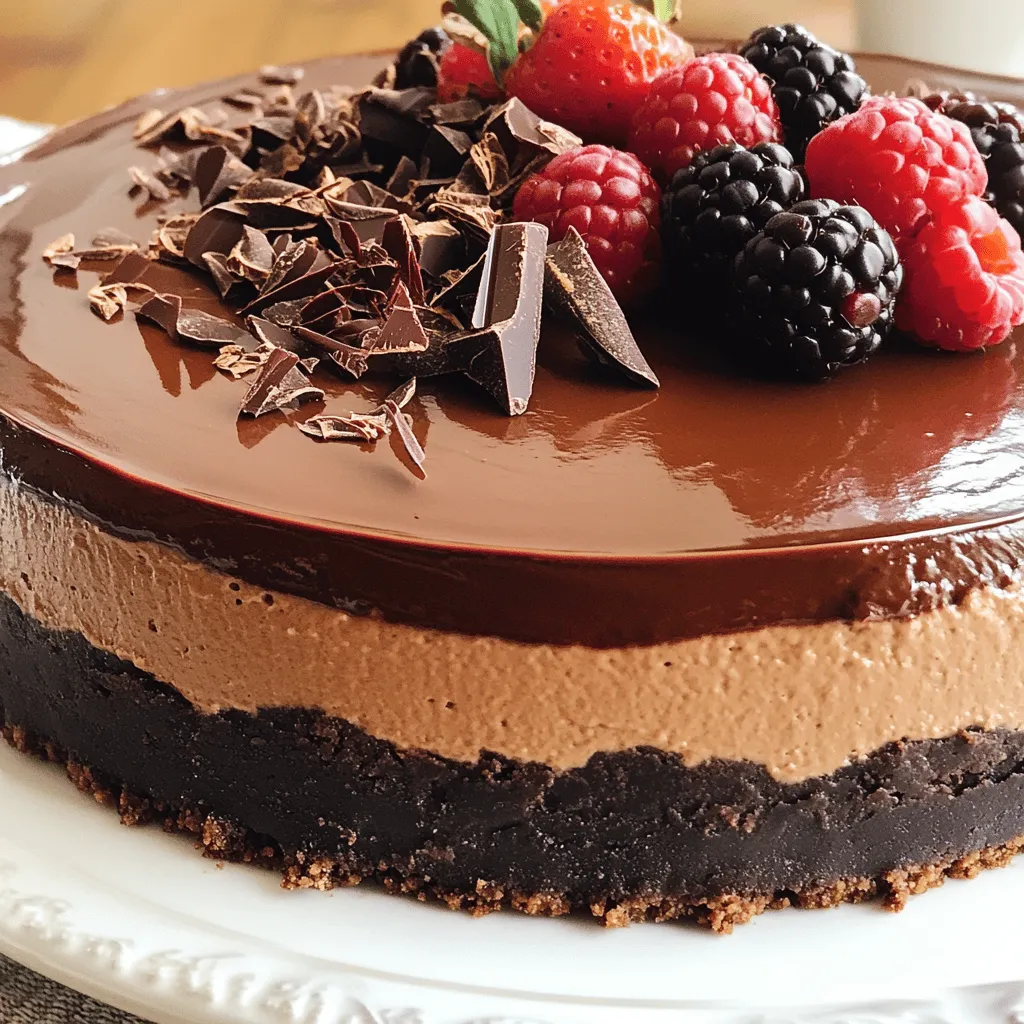
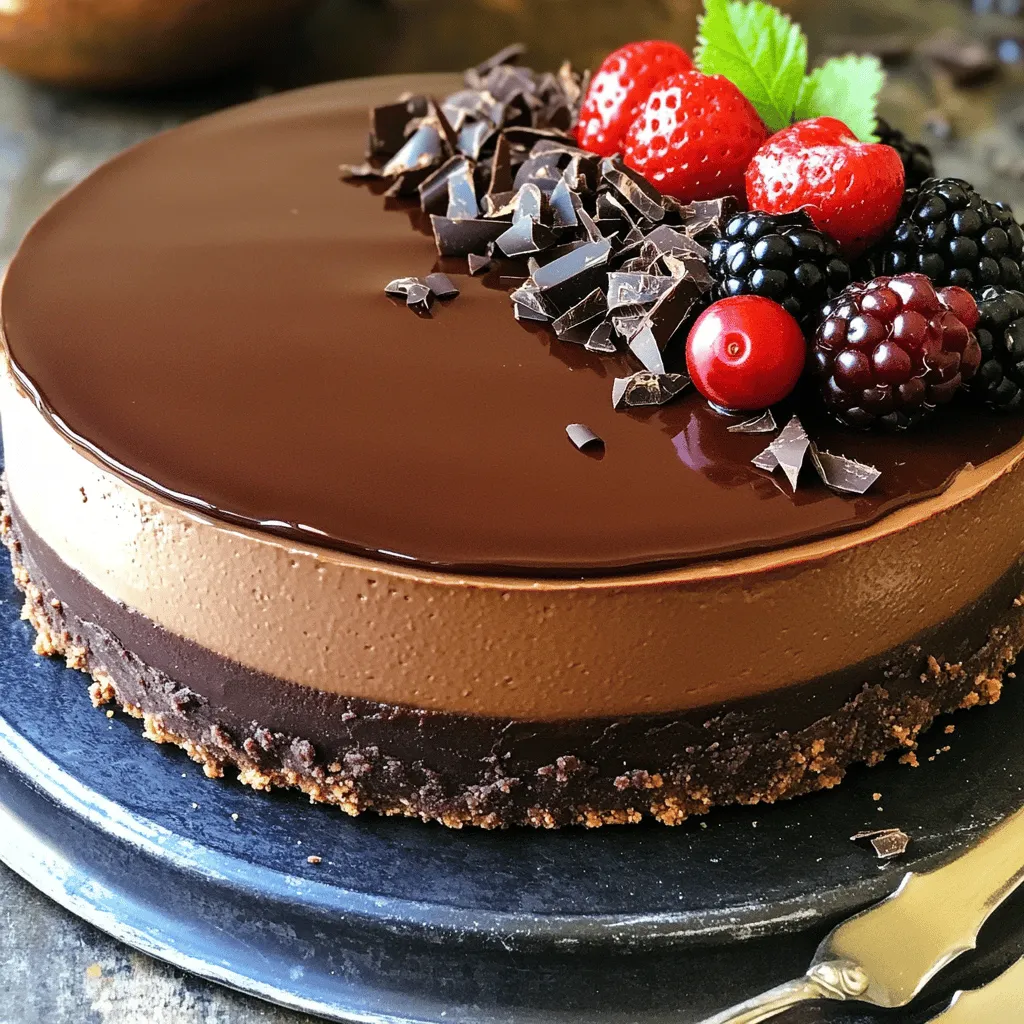
Indulge in a creamy paradise with my No-Bake Chocolate Cheesecake! This delightful dessert is perfect for any occasion and requires no baking. With a rich chocolate flavor and smooth texture, it’s hard to resist. In this post, I’ll share easy steps, tips for the perfect cheesecake, and variations to suit any taste. Ready to satisfy your sweet cravings? Let’s dive into the delicious details!
Ingredients
List of Ingredients
– 1 ½ cups chocolate wafer cookie crumbs
– ½ cup unsalted butter, melted
– 2 cups cream cheese, softened
– 1 cup powdered sugar
– 1 teaspoon vanilla extract
– 1 cup heavy cream
– 8 oz dark chocolate, melted and slightly cooled
– ½ cup sour cream
– ½ teaspoon instant coffee granules (optional)
– Pinch of salt
Gathering the right ingredients is key for a great no-bake chocolate cheesecake. First, you need chocolate wafer cookie crumbs. These crumbs form a delicious crust. You mix them with melted butter for a rich base.
Next, you will need cream cheese. Make sure it’s softened to get a smooth filling. Powdered sugar adds sweetness, while vanilla extract gives flavor. Heavy cream is crucial for that wonderful, creamy texture. It helps to whip up into peaks, making your cheesecake light.
Dark chocolate is the star here. Melt it, and let it cool slightly before mixing. It adds richness and depth to the flavor. Sour cream adds tanginess, balancing the sweetness. If you want, you can include instant coffee granules. They boost the chocolate taste without making it too coffee-like. A pinch of salt enhances all the flavors.
Equipment Needed
– 9-inch springform pan
– Mixing bowls
– Electric mixer or whisk
– Spatula
– Plastic wrap
You will need a 9-inch springform pan to hold everything together. Mixing bowls are key for combining your ingredients. An electric mixer or whisk helps whip the cream and mix the filling. A spatula is perfect for smoothing the cheesecake top. Lastly, plastic wrap keeps the cheesecake fresh while it chills.
Using the right tools helps ensure your no-bake chocolate cheesecake turns out perfect.
Step-by-Step Instructions
Preparation of the Crust
To start, gather your ingredients. In a medium bowl, combine 1 ½ cups of chocolate wafer cookie crumbs and ½ cup of melted unsalted butter. Mix until the crumbs are fully coated. Now, take a 9-inch springform pan. Press the crumb mixture firmly into the bottom of the pan. Make sure it is even. Chill this crust in the refrigerator for at least 15 minutes. This step helps it hold together better.
Making the Cheesecake Filling
Next, we will make the cheesecake filling. In a large mixing bowl, beat 2 cups of softened cream cheese with an electric mixer. Add 1 cup of powdered sugar and 1 teaspoon of vanilla extract. Mix until the mixture is smooth and creamy. In another bowl, whip 1 cup of heavy cream until stiff peaks form. Gently fold this whipped cream into the cream cheese mixture. This gives the cheesecake its light, fluffy texture.
Final Assembly
Now, it’s time to bring it all together. Pour in 8 ounces of melted dark chocolate and mix until well combined. If you want to enhance the flavor, dissolve ½ teaspoon of instant coffee granules in a tablespoon of warm water. Mix that in too. Add ½ cup of sour cream and a pinch of salt. Fold gently until smooth. Now, pour this delicious filling over the prepared crust. Smooth the top with a spatula. Cover the pan with plastic wrap and refrigerate for at least 4 hours, or overnight for the best texture. Once set, carefully remove the sides of the springform pan.
Tips & Tricks
Achieving the Perfect Texture
To get a smooth and creamy cheesecake, use room temperature cream cheese. Cold cream cheese will create lumps in your mix. Set it out for 30 minutes before you start. When whipping the heavy cream, make sure your bowl and beaters are cold. This helps the cream whip faster and get nice peaks.
Flavor Enhancements
You can add extra flavor to your cheesecake. A few drops of mint extract can give a fresh taste. If you want a different twist, try Greek yogurt instead of sour cream. It adds a nice tang without losing the creaminess.
Presentation Tips
Toppings make your cheesecake shine. Use chocolate shavings for a rich look. Fresh berries add color and a burst of flavor. A drizzle of chocolate ganache can make it look fancy. Serve it on a nice plate to make it pop. For the best effect, slice and serve right after adding your toppings.
Variations
Flavor Variations
You can tweak your cheesecake flavors to make it even more fun.
– Mocha Chocolate Cheesecake: Add coffee to your mix. This gives a nice coffee taste. Just mix in a bit of instant coffee granules when you blend the chocolate.
– Pure Chocolate: For a richer taste, use only dark chocolate. It gives a deep, bold flavor that chocolate lovers will adore.
Dietary Modifications
Making this dessert fit your diet is easy!
– Gluten-Free: Use gluten-free cookie crumbs for the crust. This way, everyone can enjoy it without worry.
– Vegan Option: Swap cream cheese and heavy cream for vegan alternatives. Look for vegan cream cheese and coconut cream. They work well and still taste great.
Serving Suggestions
Serving this cheesecake can be as fun as making it!
– Pair it with fresh fruits like strawberries or raspberries. A fruit sauce adds a nice touch too.
– Think about special occasions. This cheesecake is perfect for birthdays or holidays. You can even top it with whipped cream for a festive look.
Storage Info
How to Store
After you make your No-Bake Chocolate Cheesecake, you should store any leftovers in the fridge. Place the cheesecake in an airtight container. If you don’t have one, cover it tightly with plastic wrap. This keeps it fresh and prevents it from absorbing any odors.
Freezing Instructions
You can freeze the cheesecake for longer storage. First, let it chill in the fridge until it sets. Then, wrap the cheesecake tightly in plastic wrap, and follow with aluminum foil. This double layer helps protect it from freezer burn. When you’re ready to enjoy it, take it out and let it thaw in the fridge overnight. Avoid thawing it at room temperature to keep the texture smooth.
Shelf Life
The cheesecake stays fresh in the fridge for about 5 to 7 days. If you freeze it, it can last for up to 3 months. Just make sure to check for any signs of freezer burn before serving. For best taste, eat it within a month.
FAQs
Can I make No-Bake Chocolate Cheesecake ahead of time?
Yes, you can make this cheesecake a day in advance. It tastes even better after chilling overnight. Just cover it well with plastic wrap. This keeps it fresh and ready for serving. Make sure to allow at least four hours of chill time.
What can I substitute for cream cheese?
If you want a dairy-free option, use vegan cream cheese. You can also try mascarpone cheese for a rich taste. Greek yogurt is another choice for a lighter twist. Each will give a different flavor, so choose what you like best.
How long does the cheesecake need to chill?
The cheesecake needs to chill for at least four hours. However, if you can wait overnight, it will set better. This extra time helps the flavors meld together and gives a firmer texture.
Can I make this recipe gluten-free?
Yes, you can make this cheesecake gluten-free. Use gluten-free chocolate wafer cookie crumbs for the crust. Check the labels of your other ingredients to ensure they are gluten-free. This way, everyone can enjoy this delicious treat.
This blog post detailed a simple and tasty no-bake chocolate cheesecake recipe. We covered each ingredient, from chocolate wafer crumbs to dark chocolate. You learned how to prepare the crust and make a smooth filling. I shared tips on texture, flavor, and presentation. Variations and storage options allow you to adapt the recipe to your needs. Enjoy this dessert at any gathering, or treat yourself. Your delicious cheesecake awaits!


